







![[HOW TO MAKE] Medium Feathered Wings](https://i.ytimg.com/vi/1AV_HpCQwZ8/maxresdefault.jpg)





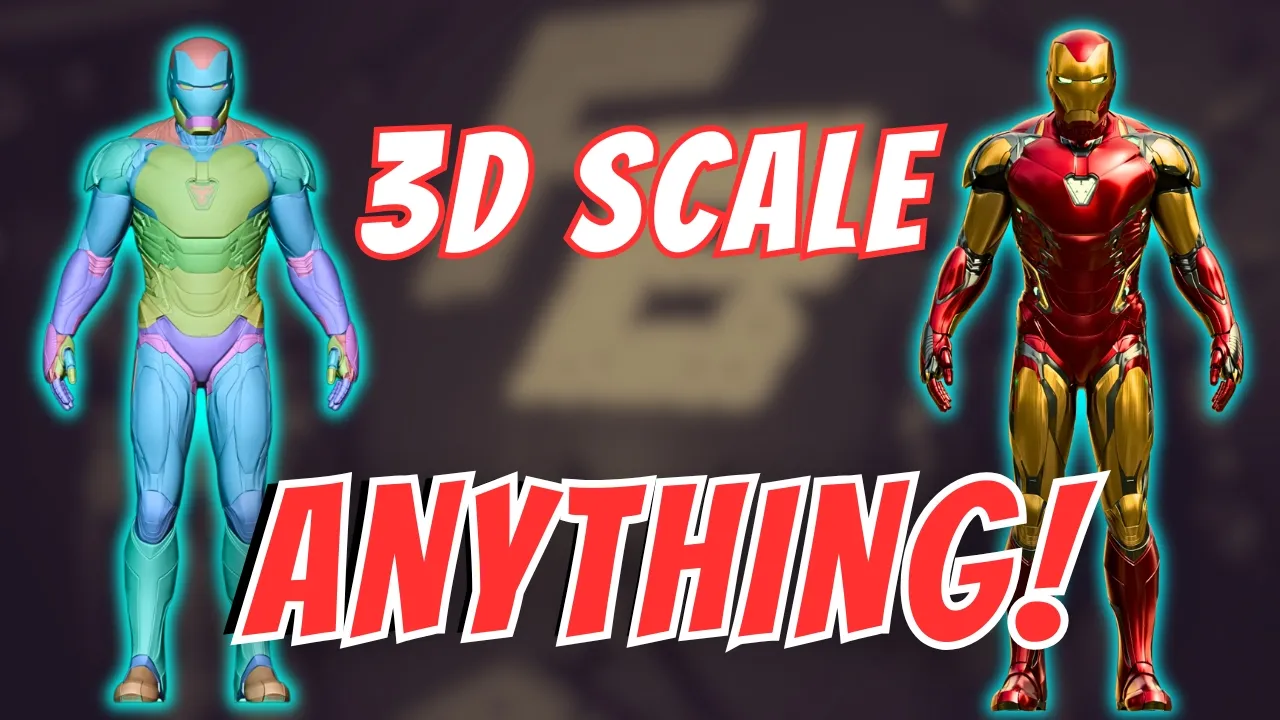
When creating custom 3D printed cosplay suits, proper scaling requires measuring actual body dimensions against printed models using a ruler STL file in slicing software, and functional articulation can be achieved by printing parts as single pieces with elastic bands for finger movement and oven-baked molding for flexible sections like forearms.
3D Printed Iron Man MK85 Suit Build: Hand and Torso Construction
Added:Fundamentals of FDM 3D printing, including slicer settings (infill, support structures, and layer height) and printer calibration.
Characteristics of different 3D printing filaments, specifically comparing rigid polymers (like PLA or PETG) with flexible elastomers (like TPU).
Basic digital scaling and anatomy fitting using software tools like Armorsmith, Meshmixer, or Blender to match 3D models to personal body proportions.
Post-processing safety and techniques, including sanding, bonding plastics using chemical solvents or 3D pen welding, and priming.
Integration of electronics and microcontrollers (such as Arduino or ESP32) for interactive features like LED repulsors, motorized faceplates, and sound effects.
Advanced prop-finishing methods, including automotive filler application, wet sanding, airbrushing, and weathering techniques to achieve a metallic look.
Ergonomic strapping and harness design to securely distribute the weight of the torso and limbs for mobility and extended wear.
Structural reinforcement techniques, such as fiberglass backing or epoxy coating (e.g., XTC-3D), to increase the durability of thin-walled printed parts.
72.3K views1.3Klikes17:23Original Release: 2019-10-30
[Music] what's up guys update day sorry it's been so long I've been super busy with a bunch of other that's been going on and this is long over too but today I wanted to talk to you about an update on the supe build the 3d printing how far I've made it everything I've done wrong which well there has been quite a few bits and today the big thing I think we're to be talking about is the arm so I'm not both arms done of the suit and this is kind of already going over today how I made the hands so flexible the issues I've run into and what's next from there so let's get started so I stated in the first video for this build I knew going right into this that the helmet was probably going to be the hardest part which I think I was able to get done pretty nicely aside from that was gonna be the hands now these hand getting the hands to fit and be functional and work properly as totally kicked my ass I went through a bunch of different files a bunch of different STL's I'm getting numbered models and types the one that seemed to be the most fruitful was this type of design so it's a two part where the palm section kind of sits over your hand like so with some with the help of some rubber bands which wasn't too bad this fit pretty nicely and then the rest of your hand slides through the back and then you can what you could do is secure it some way this came out really big and beefy I didn't like this securing it was a little bit of a pain the size was a little bit much maybe for like the older style suits with the bigger parts this would be fine but I just didn't I don't know no it just didn't feel good so I wasn't a big fan of this design I moved around with some other ones but I finally landed on a very good design then it's go on Thingiverse there is a there's an STL file for an entire market 6-iron insert great bill great suit the hand file in it though is fantastic and what that gave me was this type of palm so what this is this is a two-part palm the entire palm section is one solid piece except the our craft be a little reactor in the middle that actually pops right out this is all one piece right here and then the backplate is just just sits right on top of there and I haven't secured with rubber with a elastic bands I'll talk about that later and what this allows you to do is the whole hand is one section and then you can just slide your hand right through it's a little pinchy right now so gotta work that out but slide your hand through the palm stays there nice and secure you can bend your fingers around it and then remember what you want to secure the back plate it sits and closes what that lets you do is he actually gives you a pretty good wrist control of movement what I found is actually if you tuck this in and push it in under it makes it kind of seamless looks seamless so this this was absolutely the best hand file I found they save me a lot of trouble it gives you a little arc reactor bait that you can book I'm probably gonna print this in clear fill them in throw some LEDs in it those holes for lights and pop it right back in and there's enough room in there to give you plenty of room so once you get this printed well first let's talk about scale I'm sorry how did I make sure this fit well I went through a couple different renditions this was a much smaller palm that I printed I'm just gonna paint it up and make a little desk piece for it but you scaling how I've been scale them all this stuff how did I get this to fit a ruler I know it sounds crazy and some people don't know like how to use these things but they make a really cool file and I'll try to find the actual link to it but it's a it's a scale STL file that you can drop right into cura so what I'll do is I'll have the part in Cara be modeled sitting there and then you drop the ruler in there and it's perfectly scaled so you leave that on the bed you move it around you flip and you turn it and however you need it to wherever you need to go what I did for say this forearm is I measured the smallest hole I measure where my wrist needed to go through so I measured the side to side and cura how big the models hole was and then I measured my own wrist I measured my own hand and that should be measured on body parts and you compare them and telling that when you scale them apart not the ruler to the size of your actual body part and it's let me scale all this stuff perfectly in the Wong trial and error but so far it's worked great I'm from my hand I believe I'm measured and this was the widest part my thumb the knuckle of back little on my thumb over like right about here on the side of my hand and then in the program I measure the inside of this not the outside there's gonna be wall thickness and everything they need to account for and I measured the same same distance from inside here it's inside there it's gonna take some getting used to you can actually drop the roller in and out of itself which helps a lot you can put the roller through the model and kind of they collide them so play around with it that was absolutely a godsend for this entire project it also let me measure the bicep part I measured again and the hole on the bottom that my forearm needs to go through and then my whole arm could fit through I can travel with this little slippery but just measure measure measure measure measure because I've already printed a couple parts that don't fit in the best that I'm probably gonna have to scrap depending on the time of day this fits perfectly or it's a little tight so the rest of the hand so that in some that that file I was telling you about it gives you the palm the backplate gives you a bunch of other parts an Iron Man hands in Iran and they they're all pretty much the same thing if you're newsing one from the mark six on the mark fifty you're not gonna be able to tell if there's an artery after his fingers whatever makes whatever works work so for the fingers it gives it the lets you print them all all together a little rose a little neat nice little rose and then pop them off the printer and start attaching them so how do you attach them how do you keep them like this so this was made with elastic band I got this on Amazon or Ebay really cheap it's a really good stretchy elastic band it's a it's thick and it reacts pretty well the super glue I went through a couple different styles I went through rubber bands I went through a few different things trying to find something that actually reactive all the super glue and this was it's very cheap easy to use and all I did was cut little strands and glue them all along the backs of the fingers so I can stretch these out and they go went back to the normal position I was able to use it for the back plate so you can lift it up so this is all one piece that I can just like I said I can slide right in and out of it gives me full range and it's actually pretty comfortable there's there's really no issues and if you have like a morphsuit on under it or that's what we're gonna have it'll cover up all the finger slots I've cleaned this up a little bit already started sanding it a bit so I'm probably I'm just gonna paint this as one piece see how it goes worst case if I have to cut the elastic out I cut it out get rid of it and I'll just put it back together I have plenty of the stuff so this worked great so moving on to the forearm like I said I got pretty lucky with this both of these first prints first shot they worked they fit me very well forms a little tight I'm still trying to stretch that out well but wait how do you stretch something out after you've already printed it your oven this worked my form did not just slip right through this there was a little bit tweaking I had a flare out right here a little bit but all you did all I did is pop it in the oven I'm like 300 degrees maybe like a few minutes take it in and out in and out and you get it just so it's a little malleable or pliable be careful don't burn yourself but you can put your arm through it and stretch it out you can mold it and that let me kind of get everything exactly where I need to be the next thing I work out is this little section down here this was printed with the floor on I should have sliced it off I might just get rid of this and let them morphsuit kind of fill that area in because it really does limit my mobility right now okay so I can't even touch my own head so that's kind of a problem aside from comfort and size it's not too bad a little pinchy but there's some struck bits I still have to trim down and it's going pretty well so far the quality of my friends has increased significantly so I only need to use bondo anymore so that's great so another bit I'm really excited about is the hand Stoppers the back the back of the hand blades so since this is the mark 85 I had a print in the back hand plate for the left hand which just sits right there I like that and that'll be secured with again elastic bands and however well the other one that I'm really stoked about is the one for the infinity gems from the final scene the final snap of endgame I was able to get the twelve the stark tech gauntlet the other ones the Nano violet and the Infinity Gauntlet and what it does is it sits right back here right in the poem right on the back of the hand and I mean I just need to secure it to get it to move properly I'm most likely secure it to the back of the pot back in the hand this way it stays in that spot and then it'll slide up and down the forearm I've seen some people just kind of attach it like that but it kind of limits mobility so I think something like that'll work great it has slots for all six stones I'm so excited to paint this up get this to look nice I'm gonna be resin casting the stone so I can put LEDs behind them so they all glow nice and pretty so that would be some really nice wiring what this also does is it serves the purpose of kind of hiding that joint and kind of making everything flow with a little bit more seamless this same way I scaled everything else is the same way i scaled this I measured from where the phone was going to be over to the side of the hand and I bet this time I measure the actual printed hand not my hand because this would be way too snug so just think about it when you're measuring in scaling if it takes you a few days to measure things and you feel confident before you print do it it'll save you time it will save you money it'll save material so those are the hand stoppers done so let's talk about failures aside from the occasional failed print that just gets knocked off the bed or maybe it was positioned wrong it falls over I have a little bit of a collection of those that's no big deal the big thing that probably set me back was the abdominal area if you can see this nicely I hope you can let's get some white on it this thing came out flawless I I couldn't I couldn't have asked for this thing I'm not better oh it's smooth it's accurate it was printed in two pieces so I can fold it over it was going to be seam welded and smooth over problem is it's too small I've been scaling this stuff all down to about 90 to 85 percent so I followed suit with this without doing any measurements just jumping from the scale of arms over to the scale of my waist and torso and I didn't measure anything and this is way too small so after I realized that it it didn't reach the bottom of my chest to like my waist it was just too tiny I actually took some real measurements I took my time did some measurements with paper did some measurements tape and this works beautifully this is worked exactly on unit or two and that's from the top to the bottom of where I need it to be so this is all all one crotch piece this is the AB section now in two parts and then the chest section as you can see it needs to come up to that line that's right above it it doesn't it is way too small this is the actual size of mini so I'm actually trying to sell this maybe somebody else can use it if they're making it for their kid or throw a skinnier or shorter I don't know hopefully this just isn't a waste because it came out really nice and I'd hate to just throw it out or let it just sit on the sidelines so if you're watching this and you're doing to mark 85 build and you want a nice waist section hit me up maybe we can do it something just pay me for the filament and I'll ship it to you so catastrophe pending I started reprinting it it was actually kind of a saving grace a little bit trying to open this get you know silver lining you at all and I was able to split it into two sections actually like the the model shows from the guy wearing the suit in the the whole preview image so this is just one section now this is the size I need it to be and as you can see it's almost the size of the entire other print it's the bottom to AB section which ends about there obviously even like stacking like this doesn't look too bad but it just it wouldn't look right so I printed the bottom section again two pieces came out doing that had a little bit of a failure print failure on this upper section which sits right about here so that will sit there it'll be in two sections and will move independently I have a little bit of a layer shift so I had to kind of cut it apart and reboot it I'm letting it dry right now but this is this will be the section that sits kind of right up here under my arm and it fits way better than the old one right now I'm printing off the other side of this and then I'm printing off the little I cut out the little AB sections that sit there that's why there's those holes so it'll all have to be fused together which is no problem at all I'm looking forward to it and it could have been much worse and in case you haven't noticed already I've also gotten another printer I was able to get this off of somebody super cheap they were having issues with it issues that were brought on from the factory there was things built wrong right out of the box and it just sent them down this rabbit hole that they just couldn't come out of I got the printer from them tore it down rebuilt it and it's pretty beautifully so this about speed things up I'll probably start printing things for people trying to make a little bit of money to pay for this so that will help let's talk about the helmet not really big not really much else on this this is kind of turning into more of a testbed because it's too big I'm probably a mystery like I said I'm gonna reprint this whole thing this is more of a shelf topper at this point but it's given me a chance to experiment on things I threw some padding in there to try to get it to fit better and you know how I will feel on my hand your points getting it to stay that's nice been great it fits beautifully just with minimal foam I'm still working on the actuator system just to get it to lift up but the other great thing I was able to do was get it to actually light up so these are these really cool eyes off of ebay that you can see through even when they're lit up you can't see them through the they're not that great when they're lit up or they're off you can see directly through them and if you turn the light on yeah so if you're walking around a convention if you're walking around you can see 95% through these when they're off they're great they're super cheap and easy to use they come with a little battery box I believe they're three volt or five volt LEDs it looks just like this if you start to eBay for I think it's le led LED cosplay eyes and it'll be a picture of a Batman helmet and it's the same eyes and they're shaped like this and these little plates they're square they come perfectly square at first and with a little bit of heat and patience you can actually bend them and form them and that's what I was able to do in the helmet to get them to kind of sit where I need them to you can also trim them cut them if you look into how to cut acrylic this works great I very much suggest taking your time because as you flex them to heat them if you're not doing it enough and they'll snap just like I broke this one so this one's kind of useless now I'll probably use the LEDs and the plates for LEDs around the suit itself maybe on the waist but what I found out that is you have if you have it on as long as what you're looking at is brighter bright enough you'll be able to see it like I can see the light on the GoPro my camera I can see parts of the room well if you get into the dark area you know won't it will see you can extend the wire put it anywhere at a switch that's fine that's that's an all the electrical wiring be for later but this thing somebody suggested me this little LED and it's been absolutely great for getting the helmet filled how I want and then when it sits there on the shelf I think it looks pretty nice but kind of just glowing there so the helmets almost done I'm still working out like I said the actuators and getting it to lift up and everything I think that that about does it I've moved on to the waist section I'm moving up gonna do the chest next then start working on the back I want to get the whole torso section done then I'm gonna print the shoulders depending on how much space there is then moving on through the legs this has been quite a trip it's been a different were difficult than I thought was going to be so if guys have any questions comments concerns hey idiot why did you do it that way or hand me one you try this I know a lot of people were interesting and how I got the hands to you know work and look pretty decent so message me comment do whatever you need to I'm hoping this helps at least one person in the field or like Oh gee-whiz that's a that's a pretty good idea I'm gonna do another video on my print settings a lot of people and asking about that on how I'm getting them so smooth and I'm getting really lucky with these so this is by no means skill this is just yeah this is this is just dumb luck so yeah thanks for watching [Music]
Up Next
21:41
BB-8 Droid V3 Head Control Arm Mechanics Tutorial
@jamesbruton
75.5K views•2016-03-04

12:54
Triumph of Orthodoxy Icon: Byzantine Art & History Explained
@BenCallan
2.1K views•2024-08-06

9:49
FastAPI vs Flask vs Django: Choosing the Right Python Web Framework
@TechWithTim
302.5K views•2024-05-26

1:42
Game of Thrones Opening Credits: A Cinematic Analysis
@gameofthrones
46.3M views•2011-04-18
Related Study Plans & Knowledge Roadmaps
Structured learning paths in General & Interdisciplinary Studies
general-studies
Elevator Engineering: History, Physics & Cities
01From Hoists to Safety Brakes: The Dawn of Vertical Lift
02Hydraulic vs. Traction: The Engineering Physics of Elevators
03Modern Speed, Safety, and Algorithms
+ 2 more learning modules
12h5 modules
Explore Roadmap
general-studies
Rubber: Material Science, History & Geopolitics
01Origins of Natural Rubber & Mesoamerican History
02The Chemistry of Natural Rubber & Vulcanization
03The Geopolitics of the Rubber Boom & Colonization
+ 2 more learning modules
12h5 modules
Explore Roadmap
general-studies
Containerization: Evolution, Logistics & Trade
01Ancient Trade & Bulk Cargo: Amphorae to Barrels
02The Industrial Revolution & Cardboard Packaging
03The Containerization Revolution: Malcom McLean
+ 2 more learning modules
12h5 modules
Explore Roadmap
general-studies
Textile Tech: Evolution, Labor & Global Impact
01Pre-Industrial Textiles: Handloom & Cottage Industry
02Mechanization: The Spinning Jenny to the Power Loom
03The Factory System & Global Labor Transformation
+ 2 more learning modules
10h5 modules
Explore Roadmap