







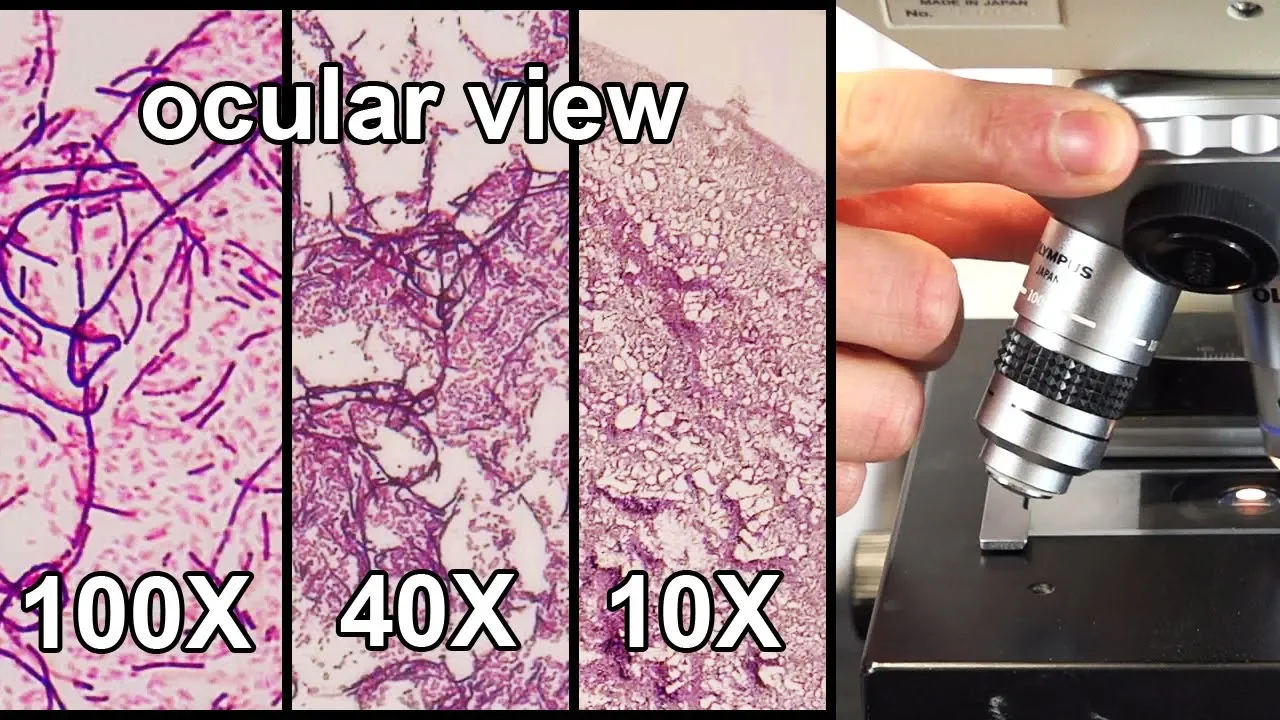


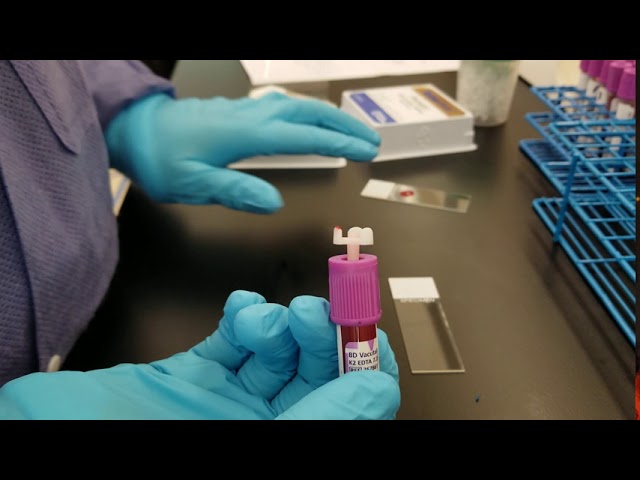







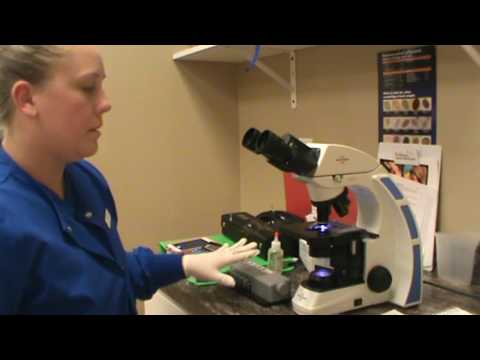

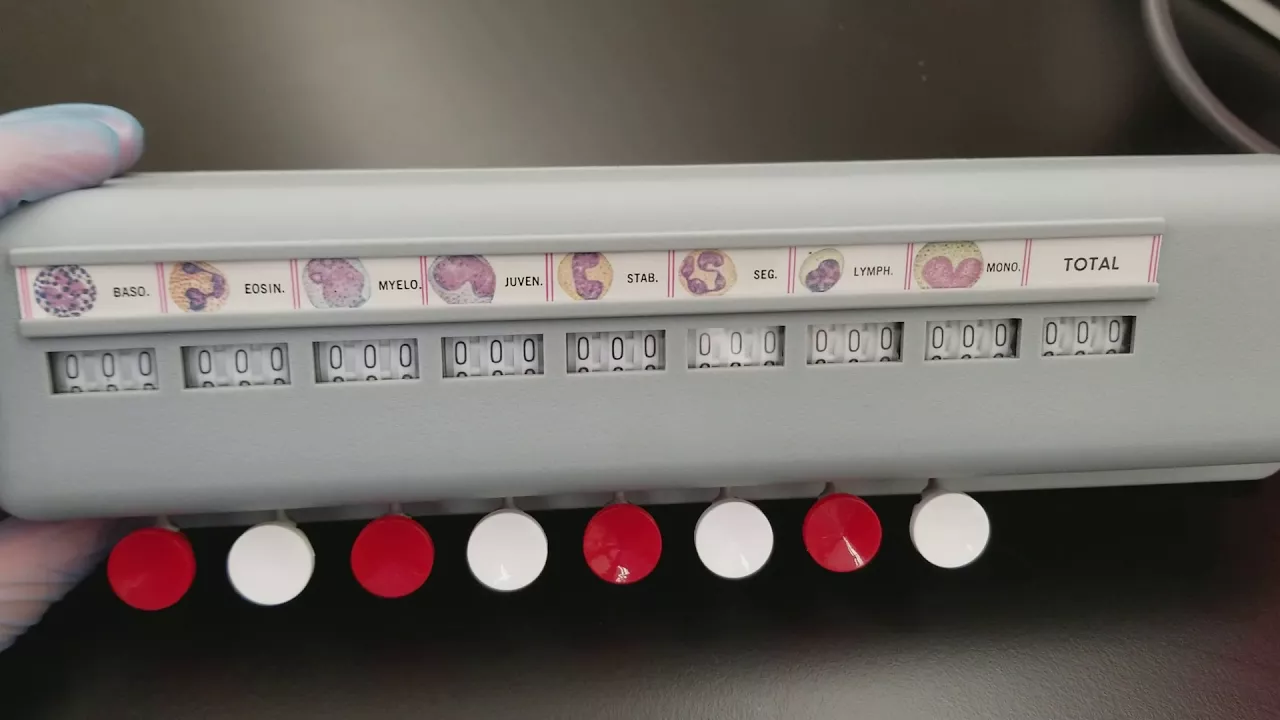

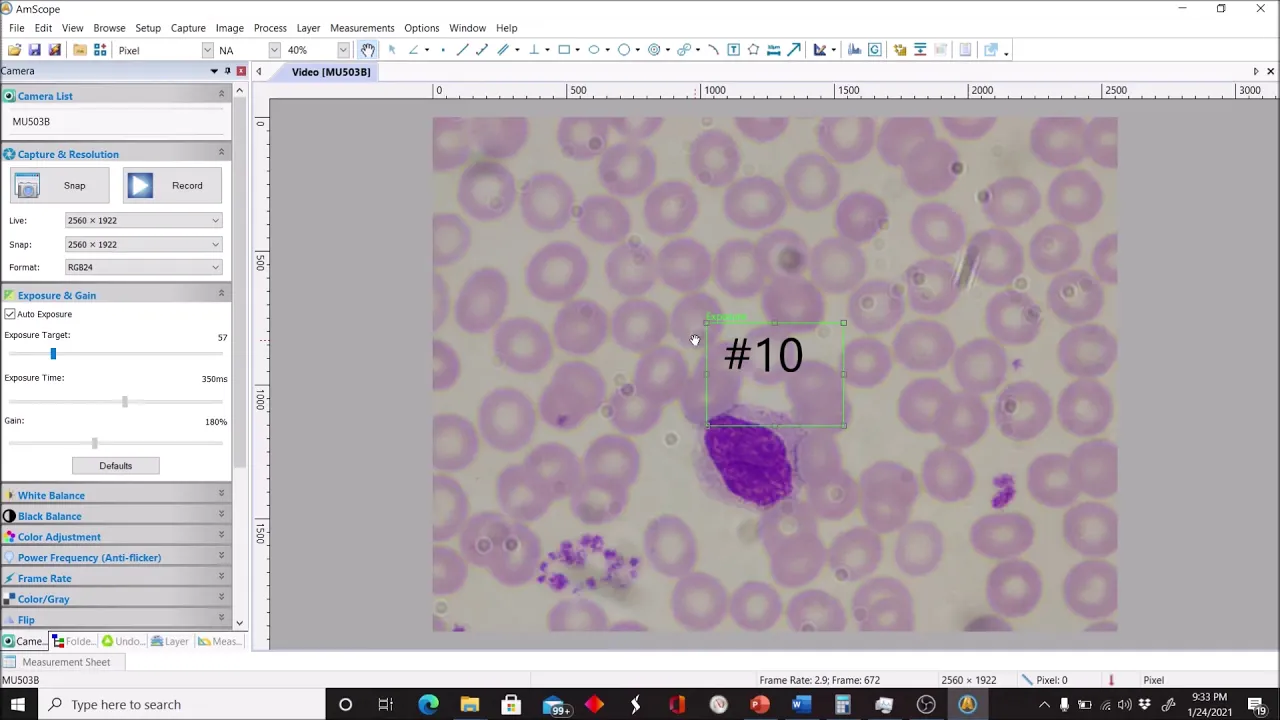
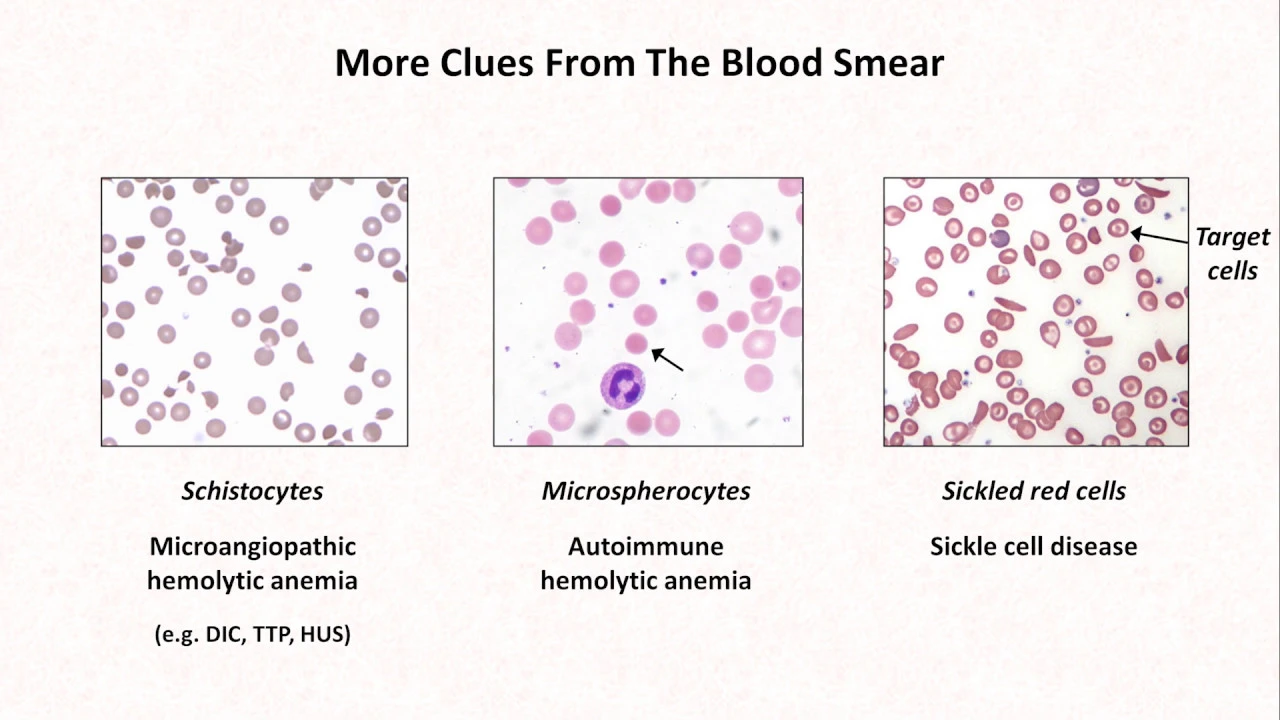











Peripheral blood smears require staining with Romanovsky stains (containing methanol, eosin, methylene blue, and buffer) to make transparent cells visible under the microscope; proper staining results in pink-to-purple smears with orange-to-salmon pink RBCs, purple-to-blue WBC nuclei, and characteristic granule colors, enabling examination of cell morphology across three regions (head, body, tail) with the zone of morphology being optimal for cell counting, where WBC estimates involve counting cells in 10 high-power fields and multiplying by 2000, while platelet estimates use 10 oil immersion fields with the formula average × 20,000, and RBC morphology assessment involves evaluating size, color, shape, and grading poikilocytosis from 1+ to 4+ based on abnormal cell counts per field.
How to Stain and Examine Peripheral Blood Smears | Lab Guide
Added:hi everyone today we will be discussing about examination of peripheral blood smears why do we need to stain our cells cells are transparent under the standard light microscope and are very hard to see because the refractive index is similar to water so the first purpose of staining is simply to make cells visible by coloring our cells we are able to differentiate them easily from the background then some stains are able to color different parts of the cell so that the morphological detail of each blood cell is seen and because we can make out the morphological detail we can also differentiate one blood cell from another by differentiating the different blood cells we are able to see which blood cell dominates the blood picture and this can give us information on possible pathological conditions that the patient may have for example if we notice the predominance of neutrophils we might be able to say that the patient is having a bacterial infection also by looking at the morphological details of the blood cells we might be able to see some abnormalities and this can result in the detection of different pathological conditions for example if we see that there are many immature white blood cells this can be linked to different leukemias or cancers of the blood the most commonly used stains for blood cells are what are known as romanovsky stains and these are a group of neutral stains which include the following right stain gym sustain modified rights gym sustain leichmann jenner and may grunwald stains here we have the components of our romanovsky stain first we have methanol which is a fixative and helps cells adhere to slides then we have eosin which is an acidic stain and its purpose is to color cytoplasmic components after we have methylene blue which is basic and is able to stain the nucleus and other acidic cellular material finally we have the buffer which is used to increase the staining ability of our different stains here you can see two staining methods that are commonly used in many hospitals the first is the quick dip method in which the slide is repeatedly submerged into the different stain components on the other side of the slide you can see the rack method in which the slide is placed horizontally on a rack and is flooded with the different stain components when staining smears you will inevitably encounter some problems and commonly you will find that your smear is too lightly stained or too darkly stained here are some factors that can affect the intensity of your staining first if your stain is too light this might mean that your buffer or your stain is too acidic it should also mean that you have insufficiently stained your slide or you have excessively washed it also thin smears will result in light staining smears in contrast if your stain is too dark this might mean that your buffer or your stain is too alkaline and that you have probably excessively stained your slide or inadequately washed it thick smears can also cause dark staining here is a common staining procedure however you should note that different labs may use different timings depending on their optimized protocol and manufacturers instructions so for this procedure here we have fixative for 30 seconds as seen for six seconds methylene blue for four seconds then our buffer for 45 seconds then you should rinse your slide with a gentle stream of water for 45 seconds and finally air dry or slide for 3 minutes how would you be able to tell if you have a well-stained peripheral blood fill well macroscopically the color should be pink to purple and when you look at it under the microscope red blood cells should seem orange to salmon pink while white blood cells should have purple to blue nuclei and a pink to tan cytoplasm granules should also be lilac to violet meanwhile eusinophils should have granules that are orange and basophils should have granules that are dark blue to black let's go into more details about the macroscopic examination of peripheral blood smears again your stain should be pink to purple and the color of your stain can actually give the evaluator an indication of any abnormalities that may be present or tests that need rechecking for example if you notice that your stain is bluer than the normal smear this may be caused by an increase in plasma proteins due to diseases such as multiple myeloma a grainy appearance could mean increased rbc agglutination and if you see holes all over the smear this may be caused by increased lipids however you should note that some of these may be due to technicalities during the smearing and staining process when looking at your smear you should notice three parts the head the body and the tail each of these three parts have different characteristics for example in the tail area this is usually dominated by neutrophils and monocytes meanwhile red blood cells lie singly or do not clump in the body area you can see that lymphocytes are the predominating white blood cell type and red blood cells in this area sometimes overlap in this figure you can see the different parts of our blood smear first we have the head which is the start of the smear then we have the body which is found in the middle and finally the tail which is at the very end and then you have this thing called the zone of morphology which you can think of as the transition between the body and the tail it's actually at the zone of morphology where we count and examine our different blood cells and this is because in this zone we can see an even distribution of our cells and most of the cells in these zones do not overlap here you can see an example of what the zone of morphology looks like you can see that there are different types of white blood cells and most importantly you can see that there is minimal overlapping on the red blood cells you can also take note here of the characteristics of each of these cells for example earlier we discussed that a proper blood smear should have red blood cells that are pink to salmon in color and that the nuclei of our wbcs should be violet let's proceed to the microscopic examination of peripheral blood smears you can view the peripheral blood smear using the following magnifications first 10x are the low power objective then for the x which is the high power objective and finally 100x which is the oil immersion objective using the low power objective you can assess overall smear quality color and distribution of cells for example on the feathered edge and lateral edges you can check for wbc distribution you can also see if your rbcs are properly distributed and not clumped you can also see if there are any platelet clumps using the low power objective once again the area that is suitable for examination of blood cells is called the monolayer area or the zone of morphology or the zone of critical area of reading in this figure you can see the ideal distribution found on the different parts of your blood smear notice that on the monolayer area the cells are not clumped together or there is minimal clumping this is just another figure showing the distribution of cells in the different parts of the blood smear let's go into more detail about the zone of morphology this is also called the critical area of reading or the optimal assessment area and can be found again in the monolayer area between the thick area where the blood was initially placed and spread otherwise known as the body and the very thin feathered edge otherwise known as the tail in this area the rbcs are uniformly and simply distributed with few touching and overlapping and the rbcs also have their normal bi-concave appearance in which you can find essential pallor or lightening in the in the one-third diameter of the cell you can also see that under the oil objective this zone contains about 200 to 250 red blood cells under the high power objective you can perform a wbc estimate make sure that you perform this in the zone of morphology the wbc estimate is where you count the total number of wbcs in 10 high power fields then the average should be multiplied by 2000 wbc estimates are performed on a routine basis in others these estimates are performed only as needed to confirm automated counts so it is very important therefore to analyze our results even if you are using automated machines then we have the oil immersion objective or 100 times magnification this is the highest magnification in most standard microscopes and the following procedures are performed using this objective we have platelet estimates examination of red blood cell morphology and then leukocyte or differential counts here are some examples of what you can see under the oil objective here you can see the different types of blood cells here we have neutrophils which are the segmented cells you can see on the upper left corner then we also can see a monocyte which has a kidney shaped nucleus on the right side of the slide then we also have our platelets which you can see are small purple cell-like structures and finally you have your erythrocytes or red blood cells with their signature salmon pink color and central pallor here we have another example of a slide this time showing a lymphocyte which can be found on the top part of the slide so you can see the lymphocytes nucleus is relatively round and its cytoplasm has no granules then underneath we have a eusinophil which is characterized usually by a bi-nucleated nucleus and reddish granules let's take a closer look now at platelet estimates first plated estimates should be done on a wedge smear this is an integral part of any peripheral blood smear evaluation and this can also help you to ensure the accuracy of the automated platelet count or even to provide a blood smear quantitative platelet analysis the plated estimate again is performed using the 100 times or the oil immersion objective again in the zone of morphology and usually you would see a normal range of 7 to 21 actually some references say 25 platelets per oil objective let's now go into more detail to perform the plated estimate you have to count the number of platelets in 10 oil immersion fields after use this formula to compute for your platelet estimate average number of platelets counted in 10 oil immersion fields times 20 000. the reference range for our platelets is at 150 000 to 450 000 platelets per cubic millimeter and using the si unit you should have 150 to 450 times 10 raised to the ninth power per liter in this figure i would like you to pause here and try to count the number of platelets if you counted 19 to 20 platelets you would be correct let's now move on to rbc morphology evaluation this is an important part of your blood smear evaluation and included in this is the assessment of size color shape and inclusions of your rbcs to perform an rbc morphology evaluation you have to count the number of poiculocytes or abnormal rbc shapes in 10 oil immersion fields and get the average then you use a grading for kilocytosis in this figure you can see that most red blood cells are normal being they are all around and they all have a uniform central pallor which is about one third the size of the cell in this figure you can see an example of a blood smear with many poikilocites or many abnormal red blood cells we will learn more about this in the coming lessons here is the grading used for pykilocytosis one plus if there are two to ten point kilo sites per oil immersion field two plus if they are eleven to twenty three plus if they are twenty one to fifty and four plus if there are 51 or more per kilocytes per field you can also see that there is a relative percentage of these poikilocites to the number of red blood cells beside each grading you should also note that terms such as few moderate many and marked may be substituted for the one plus to four plus grading system in some hospitals also something else to note if you notice a lot of nucleated red blood cells on your smear you would need to report their number per 100 leukocytes counted and compute for the corrected wbc counts if more than five nucleated rbcs are found here is the formula for the corrected wbc count wbc count times 100 over nucleated rbcs plus 100 so that will be all for a lesson today thank you very much for listening make sure to like and subscribe to this channel for more videos on clinical laboratory science
Up Next
Alternative Approaches for Acute Inhalation Toxicity Testing | PSCI Webinar
@thePSCI
1.3K views•2016-09-08

Graphic Medicine: Comics for Collaborative Healthcare Communication
@nationalpatientadvocate
189 views•2023-12-04

Neuroanatomy: Central and Peripheral Nervous System Divisions Explained
@AKLECTURES
136.2K views•2014-09-20
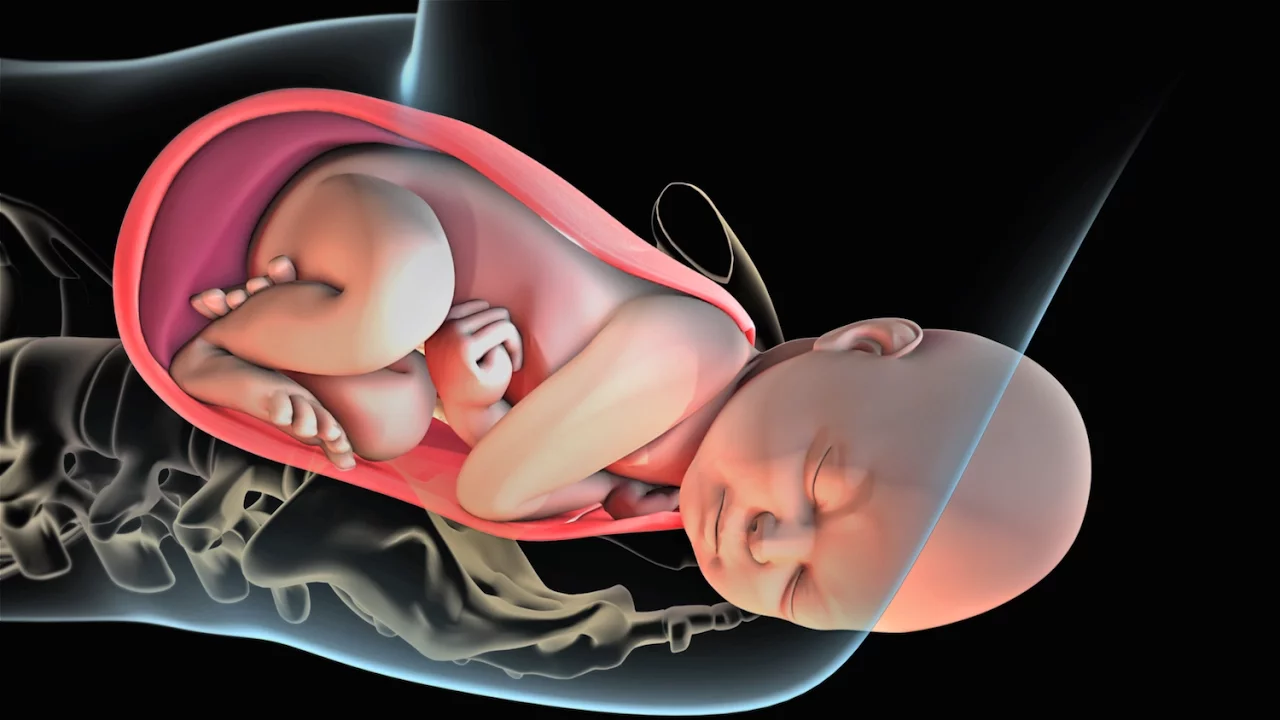
Stages of Labor and Vaginal Birth | Childbirth Animation
@nucleusmedicalmedia
52.1M views•2017-08-18
Related Study Plans & Knowledge Roadmaps
Structured learning paths in Medicine