

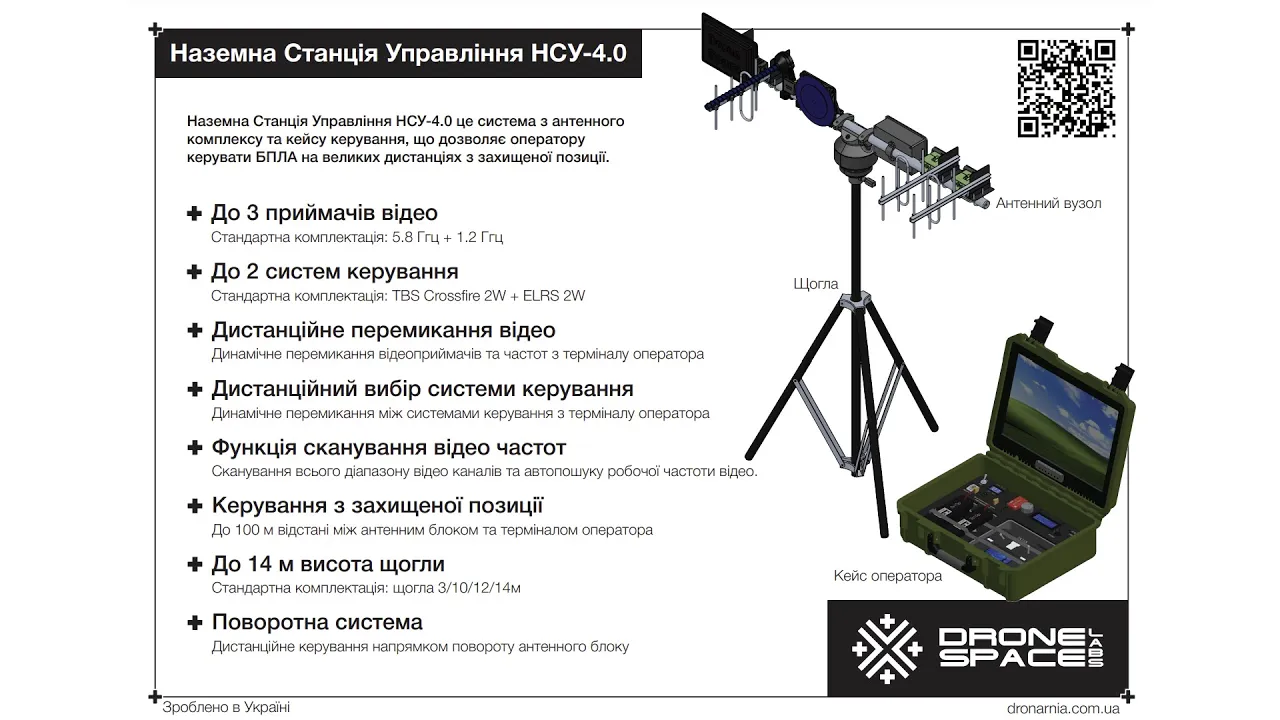
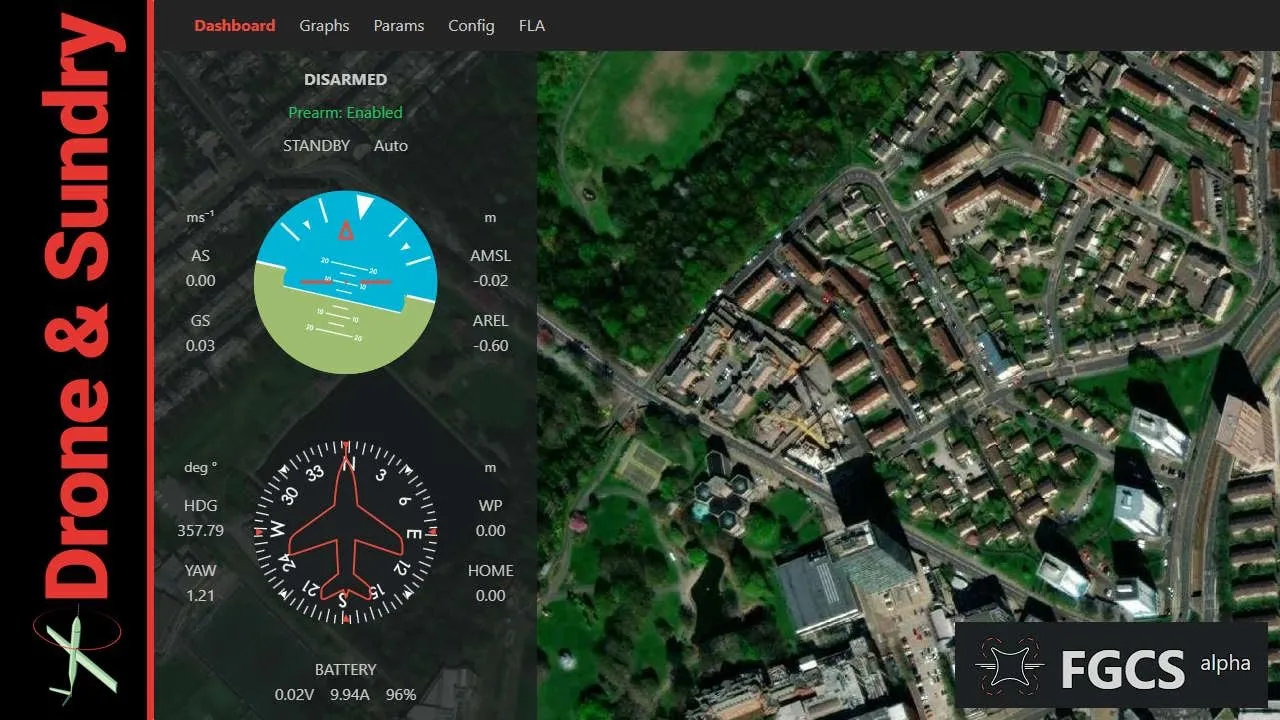
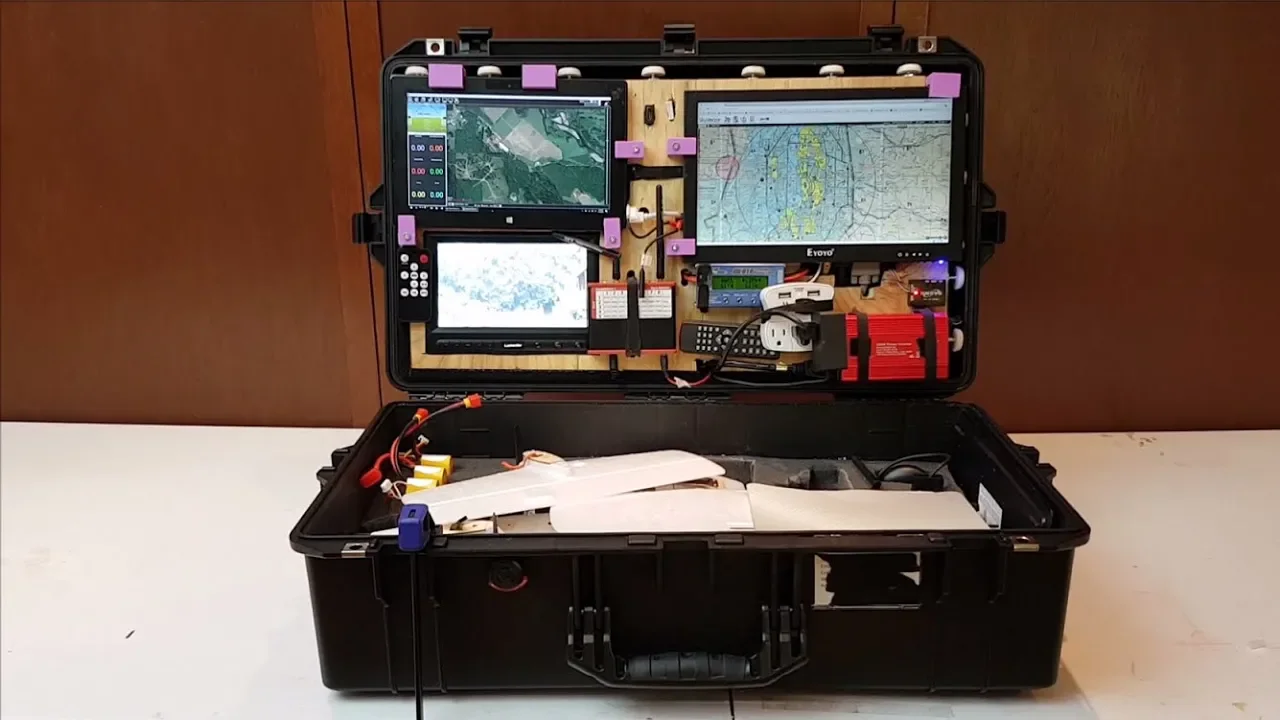











Cockpit is a new free and open-source Ground Control Station (GCS) developed by Blue Robotics specifically for maritime unmanned vehicles, offering highly customizable user interfaces where operators can dynamically add, remove, and reposition widgets such as video players, telemetry displays, and sensor indicators to create personalized mission control screens; the system supports vehicles running BlueOS and ArduPilot autopilots, and records video with embedded telemetry data that can be post-processed using tools like VLC Media Player or HandBrake to create professional documentation of underwater missions.
Blue Robotics Cockpit GCS: An In-Depth User Interface Review
Added:Understanding of basic marine robotics (ROV/AUV) architecture, including thrusters, tether communication, and onboard control systems.
Familiarity with the concept and purpose of a Ground Control Station (GCS) in unmanned vehicle operations.
Basic knowledge of key telemetry metrics used in marine exploration, such as depth, heading, pitch, roll, and battery status.
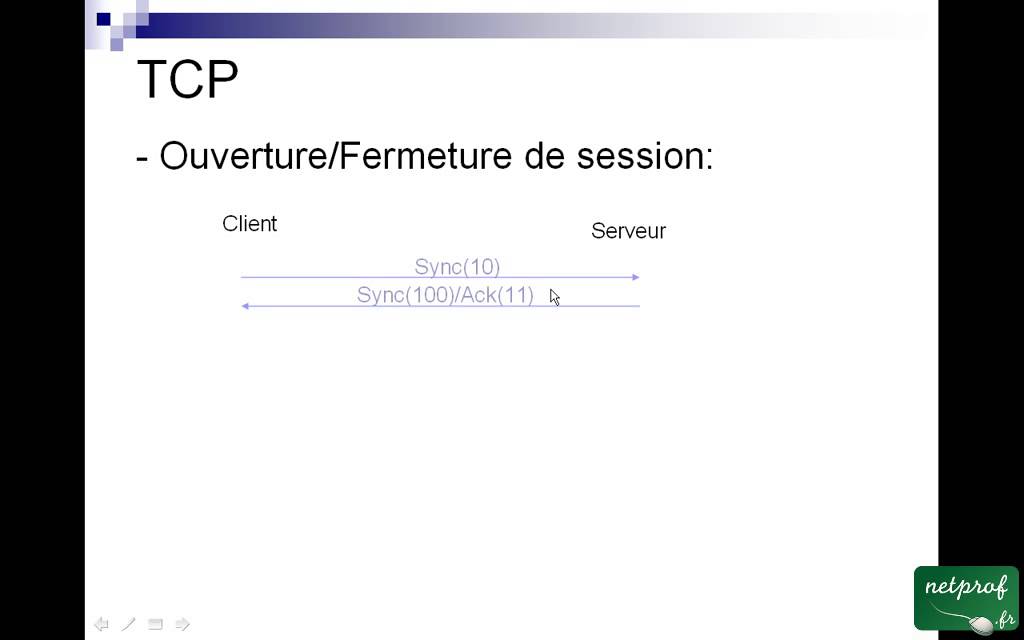
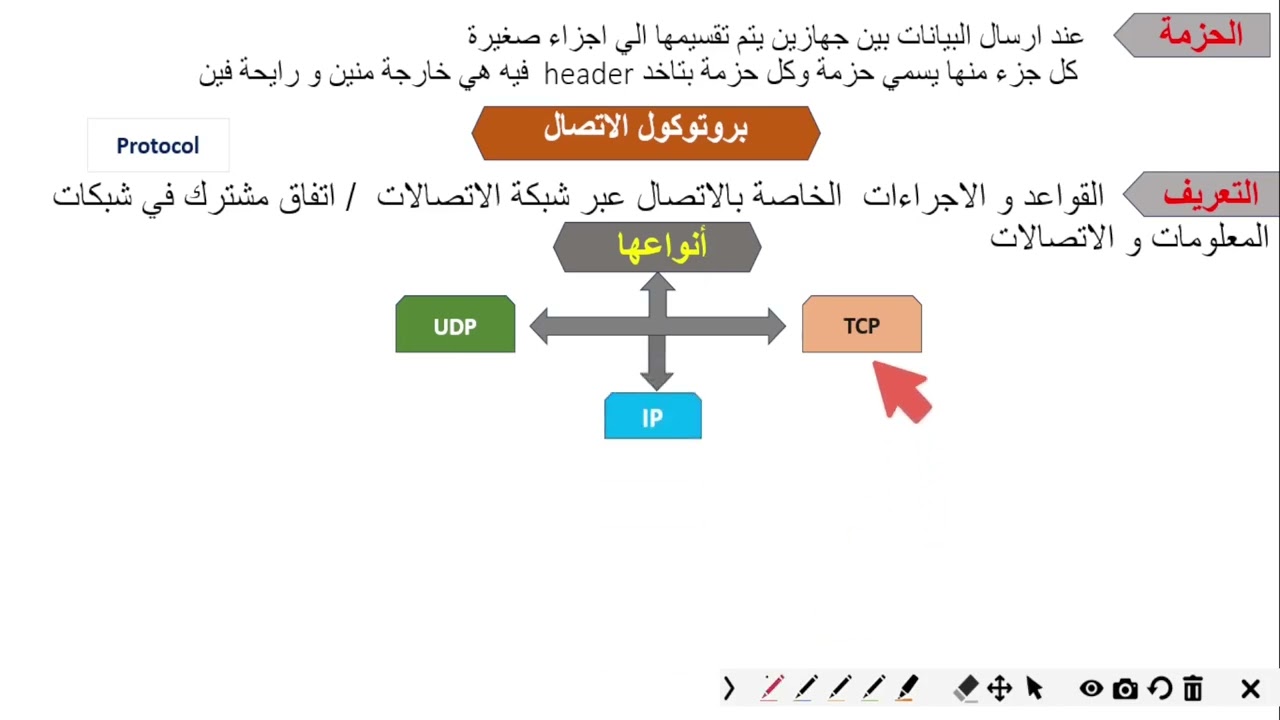
Elementary understanding of network communication protocols (such as IP addressing and UDP/TCP) used to connect a surface GCS to a subsea vehicle.
Advanced customization and development of custom widgets or plugins using Cockpit's extensible software architecture.
Integrating and displaying complex payload data, such as sonar imaging, USBL acoustic positioning, and robotic manipulator feedback within the GCS.
Implementing autonomous mission planning, waypoint navigation, and safety fail-safes using GCS-driven automation.
Analyzing post-mission telemetry logs and video overlays for scientific data extraction and structural inspections.
7.5K views101likes22:34Original Release: 2024-10-16
today I will show you how to use cockpit a new free and open-source Ground Control station developed by Blue robotics a ground control station or GCS is a software application that is used to Monitor and control various robotic Vehicles such as aerial drones or in today's case we have an underwater robot this is a blue rov2 that can dive down to about 300 M as well as stream and record video on this front-facing camera it'll be my Exemplar system for today if you work in the mobile robotic industry you probably know about the two other main free open- source Ground Control stations Q Ground Control and Mission planner naturally I was curious why blue robotics decided to make their own so I reached out to them and asked turns out they want a highly customizable user interface for their pilots cockpit is designed to flexibly display Mission information through simply clicking and dragging adding whatever widgets that you want on screen to customize your own experience also Q Ground Control Mission planner were designed with aerial vehicles in mind and have since extended outwards blue robotics being a manufacturer of Maritime systems wants improved functionality for seaf fairing vessels lastly I haven't seen any major updates to the user interfaces of mission planner or C ground control over the last few years that might be my own ignorance but you certainly can't customize things the way you can in cockpit I'm not saying that one Ground Control station is better than another but it is good to see new energy entering that GCS space right now and cockpit is definitely adding some great features their first release prioritized the rovs which run on ardu sub so anything running the ardu pilot family of autopilots should technically work and hopefully cockpit will be extended to support the PX4 family of autopilots in the future the interface today as you'll see in just a moment is primarily geared towards the piloting aspect it appears that mission planning is likely on the horizon since blue robotics put out a new autonomous surface vessel the Blue Boat earlier this year and while I haven't tried it myself some users have found success running cockpit on an actual quadcopter with all this being said ultimately it is your decision what GCS to use based on your personal preference as well as compatibility with your vehicle that's enough of an overview let's now jump into cockpit there are two ways to use cockpit and they both require a vehicle that runs blue OS the first way is by installing cockpit as a blue OS extension I did this by connecting to my local Wi-Fi network and making sure that I had internet access go to extensions and then search for cockpit select get and the install will begin and once that completes you'll have a cockpit button appear in the left navigation the other way to use cockpit is as a standalone application here's the GitHub repository for cockpit and if you go to releases then scroll down and you'll see the assets that you can download you have an app image for Linux DMG for mac and an exe for Windows this is very similar to downloading Q ground control to your native system there are some minor differences between using this Standalone version versus using the blue OS extension and I'll try to highlight those differences as we go now let's open cockpit by clicking on it you might have a slightly different screen to start than me you may be prompted to add a user right away go ahead and do that and create that user and then it'll also prompt you to go through a tutorial I recommend you do that as well and then I'll show you some of the basics and most important components the most essential part of cockpit in my opinion is the ability to create those users if you go to this side tab settings and then General right up here I'm going to be using this generic user Greg shout out to all the Gregs out there but here is where you'll switch users and then add new ones these users are just like a user on a computer when you log in you have your your settings your profiles whatever you're doing on your computer and then when you log out someone else can come along like Phil go into that same computer but everything be different in cockpit you've got the basic settings that you can set up you've got your joystick controls to customize and then you have something called views and the views are really what you're seeing right now on the background this is the standard video view there's also the HUD view which is more tactical like a like a jet fighter cockpit and then there's also the matap view which I think will end up pulling in an actual map I'm not connected to the internet right now and I have no offline maps downloaded but this would show your vehicle if it had GPS connection where you are in the world all the changes you make then to these views to the joystick to the to whatever you're doing in here get saved to that user and you can then go back always jump into settings General and pick the user that you want technically you are ready to go and do a mission right now however I recommend you change some settings first starting with the joystick over here let's select joystick connect your controller and then press any button to proceed I'm using a PS5 controller though many controllers are supported what I'd recommend if you're having issues is go to gamad tester it's an online free website and use your controller there first to make sure everything's working out from here you should be able to move your controllers around click buttons and you'll see the button get pressed live in red and then you can also tell what function is mapped to that button to change that function you just come in here and you click and then you decide which one of these input Maps you want to send set you can unmap the input if you want you can make it the shift input you can also search I believe at the top for what you want so if you're looking for a disarm for example search that and then it'll map it to a given button let me see how the layout is right now I've got my arm in my disarm my Servo is set up this is useful for the Newton gripper that I have on the device and then my Mount tilt up and down so when you set this up for your user it saves with your user if someone else comes along switches users then they'll have their own joystick ready to go and then once you X out of this your joystick is ready to use so I can now let me look down with my camera look at my gripper here and then I can open my gripper and close my gripper accordingly let me come back up here and Center that camera great so now you're ready to do a mission if this is all you wanted to do I'm going to show you the rest of the settings I recommend you know and then also show you how to change your user interface here let's go back to General really quick this should all be filled out normally and with the defaults if you're using the bluos extension the way I am in a browser if you're using the Standalone you may need to come in here with the vehicle network connection and change this to Blu os. looc or whatever host name and IP that your individual vehicle is using the rest of these things I have not needed to touch over in interface this is where you can change the glass color of the background so you can set this to whatever you want if you want it to be more red or something I'll just do this for the demo right now that can be red and then you can set the opaqueness to be really solid and obnoxious and then you have the blur as well to see how much you want it to kind of blur the background and show what's going on or just keep it more as a menu item you can change where this whole left menu appears by clicking the bar that'll actually give you this top left selection now you can see those three bars up there or just the center tab as we had it before on the left side and then of course displaying between meters and feet best seen down here at the depth indicator if you want to reset to defaults you click the reset to default button if that doesn't work for any reason just refresh your browser or close and open the app sometimes things are a little bit clunky next we can go over to video This should all be defaulted properly but it's a great way to check your connections your stream names what actually going to be recording I haven't touch this at all except for the video library in the bottom right this is where when you record something you go here to access it we're going to cover a lot more about the videos after I do a dive live for you guys and we'll then look at how to post-process that and and see how it works the other place to access this video library is in this little recording widget in the very very bottom right same thing click this button and it'll pull up that exact same video library over in Telemetry this is super important when you want to include data on screen in post process this whole interface does not get recorded when you do a recording only the items that you have here the pitch roll heading mode depth and so on get recorded as a subtitle file which you can then bring back out and dis play using VLC Media editor we're not going to get super into that right now we'll get into it later you might also notice it's a little hard to see all the items on screen right now remember that in the interface tab you can adjust settings like the color opacity and blur of the menu glass to fix this and then the alerts Dev and Mission I haven't gotten into those yet but I'm sure with future updates the mission will be very relevant the next thing I want to do is revisit these views now there's the three defaults you can add additional ones you can also map changing those views as one of your joystick functions I can't really remember which one it is really quick let's look if it's a is there a view here if we go to view maybe it's in cockpit action oh yes it's in cockpit action you can do go to next View and go to previous View and that'll actually then shift between those things easily as opposed to having to click them in the bottom left to move between the views these are actually pretty useful so you have cockpit actions and you have the typical MAV link actions all right let's get out of this for now because I don't want to actually map that to my controller okay and now if we drop back into our navigation bar we could go to edit interface and this will edit the current video view interface that we have set up in the top here we can move between the different interfaces and you can edit each of these individually remember any changes you make affect your user and your user only here's the HUD view if you want to add a new view you just hit the plus button right here it'll come out with some sort of default name very Whimsical in blue robotics fashion I'm going to cancel this and then delete that view for now let's take stock of what we have on the screen we have a ton of different little elements we information is displayed and these are called widgets there's two main types of widgets there's regular widgets and there's mini widgets let's start looking at the regular widgets they live in this main viewing area here there's a virtual Horizon it's this very top right guy a compass and then there's the video player which actually displays our stream you can click and drag these widgets around the screen and you can also resize them using the buttons that appear when you hover over them I'm going to keep these in the top right it's nice to have them a little bit bigger here the video player itself is also a widget let me come over and add another video player in I only have one stream available I don't have a secondary camera so it's going to default to grabbing the same video so now we kind of have a video setion going on however if you went into these settings here you could select a secondary stream you you can also change the style I think fill is what the the back one already has for the full screen and then contain I think gives it the resolution that the default video is coming in at and it'll hold that resolution one gotcha to look out for when you're using multiple streams will be to also make sure that you include multiple recordings okay each of these recording widgets is assigned to record one of your streams so you'll need to have two of those for two streams and so on let me get rid of this video player right now and I'll show you that mini widget let's drop into mini widgets here I think it's called a recording widget here the mini video recorder you can click and drag them into your screen you just simply select the stream name that you want to record and then you're set up to go here's a quick demo of what it looks like to have two cameras recording at once one is downward facing and the other is forward facing you can see in in the bottom right bar they have two separate recording widgets one for each stream we can click and drag mini widgets to put them anywhere on the screen in the top and bottom these actually are subdivided into three areas there's top left top Center and then top right then the same thing for the bottom there's bottom left bottom center and I think there should be a bottom right as well these then can drag and be destroyed by dropping them into the trash can and you might notice that we actually can't put it though on the main viewing area to do that go to regular widgets and grab a mini widgets bar click and drag him into the main screen he starts out empty let's resize him a little bit let's put in our depth right here let's drag them in let's take our water temp in there and now you can put mini widgets on your main viewing area I think if we make this skinnier they'll go vertical Perfect all right this is looking pretty good one of the most important mini widgets is the very generic indicator you can see it comes with some of these presets and actually that's how the the water temp uses this the lights the the camera pilot gain that are already actually a part of the interface if you go to custom though we can bring in any variable that we want into here and so I'm going to bring in the CPU temperature there we go click that give it a name CPU temp I'm going to get rid of the unit because I'm going to grab an icon and search for temperature that's degrees C and then ex out of this I now have my CPU temp that I can drop shove him into my side mini widgets bar over here and so now I've got custom widgets in here I've position things to the way I like it totally totally up to you to design this how you want this all saves to your user the last widget I do want to show you that seems pretty powerful is one of the regular widgets let me go over to the iframe I don't have a great example here but this would be really useful if you have a a web URL something that's hosted on your computer that you can access so I think some of the the sonar View application once you start putting more and more sensors on here you can display this then in your interface now I don't have that so it defaults here to a URL which is just the regular blue OS URL I'm going to show you how you would change this for future use cases if we go to Blue OS and then enable pirate mode in the top left go to available services this will show all the things that are running now in your initial or your current blue OS environment and if we scroll down I've got tether Diagnostics not a great example but it should highlight what we're talking about you can grab this link come back into cockpit go into the iframe settings change this select set and now we have tether Diagnostics showing live so if I was really interested in my megabits a second I could keep this up running and it'll just be in my layout it's not a great this isn't a good example but you can imagine if you had sonar footage a front-facing sonar that you wanted to see what was coming up this would be a great ey frame to just plant right in and then you have it on your display I'm going to get rid of this for now thank you for bearing with me for that example now that my user interface is set up you select exit and this is what lives on your screen now friendly reminder that when you start recording you'll want to use this bottom right select the stream to record it and that'll create the video file it technically creates two files because one of the file will be that ass that contains the subtitles if we go back to Telemetry these subtitles will be stored the way that you have them selected in the Telemetry box here on the left you can select the font size of this information to be displayed you can change the color bold it italics and so forth and then this is where you add new variables so maybe you want to add CPU temp I'll drop that in over here and now we'll get that in postprocess as well we have submission variables we can put in here you can do a custom message I can just do a quick shout out to my mother and drop this in in the top right now when we go and do a mission we'll end up with a MKV when we record so this recording will trigger creating two files we'll have a MKV which is the video file and then we'll end up with a as which is the subtitles file let's stop this now after 10 seconds and take a look here at the bottom this is the file that I want when you select download it's going to prompt you to download two files the first one you'll notice has the extension of the MKV I'm going to throw this onto my desktop for ease right now save that another popup is going to be for your Dot ass file these are your subtitles I'm going to go on my desktop and save that there one little pesky thing here if you're using the extension you need to come into your downloads again and select keep for both of these keep and keep I think if you have the Standalone you don't have to do this extra security thing that the popup shows here so now if I go into my actual file here I've got the MKV and the as let me open up the MKV and it should just be a raw video right this is just the raw stream that came off the ROV however if I come in here right click and open with VLC media player now when I open this give it a sec you can see I have the information that I requested on screen including and most importantly the high mom in the top right in the event that you don't want to keep using VLC media player I'll put a link in the description to it's called handbrake handbreak can take these subtitles and automatically burn them in and give you a MP4 which is more useful for other applications let's exit out of this and we should be good to do a real dive now let's get this woo we all right we're out here right now not much to see underwater it is the murky Pacific Northwest would you expect I do want to show you really quick to start the stream right now if you want to record this so the stream's already going but if you want to record this you select the record button and that'll immediately start recording the stream we can change stuff real time if you wanted to I'm in depth hold mode right now so I'm not too worried about crashing you can come over here and continue change your interface let's say I want to move this lights back down to the bottom left because they're not so important anymore I go ahead and exit and then I can just keep flying as I was doing before so the live on the Fly changes are pretty nice and then once I'm done watching this video I'm going to move up and down a little bit just so we see some changes in the depth for us all right once we're done with that you just click the stop button right here it'll process really quick and then if you come in and look at your videos here's the most recent one you can download this MKV and the ass and I'll show you what that looks like when we burn it in at home let's burn in those subtitles into a final video file go to the handbrake website and download the program for your operating system system from within handbreak select the MKV video file then head over to subtitles and import the subtitle ass file and be sure to click burn in then select start in code and the video will save as the file name you have at the bottom of the screen here is our final product a MP4 video file with all the Telemetry that we set up earlier in the Telemetry menu thank you for tuning in and I'd love to hear your thoughts on cockpit have a great week
Up Next

5:05
VideoRay ROV Ballasting: Pre-Dive Weight and Trim Adjustment
@VideoRayUnderwaterRobots
3.7K views•2014-12-05

12:54
Triumph of Orthodoxy Icon: Byzantine Art & History Explained
@BenCallan
2.1K views•2024-08-06

9:49
FastAPI vs Flask vs Django: Choosing the Right Python Web Framework
@TechWithTim
302.5K views•2024-05-26

1:42
Game of Thrones Opening Credits: A Cinematic Analysis
@gameofthrones
46.3M views•2011-04-18
Related Study Plans & Knowledge Roadmaps
Structured learning paths in General & Interdisciplinary Studies
general-studies
Elevator Engineering: History, Physics & Cities
01From Hoists to Safety Brakes: The Dawn of Vertical Lift
02Hydraulic vs. Traction: The Engineering Physics of Elevators
03Modern Speed, Safety, and Algorithms
+ 2 more learning modules
12h5 modules
Explore Roadmap
general-studies
Rubber: Material Science, History & Geopolitics
01Origins of Natural Rubber & Mesoamerican History
02The Chemistry of Natural Rubber & Vulcanization
03The Geopolitics of the Rubber Boom & Colonization
+ 2 more learning modules
12h5 modules
Explore Roadmap
general-studies
Containerization: Evolution, Logistics & Trade
01Ancient Trade & Bulk Cargo: Amphorae to Barrels
02The Industrial Revolution & Cardboard Packaging
03The Containerization Revolution: Malcom McLean
+ 2 more learning modules
12h5 modules
Explore Roadmap
general-studies
Textile Tech: Evolution, Labor & Global Impact
01Pre-Industrial Textiles: Handloom & Cottage Industry
02Mechanization: The Spinning Jenny to the Power Loom
03The Factory System & Global Labor Transformation
+ 2 more learning modules
10h5 modules
Explore Roadmap