





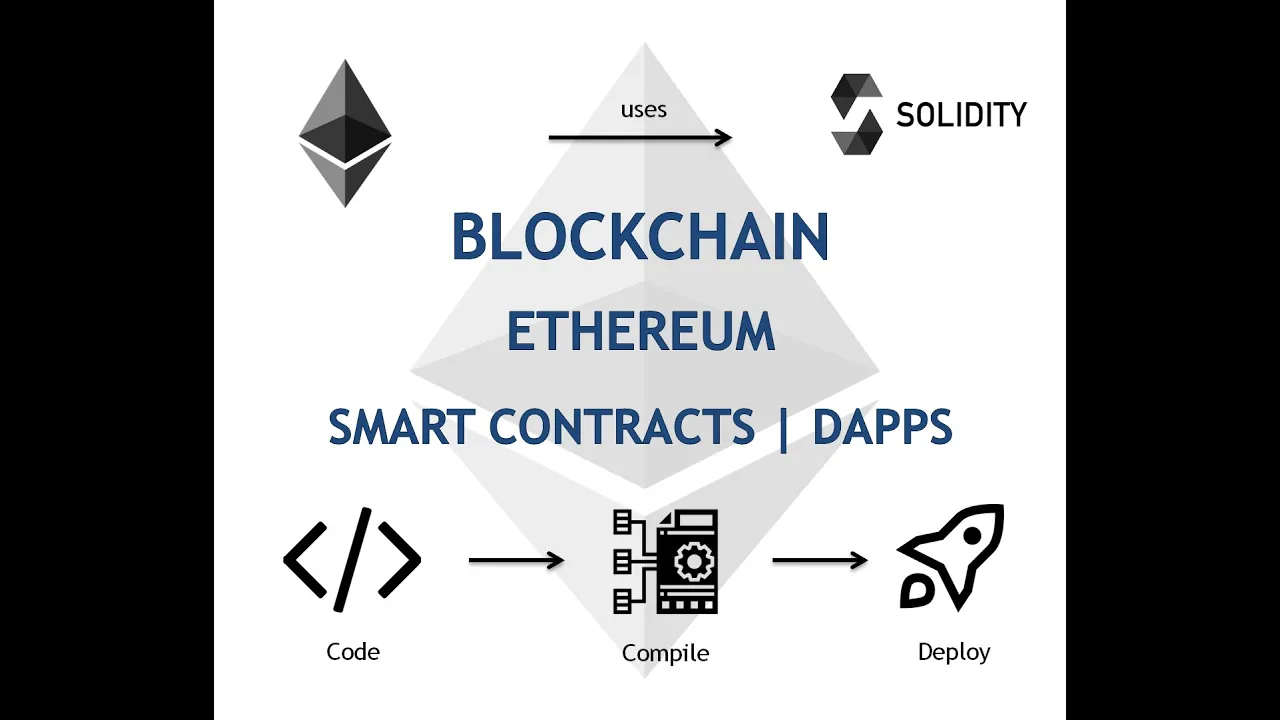








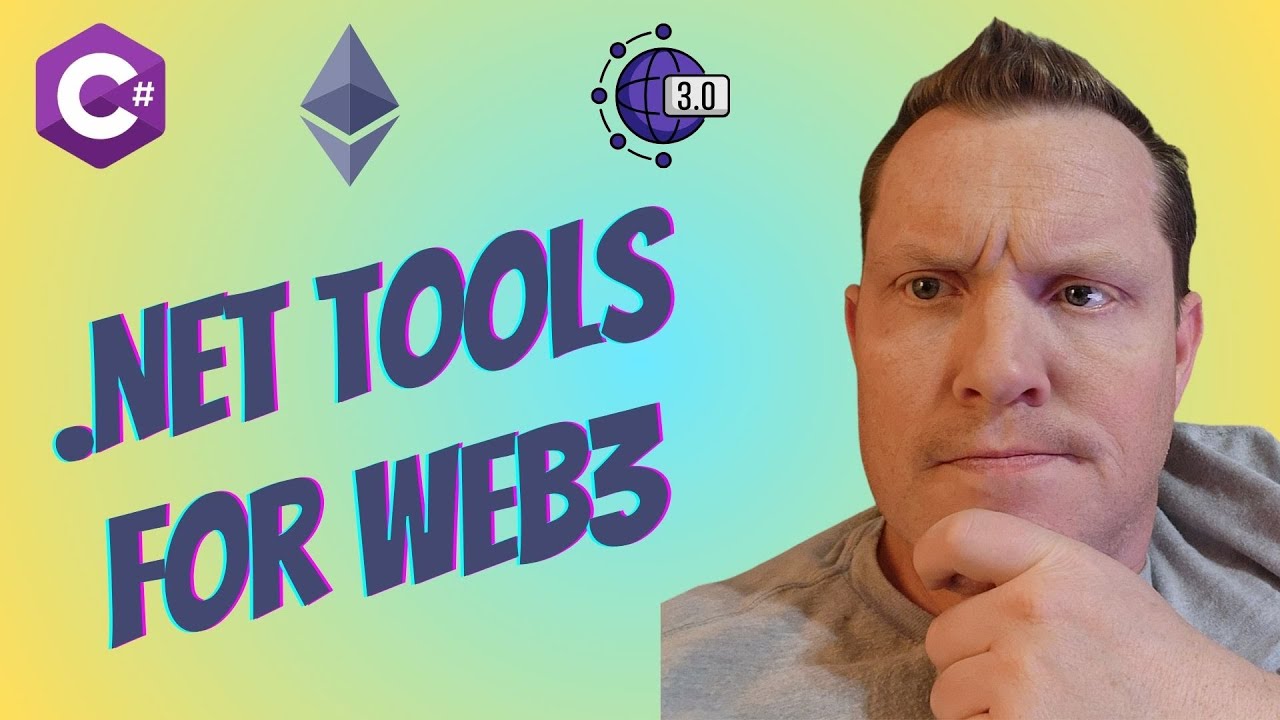

This tutorial demonstrates the complete workflow of creating, compiling, and deploying a simple Solidity smart contract (a multiplication contract) to a private Ethereum test chain using Nethereum library in .NET, covering steps including contract creation with Visual Studio Code, account unlocking, contract deployment with constructor parameters, transaction mining, and contract interaction to verify functionality.
Deploy Smart Contracts to Ethereum Using Nethereum Tutorial
Added:Fundamental understanding of the Ethereum blockchain, including concepts like gas, transactions, blocks, and smart contracts.
Proficiency in C# programming and familiarity with the .NET ecosystem and the Visual Studio IDE.
Basic knowledge of Solidity, the primary programming language used to write Ethereum smart contracts.
Familiarity with decentralized application (dApp) architecture and how client-side applications interact with blockchain nodes.
Interacting with deployed smart contracts from C# applications, including calling read-only methods and sending state-changing transactions.
Handling Ethereum events and logs in real-time within .NET applications using Nethereum's event subscription features.
Deploying smart contracts to public Ethereum testnets (e.g., Sepolia) and implementing secure private key management practices.
Architecting and building full-stack decentralized applications (dApps) using ASP.NET Core for backend APIs and Nethereum for blockchain integration.
27.8K views171likes29:12Original Release: 2016-08-23
hello this is Juan Blanco from ethereum and I'm going to take you through the simple steps of creating a smart contract and then use netherium to deploy it to a private chain and later on do a small uh code to do the contract to verify is working the as I said the steps that we're gonna follow uh let's create the contract then compile the contract let's get the byte code and the Avi and this is ethereum pieces to the we have already unlocking the car our account um okay before before this obviously we will need to start get and run our private team and then we'll be using ethereum unlock our account deploy the contract and mine the transaction of that deployment and get the receipt for that track suction which will contain the contract address and finally do a simple column the contract that we're gonna create is a really a very simple one so we'll be the multiplication contract a little bit more flavor so we will have a specific a parameters a Constructor so we do the function call it will be just called multiply so that's the plan first of all let's create the contract and I have a environment already set up here so if I open the contracts folder using a visual studio code um I've already have here our test dot solve um to create our smash contract and visual studio code and you have the solidity extension which you can find by pressing a F1 and EXT and you can just install or install extensions or you can install a new one so for example you can search for solidity here and there you go once you can install you can start creating your contract this one let's go test like I said is this is a very simple multiplication contract so let's do a simple function here which it will multiply and you're gonna pass the value and it's going to return another hint okay so what we could do is just return here about multiply by seven same will be up and running just to make it more interested instead of hard coding here the value we're going to pass it in the construction The Constructor is the same name as the as the contract and that's how is the defined and found so if we can pass here a multiplier we can then assign it to uh where contract is called variable m if we multiply now from by the multiplier we have our fins simple contract finish so that's F1 and compile and yeah you got this wall over here and let's try again any more errors and yeah that's the problem variable then foreign [Music] if you're familiar with the web service of a contract um mainly here describes the functions that you have the inputs and outputs also here they Constructor more complex contracts will have also listed the events associated with them so this is it we have created a smart contract so and write the next step and see let's start get and run our private chain in ethereum I've created a small folder um when you if you pull out the the whole code you can find it in also here second in here so you can simply just run your own private test chain and this is more batch file which every time you run it it will clear audio and change it to information so you will start from scratch but leaving an account with enough ether for you to to work so it's very useful for a unit tests that you don't you can just launch your your small test chain and your account will remain the same so the only work that you have to do is just put gas in here and so we start the chain and if we have another one running even work so let's start again and that's the third the same at least in the same port and that's it we can have a private test and open drawing so we head now to visual studio and we have done I've already prepared a a project which it's got the only dependency that that you need is an ethereum web3 and it will if you add this is a nuget it will pull down all the other dependencies you can also use ethereum portable um and obviously as part of this braid as I'm using X in it uh X unit is included it's just a quick overview of nougat searches damn yeah obviously you can see all the other packages but this uh the top high level is nothing but three um so let's start coding okay so so we started our testing but uh we will need some accounting information to uh archive already here the account the use for testing and the the password um The Next Step it will be to unlock this account so we can send the transaction and so let's try to but this will be creating instance of web3 is just mainly like the top level layer to be able to interact with a ethereum client by using RPC and the default settings for this it's the the default RPC and configuration for for ethereums which is a 8545 so we don't really need to do anything you can also pass your custom RPC client if you we should let's unlock the account here we will use the three personal where you have the options to unlock this account look account on your account and the sign and send transaction this is very very useful it was introduced lately so you can in one request send the transaction unlock it and and then close it down again so that you don't live there your account unlocked for a period of time which it's can be prompted when this is scenario where you're just going to unlock it so let's pass the sender address put the password and how long we're going to unlock it for and I will put a couple of minutes which will be far too long and probably we could get away with a five seconds or a couple of seconds really no no even two um so yeah okay so we have unlocked account I just verified computer for our unit test then the account has been unlocked correctly and the next step is to deploy it so let's the deployment will return it said transaction cost then we can yet again we'll use for three but this time we'll use f in the FM environment search you and this is where you able to to find all the F related functions and which I can be obviously the deploy contract or get the code of a contract and finish instructions earlier there are many other uh functions as well um and so on but now we just interested in deploy that contract so let's deploy let's pass the ABI so having declared the API yet because we are deploying using a a contract with a Constructor we need to pass the Abi this shouldn't be um necessary if our contract did not have our Constructor is to appear a small for mutton of the Avi itself as it has um semicolons and obviously I'm gonna need double semicolons so okay we got the ABI and now we are going to need the by code which is the compile code similar way just copy the code the compile code my code and declare it in a variable prefix it with 0x it's a decimal and press the back by code now and I will send the address um we don't really need any to worry about gas at the moment because it's a very simple contract um but we need a parameter so let's press the multiply seven to be our Target could be to multiply seven by seven so let's press the multiplier there which will be encoded correctly okay indirect with SC okay so we have the transaction has now um but the transaction has been put in the queue um and until it's a fully verified by the consensus in this this scenario will be the only ones who will be providing the consensus and um if you were deploying this to test the public text message like more than our life uh you wouldn't require to mine it as a Sprint is there are plenty minus there but in because it's a private team we we need to make it so it's mine and for these we will use with three now minor and we'll start it send the request I think and with send requested things because we can make it through RPC and just put the number 36 in mines faster and now we 35 the result Okay so we have unlock we have deploy the contract and now with my name and now we need the the receipt of the transaction that will contain the contract address so we can interact with it so let's get everything this will be in the instructions area transaction receive request the thing and we pass the transaction has that's it and what it can happen is that the transaction has not been mined yet if transaction has to be minded you I will receive it will be no so we need to verify uh if it's no and then give it a bit more time to be mine so you can just sleep for a while if five seconds as it blocks it's a it's around 15 seconds between blocks so uh I don't know I don't know the current figure so let's try to get the receipt again and that's it Okay so we've waited here so now let's get the contract address we can even receipt and even from the receipt you can get the information on the block has the block number that was mine and so on and when the contract address this is a special one for when we deploy a contract now that we have the contract address and let's do some let's have some fun for the contract and just just do a simple call and we can get the first we need to connect on track we can use it for this and this is a just a function to get a con to get the contract wrapper to make it much easier okay interact with the contract and so for example we can now get the function itself let's get the multiply function and now they have the multiply function um what it does is using the ABI defensive function um called multiply which is in here and then obviously now it's got information of all the inputs outputs and how to encoder in the coding and and so on so now we got the the function itself we can call a method so let's see what will be the result of column [Music] multiply obviously be expecting an INT that's the output and as you can see it you know it's in the end and there obviously and we know the contract itself so let's part 7 again so um which is plus seven by seven we will expect a result of foreign the difference between a call and a transaction a correlate something that you execute in the blockchain without any verification so you can just call and get data or call and do this multiply operation that it does not in any way requires any consensus by the rest of the the chain when you submit the tracks as in that's completely different you wouldn't have a result you will just submit the transaction and it will be verified by the whole participants in the notes in the chain so okay so now we've got the full program uh for the full test and let's run it is the pocket so we can go through all the steps in review or with them and once the debugger is start and let's look at what we've done with the code itself so we started a Visual Studio code um there you have other ideas let's just use your speeches to copy because I like it but this is extension for Pixel Studio XL Studio itself and which you can use um this is a unlicensed little browser that is the extensions for atom um so just take your pick and yep so using the Obesity code we have and create another simple contract test and which is we mainly have we're trying to multiply a value by giving value providing the Constructor we have by using F1 compile consider contract we have output the Avi and the by the tester pink which is then contains the bytecode of the compiled version of the 3D contract um we have it started and this chain and as you can find in GitHub if you decide to do so we just run the start get but which will restore the chain to the default state but including keeping this specific accounts with enough ether to be able to to do our test and then we move to visual studio where we have already set up a project which is called web3 so dependency um X unit as we test them with text nude so we have got the sender address the of our private chain which he can't be found here and obviously when you start you can use the same place and oh sorry yeah um and you will see it in there as well so okay um so we know the password is password we have formatted our Avi and I've got the byte code we have defined Network Constructor to be a seven and we have next a we have can then created an instance of web3 with the default settings which is httpa localhost 8545 so if you want to start getting it pointed to different location or have a different port you can configure that and then we have proceed to unlock our account for 120 seconds which is a couple of minutes which is more than enough now it's unlocking the account and it's going to be very fake has been and then submitted the transaction then we start mining to our transaction can be uh well deployment can be verified and now we're gonna wait uh for the for the deployment to be mined since we put the while loop in here uh see we it has to be mined yet so we are going to wait uh five seconds and see if if his mind yeah now and it has in mind so we got a result from this now from the receipt we are able to see the average contract address and it has been mined in the block number one now now we have the contract address we're able to create our contract wrapper and get the multiply function finally we're going to call multiply by 7.
so seven by seven so return is 49.
and let's see and it is 49.
and we're done uh hopefully this has been useful um you can see how you now quickly set up yourself to work with it's CDM using ethereum itself Visual Studio code to write a smart contract together with the creating new small private team thanks for listening goodbye
Up Next

54:34
Building the Web3 Gaming Economy: A Case Study of Axie Infinity and Ronin
@epicenterbtc
138 views•2025-03-27

12:54
Triumph of Orthodoxy Icon: Byzantine Art & History Explained
@BenCallan
2.1K views•2024-08-06

9:49
FastAPI vs Flask vs Django: Choosing the Right Python Web Framework
@TechWithTim
302.5K views•2024-05-26

1:42
Game of Thrones Opening Credits: A Cinematic Analysis
@gameofthrones
46.3M views•2011-04-18
Related Study Plans & Knowledge Roadmaps
Structured learning paths in General & Interdisciplinary Studies
general-studies
Elevator Engineering: History, Physics & Cities
01From Hoists to Safety Brakes: The Dawn of Vertical Lift
02Hydraulic vs. Traction: The Engineering Physics of Elevators
03Modern Speed, Safety, and Algorithms
+ 2 more learning modules
12h5 modules
Explore Roadmap
general-studies
Rubber: Material Science, History & Geopolitics
01Origins of Natural Rubber & Mesoamerican History
02The Chemistry of Natural Rubber & Vulcanization
03The Geopolitics of the Rubber Boom & Colonization
+ 2 more learning modules
12h5 modules
Explore Roadmap
general-studies
Containerization: Evolution, Logistics & Trade
01Ancient Trade & Bulk Cargo: Amphorae to Barrels
02The Industrial Revolution & Cardboard Packaging
03The Containerization Revolution: Malcom McLean
+ 2 more learning modules
12h5 modules
Explore Roadmap
general-studies
Textile Tech: Evolution, Labor & Global Impact
01Pre-Industrial Textiles: Handloom & Cottage Industry
02Mechanization: The Spinning Jenny to the Power Loom
03The Factory System & Global Labor Transformation
+ 2 more learning modules
10h5 modules
Explore Roadmap