













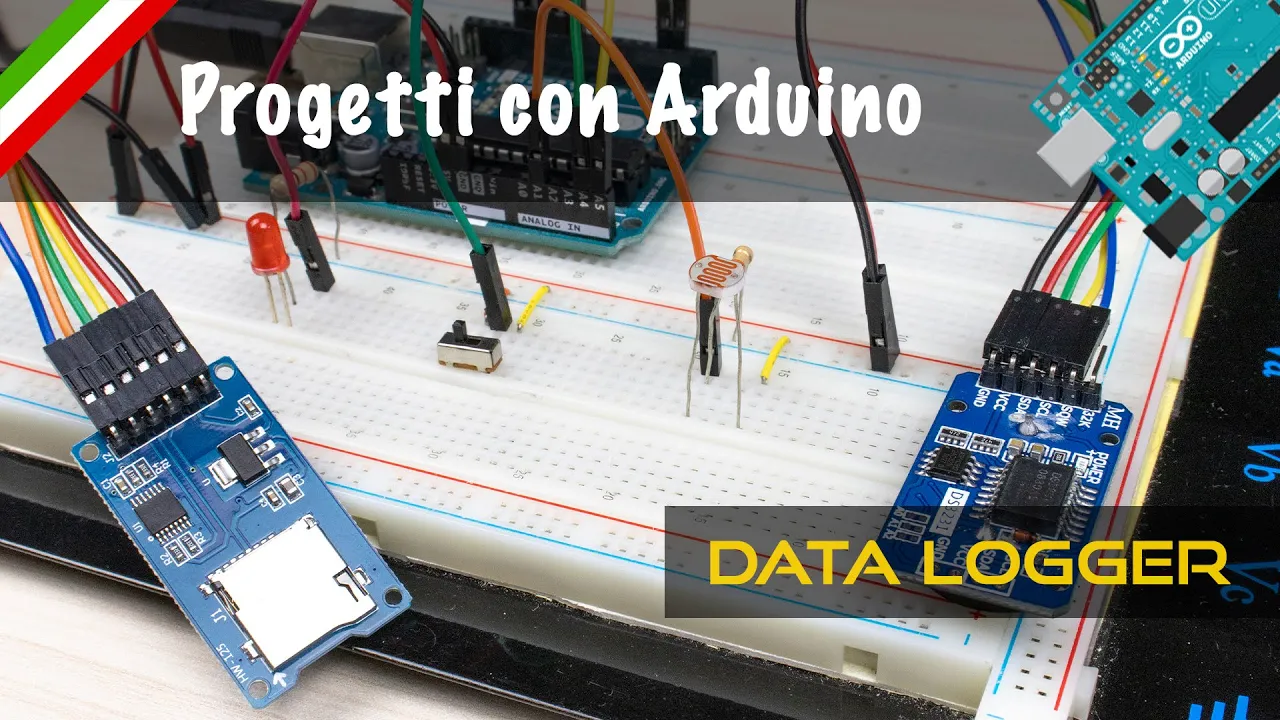














This tutorial demonstrates how to interface an Arduino Uno with an SD card shield using SPI communication to create a data logger that records sensor data (temperature, light, and infrared distance sensors) to a CSV file on the SD card, enabling offline data collection and analysis without computer connection.
Arduino Data Logging with SD Cards: Complete Tutorial
Added:Basic Arduino programming concepts, including variables, setup/loop functions, and importing external libraries.
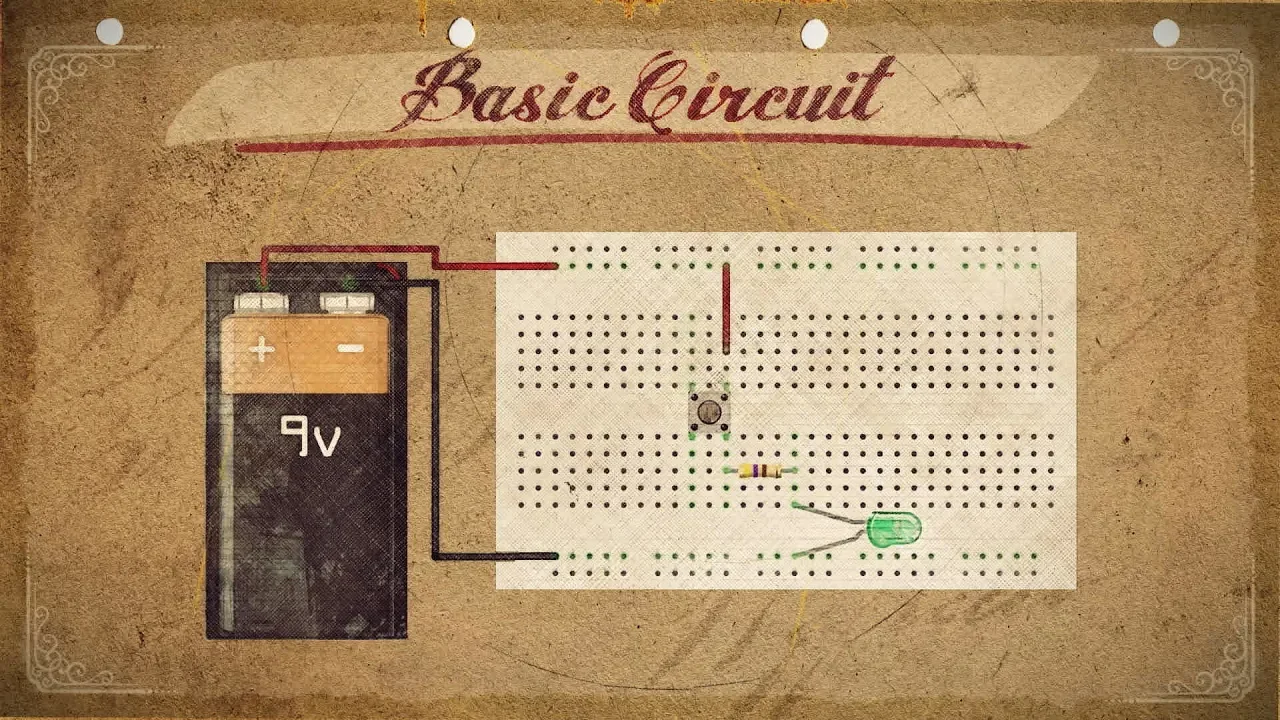
Fundamental electronics and circuit building, such as breadboarding, powering components, and connecting analog/digital sensors.
Understanding the SPI (Serial Peripheral Interface) communication protocol, which SD card modules use to communicate with the Arduino.
Elementary data concepts, specifically how files are opened, written to, closed, and structured (such as CSV formats).
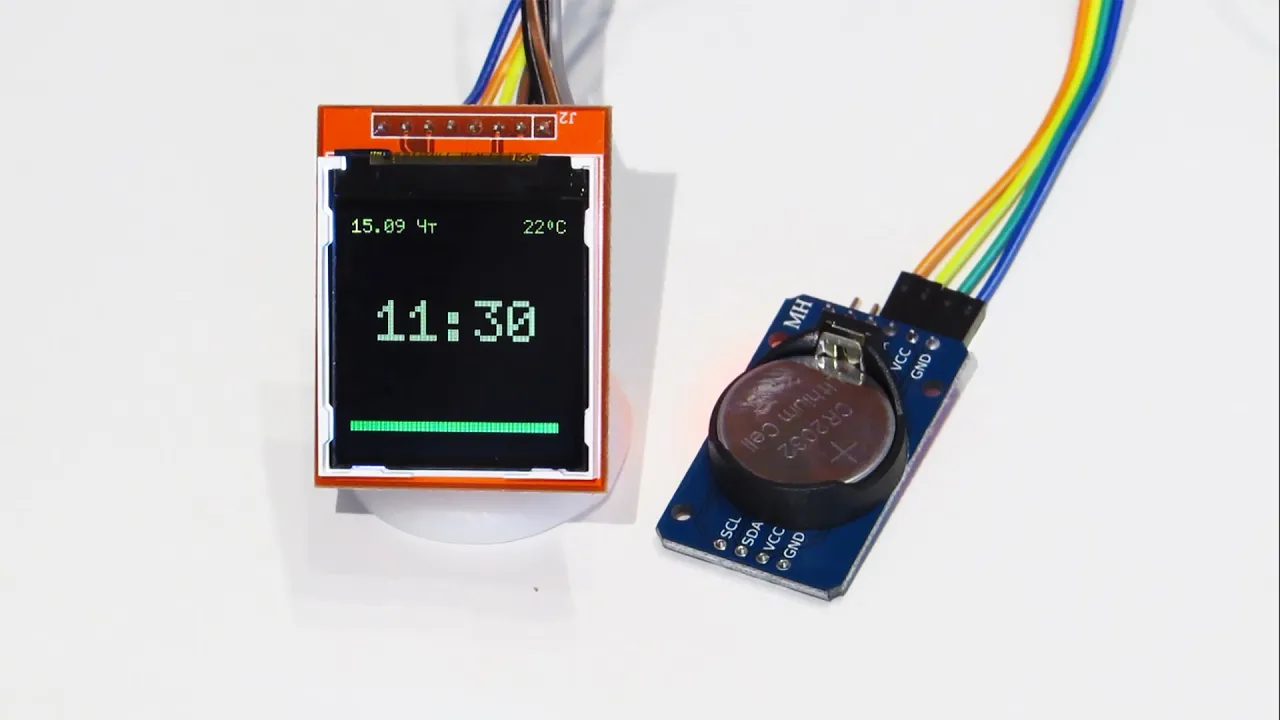
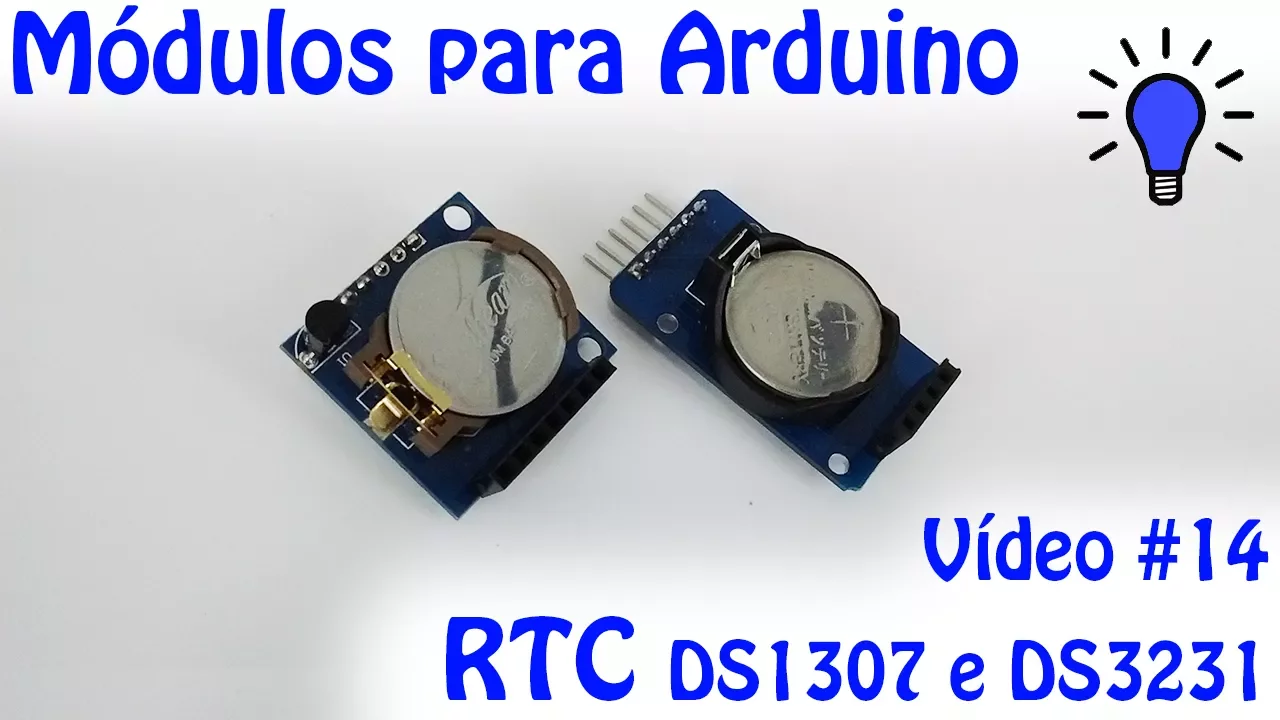
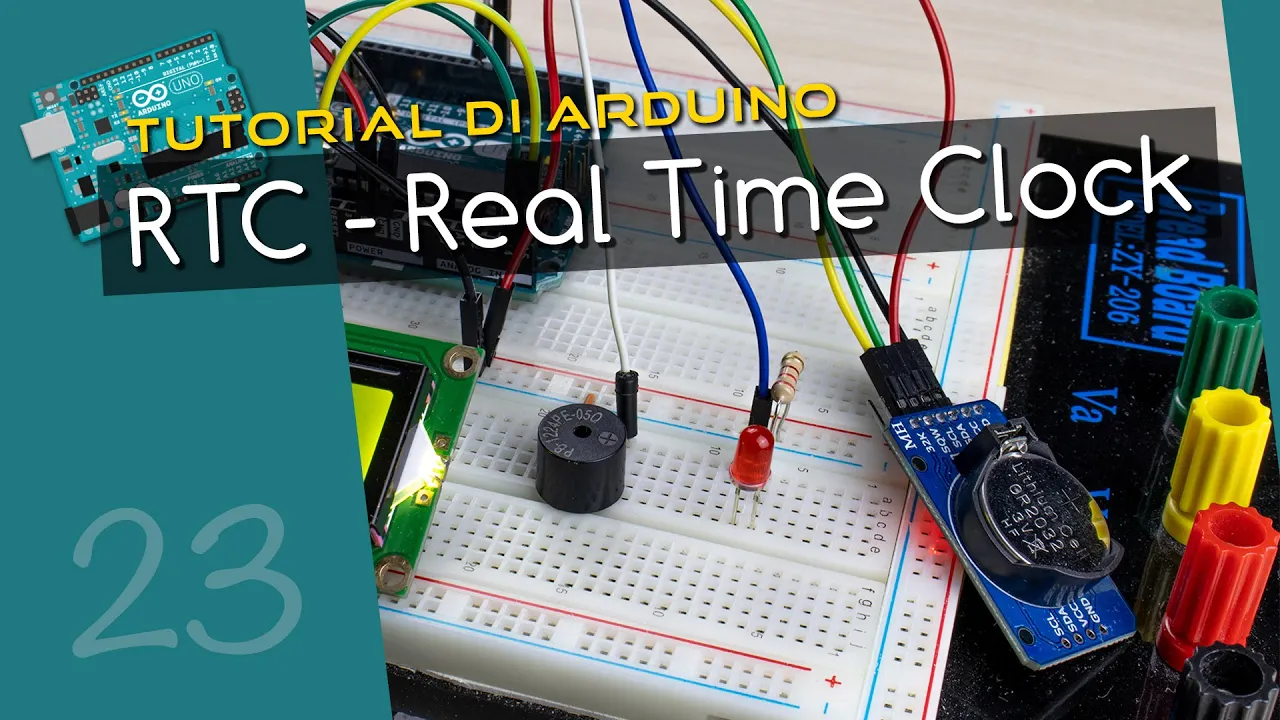
Integrating a Real-Time Clock (RTC) module (like the DS3231) to accurately timestamp sensor readings.
Implementing power-saving techniques, such as Arduino sleep modes, to enable long-term, battery-powered remote data logging.
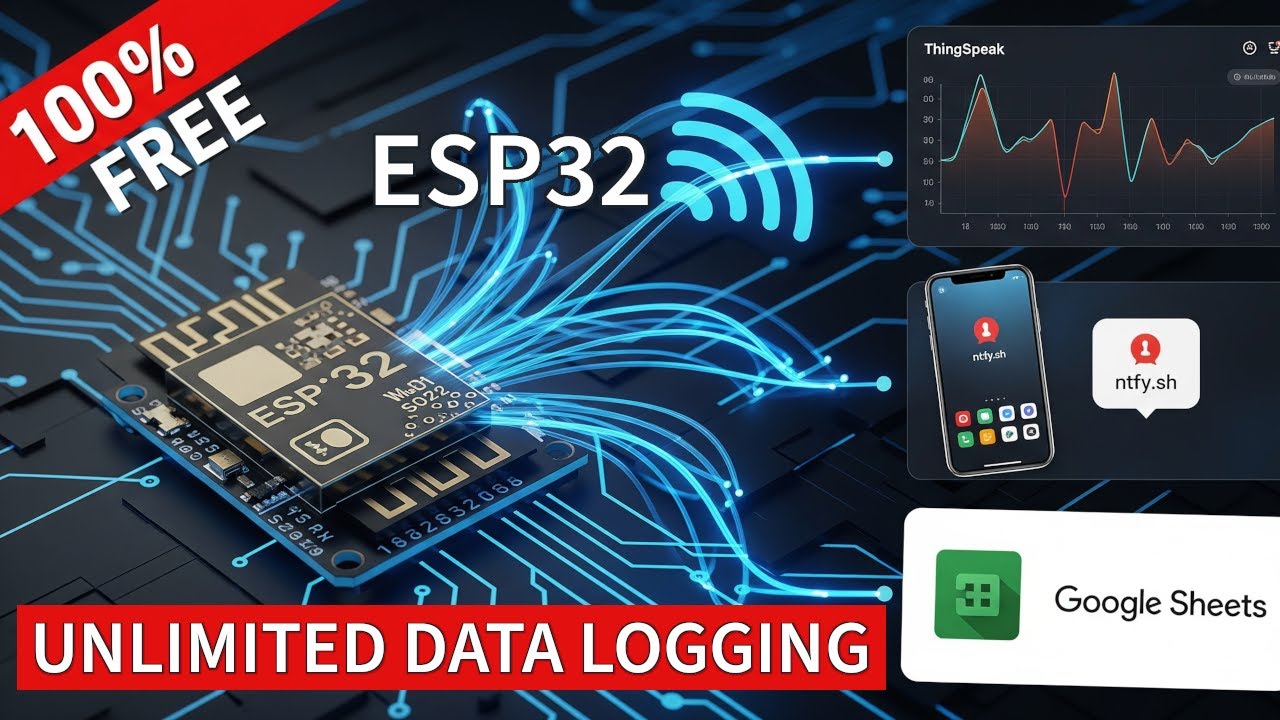
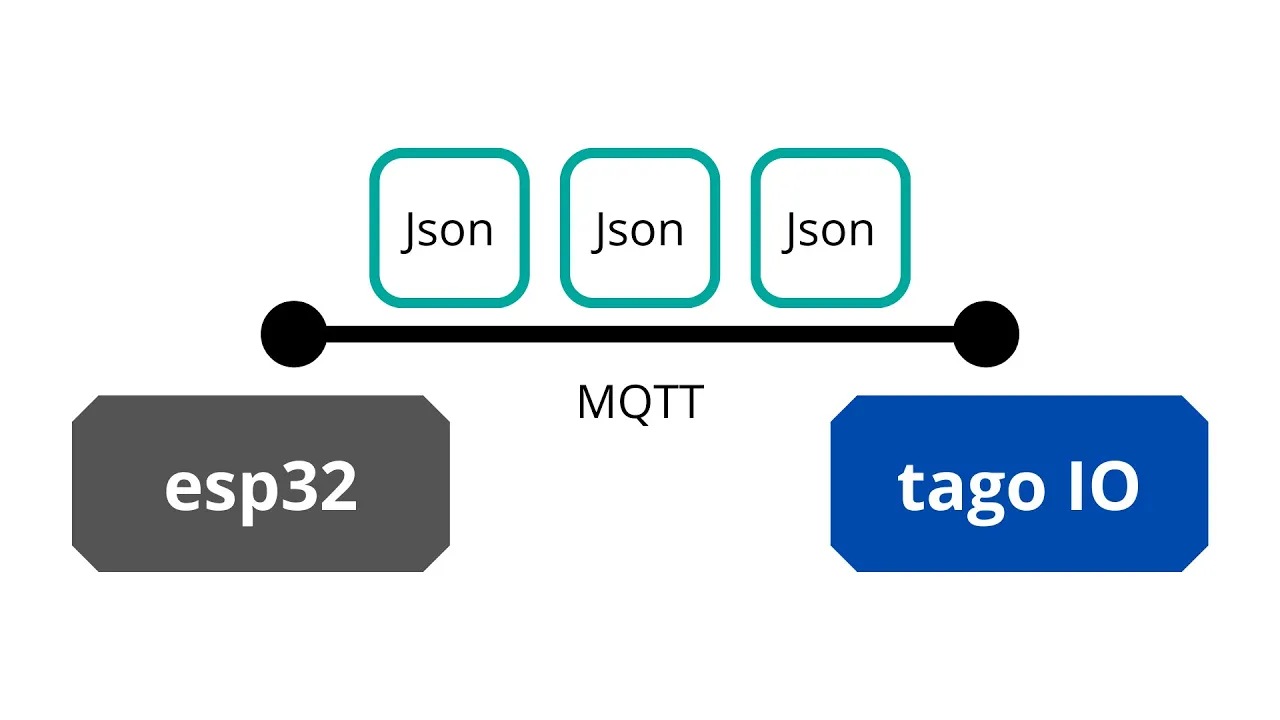
Transitioning from local storage to IoT cloud logging using Wi-Fi/Bluetooth microcontrollers (like the ESP32) to stream data to dashboards.
Using programming languages like Python (Pandas/Matplotlib) or tools like Excel to analyze and visualize the logged CSV datasets.
Developing robust error-handling and fail-safe mechanisms to prevent data loss in the event of SD card removal or power interruption.
340.6K views1.7Klikes32:52Original Release: 2011-04-05
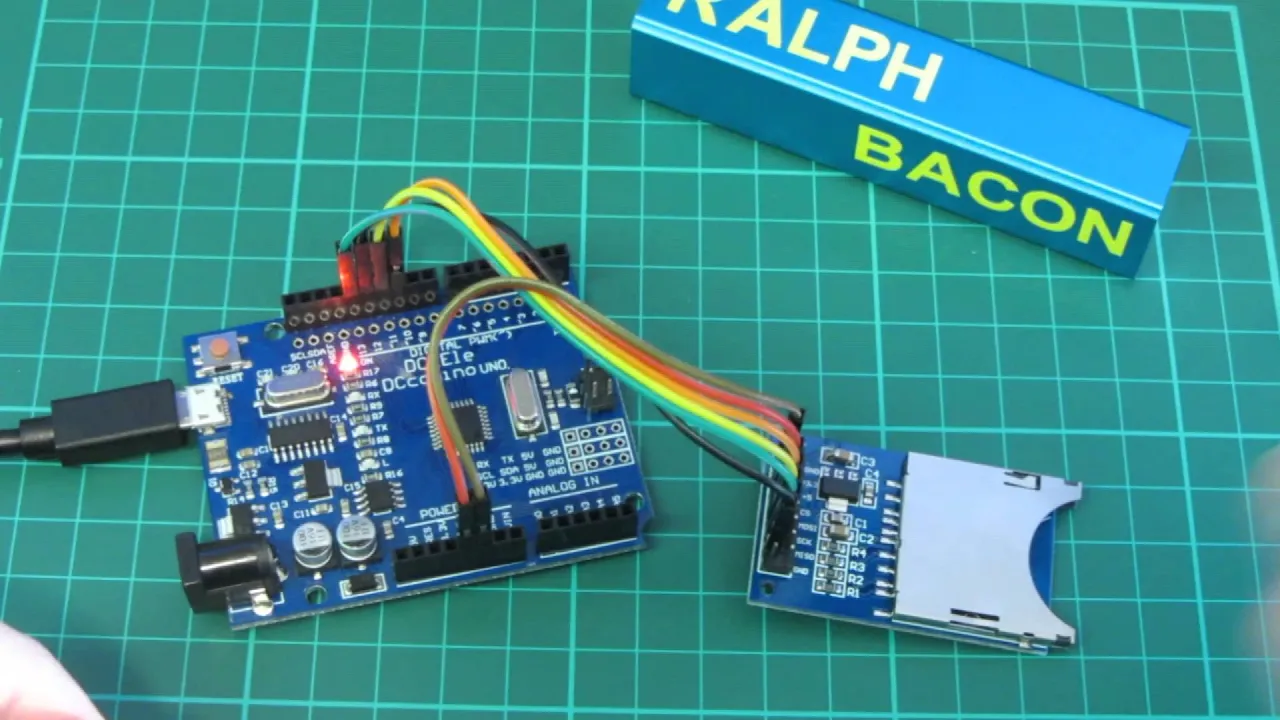
[Music] [Applause] [Music] [Applause] [Music] [Applause] hey everybody welcome back for Arduino tutorial number 11 I know it's been a few weeks since my last tutorial I had to catch up on some school workk and stuff like that and I'm I'm still uh working hard on that so the next few tutorials won't come out consecutive weeks I'm going to get them out as fast as I can but uh I need to make sure I don't fail any of my classes to do these videos but um I'm going to do this one right now and it's going to be on SD cards and data logging so we're going to make a nice little Data Logger I've already put one together and run some tests with it uh this is the Data Logger that we're going to end up with today uh we're going to be using an Arduino Uno an SD card shield from cookinghacks docomo SD card uh we'll have a temperature sensor a light sensor and I also put two infrared distance sensors in the back and aside from the SD card these are all things that we've worked with before so I won't go too heavy into the code for these or into descriptions of these parts cuz we all know how they work already so what I'll focus on is um actually implementing some of the code testing it out and getting the data off the SD card and and doing cool stuff with it and I'll cover both reading and writing uh with the SD card uh with the Arduino and yeah it's a pretty extensive set of knowledge required to put this together so if you haven't watched my first 10 AR tutorials now is the time to do that specifically the SPI tutorial will be useful because that's how we communicate with the SD card the i2c tutorial will be useful because that's how I'll communicate with temperature sensor and the analog input tutorial will be useful because we'll use that to grab data from our infr adistance sensor as well as our photo sensor for detecting the light levels all right so uh that's what we're working with let's take a look at the circuit that we're going to need to put together we'll do a little block diagram to see what we need and then we'll get started programming it and testing out the uh Data Logger the first step with any slightly larger project like this one is going to be to draw block diagrams that we know what we're working with and how we have to hook everything up now to start with I'm just going to hook up the SD card and we'll learn how to program it first and then we'll go back and revise this block diagram to add additional sensors that we can log onto the SD card so to start off with all we're going to have very simply communicating via SPI is going to be an SD card that's it and we'll debug to a computer using simple serial connection as we've done many times in the past and that's basically it that's how we're going to start just an SD card hooked up via an SPI interface to the Arduino and we'll debug it with serial to the computer it's important to note that SD cards operate at 3.3 volts as opposed to 5 volts like the ardino so they we'll use the onboard regulator that's on already on board the uh SD card Shield that we're using to regulate the 5 volts the Arduino down to 3.3 volts to uh Power the SD card so uh let's get this set up so we can start testing the SD card here we have our Arduino Uno as well as the SD card Shield that we'll be using I've put the micro SD card into the slot here and we're ready to put onto the Ardo this particular SD card Shield can be utilized in two ways you can connect the pins over here to digital pins 8 through 13 or you can attach the uh in circuit serial programmer to the connector right here both of them provide the appropriate SPI pin connections the only difference really is that if you decide to use these it makes it a little easier to put shields on or different shields on in addition to this one and it also means that you have to set the Power Pin high for pin 8 because we'll be using that to power the device directly off of one of the digital IO pins there's also a jumper that you Ed to select which interface you'll be using I'm going to choose to put it on the digital pins 8 through 13 to utilize it great the very first thing that we're going to do to test out the SD card is we're just going to write try writing it some very simple data over and over again about every 5 Seconds and then we'll read data with the computer to confirm that the Arduino wrote data successfully to the Arduino then we can start doing some more complex stuff with it I've already started our program out here uh first off you have to include the default sdh Library it comes with uh the uino programming environment so make sure you include that next thing is we have to set any pins or that we're going to need to set as inputs at our outputs so you need to change the uh chip select pin that's going to be pin 10 uh you always need to set that when whenever using SPI although 10 is generally the default if you remember from our SPI tutorial and we're going to define the Power Pin and remember as I said before I have the SD card Shield plugged into digital pins 8 through 13 and 8 is just going to be passing 5 volts of power to it by sending in a digital high and that'll give it 5 volts so we'll Define the pin that we use for power in this function we'll start a Serial process so that we can send serial data back to the computer to see what's going on so we'll start the serial commun ation and just let the user know that we're initializing the card next up we'll set the chip select pin as an output because we're going to need to toggle that high or low when we're writing reading or writing uh data to the SD card uh because you could potentially have other Spa devices on the same bus although we don't at the moment and next thing we're going to draw power from uh pin 8 so that the SD card has power to read and write and now let's fill in the rest of this program so the first thing is we're going to have to check if if the card is ready remember you can figure out all these functions for SD card if you just go to the ardino website and uh look at the sd. library they explain all these but I'll show you uh how to get started here so the first thing we're going to have to do is uh check to see if we can actually write to the SD card by running sd. begin and in one Fell Swoop we're going to run sd. begin and check to see if it was successful uh with this command so what this is going to do is it's going to begin an SD card process and while it's doing that if that for whatever reason Returns value of false which it will if for some reason it can't succeed like it can't connect to the card we plugged it in wrong or something like that this will return a false and we can check for that uh to show the user that there's been a problem so if this is the case and it returns false we'll do serial.
printline card that way the user knows that something is going on and by putting a return statement right here this will just end the program right here so if the card fails there's no reason to go around the loop or anything like that it's not going to work so we just going to return and the entire program is going to terminate that's going to happen whenever you put a return statement okay and then we're just going to um if if that didn't give an error and it didn't return then it means the card's ready so let's just just let the user know serial.
printline uh card ready great okay now let's fill in the loop all I'm going to do is print the word hello you can pick any word you want maybe you want to write Jeremy is so cool uh and I'm just going to print that over and over into a text file every 5 seconds so the first thing that we need to do here is we need to make something of a the structure type file so we'll do file and we'll just call it data file it's go to equal sd.
openen you'll specify the file that you want to write to it does not have to exist yet if it doesn't exist it'll automatically create it so I'm going to call it log. text make sure you put it in quotes because it's a file name and the second parameter is optional if you don't put a second parameter in it'll only be able to read from it but if you do put the second parameter in you can specify that you want to be able to write to this file so we'll specify that okay we now have something called Data file which is a type file that opens on the SD card log.
text you can only have uh one file open at a time for writing so once we're done with this we'll close it so we can use another uh file if we so desire so let's first see if we actually managed to successfully open it it's important to do error checking like this so that when you're running this in the field uh you can account for potential issues that might arise okay so data file. print line if if we were able to connect to it of course uh we'll just print the data string to it so this works very similar to the way you print stuff over serial uh we have the print line command just like we can do serial. print line and we can now do data file. print line so we'll print data string which you defined earlier just onto the next available line in the text file and it's as simple as that and then once you're done we want to make sure that we close the data file so that at some point later we can open a different file so close it and now for debugging purposes I'm just going to print to the display window the exact same thing that we just added to the text file so we can keep track of our program okay and now let's handle the other case so this is assuming that data file was created if data file couldn't be created for some reason uh we need to handle that case so we'll make an lse statement and in there we'll tell the user that uh we couldn't open or create the log file so we'll do serial. print line so remember serial is sending it to the computer data file is sending it to a file on the SD card we'll do serial.
print line couldn't access file and that should be uh just just about it there's only one more thing that we have to do here which is to put our delay 5 5,000 which I've already done so remember we working in milliseconds here so 5,000 is a 5-second delay and what this means is that it'll wait for 5 seconds can go back and then write it another line into SD card so let's see how this works so the file's been uploaded to our SD card enabled Arduino let's open up the serial monitor great it says that it's initializing the card card ready and Jeremy is cool in a few seconds it'll print it again and it'll keep doing this every 5 Seconds now I'll take the SD card out of the Arduino plug into the computer and show you that we can actually read the data right off the text file that we've just saved onto the micro SD card I've now taken the SD card out of the Ardo and plugged it into my computer and we can see it didn't inde inde create the log file so let's open it up and sure enough there's all the data that we wrote to it all right awesome so next up let's uh delete that we can recreate it later through the program and now I'm going to add a text file to my uh SD card and we're going to use this to read data from the SD card so I'm going to make a file called uh commands.
text and in here I'm just going to put one simple value uh 1,000 let's say and what we'll do is we'll read this out and we'll use this in our program as a delay between when it writes data to the SD card and this will allow us to dynamically change the program without ever actually having to plug the Arduino in and reprogram it you can change the way the Arduino works by simply adding a bunch of commands here and then interpreting them with the ardoino to do something different okay so now let's put this card back in the Arduino and we'll see how to read the data off the card all right now I've gone through and started to modify our original program to read the data off the SD card first thing I did was Define a new float uh float just meaning that it has a decimal value potentially and you'll see in a second when I do the math why I have to do that uh that's going to define the refresh rate so before we just hardcoded it as 5,000 or 5 seconds and that'll be defined by the value in text file which if you remember we set to 1,000 so the beginning of the setup is all the same uh we're just going to connect to the SD card Etc but now we have to add another thing to the setup this part here that reads from the configuration information on the SD card and sets the variables appropriately now the way SPI or any serial form of communication works is one bite is sent back and forth at a time so we can't just read the number 5,000 off we actually need to read it bite by bite and then reassemble it into the number 5,000 1,000 whatever it is so the first thing we'll do is just like we did before we're going to create a new file type called command file and it'll be commands. text and before where we had to put um read file we don't have to do that or WR file because we're only going to be reading from it again we'll have an if statement to check if the command file was actually found and if it was um we'll let the user know that we are now reading the command file by printing it to the serial terminal now we have to do is actually figure out what the number is that's printed there and that's actually a little bit more challenging than it seems you have to come up with some clever math to do that and and that's what this is doing right here so the first thing I'm doing is I'm defining the decade the decade being just essentially the number of uh of digits that are in the number so for a value of a th000 the decade that it starts with is going to be a th000 and then if it was 500 the decade would be 100 it's basically just the uh the number of it's basically representing the size of the number in uh Decades of 10 so if we uh to to do that to find that value um all I'm doing is I'm saying the power so this is doing the power so 10 raised to this value which is the second argument of the power function which is a math function that's included with Arduino and what this is doing is this is looking at the command file and getting the available number of bytes in it so the available number of bytes uh if we have a thous uh a value of a th in there there's going to be a total of four bytes CU there's four digits in the number 1,00 so it'll return the number four and then we'll subtract one from that so that'll be 10 the 3 and 10 to the three is a th000 so that's giving us the decade that we want but it could very well be 5,000 or 3,000 all we know is that it's 1,000 times a singular number between uh 1 and N basically we know that it's in that that decade order um so the next thing we're going to do is while the command file has byes avail so we're going to step through it bite by bite we're going to take the float we're going to take a float that we're defining as a temporary float and set it equal to that current bite and if you remember from the serial communication tutorial that I did a while back we can get that bite as a number remember it reads it in as a Char but we want as a number by just subtracting the character equivalent of zero so this is going to read the first bite the first bite will be a one cuz we Ed the value of thousand so it's going to be one minus that bite value uh so that we actually get a flow out that's going to be 1.0 basically now the refresh rate which we Define up at the top to start as zero we're going to update that refresh rate so we remember we started the decade at a th so what's going to happen is this temp value that we just got out we got a a one so this is the first digit is a one temp is just giving you that digit we're going to multiply one by the current decade so we're going to multiply it by a th and then we're going to add it to whatever the fresh rate current is so it starts at zero so right now refresh rate equal to a th and we actually already have the number we need but we don't know that we could have entered a number like 1324 uh so we need to accommodate for that so the next thing we'll do is we'll divide the decade by 10 so if it was a th000 it now goes down to 100 we'll read the next bite the next bite is a zero um and now the refresh rate will equal what it previously was so a th000 plus 0 * decade which is 100 so it's just going to be zero again and you're going to end up with a th000 after you finish going through this Loop so this is just a clever way to read out a number easily uh from a sequence of bytes and you can imagine how this would work if we had a more complex number like 1300 let's say the next number that came down would be a three so we would get the three is the 10th value we' multiply it by 300 because we just decremented the decade from a th000 to 100 by dividing by 10 so we would have 1,00 + 300 and we would have 1300 the number that we want so that's how we get the integer out of it I know it's a little confusing if you have any questions feel free to ask me so now we can print to the user this is the refresh rate awesome otherwise we have to say we did not read the command file and just like before we'll return completely ending the function if it can't find that command file the data string can be exactly the same as before and all this is actually pretty much the same the only thing that we're going to change now is um we're going to change the delay instead of being a hardcoded 5000 to refresh rate okay and that should do it let's compile it and see if it refreshes the data just a little bit faster okay so we can see that it's loaded up it's read the command file properly it knows that the refresh rate is now 1,000 milliseconds keeping in mind that I had to use a float here because we're dividing by 10 um and you can't be sure that it's a number that's divisible by 10 although technically it should be you could potentially run into issues and it's definitely refreshing once every 1 second now instead of 5 Seconds great we can now read and write from text files we're ready to make the final code that will Implement our Data Logger great we've managed to successfully get the ardino to communicate with an SD card over an SPI protocol while simultaneously sending debug information over serial to the computer we're ready for the next step which is to add some sensors whose information we can then record to the SD card we'll use a light sensor just a standard um photo detector a temperature sensor on the i2c communication bus which we've learned about in a previous tutorial and two infr distance sensors and we'll feed all those into the Arduino as analog values and record them in Comm separated value format to the SD card which we can then read with Excel mat lab just about anything you want to visualize all the awesome data you've required so let's get that circuit set up and then we'll program it on the computer to get it recording some data I've gone ahead and wired up the circuit for us we've got the same Arduino as before with an SD card reader mounted on top of it I fastened the Arduino to the breadboard by actually running some wires through the holes that hold it in place and just popping them into some breadboard holes just to hold everything together on the breadboard here I have the uh light sensor connected through a 10K resistor voltage divider into the r weo don't worry I'll have all the schematic for this available for download so you can see it in schematic form here's our i2c temperature sensor we have the pullup resistors that are working on the i2c bus and then two i2c lines that that feed into those inputs on the Arduino if you remember correctly they are analog inputs four and five on the Arduino then we have the two infro distance sensors which I actually have mounted to the back of this plate you can see the wires going to them and those feed in two of the analog inputs as well so we're using five of the analog input pins two for the infr distance sensor we're using one for the light sensor and two for the communication lines of the i2c bus because those analog input lines are multiplexed as i2c communication lines so that's basically it the only other thing to note here is that this system is going to require a fair amount of power cuz of all the stuff running on it so when you actually start logging data you're going to need to use a 9 to 12vt power adapter like this one you could also use a 9vt battery the reason being is the USB port is not going to be able supply enough current for all this to run correctly and and I actually found that trying to run this over the USB port I was reported incorrect values from the i2c temperature sensor due to a lack of a required current to run the entire circuit plugging this in fixes it totally and you want to do that anyway because the whole purpose of this logger is to run it without a computer what's the fun if you have it plugged in by USB all right now that we've got this wired up uh we'll go write the code for it and remember you can grab this schematics for this for my website so now that we've actually managed to find a way to read and write from the SD card that was basically a new material so I'll just walk you through the code that I've already written that grabs the data from the various sensors that we've hooked up concatenates into a string and then spits it onto a file on the SD card now instead of using a text file I'm going to be using a comma separated value file or CSV file because also it can be easily read by a program like Excel to make pretty graphs and stuff like that so here's the changes that we had to make first off I'm now importing the i2c library because we're using an i2c temperature sensor I'm defining the pins that I'm using for various analog sensors including the IR pins and light pin I'm defining the temperature address of the i2c temperature sensor because if you remember on i2c communication buses you identify devices by their ID and I'm starting a value called ID equals 1 that will put at the beginning of each piece of data that we read so read data once every second as specified by our Command file and we'll assign each set of data in ID and we'll increment that ID as as we go so we can see how many pieces of data we've recorded in total when we look at the outputed file most of the setup is basically the same uh the only thing I've added here is at the end after we've uh written after we've read from the command file and stuff like that uh we're going to write to the top of the log file with Header information so instead of just writing raw data at the top of it we'll provide information about what each column represents so we're going to write each of columns in this order ID then light data temperature data and then each of the infrared distance sensors so this basically just makes a heading for each column that tells us what data below is corresponding to okay so that's basically it for the uh setup and now all the loop is going to do is every time that uh we hit our refresh rate we're going to go through and read the data from all the sensors and save it to a new line in the data file so reading the light level is easy that's just a simple analog read reading the temperature is copy copy pasted directly from my tutorial on i2c communication so this is just taken right from there and all this does is it reads the current temperature value and then converts it to degrees Fahrenheit from the IC temperature sensor and then lastly we're going to read the two distance values from the infrared distance uh sensors now that we have all the values we're going to catenate them into one string then we can write to one line of the data file each uh piece of data will be separated by comma that's why it's called a comma separated values file and we're going to concatenate them together using simple plus signs we convert them to Strings first with this command string uh because we want to concatenate them all together into one string that we can then write easily uh whereas right now they're integers so we'll convert the ID to an uh string uh write it and then put a comma and then we'll put the light level then comma then temperature in Fahrenheit another comma then the infrared distance value and then another comma and then we'll finish up the line with the second infrared distance value so now we have a piece of data that we can write to it this is equivalent to before just writing Jeremy is cool all right now we're going to open the log file which I've changed from log. text to log. CSV because it's a comma separated values file and we're just going to write that data string that we just created so data string is that concatenation of data that we just put together and we're just going to write it to a new line on the SD file and that's it the last thing we have to do is increment the ID number so that next time after the first time it'll print one here the second time it'll print two Etc so you can identify each of the readings and then it'll just wait for the guarant the uh set refresh time so if we set it as a th uh in the command file then it will take new samples approximately every 1 second it's not exactly every 1 second because it takes a little bit of time to run all of this here but basically we'll be taking a sample about every second and that's it so we'll upload that now and uh we'll set up our Data Logger to grab some data over a 24-hour period and then we'll come back and check on it and see what kind of stuff it got okay now that we have it all programmed I've gone ahead and wedged it into my window over here and I have two infrared distance sensors facing in towards the room and then facing out towards the window as a light sensor and a temperature sensor so my hope is I'll run this for 24 hours now and see how my movements within the room Cor respond to the change in temperature um inside basically inside the room I guess I won't detect it outside too much although it's next to window so it'll probably fluctuate a little bit but more importantly the time of day outside now I'm not sure if a a 1second sampling rate is actually sufficient to capture a whole lot of movement in the room so we might not see a whole lot of data from the infrared distance sensors it'll depend how much I move in front of them to be honest I'll probably be in class all day so who knows if we'll get any data from them but more importantly you'll definitely be able to see the change in light levels outside over the course of a day so let's go ahead and plug this in I've already gone and removed the uh the log file so we're starting fresh with it so all we have to do now is is plug our power in like that and we're all ready to go it's now recording and if you look at the back of it you'll be able to see that the uh the transfer LED on pin 13 is blinking once every second to indicate that it is grabbing data so let's let that run and then we'll come back and see what kind of stuff we got I've gone ahead and run the system for almost exactly 24 hours now I started it at 11:30 at night and turned it back off the next night at 11:30 so there's 24 hours of data here and we can open up the CSV file on the computer I suggest you save it off the SD card onto the computer in Excel and you can see we have our nice row headers here and the data that's taken at each data point as well as an incrementing ID we can scroll through and there's a ton of data here and this is only taking up a tin amount of memory too that's a 2 GB SD card I could have probably taken samples once every 5 milliseconds and still had more than enough space on here but anyway once every second is fine and this is the data we have so let's go ahead and graph it to see what kind of stuff we we actually got out of here and I'm sure there'll be a few anomalies uh nothing's ever quite perfect but we can average those out using some moving filters so we'll go to uh insert a link scatter plot and it should generate one from the data okay cool so we can see right off the bat that the uh the blue line here is marking daylight and that's obviously during day hours and I started at nighttime you can see went went up here from the light in my room because I hadn't gone to sleep yet and then when it's down at the bottom is is when I was sleeping so first off there's a ton of data points here so let's grab each of these and uh form out the data series to remove the actual points on them because they're kind of in the way and it's a little annoying all right that's a little bit better right all right so we've removed all the data points now the next thing we want to do is temperature is on a different scale than all these so temperature is an actual degree value whereas light ir1 and ir2 are just analog values from 0 to 1023 so let's adjust temperature to put it on a uh separate Y axis value format the data series put it on a secondary axis Okay cool so now the right Axis just corresponds to the red line or the temperature and so we can see how that fluctuates it obviously got warmer at this point during the day uh right when the sun was at its peak so that makes perfect sense and there's a bunch of anomalies in here that's just due to random bad readings from the uh i2c temperature sensor it's going to happen occasionally luckily we can filter those out by putting a simple trend line in here and using a moving average filter so we will add a trend line on a moving average and you can see it's already a little bit better but uh the period of is is way too small let's do more like 100 and that'll filter out all the weird values that we've got going on okay that's looking better but that's obviously too much let's try 10 that's looking pretty good maybe a little bit more than 10 okay that looks pretty solid so now why don't we just go ahead and turn off the red line entirely because it's not really helping us very much we want the the best fitted line anyway so we'll go to line color and turn it to no line okay great and now black is representing our moving average of the temperature infrared distance sensors are measuring basically movement in the room again there's probably some anomalies in there too and we can put a moving average filter for those check for them but I don't know I was in my room a couple times during the day this could very well represent me moving in or out it could represent the blinds over the window belong back and forth um things along those lines it could could even represent things like Shadows moving across the room okay but key Point here is that we can see all the information very clearly uh this started at around midnight and ended at around midnight and it's very clearly in the middle of the day it was sunny out because this is the light sensor there was also a temperature peak in the middle of the day uh that makes sense cuz the sun was at its highest and it was gloomy in the morning and got sunny in the afternoon so it would makes sense it'd be a little warmer and then it stay a little bit warmer until I turned it off that could also have something to do with the heating in my apartment turning on the infrared distance sensors as I kind of expected didn't really do very much uh cuz I didn't move in front of them a whole lot so they're mostly just picking up some random noise from various things fluttering around in the room and stuff like that nothing too interesting but it's pretty clear that we can do some really neat stuff with this and now we can track this over time and in future tutorials I'll show you how you can get real time from the Internet or from GPS satellites and things like that all right great so we have our Data Logger now now you can hook up any kind of sensors you want to this and get really cool data out of this and then plot it and uh do whatever you want so awesome I love to uh see what you guys managed to put together with this uh Data Logger functionality thanks guys for watching this episode of my AR tutorial series I hope you enjoyed it as always if you have any comments suggestions questions Etc please feel free to post them on YouTube on my blog Jeremy blum.com or element4 and you can find all the schematics source code and parts list on both my website and on element14.com uh thanks again to cookinghacks thatcomicbookguy create these tutorials feel free to go visit their website at element14.com check out their Community which is a great place to talk with you about Electronics the uino and basically anything else engineering related and they also have a store where you can buy a lot of the parts that we'll be using in these [Music] videos
Up Next

46:46
Thermodynamics Lecture 1: Laws, Systems, and States | MIT 5.60
@mitocw
1.7M views•2008-12-12

30:32
Ultrasonic Transducers: Resonant Frequency Measurement and Horn Design
@imajeenyus42
229.9K views•2017-02-22

54:16
Polymer Environmental Degradation: Mechanisms & Stabilization
@iit
1.8K views•2012-07-10

33:39
How a Student's Question Saved a NYC Skyscraper from Collapse
@veritasium
22.8M views•2025-04-26
Related Study Plans & Knowledge Roadmaps
Structured learning paths in Engineering
engineering
Building Acoustic Levitators: Physics & Arduino
01The Physics of Sound and Standing Waves
02Piezoelectric Transducers and H-Bridge Drivers
03Arduino Programming: Generating 40 kHz Signals
+ 2 more learning modules
14h5 modules
Explore Roadmap
engineering
Building Peltier Cloud Chambers: Particle Tracks
01Cosmic Rays & Cloud Chamber Physics
02Thermoelectric Cooling (TEC) Fundamentals
03Custom Liquid-Cooling Loop Design
+ 2 more learning modules
18h5 modules
Explore Roadmap
engineering
Yagi-Uda Antennas: Modeling, Build & VNA Test
01Introduction to RF and Antenna Fundamentals
02Yagi-Uda Antenna Design Principles
03Antenna Modeling and Simulation in 4NEC2
+ 2 more learning modules
18h5 modules
Explore Roadmap
engineering
ECG Monitor Design: Op-Amps, Filters & Noise
01Electronics & Breadboard Basics
02Op-Amps and Instrumentation Amplifiers
03Bioelectricity and ECG Fundamentals
+ 2 more learning modules
18h5 modules
Explore Roadmap