






![[Vietsub-TMH] Simulation of a MEMs gyroscope using Matlab Simulink](https://i.ytimg.com/vi/-xOTPTdxQXk/maxresdefault.jpg)






![[VEX for Algorithmic Design] E14 _ Quaternion Basics](https://i.ytimg.com/vi/MYRtwY-DQV8/maxresdefault.jpg)


To calibrate the MPU6050's gyroscope for accurate angular acceleration readings, collect sensor data over a 10-second period while the sensor remains stationary, calculate the average offset values for each axis (X, Y, Z), and then subtract these offset values from future sensor readings to ensure the gyroscope outputs zero when no rotation is occurring.
MPU6050 Gyro Calibration Guide: Raspberry Pi Pico W MicroPython
Added:Basic MicroPython programming on the Raspberry Pi Pico, including setting up Thonny IDE and running scripts.
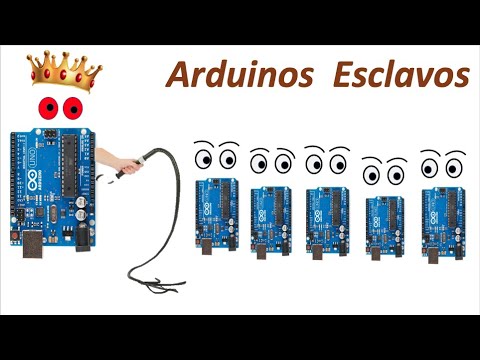
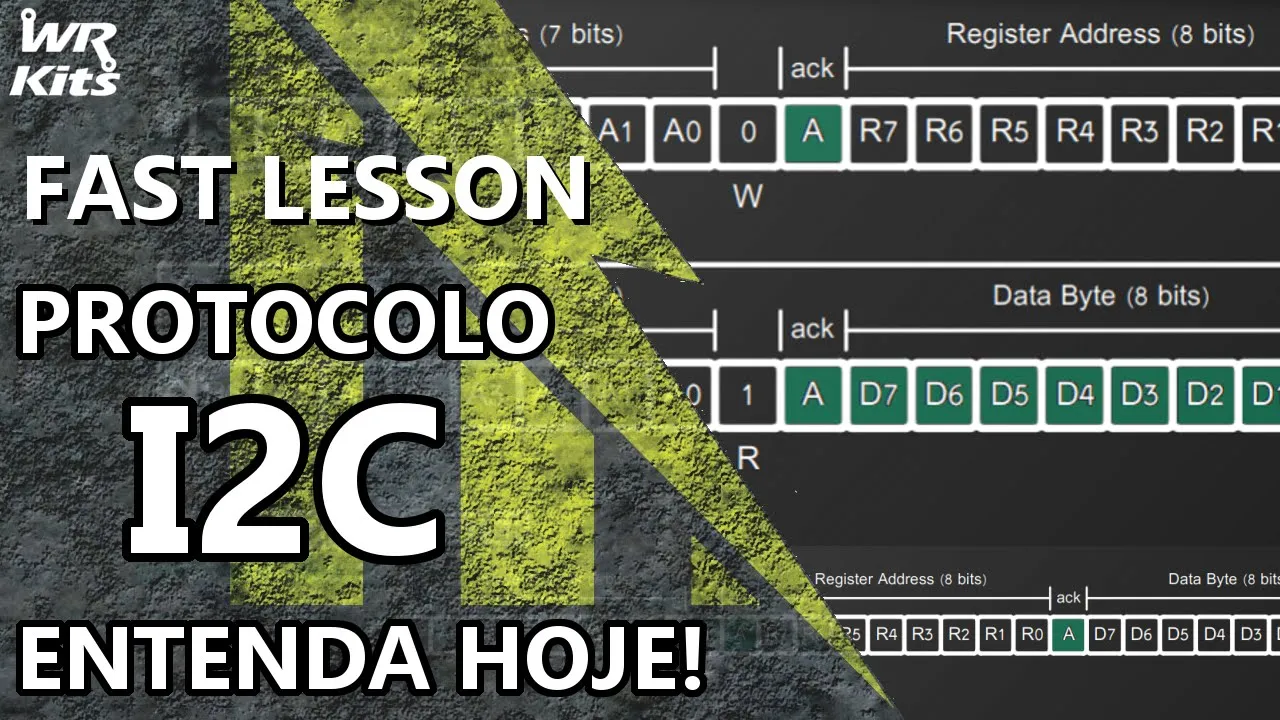
Fundamental understanding of the I2C communication protocol, including master/slave relationships, SDA/SCL pins, and device addressing.
The basic physics of an Inertial Measurement Unit (IMU), specifically the difference between accelerometer data (linear acceleration) and gyroscope data (angular velocity).
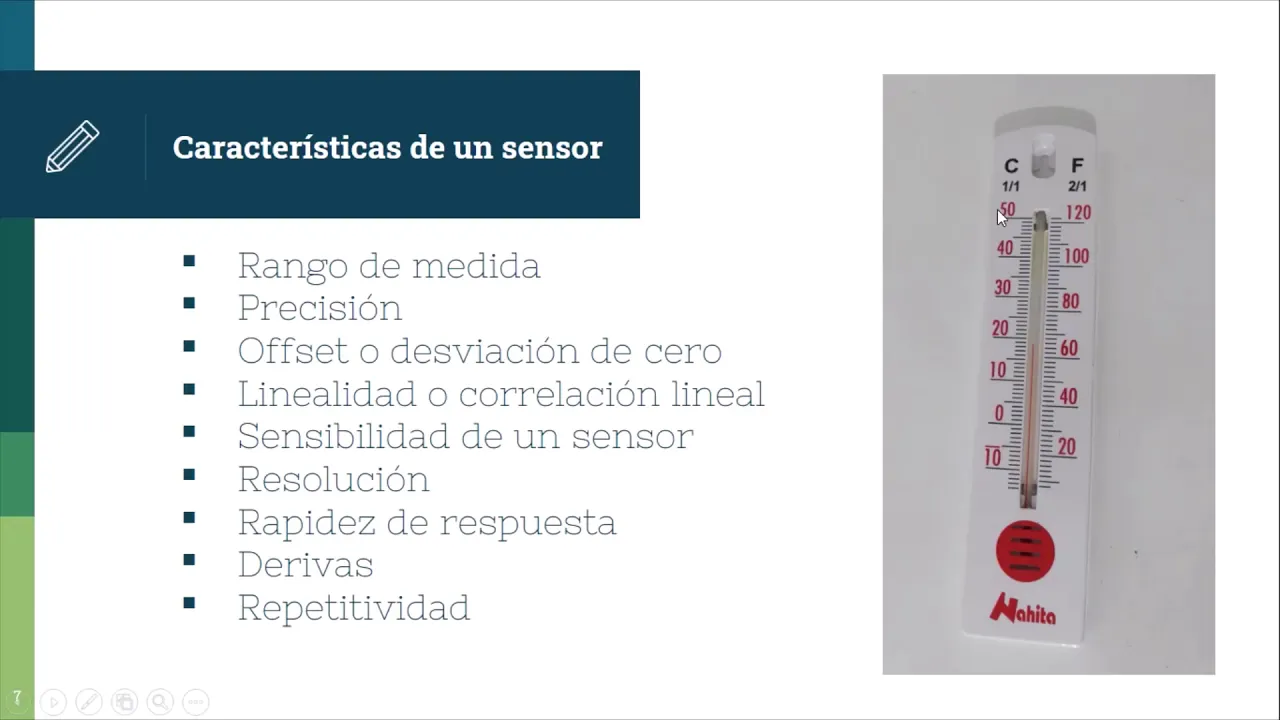
The concept of sensor noise, systematic error, and why calibration (zero-rate offset) is necessary for MEMS sensors.
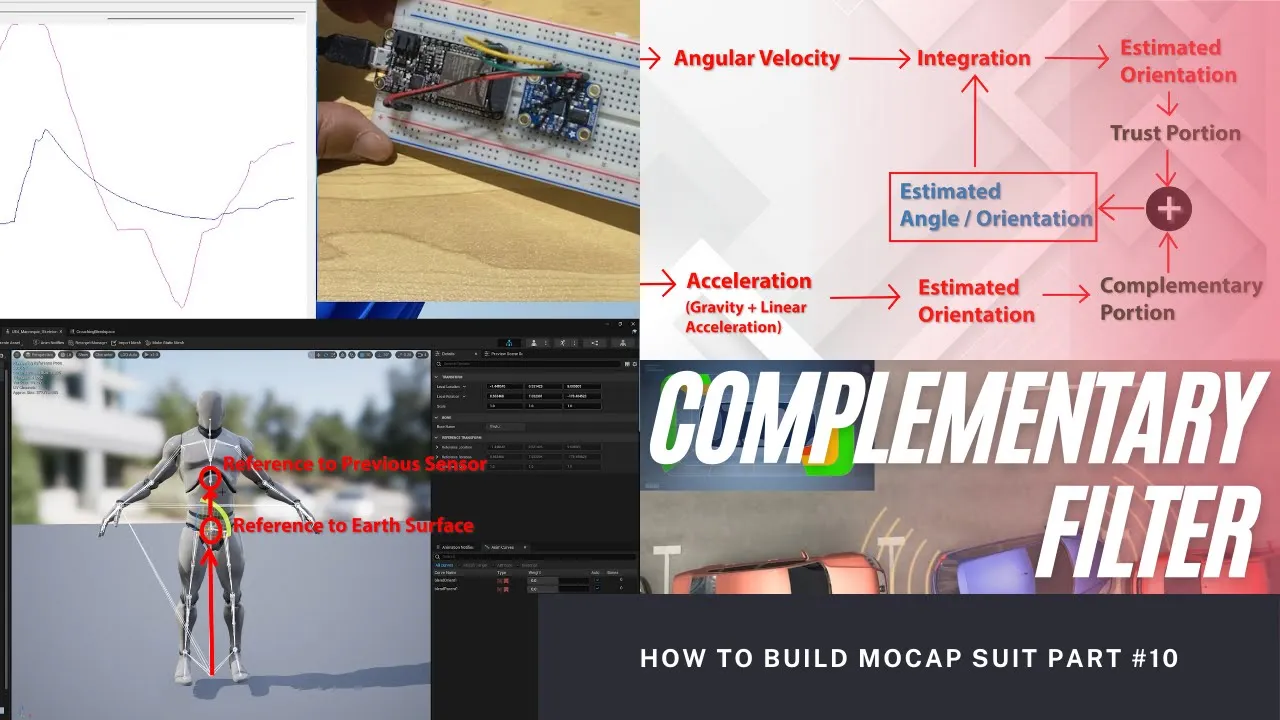
Implementation of Sensor Fusion algorithms, such as Complementary Filters or Kalman Filters, to combine accelerometer and gyroscope data for pitch and roll calculation.
Understanding and mitigating gyroscope drift over extended periods of time.
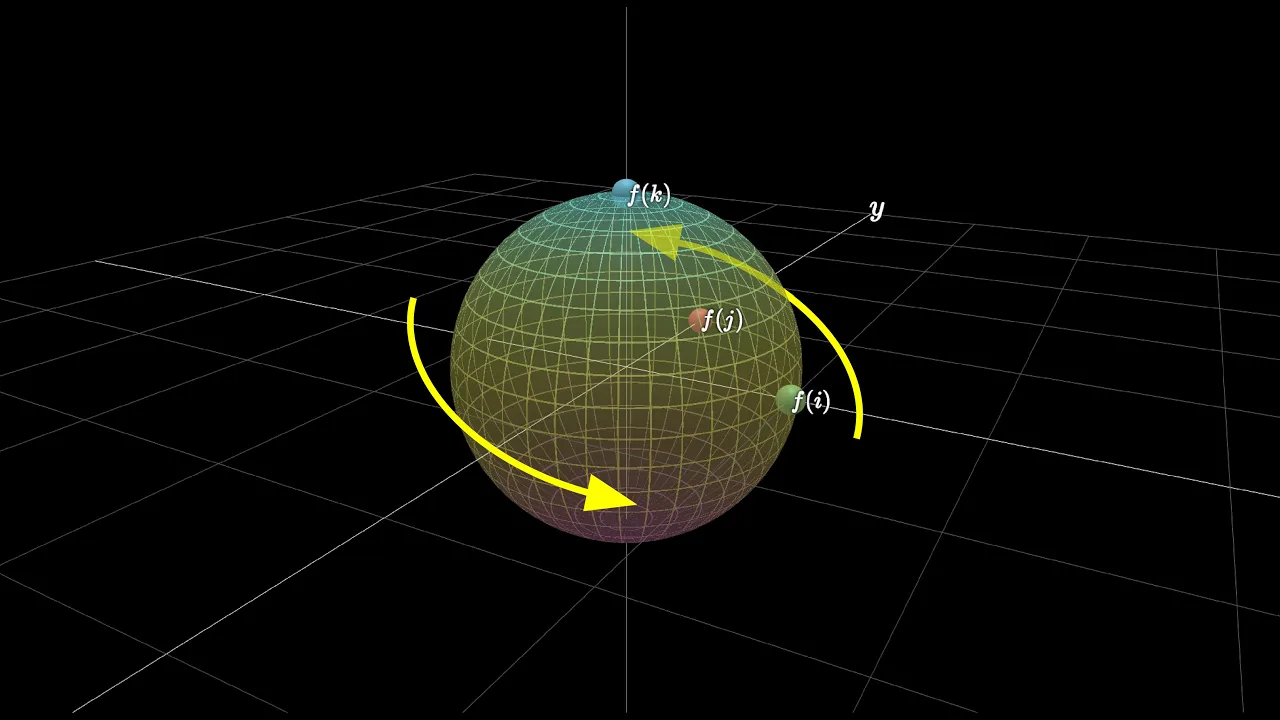
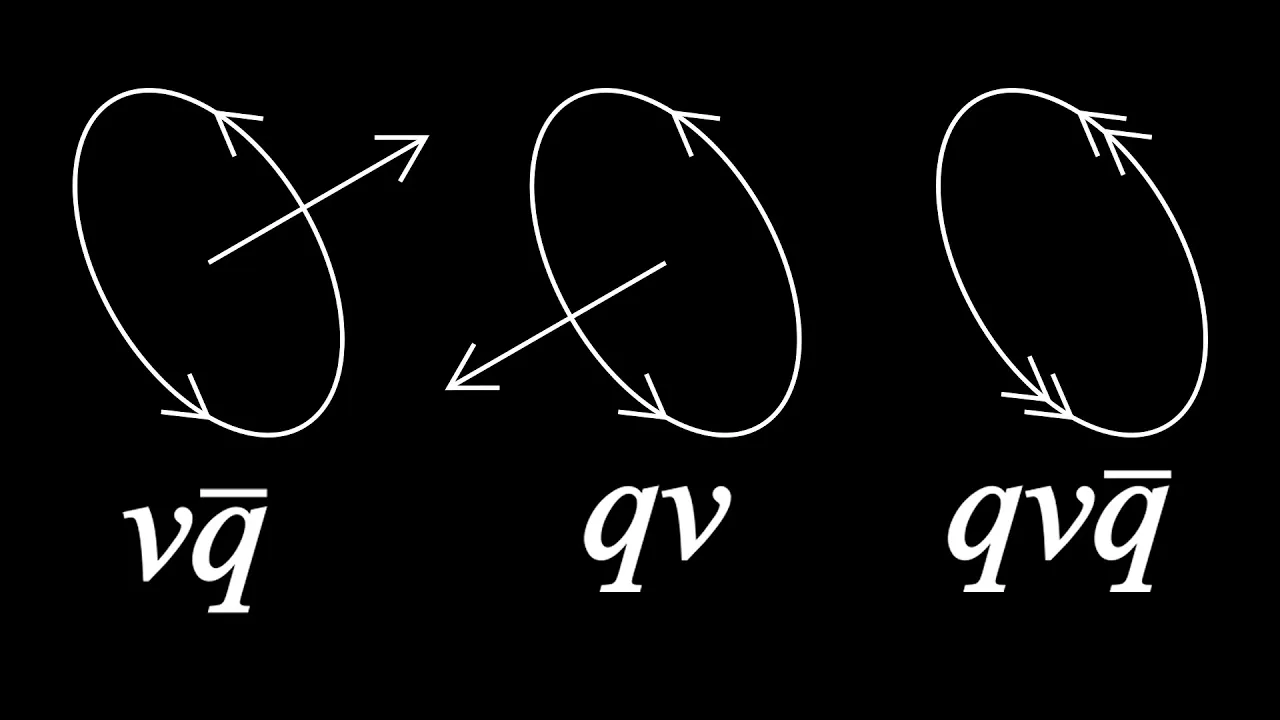
Mathematical representation of 3D rotation, including Euler angles (yaw, pitch, roll) and an introduction to Quaternions to avoid gimbal lock.
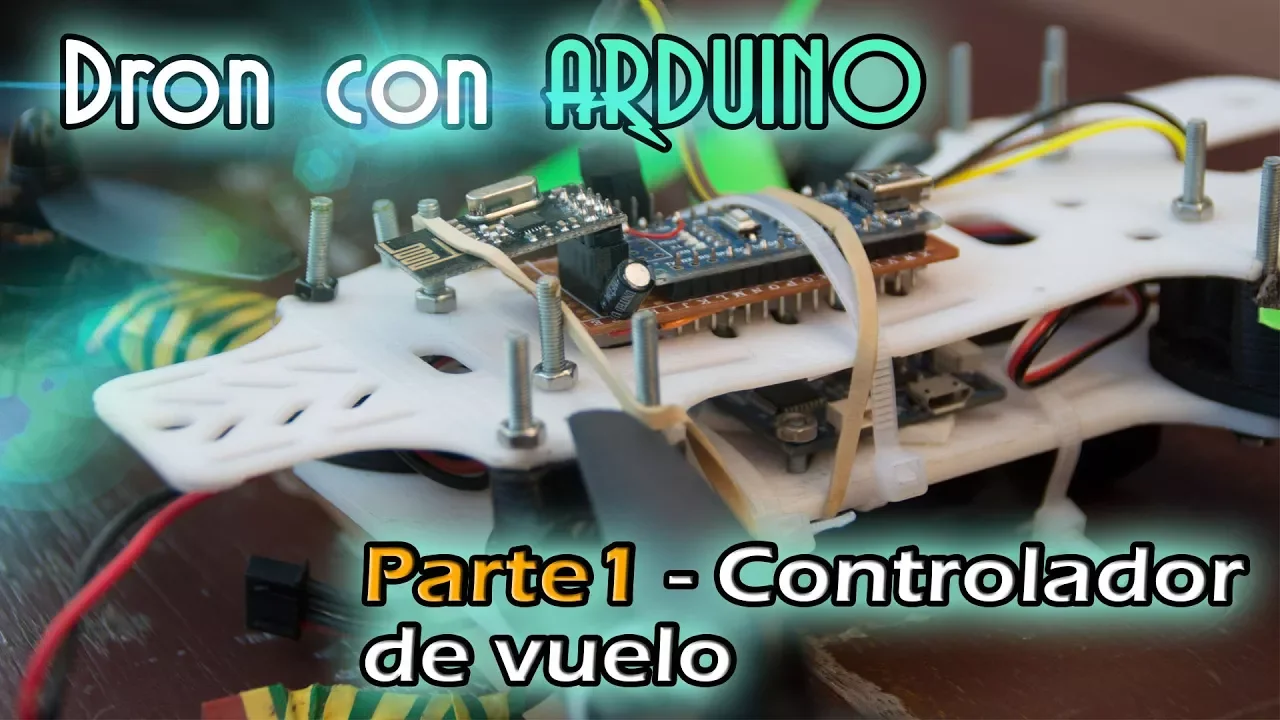
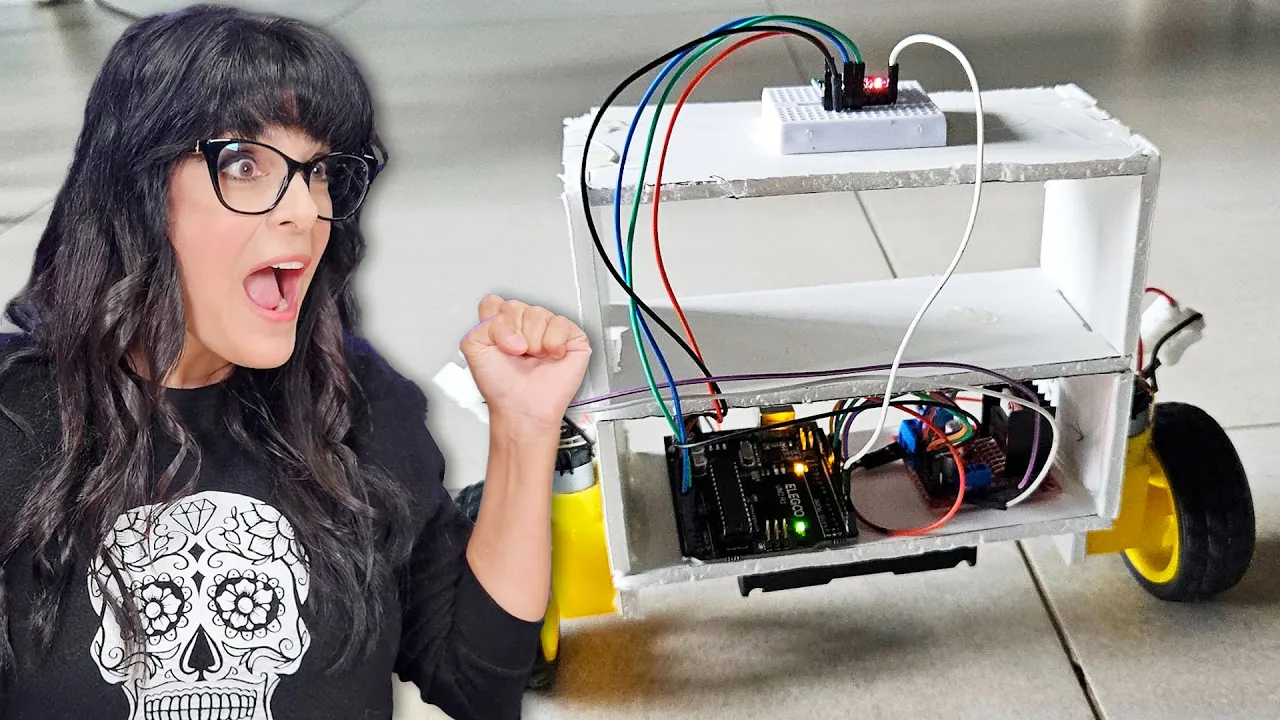
Developing real-world applications using the calibrated data, such as a self-balancing robot, a digital spirit level, or a basic drone flight controller.
16.8K views170likes6:29Original Release: 2022-12-17
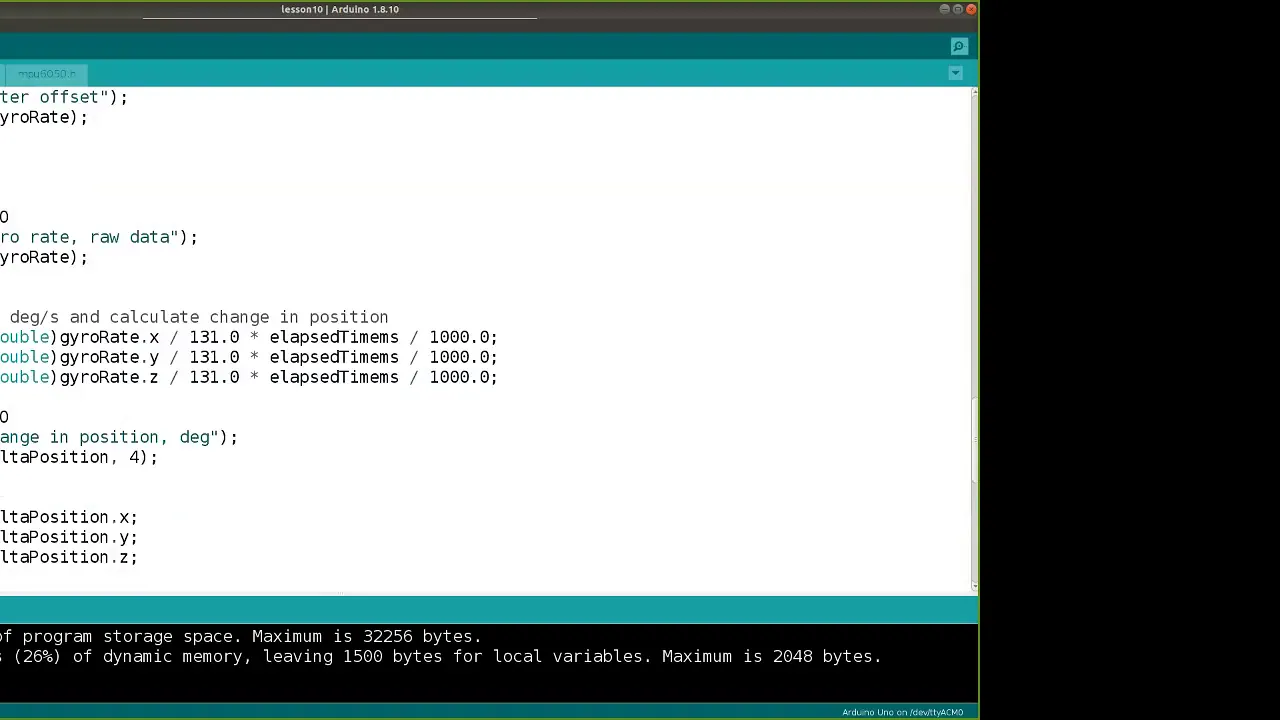
[Music] all right everyone today in this video I'll be showing you how to caliber your mpu 650 I'll be using the raspberry pi picco W th and micropython to do this but really this is applicable to any microcontroller or any language you have as long as you have your mpu 650 setup and getting readings you can do a calibration process and so the reason we want to do a calibration process is to make our sensor readings more accurate because a lot of the times uh cheap sensors like the MP 650 come with an inherent error when they're manufactured so they're not 100% accurate and what we're going to be focusing on in this video in part one is the gyroscopic acceleration or the gyro calibration for the sensor because there's six degrees of freedom and there's three degrees in the of angular acceleration that we're going to be focused on so if I uh run the script for you guys which is in my previous video you can see how to set the script scrip up if you're using Raspberry Pi PCO W but I'm going to run this script and it's going to um actually wait let me let me delete that there's an error there but it's going to show gyroscopic acceleration in all three degrees of acceleration and you'll see that it's printing all these values but my sensor is not moving and when a sensor is not moving your gyroscopic values should all be zero because there's no angular acceleration going on so in order to uh deal with this problem and have more accurate readings we're going to go through the gyroscopic calibration process for the MP 650 and the next video will'll be going over the the other degrees of freedom for the linear acceleration but this video will'll be focusing on the the three angular values to to get those values more accurate so I'm just going to jump into the script where I do that okay so before I go into the the code of the script I just want to explain one more time what I'm trying to do with the script and I'm trying to get three values that'll offset the acceleration of my three gyroscopic values that in a steady state when the sensor is not reading these offset values will make sure to the best degree of accuracy that those values are zero so essentially we'll get three values that when we add it to the sensor values in a steady state for the angle acceleration it should pretty much be zero and you'll see that at the end of this video what I mean by that if if you're still unclear of what I just said okay so going into this code here the first thing I do is I just make a connection to the MP 650 and then before I start running any gyro process I'm going to uh start with a settling time to allow my sensors to uh to reach stable values of of reading so I just said that to 4 seconds 4 seconds is a little Overkill you could do 1 second it be just fine and then here is essentially the meat of the the calibration process so I'm setting the calibration time to be 10 seconds the the longer the calibration time the more accurate calibration you'll get the more accurate offset values you'll get because you'll get more more points to take a a more accurate average but 10 seconds will be fine for the sake of the video and what I'm doing here is I'm just initializing the offset values as zero initially and the number of points I haven't recorded any measurements there should be number of measurements I don't know why I call it number of points but it's it's zero and then I'm just running a while loop for the calibration time so just know what I'm doing here is I'm running a a y Loop for 10 seconds to take as many measurements as I can in those 10 seconds so I'm going to sum up all those measurements in all three uh degrees of freedom and once I have all those sums I'm going to divide by the number of measurements I took so in the end you're just going to get three averages and three different axes of rotation in this case the gyroscopic axes of of U of rotation and then those will be your offset values that you'll add to your to your sensor readings in your real life application to make your sensor more accurate and this will improve whatever you're doing when when you're using the sensor so that'll be nice I'm just going to run this and show you what it's going to produce I have some nice print statements to show you that it's running and to show you how many uh measurements it it took so let's just go ahead and run that so you can see it's settling for 4 seconds so it let's you know just to inform the user that something's happening you don't want to just run calibration for a minute and the screen's just blank so as you can see it's telling me how many points it took so far and the N it tells me how many points it took and then I have all the offsets so what I'm going to do now is I'm going to take these offsets and I'm going to show you what they do to the sensor values for my gyroscopic uh acceleration values okay so going back to the first script I showed you at the beginning of this video where I was just calculating the GX gy gz by the way you can ignore this temperature thing I had this in a previous video I was doing this is just temperature readings I'm just going to delete that and what I'm going to do now is I'm just going to add the corresponding offset for each for each axis so I'm just going to do this or not add I should be subtracting actually so if I subtract this it'll be minus minus it should be plus and the other one will be minus minus it will be plus this as well and after I do this whole thing you'll see that the values are much closer to zero now much more accurate so I'm going to run the script and you you'll see that for yourself and so yeah that's it the calibration process is done so now you can use these constant values when your sensor is moving for your application uh whatever it is and just note two things here here is that this calibration process is not the most accurate sophisticated calibration process it is good for a majority of cases but there are more sophisticated calibration processes you can find online if you go read about them but this is uh sufficient for a lot of the applications uh mine and I'm sure many others will find this good enough another thing you want to note is that uh you do have to recalibrate every once in a while so the dry will drift over time and typically you want to recalibrate every time you use a sensor ideally but a lot of times you can't do that so just keep that in mind is that these are accurate for some time but just try to recalculate these every once in a while and I'm sure you can do this dynamically your script other than that I just want to say like comment subscribe say stay tuned for part two which is the linear acceleration and let me know what you want to see in the comments thanks for watching everyone take it easy [Music]
Up Next

13:08
PID Controller Explained: Basics, Block Diagram, Transfer Function
@EngineeringFunda
176K views•2017-10-25

30:32
Ultrasonic Transducers: Resonant Frequency Measurement and Horn Design
@imajeenyus42
229.9K views•2017-02-22

54:16
Polymer Environmental Degradation: Mechanisms & Stabilization
@iit
1.8K views•2012-07-10

33:39
How a Student's Question Saved a NYC Skyscraper from Collapse
@veritasium
22.8M views•2025-04-26
Related Study Plans & Knowledge Roadmaps
Structured learning paths in Engineering
engineering
Building Acoustic Levitators: Physics & Arduino
01The Physics of Sound and Standing Waves
02Piezoelectric Transducers and H-Bridge Drivers
03Arduino Programming: Generating 40 kHz Signals
+ 2 more learning modules
14h5 modules
Explore Roadmap
engineering
Building Peltier Cloud Chambers: Particle Tracks
01Cosmic Rays & Cloud Chamber Physics
02Thermoelectric Cooling (TEC) Fundamentals
03Custom Liquid-Cooling Loop Design
+ 2 more learning modules
18h5 modules
Explore Roadmap
engineering
Yagi-Uda Antennas: Modeling, Build & VNA Test
01Introduction to RF and Antenna Fundamentals
02Yagi-Uda Antenna Design Principles
03Antenna Modeling and Simulation in 4NEC2
+ 2 more learning modules
18h5 modules
Explore Roadmap
engineering
ECG Monitor Design: Op-Amps, Filters & Noise
01Electronics & Breadboard Basics
02Op-Amps and Instrumentation Amplifiers
03Bioelectricity and ECG Fundamentals
+ 2 more learning modules
18h5 modules
Explore Roadmap