![[5]–ROS2 Basics Explained – Nodes, Topics & Messages [شرح بالعربى]](https://i.ytimg.com/vi_webp/x7fgj2tMVLg/maxresdefault.webp)
![[GHW Open Source] Getting started with ROS 2 for Open Source projects](https://i.ytimg.com/vi/8pZYK6qACH0/maxresdefault.jpg)


![Learn Unity in 17 MINUTES! [2026 UPDATED PINNED COMMENT]](https://i.ytimg.com/vi_webp/E6A4WvsDeLE/maxresdefault.webp)



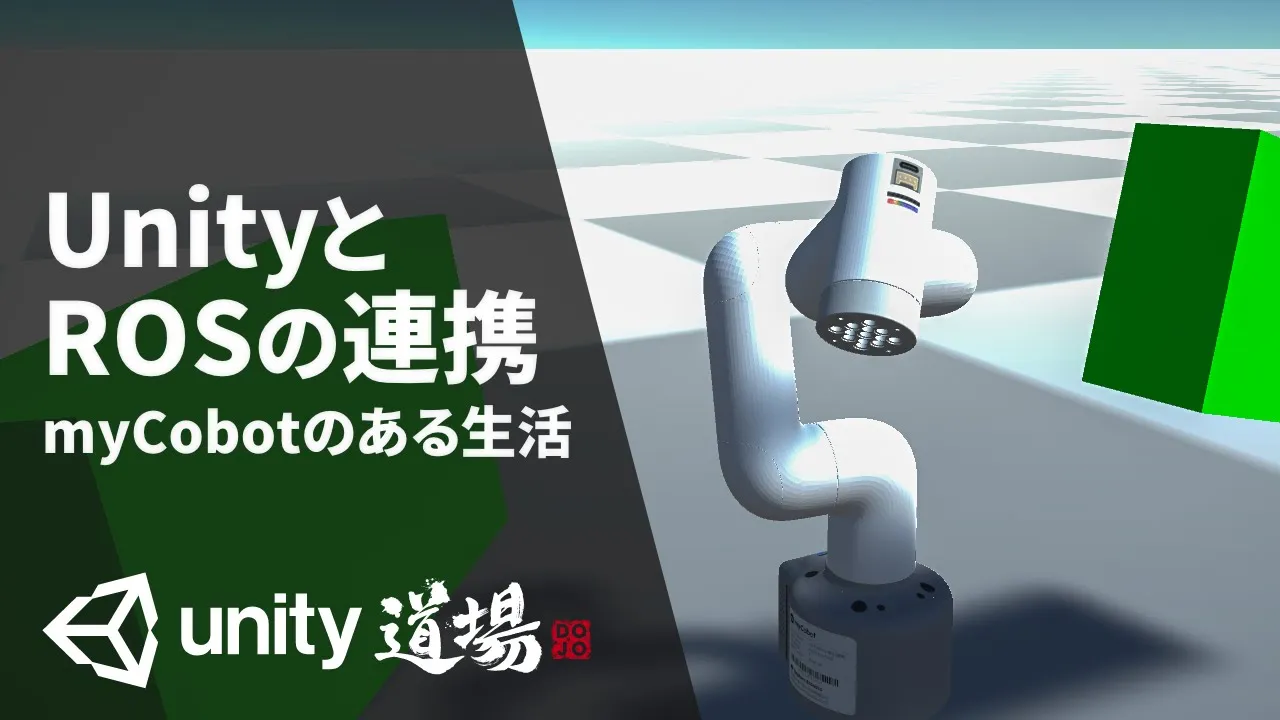





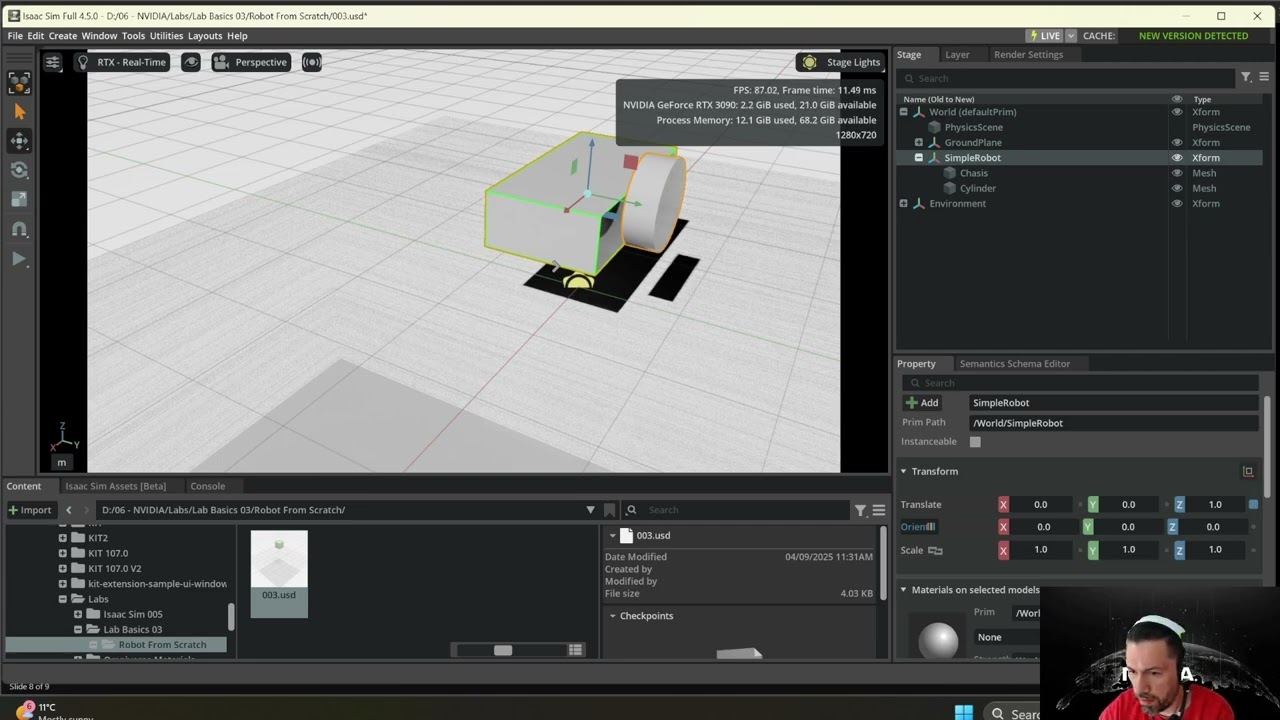




A digital twin robot in Unity is created by importing the robot's URDF file and meshes, configuring the Unity environment with the URDF Importer and ROS TCP Connector packages, and writing a script that subscribes to the joint state message from the real robot to update the virtual robot's joint positions in real-time, with key considerations including handling joint name mismatches between ROS and Unity, converting radians to degrees, and excluding unnecessary joints like finger joints.
Digital Twin in Unity: Franka R3 Setup with ROS 2
Added:Basic understanding of ROS 2 (Robot Operating System) architecture, specifically concepts like nodes, topics, publishers, subscribers, and messages.
Familiarity with the Unity game engine interface and basic C# scripting for manipulating 3D objects and components.
Understanding of URDF (Unified Robot Description Format) structure, including how links, joints, and visual/collision geometries are defined.
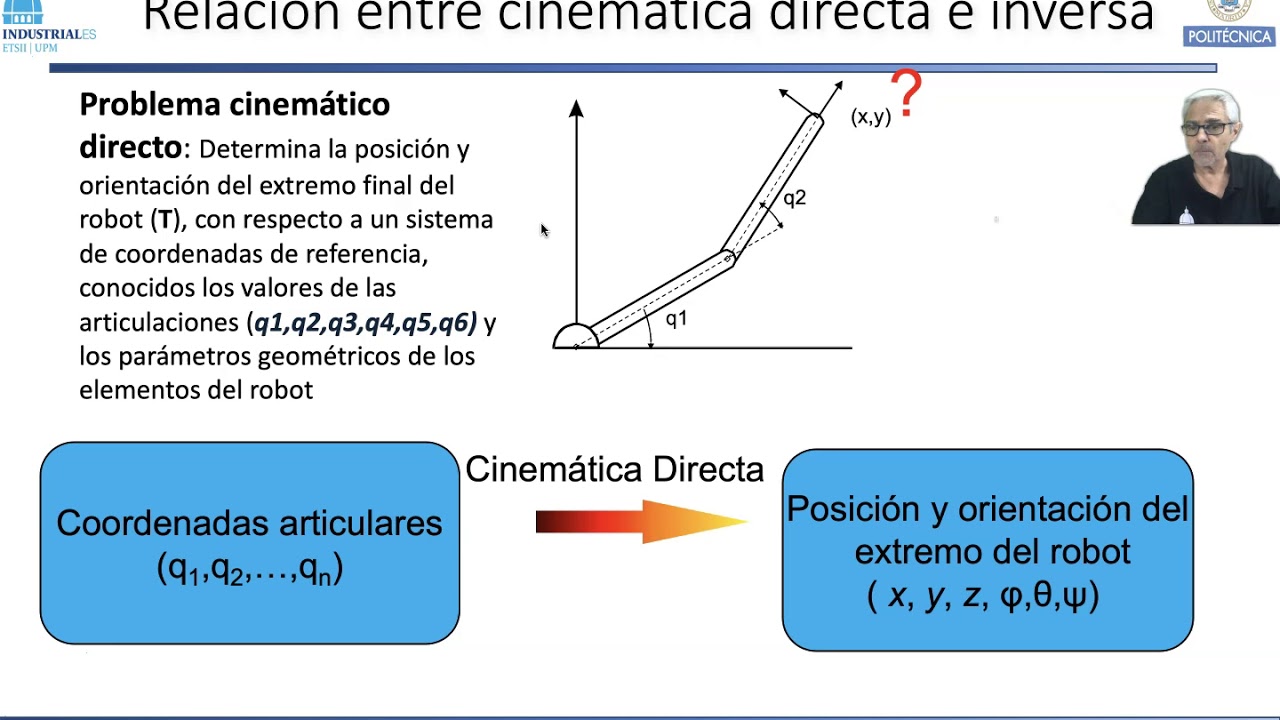
Fundamental concepts of robot kinematics, particularly how joint states (angles/positions) define the spatial configuration of a robotic arm.
Implementing bidirectional communication to send control commands from Unity (e.g., via interactive markers or virtual UI) back to the ROS 2 controller.
Configuring advanced physics and collision detection in Unity to simulate realistic object grasping and manipulation with the Franka R3 gripper.
Integrating virtual sensors (such as depth cameras or LiDAR) in Unity and publishing their data streams back to ROS 2 for perception and mapping.
Exploring reinforcement learning using Unity ML-Agents combined with ROS 2 to train the digital twin for autonomous tasks in a simulated environment.
Deploying the Unity digital twin to AR/VR (XR) platforms for immersive teleoperation and human-robot interaction (HRI) studies.
380 views12likes33:00Original Release: 2025-11-20
In this video, I want to show you how you can create a digital twin robot in Unity.
So, the concept is that I have two robots, one with Ross 2 and another mimicking its movements in uh Unity.
The one running Ross could be a real robot if you have it available, but in this video, it's going to be fully digital.
So, I chose the Frana F FR3 uh because it has all the necessary resources freely available, but bear in mind that um it's it's a work in progress. So, you should be prepared to meet some bugs. To get started, I would just follow the Franco Robotics Ski, which I'm showing here. It has two main branches. It has the humble and the Jesse depending on which version of Ross 2 that you're using.
So there are multiple ways to get started on this. You can do it locally or with Docker or with Workspaces depending on what you want. This will provide everything you need for the the ROSS version of the robot.
The next step is to create the URDF file which you can find in the Frana description on their GitHub uh page.
This requires Docker.
But before that, right now I'm creating a shared folder.
Shared folder.
This will allow me to create the URDF file in my virtual machine and then share it back to my Windows machine.
We also need a shared folder later for some ROSS messages.
So, I'll just get started with that.
Now, now I'm showing different ways to to mount the shared folder.
The first one didn't work for me. It might work for you. The second one did.
And uh now I'm just automatically mounting it to whenever I boot this virtual machine so I don't have to think about it anymore.
All right. So, let's check if it's mounted.
Yeah, there you go.
Okay, so now let's get started on the URDF file creation.
You just clone the the repo and then make sure you have Docker engine or else this won't work.
Yeah. And there was an error, something with a user. Um, other people has commented on this, so I found a quick fix.
You remove all the user arguments.
Yeah. And I forgot to uh I forgot to change the owner to 101 which uh in the docker files it explains that it should be a 101 and uh yeah then it just built normally.
Okay.
So now I'm opening the shirt folder I just created and I'm going to drop the URDF file.
So alongside with this URDF file, we also need uh the meshes of the robot.
And take note that um the path is important. So you should keep the same names and the subfolders.
I actually forgot one which will cause a problem later. And uh when we get to it, I'll show you All right, let's check if it's there.
And yeah, it all looks good.
So, let's try to import this into Unity.
Let's create a new project.
use the latest version that I have.
Yeah. So we now need two packages. The URDF importer and the ROSS TCB connector both by Unity Technologies.
Those can be imported with the git URL.
So if you find their respective repositories um yeah you can find the link there.
So the ROSS TCP connector is for Unity and the ROST TCB endpoint is for Ubuntu or wherever launching there. There was robot Okay.
So now we have those two.
We can try import the robot.
So I'll just create a folder. Name it FR3. and then grab the meshes from the shared folder and the URF file.
And now here comes the problem that I stated earlier.
As you can see, I forgot the Franco description folder.
So let's add that and then u then it should be correct.
and um it doesn't have any materials, but uh there it is.
So, let's just create some materials.
You can just get rid of that one.
Yeah, that's fine.
The Franco robot is white and black and Yeah.
So, let's just speed through this.
Now, this is about what it looks like.
Yeah. All right. So, now that we have that, there are some things we need to do. Uh, we need to remove the standard controller.
This will just mess it up.
Yeah, we need to set this with immovable and to use gravity and to set zero as the base link.
And then the drive the drive type of link one two three four five six and seven should be to target not force and after that's done the base is set up so let's uh move on to the TCP endpoint Let's start by cloning the repository also by uh by Unity technologies and it's important to get the right the right branch after you've cloned it.
And since you need to build it, um you need to create a source file where you can place this repository.
So let's change the branch to main ros 2.
And now you can build it and then you can source it afterwards.
Okay, now let's um let's try with a default server.
Yeah, that works. And uh now back to this. So the one running in Ross continuously sends joint state messages uh with the joints and their position.
So let's try to take a closer look at what the joint state message is so that we can have the Unity subscribe to it accurately.
Right. So, right now I'm u in Unity in order to subscribe to a message.
Um you need to have that message available. So, I'm just getting all of them in case I want to work with other projects or other messages later on.
You could also just get the specific one that you're after.
Yeah. So, there are all the the all the available messages that you can build.
We're looking for sensor messages and then joint data.
Yeah. And then you can hit build.
So let's look at what what's actually inside the joint state.
Yeah. So you have a list of names position velocity and effort.
What's important to us at this stage is the name and position.
The position which is declared in radians and not angles. So we'll need to convert those.
And there is a mismatch between the names in uh Unity and the ones given from the real robot.
So we also need to handle that.
So right now I'm creating a Ross connection.
Yeah. Using the IP from the virtual machine.
This will allow us to connect with a specific connection.
So now it's time to create a script.
Okay.
Yeah. Just got to install some stuff apparently.
I start off by having the the ROS connection.
And then I want to create a dictionary um where I can have the the joint names given in the ROS message.
Um, and then look up on the actual joint based on that.
Yeah, I need to turn off the the co-pilot suggestions. It's just getting in the way.
So let's subscribe to the message that we want which is the joint state message that we just imported.
So whenever it receives uh on that topic it should do this function.
which is about a thousand times a second.
1,000 hertz.
Yeah. Whenever you're importing, you might get an error stating that there's two two imported with the same uh same name. But yeah, you should worry about that.
So that's the way the FR3 joint one that's how they're named in the in Ross And then F3 link one is how they're named in Unity.
And what we're after is the articulation body.
This is where we can set the target position.
So that's what we want. Not the entire component, but just the that part of it.
Yeah. So, let's do the same for all the other joints.
Yeah. So, let's loop through all the messages that we we get all the names in the messages that we get.
which last I checked was nine because there are also some finger joints which we need to exclude because we don't need their position for this example.
So now we're just getting the the articulation body that we want so that we can uh set the position.
So let's see. Yeah. So inside the X drive you have the the lower and upper angles and the target.
So we need to convert from radians into angles.
Yeah. And you do that by multiplying by 180 and divided by pi and then cast it to float.
and that's how you update extra.
And don't forget to actually add the script.
You can just drop the ROS connection now, right? So, let's try to start up a server and launch Frank ao bring up example.
So, yep, there's an example.
And then you also need to change it to Ross 2. I forgot that in the ROS settings and now it would work. However, the joints would be a bit sticky because of the defined predefined acceleration.
So, just remove those.
springs into place and uh yeah, now it's following its movements.
However, that one's not moving. So, let's try another example where we Uh I've now loaded a controller which will move it back and forth and as you can see the uh the unity follows its positions.
Yeah.
Up Next
12:47
Unity Robotics Hub on HoloLens 2: ROS Integration Tutorial
@bryceikeda7782
4.6K views•2022-03-02

12:54
Triumph of Orthodoxy Icon: Byzantine Art & History Explained
@BenCallan
2.1K views•2024-08-06

9:49
FastAPI vs Flask vs Django: Choosing the Right Python Web Framework
@TechWithTim
302.5K views•2024-05-26

1:42
Game of Thrones Opening Credits: A Cinematic Analysis
@gameofthrones
46.3M views•2011-04-18
Related Study Plans & Knowledge Roadmaps
Structured learning paths in General & Interdisciplinary Studies
general-studies
Elevator Engineering: History, Physics & Cities
01From Hoists to Safety Brakes: The Dawn of Vertical Lift
02Hydraulic vs. Traction: The Engineering Physics of Elevators
03Modern Speed, Safety, and Algorithms
+ 2 more learning modules
12h5 modules
Explore Roadmap
general-studies
Rubber: Material Science, History & Geopolitics
01Origins of Natural Rubber & Mesoamerican History
02The Chemistry of Natural Rubber & Vulcanization
03The Geopolitics of the Rubber Boom & Colonization
+ 2 more learning modules
12h5 modules
Explore Roadmap
general-studies
Containerization: Evolution, Logistics & Trade
01Ancient Trade & Bulk Cargo: Amphorae to Barrels
02The Industrial Revolution & Cardboard Packaging
03The Containerization Revolution: Malcom McLean
+ 2 more learning modules
12h5 modules
Explore Roadmap
general-studies
Textile Tech: Evolution, Labor & Global Impact
01Pre-Industrial Textiles: Handloom & Cottage Industry
02Mechanization: The Spinning Jenny to the Power Loom
03The Factory System & Global Labor Transformation
+ 2 more learning modules
10h5 modules
Explore Roadmap