









![ZIEGLER NICHOLS ✅ SEGUNDO Método [Control PID] Parte 2](https://i.ytimg.com/vi_webp/AAaWNNuqpuY/maxresdefault.webp)







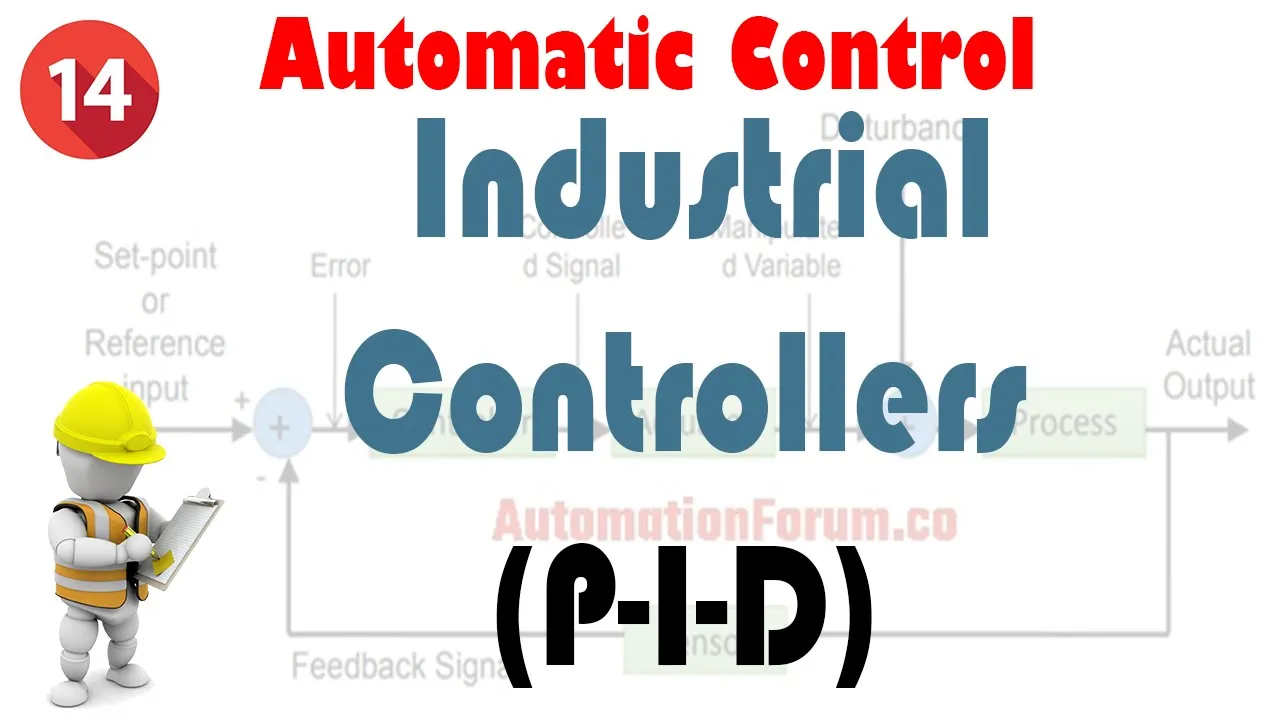
PID controller tuning follows a systematic three-step process: first, set proportional (P) gain to bring the actual value close to the set point without causing instability; second, add integral (I) gain to eliminate steady-state error by compounding over time; third, optionally introduce derivative (D) gain to reduce overshoot, but only after achieving stable P and I values since excessive D can cause oscillations. The goal is to find optimal gain values that achieve the desired response time while maintaining system stability.
PID Controller Tuning: A Step-by-Step Guide to Proportional-Integral-Derivative Settings
Added:Fundamentals of closed-loop control systems, including the concepts of setpoint, process variable, feedback, and error.
The individual theoretical roles of Proportional (P), Integral (I), and Derivative (D) control actions on system behavior.
Key transient response characteristics such as overshoot, rise time, settling time, and steady-state error.
Heuristic tuning methodologies, such as the Ziegler-Nichols and Cohen-Coon methods, for systematic parameter selection.
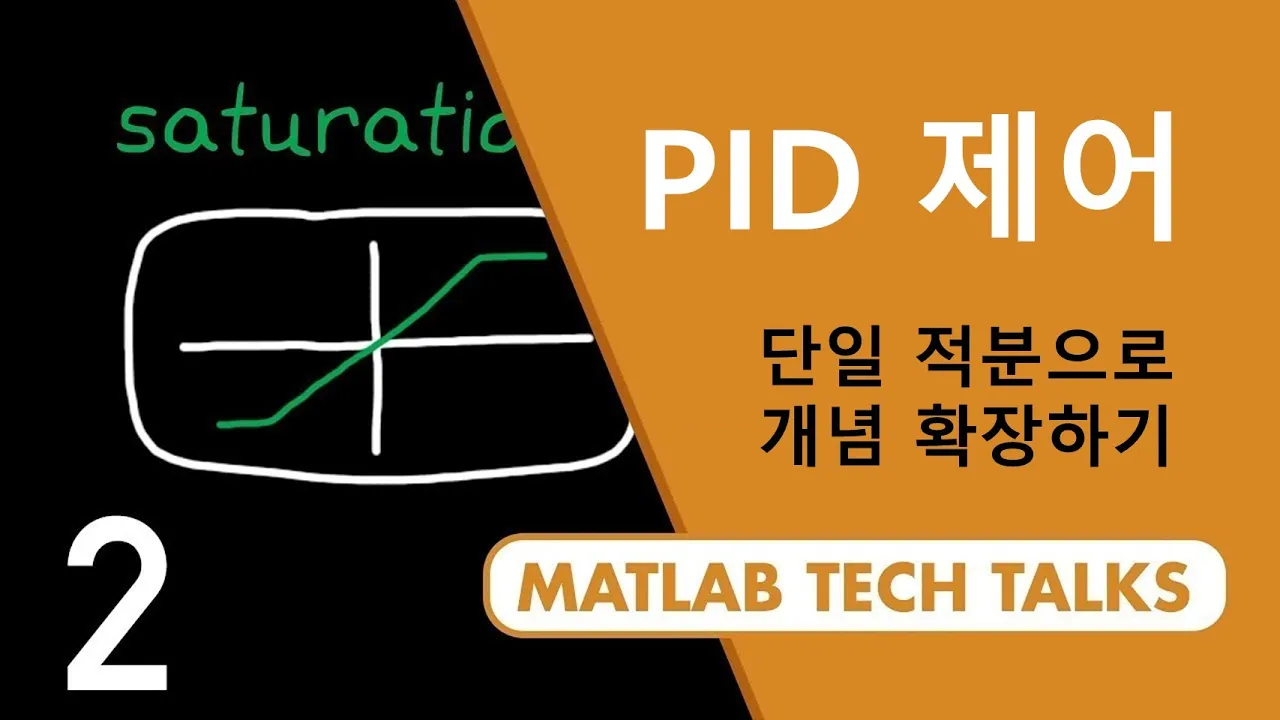
Practical controller limitations and compensation techniques, specifically actuator saturation and anti-windup algorithms.
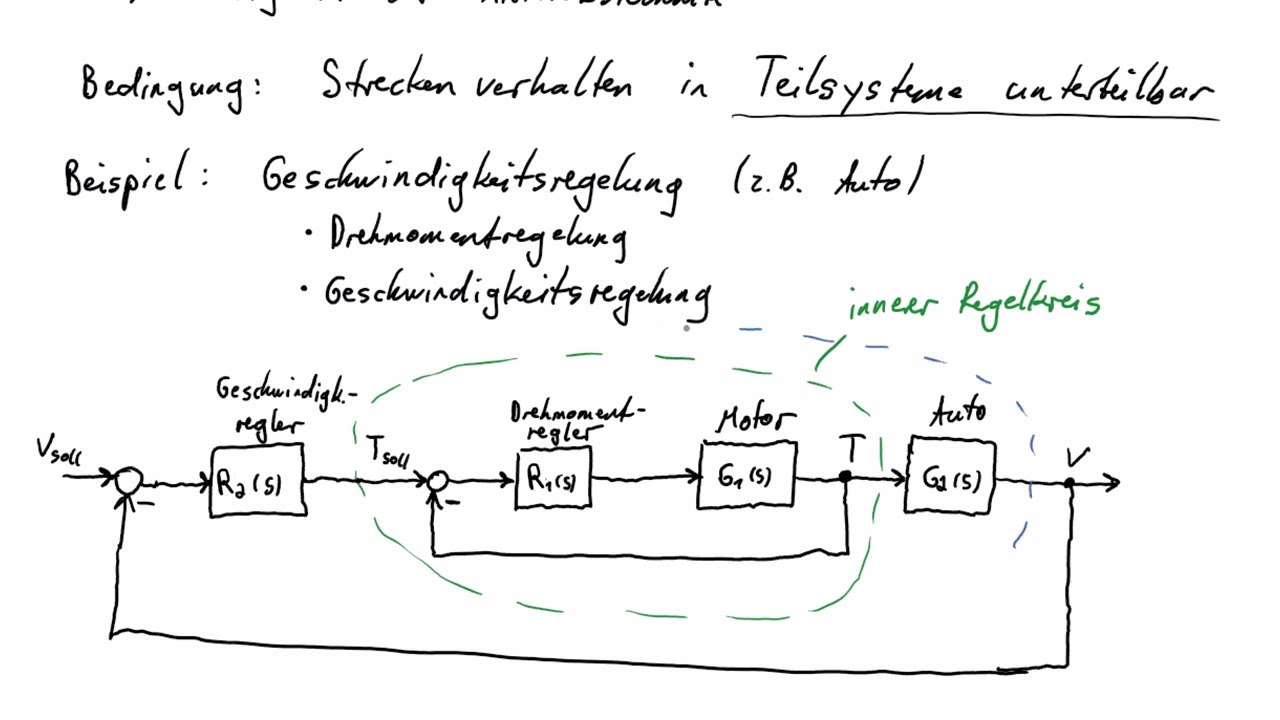
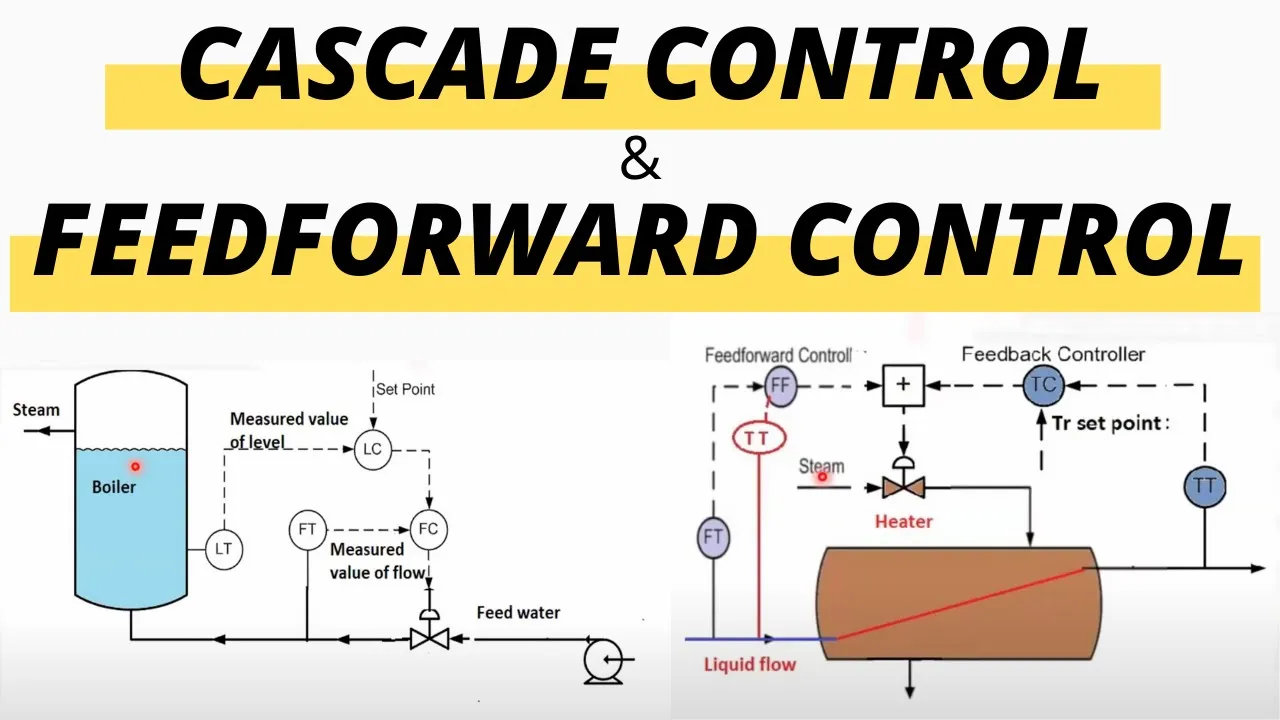
Advanced control loop architectures, including Cascade control, Feedforward compensation, and Gain Scheduling.
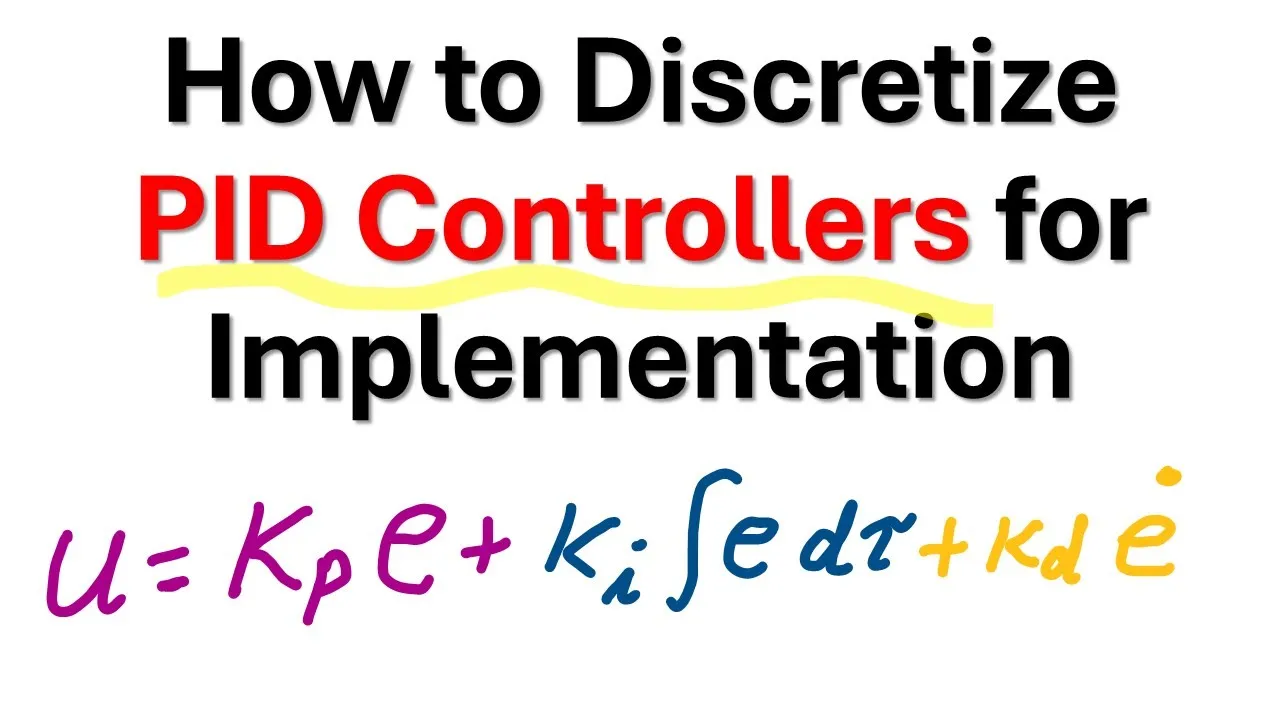
Discretization of continuous-time PID algorithms for digital implementation on PLCs or microcontrollers.
65.9K views1.2Klikes14:34Original Release: 2024-07-16
all right let's learn how to tune a p ID controller most of the documents I see online and videos I see on other sites make things pretty complicated and you walk away wondering how am I going to take that information to tune my controller because they're nothing alike well hopefully in this video we can make it simple break it down step by step and afterwards you guys can take these principles to tune your own controllers if you don't know what P or proportional I or integral D or derivative stand for check out the other videos on this channel as they go down into the math behind things and break it down into simple terms so for this video I'm going to assume that you have some basic knowledge of a PID controller most manufacturers are going to have their basic PID values and those are a great starting place and I'll start with those if I have them but if not let's learn to tune a controller from scratch so the first thing I do is set the P the I and the D to zero then start with the proportion the proportional is your orig initial Spike or your initial output or your initial reaction that is going to control the output so it's going to look at okay where is my set point where is my actual value now that can either be temperature that can be speed that can be anything whatever your controller is what's the difference between them and whatever your proportional gain is is going to determine how much it increases your output to try and bring your actual value to your set point so let's start with a proportional of 100 for this controller now keep in mind every controller and every manufacturer uses a different variable for their gain so some will be 0.1 some will be one some will be 100 and some will be a th000 so you just need to know that specific controller to know how much to start with and how much to increase your proportional output for this controller the maximum value is somewhere around a th000 so I'm going to be starting with 100 on the output so now let's try that and see what happens if our set points at 1,00 with a perer proportional of 100 we notice that the the green output increases initially because that's the proportional it's your initial reaction and it does bring our actual value up but it's never quite able to reach our set point so if we reset that let's try a proportional of 200 and see what happens okay that's better but still not quite at the set point now we're going to say how much do we increase the proportional and how much is too much so when we're starting what we want to do increase the proportional value to a point where your actual value gets close to the set point or even maybe overshoots it a little bit but the controller is not unstable now what's an unstable controller let's put in a value of a th000 here notice how the output is oscillating up and down up and down that's an unstable controller because the oscillations are not getting smaller the oscillations are either remaining the same or getting bigger that is not good when we hit that point we know we've gone too far and we need to back it up so now if I go to a value like 800 the oscillations start getting smaller which means means this is now a stable controller because the oscillations get smaller but that's still a lot of oscillations if you're trying to maintain a temperature you don't want to go to 80° 70° 79° 71° that's far too much oscillations so for this controller let's try resetting it and let's try a set point of around 500 because 200 was a little slow 800 was still oscillating a bit much so let's pick somewhere in the middle now notice how the actual value almost reaches the set point we have a slight oscillation but it's not terrible and then the controller seems to stabilize out so I would call that a great starting place for the P value or the proportional now you're going to say okay that's great we've set the proportional but haven't you noticed the actual value still hasn't reached our set point it's only at 800 when the set Point's a th000 correct because the proportional is just your initial reaction it's it's not actually supposed to bring you right to the set point it's just supposed to give let's use a vehicle in cruise control if you're driving at 80 km an hour and you set cruise control at 100 you need something to push that pedal down initially far enough to bring you close to the 100 you don't want to mat the pedal all the way or you're going to go to 110 120 130 km an hour or miles per hour if you're in the US but then after that initial push of the throttle let's say that brings the vehicle up to 90 or 95 km an hour you need something to bring it the rest of the way and that's where integral comes in so integral starts very low but then it compounds on itself so it'll increase the throttle percentage by 1% in the beginning and then if it still doesn't reach the set point it compounds again to 2% and if it doesn't reach it again it compounds to 4% and then 8% and because of this compounding it will help the actual value reach that set point quite fast because the longer it takes the faster that integral is going to act on the output so let's try adding some integral in here let's start with an integral of one and see what happens all right let's see the actual value is slowly increasing here 835 836 but that's far too slow for me so let's go a little bit faster 10 okay definitely increasing faster you can see on the graph that the actual value and the output are compounding over time and increasing faster but still a little bit slow for me so let's increase that up higher to 50 now 50 looks quite good it's going at a good speed and I think it'll bring us to our set point quite well so if we reset this let's see how these two values work together now so the proportional gives us that huge output in the beginning and a slight oscillation and then we're going to notice that integral we've added instead of before I don't know if you remember but the actual value is hovering below the set point line never reaching it now that we've added the integral the proportional does that initial step and the integral is able to bring it right up to the set point so this is now a fully tuned PID controller okay you're going to say to me no this is a fully tuned Pi controller and you'd be correct most P ID controllers don't even need to use the DV value the dvalue or the derivative can actually cause you issues so if you guys are tuning your own P controllers and you notice that it's going crazy the results aren't what you think they're going to be you change the P or the I and it doesn't react the same way it would in this simulator it might be because you have too high of a DV value actually fighting your controller so whenever I tune a controller I like to set the D value to zero to start and then only at the end after I've tuned it will I add some D okay so what is the derivative do notice this little overshoot on the actual value the red line above the black line the overshoot in the beginning what the D value does is it sees how fast is my actual value is my speed or is my temperature or whatever your value is reaching my set point and if it's reaching it too fast the D will actually pull back on the output a little bit depending on the multiplier you've put in the two to the derivative derivative gain it'll pull back on that output a little bit to limit the actual value from overshooting your set point this is why it can cause tuning problems because if it's set too high every time that controller oscillates the D value is going to be pulling back on it and letting go and pulling back and actually adding to the oscillations so we only want to add a little bit of derivative so let's try to derivative of 10 and see what happens uh maybe we'll start smaller even five I like small derivatives to start and let's see how it does okay the overshoot is a little bit less but there's still an overshoot there so what if we do a derivative of 10 less still very stable let's try a bit more let's say I don't want any overshoot I'm going to try and bring this overshoot as low as I can let's match it to the I value and see what happens okay that's pretty good let's do a big jump and see what happens okay so derivative of 100 did prevent us from overshooting but it also added some oscillations because of that fighting effect or that pulling back and letting go effect so I don't want a derivative of 100 I'm okay with a little bit of overshoot to maintain a more stable controller without these oscillations cuz what we're going to find is once you have your load steps changing so your temperature changing or your speed changing that derivative is going to start to cause issues later so let's set the derivative back down to 50 and that looks like a very stable controller minimal oscillations now let's add some load steps into here and see how this controller reacts so these steps just simulate a real load changing so your load's going to increase or decrease you're going to have a little say your vehicle on cruise control is starting to go up a hill or down a hill or your temperature you're trying to control the temperature of a room and somebody opens a big garage door something like that would be one of these load steps and so you can simulate it and see how your output reacts and that's pretty good reaction from the output might be a little bit fast acting in a real world scenario if we add some random Distortion which are always going to get let's see no it's actually pretty stable okay so we found some good P and D values for this specific controller now every controller is going to be a little different and with this simulator by the way if you want the simulator check it out on the Microsoft store under P ID simulator by etco it's a great software and anybody can use it to practice tuning a PID simulator at home or a p ID control loop at home before you do it in the field so you're not going to wreck something great tool for practice great tool for teaching and a great tool for learning anyway we can adjust our reaction time so right now it's pretty fast if you have a temperature control Loop that's going to be a slow reacting time because by the time the boiler ramps up or if you're using a hydronic water system by the time it heats up that water there is a bit of a delay especially if you're going through a heat exchanger or anything else so you can actually slow the reaction time down and then see how your controller reacts or your PID values react to a slower acting controller so in this one notice it takes longer for the actual value to increase and that'll just be because of that delay in heating up that hot water cooling down the chilled water so for this controller it's actually taking a little longer to reach the set point a little bit of an overshoot I didn't like so let's try and tune it I want to get rid of the D most temperature controllers are actually only p and I let's set a bit of a lower proportional and maybe increase our eye a little bit so the reason I did that notice um how much we overshot in the beginning so I'm going to bring the proportional down a little bit to try and limit that and then I'm going to increase my I or my integral because I want to bring this line after the overshoot I think it took a little bit too long to bring that back down to the set point and let's see how those values work now watch the output increases similar to before and let's see what happens that integral is now compounding and it brings it back down much quicker to the set point but what we want to prevent is too much oscillating afterwards so let's see if we're able to reach our set point now if there's enough integral brings it up to the 1,00 set point and it maintains it very well or fairly well so I would call this a nicely tuned Pi controller for a temperature control Loop so we SE what happens okay we have too much of a proportional what happens if you have too much integral well we have a simulator so so we can test it without breaking anything I want to try an integral of a th000 let's see how our PI controller reacts now let's speed this up a little bit just for the video sake remember the oscillations from the P it's not immediate oscillations that you would get with a high proportional value but it's compounding oscillations that you're going to get from that really high integral so whether you have too high of a proportional or too high out of an integral you're still going to get those oscillations so the idea is to increase them to the point where you have the reaction time you want without causing an unstable controller like this all right hopefully after watching this video you guys are able to tune your own P Loops or PID controllers if not check out the other videos on the channel go to our website at pain.com there's some great articles there and again this is the PID simulator software from the Microsoft store a great tool for practicing PS have a great day everyone
Up Next

24:50
Manual PID Controller Tuning for an Inverted Pendulum | DigiKey
@digikey
76.3K views•2023-09-18

30:32
Ultrasonic Transducers: Resonant Frequency Measurement and Horn Design
@imajeenyus42
229.9K views•2017-02-22

54:16
Polymer Environmental Degradation: Mechanisms & Stabilization
@iit
1.8K views•2012-07-10

33:39
How a Student's Question Saved a NYC Skyscraper from Collapse
@veritasium
22.8M views•2025-04-26
Related Study Plans & Knowledge Roadmaps
Structured learning paths in Engineering
engineering
Building Acoustic Levitators: Physics & Arduino
01The Physics of Sound and Standing Waves
02Piezoelectric Transducers and H-Bridge Drivers
03Arduino Programming: Generating 40 kHz Signals
+ 2 more learning modules
14h5 modules
Explore Roadmap
engineering
Building Peltier Cloud Chambers: Particle Tracks
01Cosmic Rays & Cloud Chamber Physics
02Thermoelectric Cooling (TEC) Fundamentals
03Custom Liquid-Cooling Loop Design
+ 2 more learning modules
18h5 modules
Explore Roadmap
engineering
Yagi-Uda Antennas: Modeling, Build & VNA Test
01Introduction to RF and Antenna Fundamentals
02Yagi-Uda Antenna Design Principles
03Antenna Modeling and Simulation in 4NEC2
+ 2 more learning modules
18h5 modules
Explore Roadmap
engineering
ECG Monitor Design: Op-Amps, Filters & Noise
01Electronics & Breadboard Basics
02Op-Amps and Instrumentation Amplifiers
03Bioelectricity and ECG Fundamentals
+ 2 more learning modules
18h5 modules
Explore Roadmap