![Pleura Anatomy -1 | Parietal and Visceral Pleura| Thorax Anatomy | [Simplified]](https://i.ytimg.com/vi/RFiOYPFs4SA/sddefault.jpg)




















Point of care lung ultrasound is a valuable clinical tool for evaluating pulmonary conditions, utilizing specific ultrasound artifacts and techniques: pneumothorax is detected by observing lung sliding (the 'ants on a log' movement along the pleural interface), pleural effusions are identified by visualizing the spine continuing past the diaphragm, and lung pathology is assessed through A-lines (normal horizontal lines) versus B-lines (pathological vertical lines that move with breathing); interpretation requires clinical correlation as the pattern and distribution of findings (focal vs diffuse) help distinguish between conditions like pneumonia and pulmonary edema.
POCUS Lung Ultrasound: A Guide to Bedside Lung Imaging
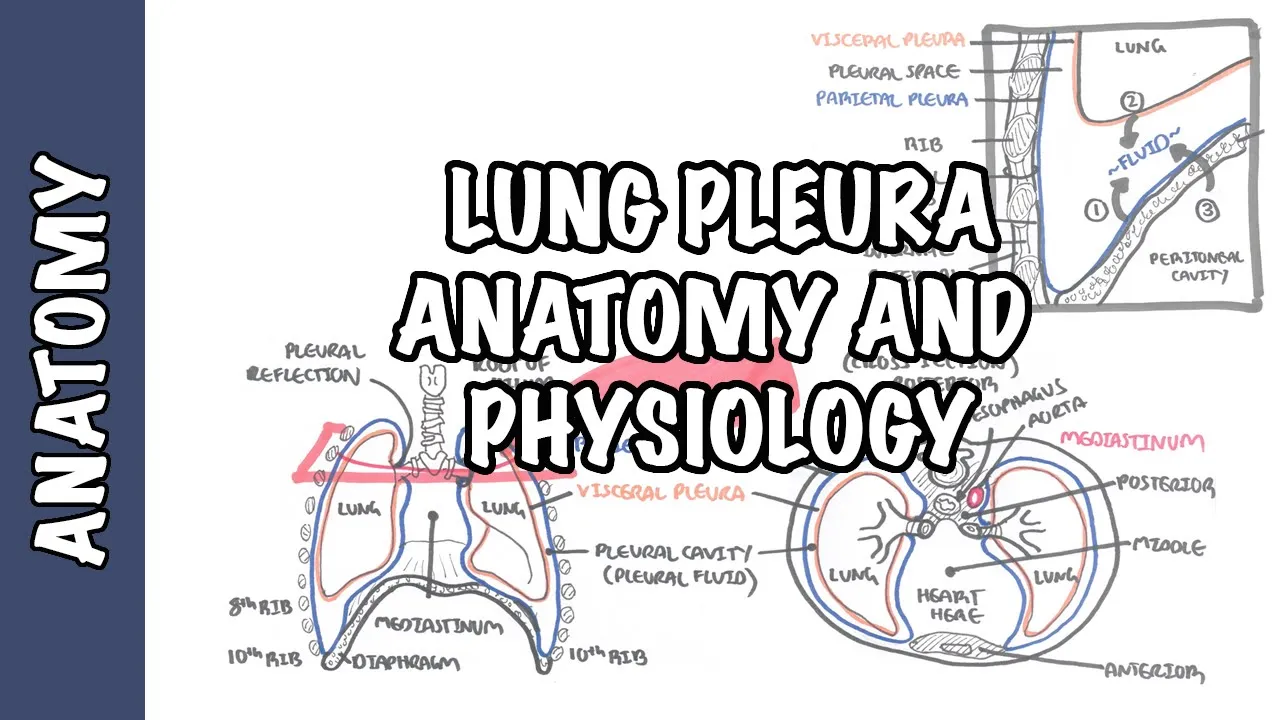
Added:Basic thoracic and pleural anatomy, including the relationship between the parietal and visceral pleura, ribs, and intercostal spaces.
Fundamentals of ultrasound physics, particularly how sound waves interact with air and fluid to generate acoustic artifacts.
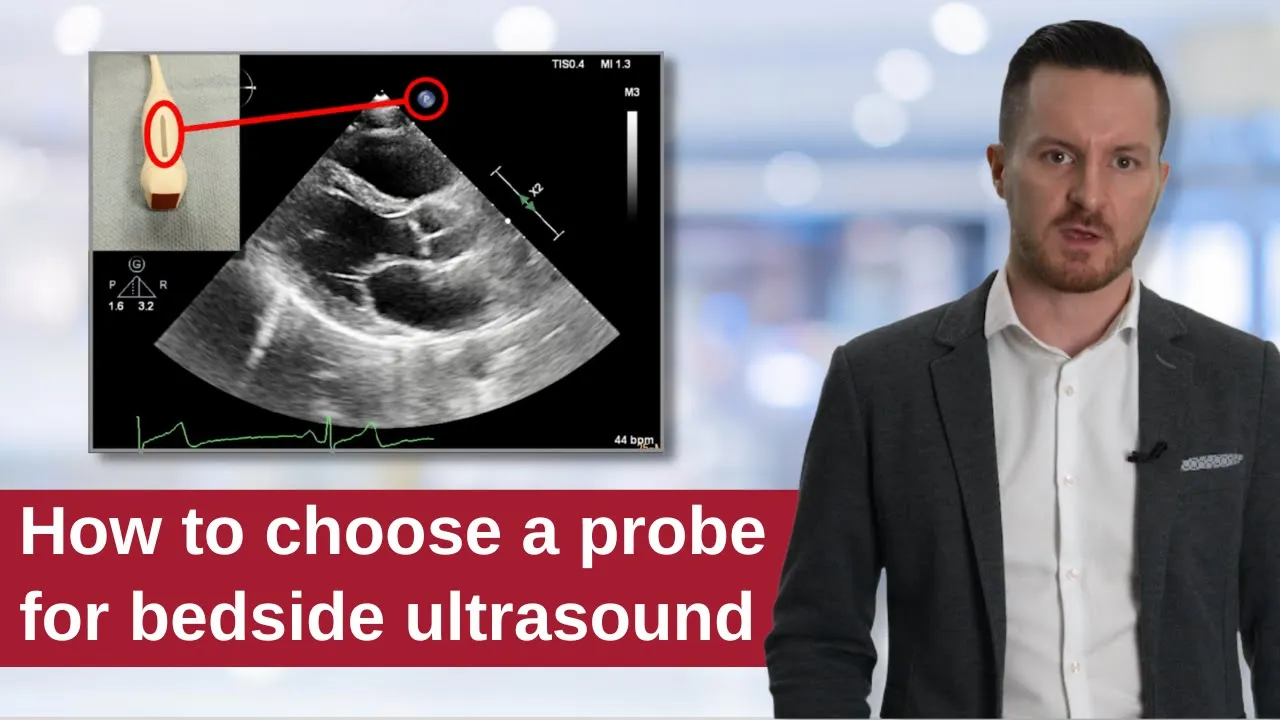
Basic ultrasound knobology and probe selection, specifically understanding when to use linear, curvilinear, and phased array transducers.
The clinical pathophysiology of acute pulmonary conditions such as pneumothorax, pulmonary edema, and pleural effusion.
Implementation of clinical diagnostic algorithms such as the BLUE Protocol (Bedside Lung Ultrasound in Emergency) to evaluate acute respiratory failure.
Integration of lung ultrasound with Focused Cardiac Ultrasound (FoCUS) and IVC assessment for comprehensive hemodynamic monitoring in shock.
Techniques for ultrasound-guided thoracic procedures, specifically thoracentesis and chest tube localization.
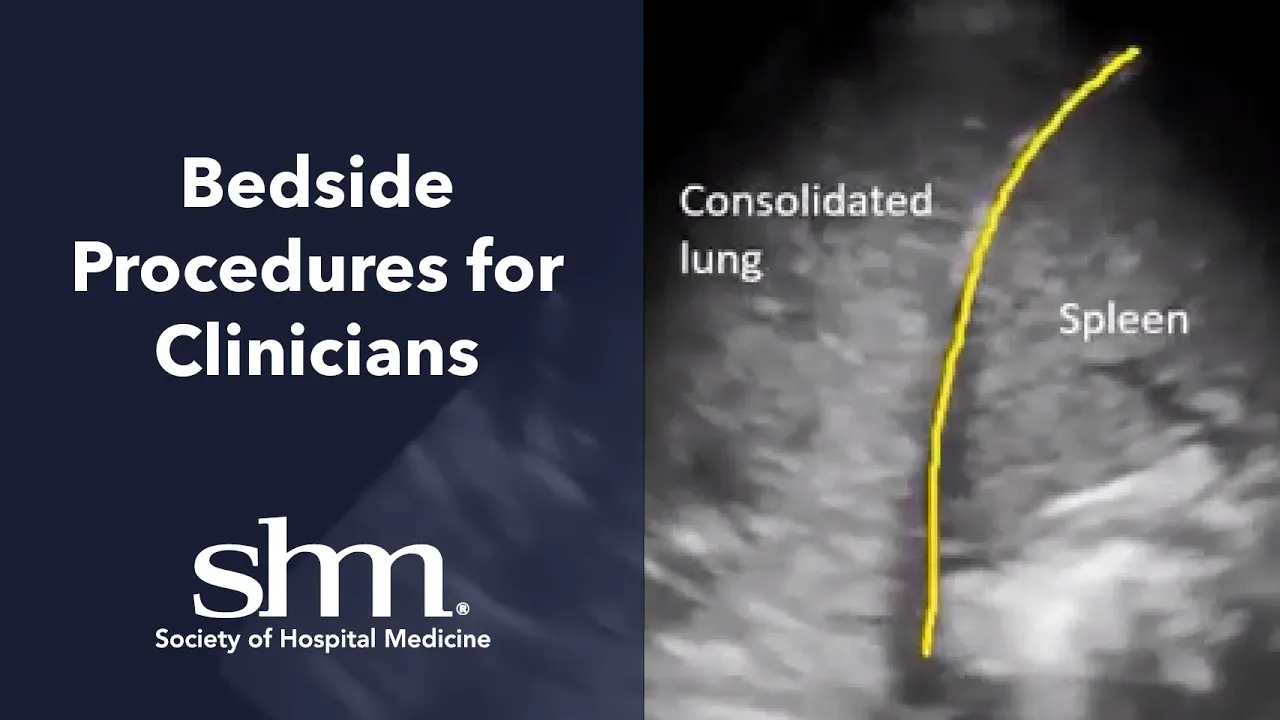
Advanced assessment of lung consolidation, hepatization, and dynamic air bronchograms to differentiate pneumonia from atelectasis.
165K views2.2Klikes18:57Original Release: 2022-06-08
Hi, I'm Dr. John Kugler with the Stanford 25 ultrasound series.
Today, we're going to be learning about lung ultrasound. Now, lung ultrasound is really important, especially in my practice as a hospitalist. I use lung ultrasound all the time to evaluate patients for various conditions. Today, I want to focus on pneumothorax, pleural effusions, as well as telling the difference between A lines and B lines, which will help us to better understand if a patient might have pulmonary edema or pneumonia. To get started, we'll- we'll start with pneumothorax. Now as a hospitalist, I don't diagnose a lot of pneumothoraces, right? My colleagues down in the ED are usually checking this out more than I am, but it can be useful, especially after performing a procedure where pneumothorax is possible.
Now using ultrasound to look for pneumothorax is really nice because it's quick and it has a very very high negative predictive value.
If I perform the scan, I can say with confidence that my patient doesn't have a pneumothorax.
This -the sensitivity of this scan- is is such that when you perform it, you well outperform a chest X-Ray, and you approach a CT scan in terms of the negative predictive value, which is why so many of us like doing the scan this way. Now, to get started, we're going to position our patient, and then we're going to grab a probe. I'm going to show you all today using a linear probe. Though to be honest with you, you could do this scan with many different probes, and it works. But we'll be able to see the best today with a linear probe, so I like to- I like to show you with this.
When we position our patient, we'll usually have the patient lying flat.
Okay, we can have the bed up maybe a little bit. Like here, we have a pillow under his head, but it's really important because air is going to rise and we want to put the probe where the air would go, right? If we have the patient sitting straight up, the air is going to come up here to the clavicles, and we actually can't see very well the sliding that we need to see up here above the clavicles. So what we need to do is scan with the patient lying flat.
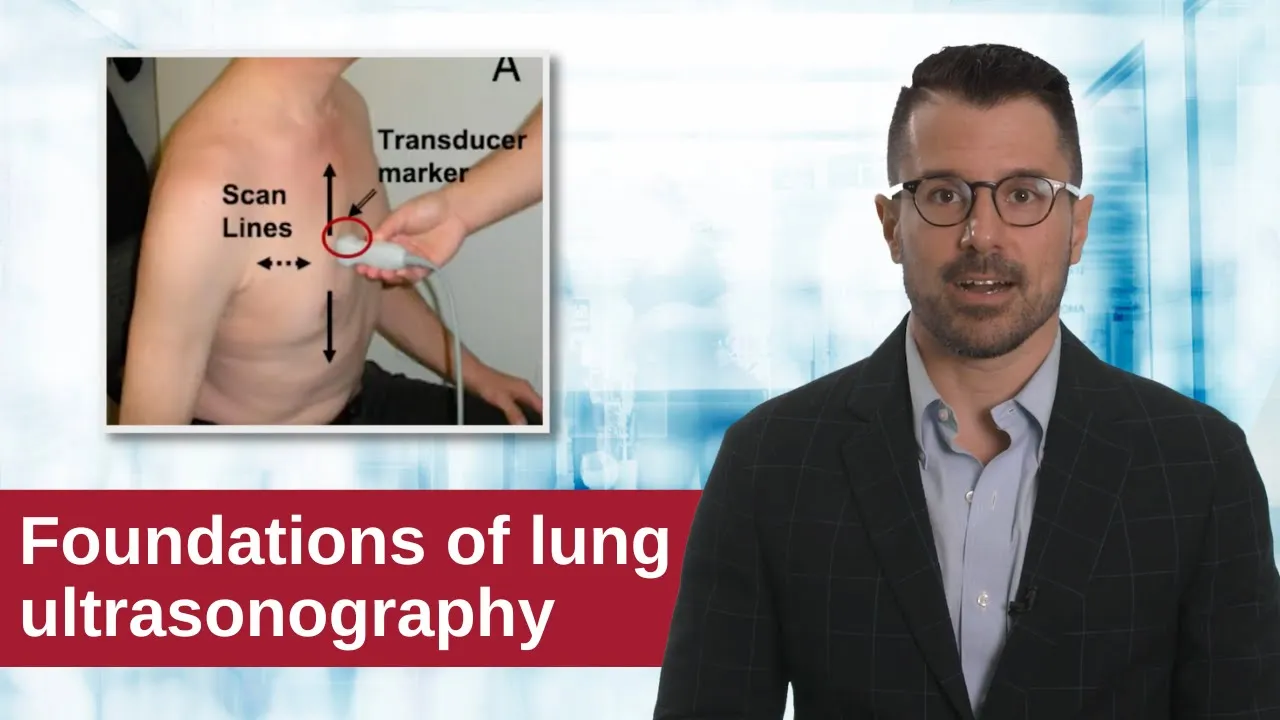
I'm going to place the probe across a couple of rib spaces here, and this is about the highest part of the chest here. So this is where the air should go, and if we go, we can see here, I've got a beautiful picture of two ribs and the space right in between. Alright, I'm going to look for that bright white line. That bright white line is the interface between the visceral and parietal pleura. If I see movement along that bright white line, I sometimes call it ants on a log. You see these little things kind of moving back and forth, right? So long as your patient's breathing, you'll see that movement. Alright. That lets you know that there's no pneumothorax. What happens is if there is a pneumothorax, air will come in between the visceral and parietal pleura, and it won't let you see that movement any longer. So if you don't see any movement between that rib space, you need to stop and think: you might be dealing with a pneumothorax here.
But as long as I see movement as I do today, I can feel confident my patient is not in pneumothorax.
So our patient today did not have a pneumothorax, but let's go ahead and take a look at a video of what a pneumothorax would look like if our patient had one. So here again, we can see that spot in between the two ribs and the bright white line. Okay, again, that's your- that should be your pleural interface. Now before, we saw that sliding. We saw it look like there were little ants moving back and forth along that white line. But here in this video, there's nothing, right? And the reason for that is we're really only seeing the parietal pleura, and there's air between the parietal pleura and the visceral pleura.
Alright. Or at least that's our assumption. Now, there are a few things that can cause an absence of lung sliding, and it's important that you know that. So we do know that the positive predictive value of lack of lung sliding isn't nearly as good as the negative predictive value of seeing it. So if we go ahead and look and we don't see lung sliding, you cannot assume that you found a pneumothorax. You either need to do additional studies to try to figure this out.
So what I want all of you to be good at though is: can you identify a lack of lung sliding to know that it's time to do additional studies? And here in this video, we can clearly see there is no lung sliding at all, and we should be nervous that this patient may have a pneumothorax.
Next, we're going to learn about how to look for pleural effusions. This is a scan that I use all the time. Pleural effusions are pretty easy to find with ultrasound, and it's very very sensitive. You're going to find ultra- you're going to find pleural effusions that you don't see with the chest x-ray, but you can pick up with ultrasound. It's sensitive for very very small amounts of fluid. So how do we do this? We first need to position our patient.
This is where you want to ask your patient to go ahead and take your right arm.
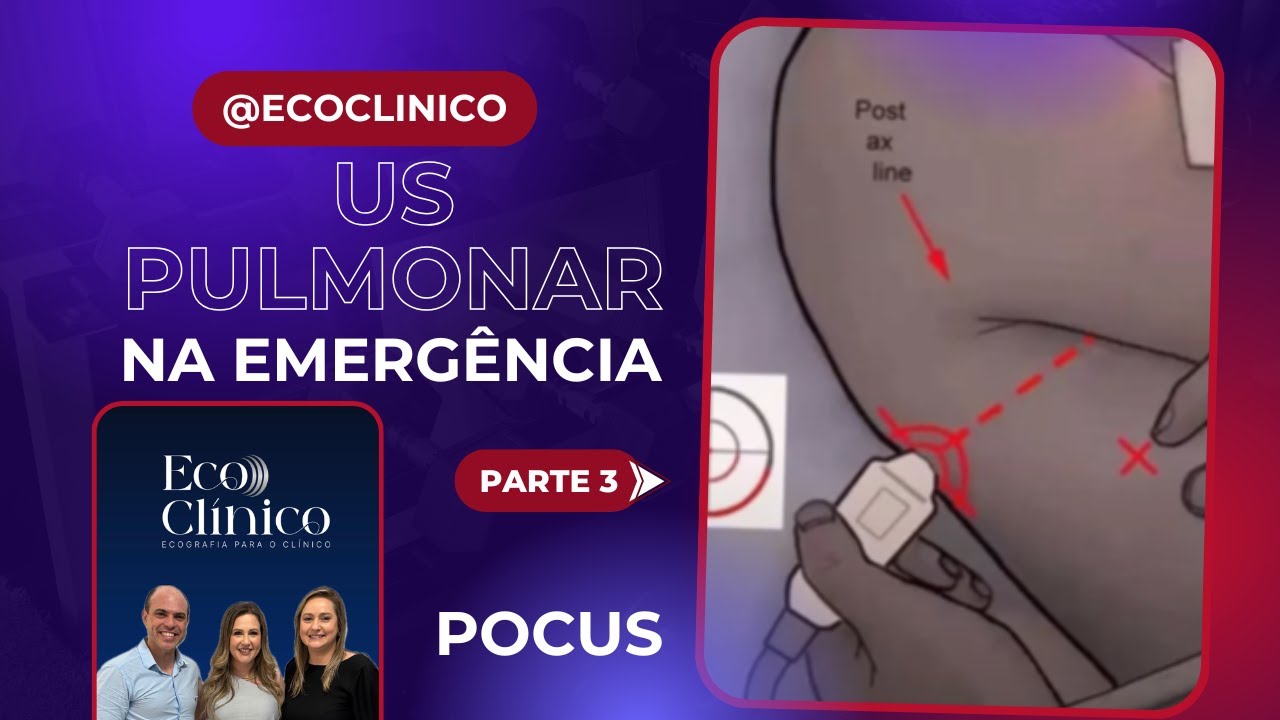
We're going to start on the right side and place it behind your head. We want to be able to expose the entire side of the chest here, including the axilla. Then you can use either a cardiac probe or an abdominal probe: the curvilinear probe. But I prefer the cardiac for this scan, and I'm going to place the probe with the probe indicator. And that's a little different on each- on each device. This probe indicator is this little bump here. Okay, I want to place that superiorly headed towards the axilla, and I'm going to place the the probe itself somewhere between the mid-axillary and the posterior axillary line. So again, if we look here, this is our mid-axillary line here. This is the posterior axillary line. So right in this space here, and I'm going to be looking through the liver. My goal is to see the liver. Once I find the liver, I'm going to aim my beam up into the chest, right? So here we can see we've got a nice image of the liver. That bright white line, that big curved line there, that's the diaphragm, okay? My goal is to see to the other side of the diaphragm, so what I do is I rock the probe, okay? And because I want to head up farther into the chest now. If we watch the screen, we can see the diaphragm moving.
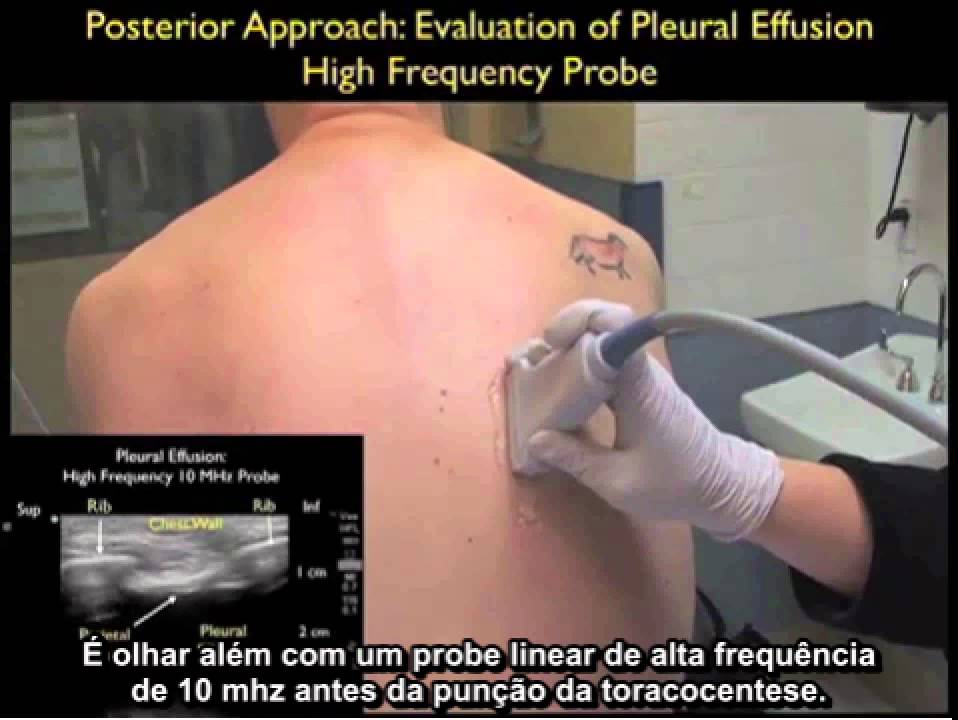
Okay, our patient's diaphragm works. That's great. We can also see this sort of scalloped look sort of along the bottom of the screen. Okay, the diaphragm kind of merges with that scalloped structure there. What we're actually looking at is our patient's spine at this point. Okay, we're seeing all the way to the mid-chest. That's the spine. Now, what we're going to look for is we're going to see: does the spine go past the diaphragm? If the spine goes past the diaphragm, you're looking at an effusion, right? Because remember, on the other side of the diaphragm, you have lungs that are full of air. You can't see through them, right? You wouldn't be able to see past the lungs to see the spine. But in this case, we can see just as we expect. As soon as we hit the diaphragm, we cannot see the spine anymore. We know that our patient here does not have any effusion on that right side, so we can feel very confident in ruling out a right-sided pleural effusion. Next, we're going to do the left side of the chest. Now, the left side's a little bit more difficult than the right for a couple different reasons. First is our window. Now, instead of the liver is going to be the spleen. And as you all know, the spleen is considerably smaller and a bit more variable in terms of the the size, and the way it's sort of rotated inside the abdomen.
And so it's a little harder to find and a little harder to use as a window compared to the liver.
Similarly, you also have a stomach bubble here, which can be full of air if the patient's eaten recently. And so that can also be a little bit of a challenge when you're trying to get that crisp clean image that you want, but don't get frustrated. We're going to- we're going to figure this out. So first, let's position our patient and let's go ahead and have your left hand go behind your head. You can bring your right hand back down, and we're going to put some gel here on our probe. Just like on the right side, we're going to get our probe indicator. Some people call it the dot. On this kind of this machine- this is our dot, okay? And when you want to find the spleen. Okay, usually you're going to go you know somewhere again between mid-axillary and posterior axillary line. Sometimes, it's helpful to actually find the kidney and use that to find the spleen, and there I'll go all the way to the posterior axillary. But let's go ahead and place the probe right about here. I'm going to slide around until I find the spleen. Now again here, we're pretty lucky. We've got a beautiful picture of the spleen.
Again, our probe indicator is pointed towards the axilla, alright? And we're pretty happy with our picture, and now we're going to see can we make it any better? Oh, now it's a little bit better. Now, I can see the spine there. I can see the diaphragm, and so I'm pretty happy with this. I feel pretty confident. Again, since I don't see the spine continue past the diaphragm, that has ruled out even a small pleural effusion. I feel pretty good about this image, but sometimes you're not going to be this lucky. The left side can be more difficult, so there will be times where we need to take a different approach. So for this, what I'm going to have our patient do is just go ahead and take a big deep breath. Let's see what happens here. Keep going keep going keep going. And notice with that big deep breath, suddenly the whole screen went gray. Alright.
When that happens, what's occurring inside the body is that his diaphragm now just moved, and now we've got air in between our probe and the spleen, okay? That made our screen go fuzzy. We've essentially ruled out a large pleural effusion by doing that. We call that the Curtain Sign.
Now again, could you have a small pleural effusion? Yeah, but again, sometimes when you're evaluating a patient, you can't get that perfect picture. You can use the Curtain Sign to at least look and make sure that it's not you know a large pleural effusion causing shortness of breath.
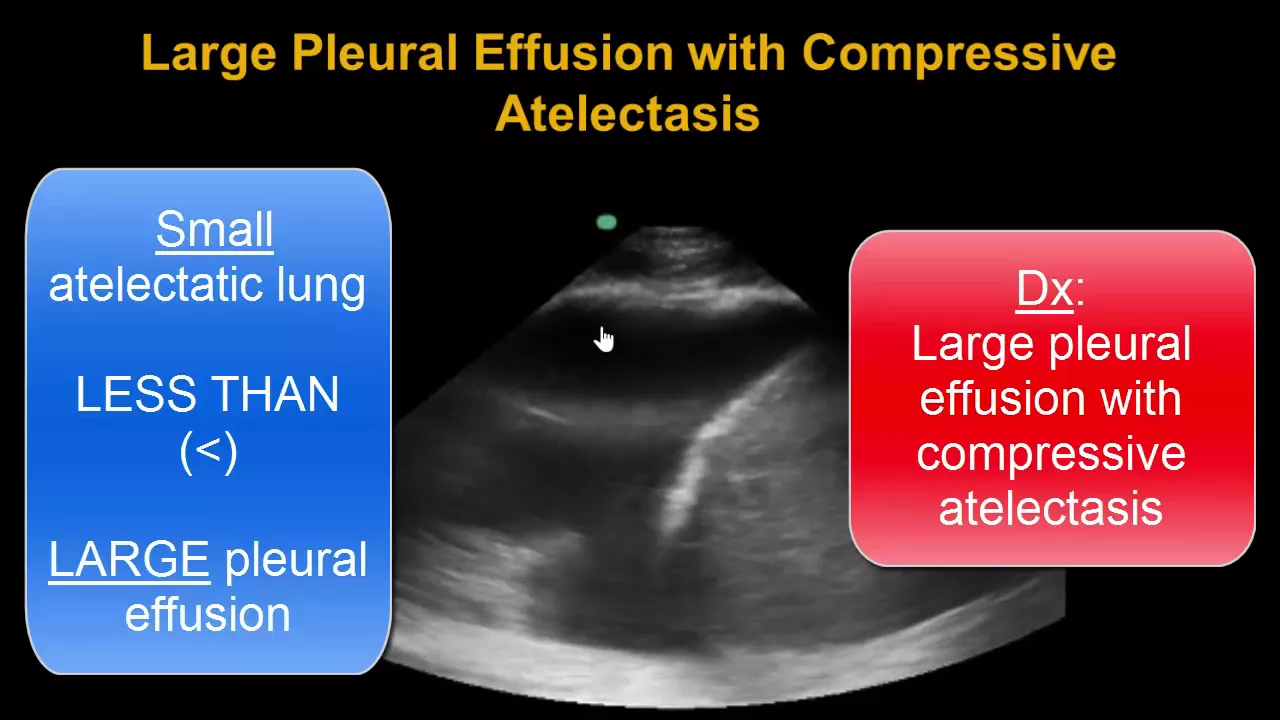
Next, we're gonna go ahead and take a look at a video of what a pleural effusion actually looks like. Today, our patient was healthy. He didn't have any pleural effusions, but these are things that you will definitely find in your hospital practice, so it's important that you get to know what you're looking for. So as we talked about before we were scanning, we're looking right at the the base of the diaphragm there to see: does the spine continue past the diaphragm and into the thoracic cage? Normally, again, we can't see that because there's air in the way. But if there's fluid there, that fluid is going to give you a great view of the spine. Now as soon as you see it go past like that, now you need to explore this effusion a little bit. Alright. And so in this video, we can clearly see the spine moving past the diaphragm, and then especially if we angle the probe a little bit more anterior, we're actually able to see a bit of atelectatic lung, so a little bit of collapsed lung that's floating in that fluid move in and out of our screen. We have clearly diagnosed a pleural effusion. You can also look around to see: well are there any septations?
Okay, is there layering layers within the fluid? Is the lung tethered and not able to move? Or is it moving around freely as the patient breathes? All this is going to give you some idea of whether or not this is a free-flowing effusion or whether it's loculated or even an empyema.
Up until now, we've really just looked at the the area around the lungs. Now we're going to move into actually examining the lungs themselves, and this is where it's really important that we learn about two different artifacts: A-lines and B-lines. So to do this, well I'm going to show you a video clip here of A-lines and B-lines. We'll start with A-lines. A-lines are considered normal, okay? If you are healthy and well, when I examine your lungs, I should see A-lines. What are they?
Well, when I place the probe under the chest and I look between the ribs and into the lung tissue, what I'll see are repeated horizontal lines here, okay? They start from the pleural interface, and they're actually at repeated repeating depths below that. And that is an A-line. We think of that as: well, there's normal tissue right below my probe. I'm not seeing deep into the lungs, so you really want to be careful. I'm really only able to say right at that interface, that there's normal lung tissue there. Could there be something hidden deep that you can't see? Yes. So again be careful you have not ruled out any bad pathology there, but you have ruled out pathology right underneath your probe if you see A-lines. Now occasionally, if your probe is not perpendicular to the pleural interface, you won't be able to see A-lines. And so it does require a little bit of moving the probe back and forth to make them pop out. Next are B-lines. This is the most common pathology that you're going to find when you go ahead and examine the lungs. B-lines as opposed to horizontal, these are vertical lines. They also start at the pleural interface. Now for it to be a true B-line, in the lung ultrasound setting, so set it about 13 centimeters, the streak artifact will start at the pleural interface and go all the way to the bottom of the screen.
Similarly, it also needs to move as the patient's breathing, so as we look at this video we can see that it's moving back and forth. It comes and goes, okay? So if they're not- if they're fixed in place, that's not a B-line. It needs to look like these guys. They move back and forth.
Similarly, they can be of different widths. Some can be narrow. Some can be large.
Again, when we're looking at this video here, we want to get a sense of: well is that a lot of B-lines? Is that not too many B-lines? There's two different ways to quantify that.
One you can just count the number of B-lines that you see, okay? The more, the worse it is. Or you can actually see how much of the screen they take up. So B-lines can get quite fat and then can suddenly take up a lot of the screen. When you see that, that also means the pathology is worse.
Now we're ready to go ahead and take a look at the lungs themselves. When we do lung ultrasound, there is not one defined way to do this, and that's really important to remember. It depends a little bit on how sick your patient is, right? So if my patient right now is an extremist, he's ready to get intubated. Because he's so short of breath, I may not need to do that many windows to understand what's wrong with the patient. However, if my patient's completely healthy and I'm looking for very subtle signs of pneumonia, I need to do a much more thorough scan to really feel like I've ruled that out. And at this point where we are on lung ultrasound is: there's many different protocols that are out there in terms of the number of windows you get.
And again, for all of you, it might really depend on your clinical setting, how sick your patient is, and that's going to help you to understand well how many parts of the lung do I need to look at to feel certain that I've learned enough to make a diagnosis?
The other thing I want you to think about is we're all used to thinking about the lungs in terms of chest X-Rays, and I still think that's helpful to me. So when I go ahead and scan, I'm almost building a chest X-Ray in my head. Where do I see pathology? Is it on the left side? Is it on the right side? Is it diffuse? Do I see it everywhere or is it just in a few spots?
The way I want you all to think about it is: when we find pathology, when we find B-lines, you can think about that as an opacity on chest x-ray. It's clearly a problem area that you're going to need to explore more. How do we go ahead and get these images?
I'm going to go ahead and use a cardiac probe here. Though again, you could use other probes. For lung ultrasound, it's pretty straightforward. Many of your machines now have a lung ultrasound setting and that helps. It'll set our depth to the appropriate depth.
Again, just by convention, I'm going to have my probe indicator pointed up, okay? And for this, I'm going to go ahead and show you four points on the chest where we're going to look.
On the left hand side, it's actually a little bit harder because we need to avoid the heart. Again, we're going after the lung here, so we'll place the probe where we think we're at least on this side above the heart. And here we can see beautiful A-lines. I can feel really confident that's normal, right? This is not a technique heavy scan. I'm just placing the probe, and I'm looking to see what I see, okay? It doesn't require a lot of of changing the angles or anything like that. Now occasionally, if I don't see the A-lines pop out, I might need to adjust a little bit to make sure I'm perpendicular. And now I've got some A-lines, I can move on.
Okay, I'm going to come. Again, I'm trying to avoid the heart and so I'll come over here and again, I'm going to adjust my angle a little bit and boom: there are my A-lines. Perfect. Now, we're going to come over here and see. Again, can I get around the heart? No, I can't, so I still got heart here. I'm going to move over here and now now I'm a little bit below the heart, and we'll see if we can get some A-lines to pop out for us. Okay and there we go. Now depending on what you're scanning for, you might then go and look for a pleural effusion.
You may have the patient sit up, and you may need to now scan all those areas of their back as well, okay? Because again, I've only looked at the left anterior side of the chest. I could also come over here to the right side and take a look over here again. Again, I see nice A-lines pop out.
Right side's a little easier. I don't have to contend with the heart, so it should be a little bit more straightforward. Again, I'm going to angle the probe a little bit. And now, I get my A-lines. I can feel good that we got a nice view there. I can come down here.
Again, easier because there's no heart in the way. I got A-lines, and I would just continue to do this. This would be an eight-point scan where we do four areas of the chest here. We can combine that by looking at the mid-axillary lines. We can look for pleural effusions and again, if you need to be really thorough, we can sit the patient up and scan their entire back as well.
How are we going to interpret this? Okay, and this is where it gets a little bit tricky. The technique is easy. We found A-lines and B-lines no problem. Just placing the probe in between the rib spaces. It's going to be the interpretation that's a little bit more tough, right?
Here, we need to really use our skills of clinical integration, so let's let's imagine we're doing our scan and we see a lot of B-lines and it's just over this area of the chest, right? It's just on the left side of the chest. Well that would be concerning that perhaps the patient has a focal pneumonia there, right? It's certainly something that's not widespread. It's in just one small area. Similar it is if you had a chest x-ray and you saw an opacity on the left side, you might say: oh perhaps this patient has a pneumonia. We still need to use our clinical integration. Does the patient have a fever? Does this patient have a white count? How do their lungs sound? Are they producing sputum? Again, clinical integration here is key. Now similarly, if I looked and everywhere I place the probe right, I see B-lines everywhere, and maybe there's some small pleural effusions on both sides. Okay, well now I'm thinking: well this is most likely to be pulmonary edema. It's a diffuse process over both lungs. And again in the right clinical setting, I should be very very concerned that perhaps the patient has pulmonary edema. It's going to be all about the patterns of pathology that you find.
Now the last thing I'll say, especially someone who works in the hospital, is the the key to clinical integration here is that you're going to have patients who are maybe a little bit sick, maybe a little bit short of breath, and you find a little bit of pathology. The hard part for all of you is gaining enough experience to say: did I see enough pathology there to explain the level of illness that I'm seeing? Okay, my patient's on 4 liters nasal cannula satting 96 percent, and I saw a few B-lines. Is that enough to explain that level of hypoxemia? Perhaps not, okay? And this is where again when you're done today with watching this video, you're not ready to answer that question. You're going to need to get some practice and to do some scanning to start working on your clinical integration, so you can feel much more confident that those few B-lines didn't answer your clinical question. You need to look for what else could be going on, [Music] [Music]
Up Next

2:13
How to Perform a FAST Exam: Female Pelvis Ultrasound
@Sonosite
564.1K views•2011-06-01

48:47
Graphic Medicine: Comics for Collaborative Healthcare Communication
@nationalpatientadvocate
189 views•2023-12-04

5:05
Cerebellum Examination: Stanford Medicine 25 Bedside Skills
@StanfordMedicine25
1.2M views•2014-03-18
3:05
Stages of Labor and Vaginal Birth | Childbirth Animation
@nucleusmedicalmedia
52.1M views•2017-08-18
Related Study Plans & Knowledge Roadmaps
Structured learning paths in Medicine
medicine
Abnormal LFTs: Diagnostic Workup & Pathology
01Liver Anatomy and Basic Physiology
02Introduction to Liver Function Tests (LFTs)
03Hepatocellular vs. Cholestatic Patterns
+ 3 more learning modules
12h6 modules
Explore Roadmap
medicine
Analyzing Blood Smears: RBC, WBC & Platelets
01Introduction to Blood Components & Smear Preparation
02Normal Morphology of Blood Cells
03Erythrocyte Pathologies & Morphological Variants
+ 2 more learning modules
12h5 modules
Explore Roadmap
medicine
Mechanical Ventilation: Waveforms & Alarms
01Anatomy and Physiology of Breathing
02Introduction to Mechanical Ventilation & Core Modes
03Ventilator Settings and Waveform Interpretation
+ 2 more learning modules
12h5 modules
Explore Roadmap
medicine
Neuro Exam: Localization & Stroke Syndromes
01Foundations of Neuroanatomy and Vascular Supply
02The Neurological Examination: Step-by-Step
03Principles of Neurological Localization
+ 3 more learning modules
18h6 modules
Explore Roadmap