







![05 – First Program, Variables & Operators | [Abdul Bari] C++ Programming](https://i.ytimg.com/vi/cHmLEGFN15w/maxresdefault.jpg)











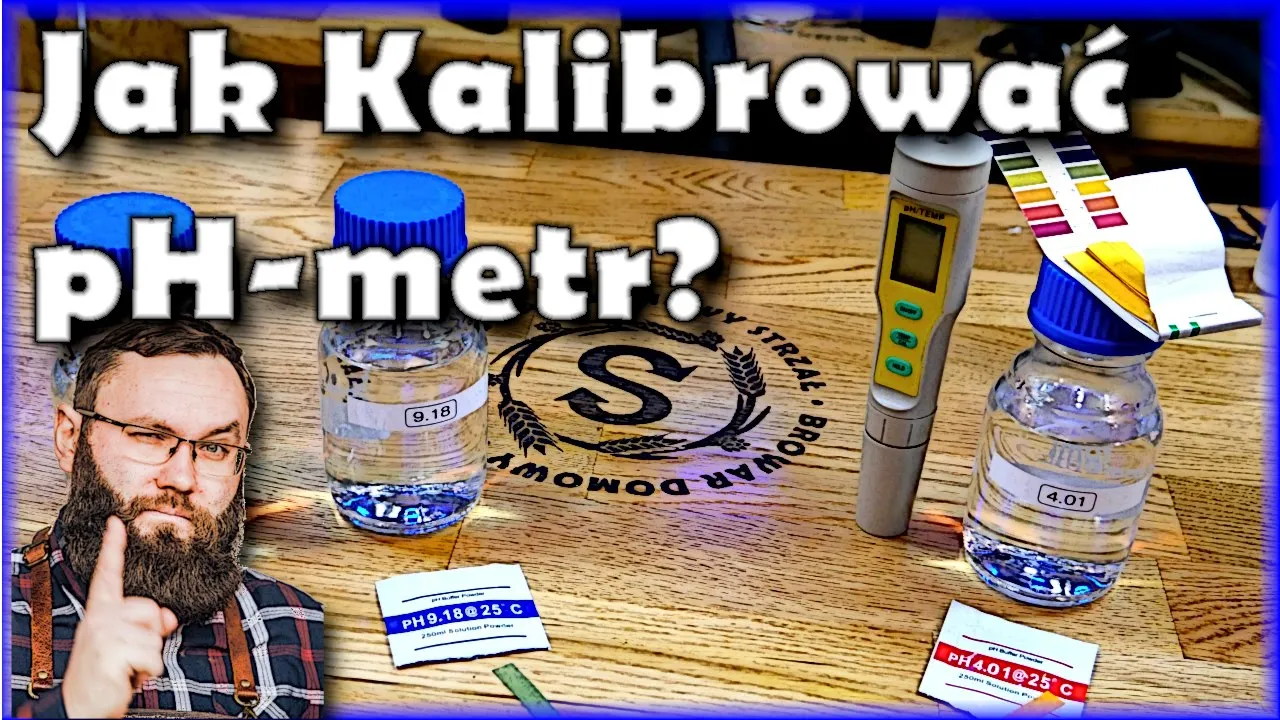


This video demonstrates how to calibrate an analog pH sensor by mapping voltage readings to pH values using linear interpolation. The process involves measuring known buffer solutions (pH 4 and pH 7), plotting these points on a graph, deriving a linear function using the slope-intercept form (y = mx + b), and implementing this calculation in code to convert raw analog readings into accurate pH measurements for practical applications like food preservation, brewing, and water quality testing.
How to Calibrate an Analog pH Sensor for Arduino and Raspberry Pi
Added:Basic chemistry concepts of pH, including the logarithmic scale of acidity and alkalinity.
Fundamentals of working with microcontrollers (like Arduino) and single-board computers (like Raspberry Pi), including basic wiring and GPIO usage.
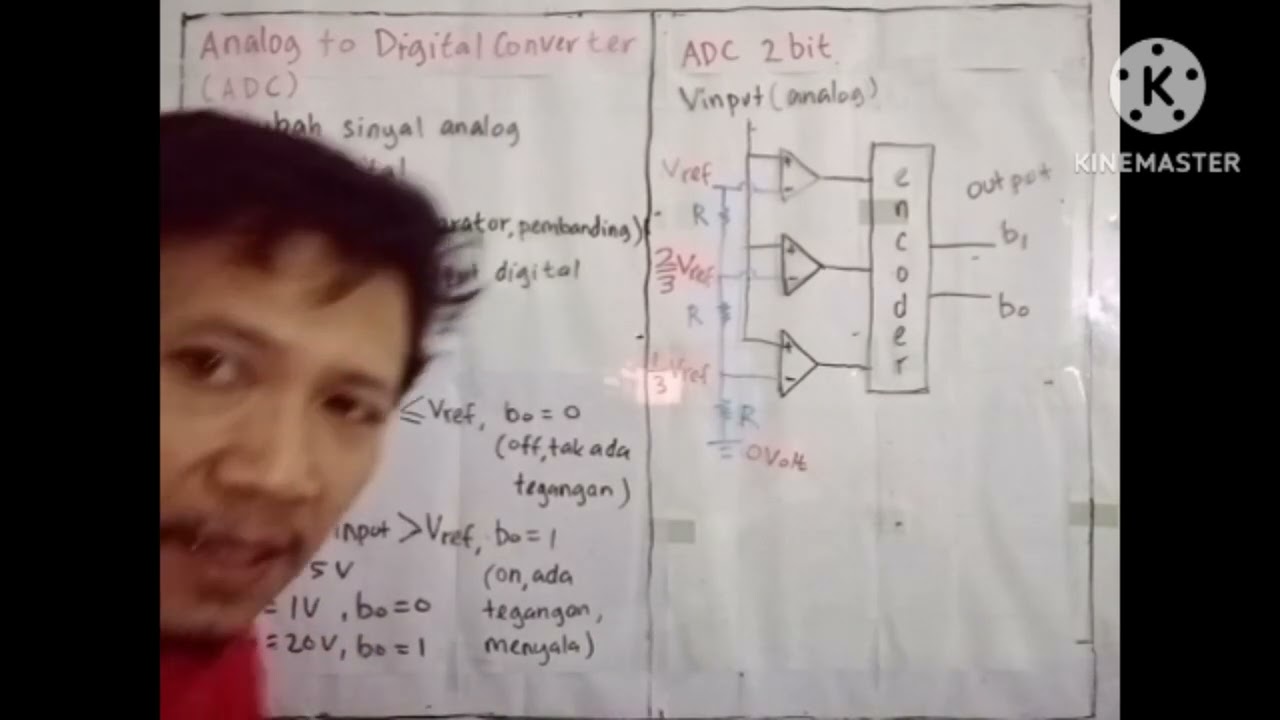
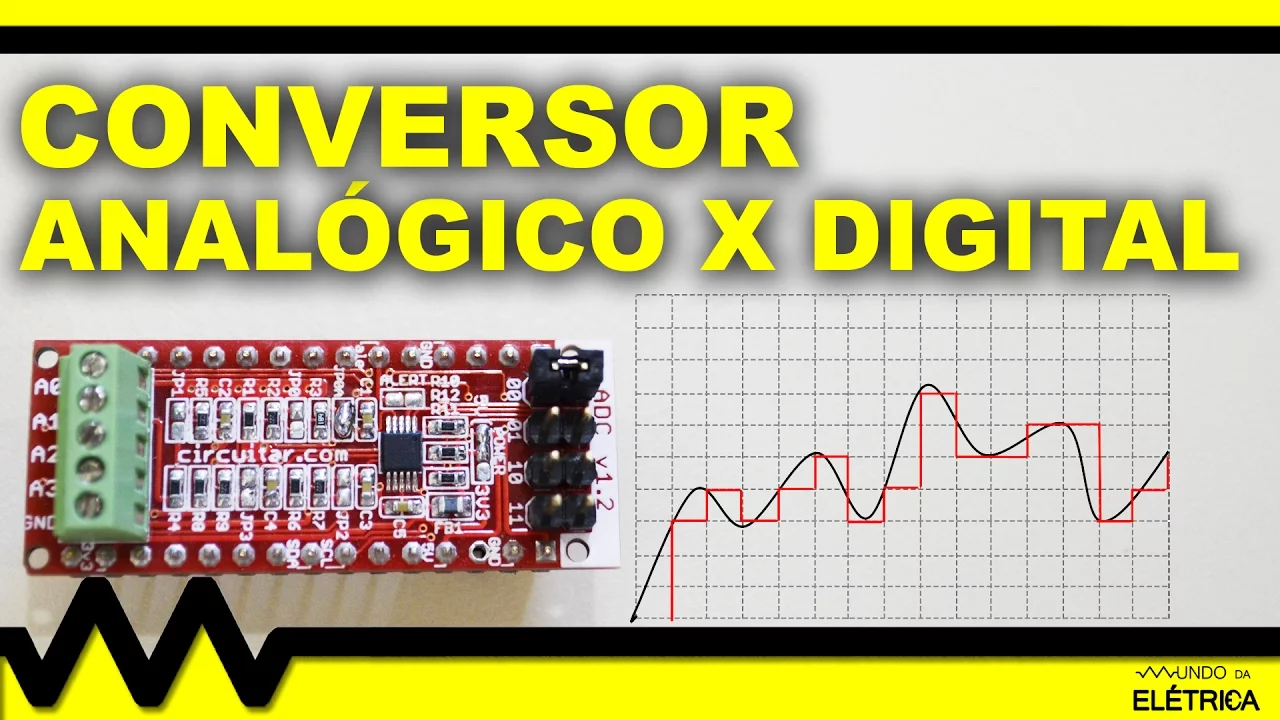
The difference between analog and digital signals, and how Analog-to-Digital Converters (ADCs) read voltage levels.
Elementary programming skills in C++ (for Arduino) or Python (for Raspberry Pi), specifically implementing basic algebraic equations in code.
Implementing temperature compensation in pH measurements using an external temperature sensor (e.g., DS18B20), as pH values are temperature-dependent.
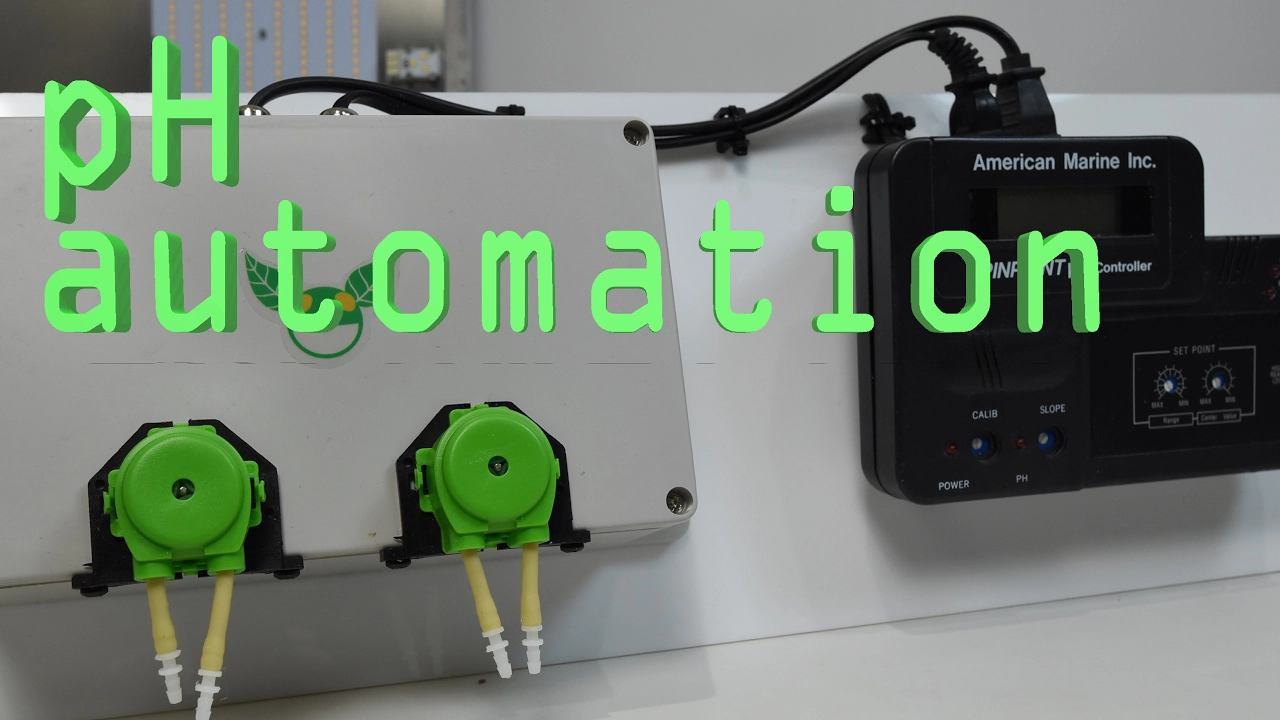
Developing an automated pH dosing system (closed-loop control system) for hydroponics or aquariums using relay-controlled peristaltic pumps.
Exploring multi-point non-linear calibration techniques to improve sensor accuracy across extreme acidic or alkaline ranges.
Integrating the pH sensor into an IoT cloud platform (such as ThingSpeak or Adafruit IO) for real-time remote monitoring and data logging.
Understanding long-term sensor maintenance, electrode storage chemistry, and drift mitigation strategies for continuous submersion.
51.3K views446likes12:00Original Release: 2018-11-18
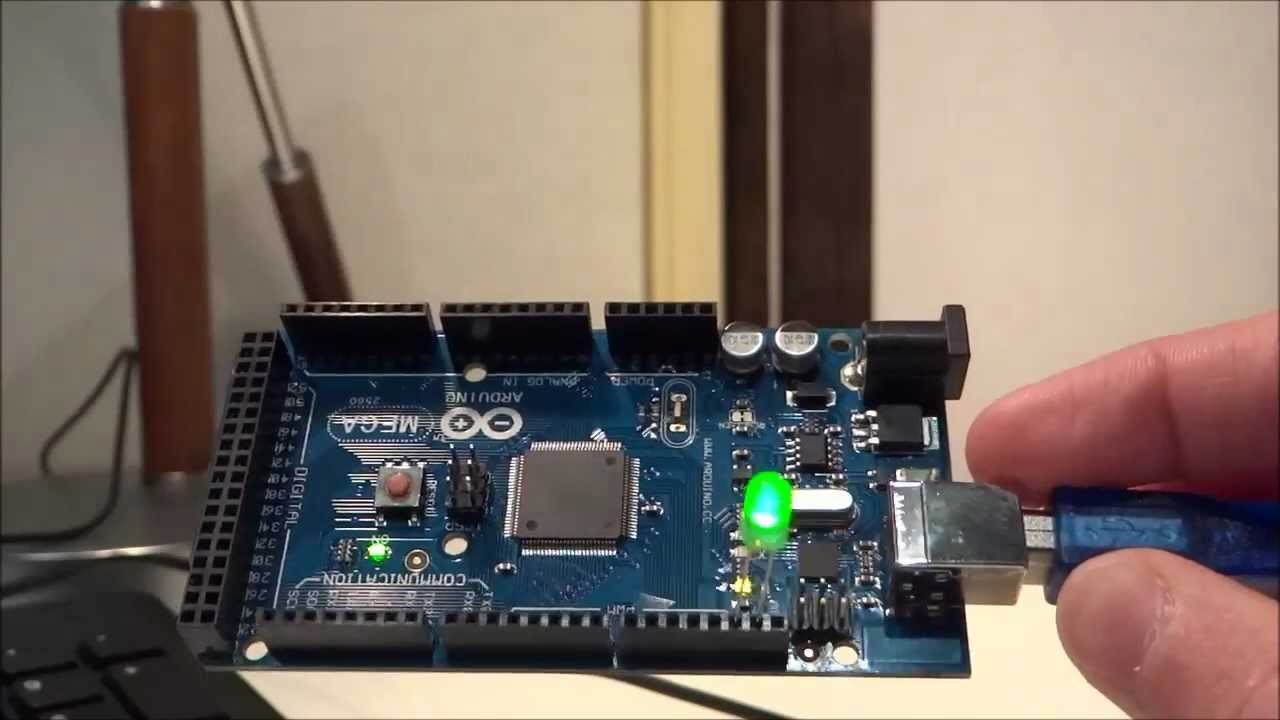
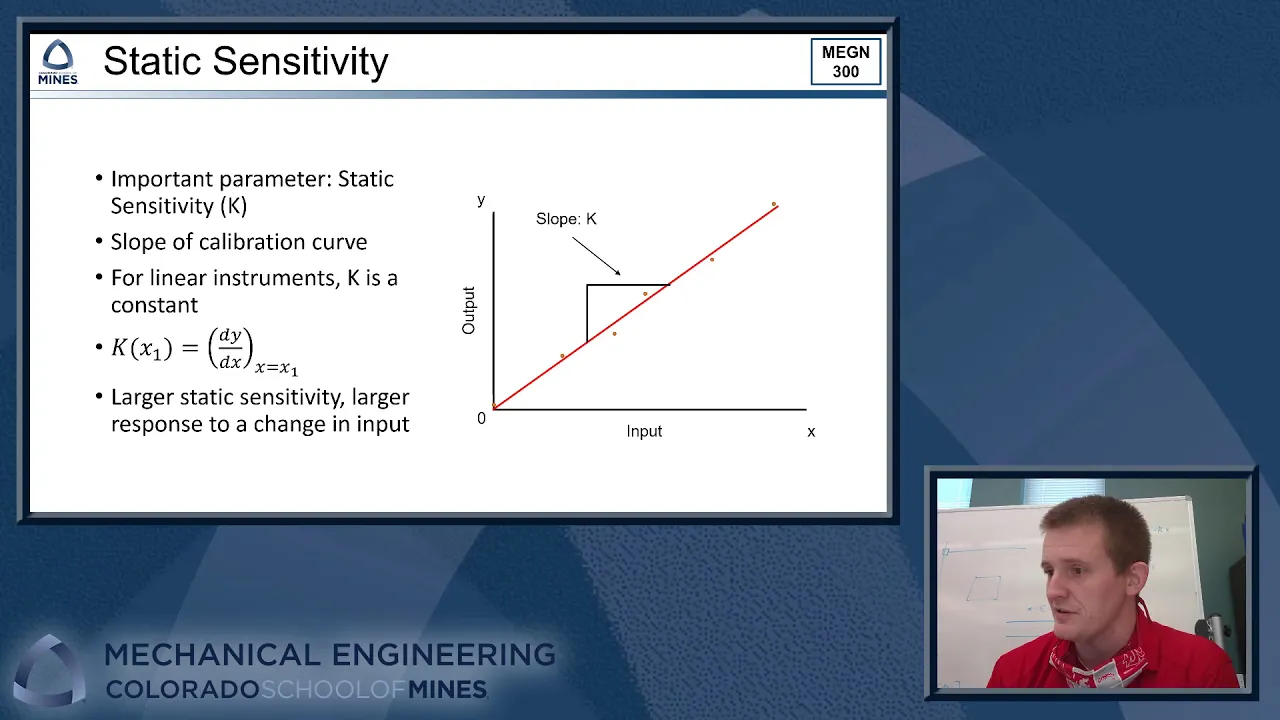
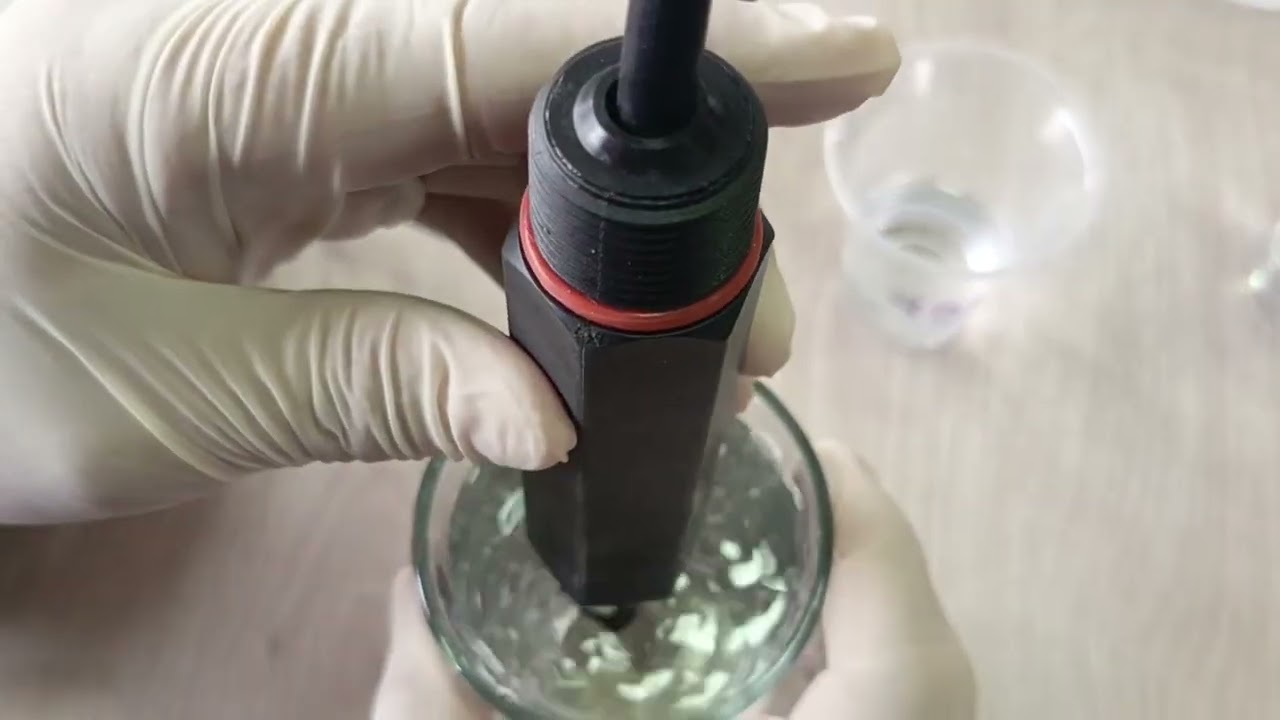
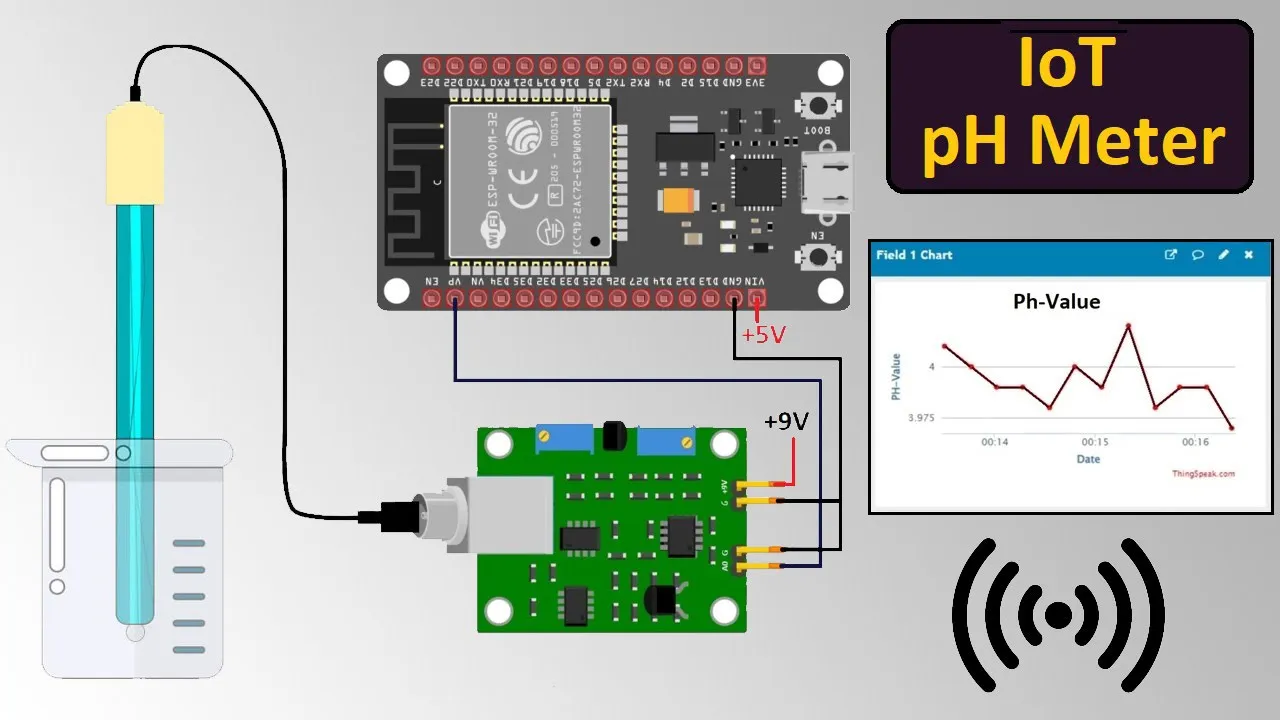
hey everyone welcome back in this video I'll be testing out this analog pH sensor from the folks over at DF robot like the name suggests this device measures the pH of a solution and responds with an analog voltage to communicate that reading this is in contrast to sensors that respond with digital protocols like I Square C or Ur and in some ways the fact that it's analog actually makes this device easier to work with all we need to do is find a way to map the voltage readings to pH values and we're good to go but first what exactly is it that we're measuring pH represents the acidity or the alkalinity of a solution and it does so on a scale of 0 to 14 a pH of s represents a neutral solution and this would be something like pure water less than seven would be on the acidic side of the scale and the closer you get to zero the more acidic the solution is something like vinegar or battery acid would be on this side of the scale SC greater than seven would be on the alkaline or basic side of the scale and the closer you get to 14 the more basic the solution is something like baking soda or lie would be on this side of the scale the chemistry behind the exact definition of acidity and alkalinity has to do with the behavior of hydrogen ions in the solution but I'm not a chemist so I won't go into any of those details here now that we have an idea of how this sensor behaves let's take a look at what the kit can contains first off we have the probe you put this end into the solution you're measuring right now it's in a neutral solution and then this end connects to the circuit board this end of the circuit board has another type of connector where this cable plugs into here's where it breaks out the ground voltage input and analog output wires these are what you connect to your microcontroller or whatever else you want to handle the analog readings if you have an Arduino you're all set DF robot has published in Arduino library that handles the measurements and calibration and everything you just plug it in download their library and you can start using it as is they even have a python library for the Raspberry Pi but you will need an analog to digital converter since the Raspberry Pi doesn't have analog input DF robot also makes one of these 16bit converters that works with the Raspberry Pi and just from looking at their code I can tell that this was the intended setup for this sensor but I won't be using Arduino or Raspberry Pi and instead I'll be using this pixel JS now that means I'll need to write my own library for converting the analog readings to pH values but that's not that bad and we'll start by just printing out the analog readings onto the screen so I've connected everything to the pixel with the blue wire connected to the a z analog pin and here I've opened my browser to the asprino web IDE the first thing I need to do is connect to the pixel over over Bluetooth now I can enter in code in this repple on the left to run it on the pixel this line of code will read the analog value from that a z pin so this is what the sensor is currently returning and remember that right now the probe is inserted into that mostly neutral solution that it came with you can see that there's a little bit of variance but for the most part it stays around 42 over here in the larger space we can enter in code that will all be sent to the pixel at once so I'm going to create a watch that's looking for changes in button one and I'll set repeat to be true because I want to be able to press this button more than once and I'll set the edge to Rising so that it detects the button press and not the release to write to the screen of the pixel the easiest way is to just call terminal. Print Ln which means print line and whatever you pass to that method is printed to the screen all I have to do now is set the value of x to be the result of calling analog read on that pin a z now whenever button one is pressed it will call this function which prints the analog value of pen a0 to the pixel screen cool now I'll just send that code over to the pixel and then call the save function to flash everything into memory that way I can turn the pixel off and on and it'll still have all of the code loaded into it so here I've got the pixel with my code loaded in and this is where button one is so you can see when I press that button it prints out the reading from our analog input and it'll do that every single time I press the button right now the probe is still in that neutral solution that it came in which is probably just water but the kit comes with four bottles of solution to each of two different buffers one of them has a pH of seven and one of them has a pH of four we can use these two known solutions to calibrate our code so that when we take an analog measurement we can predict what the pH is in order to do that I'll first need to take a measurement of each one of these Solutions and see what the analog reading is so I've poured a bit of solution 4 into this measuring glass and then I've rinsed the tip of the probe in a bit of distilled water notice that the distilled water is reading about 33 or 34 which is lower than the neutral solution that came in the cap of the probe which was reading about4 or2 this means that either the solution in the probe was isn't actually neutral or the distilled water isn't quite neutral so that's interesting after cleaning the probe off really well I've put it in the ph4 solution and started to take measurements they seem to have a good amount of variance so I let it sit in the solution for a few minutes after a while it was clear that the reading here was somewhere around 615 so this is the value I've recorded for ph4 now I'm cleaning the probe again in more distilled water and the reading is back to about3 33 next I poured a bit of the ph7 solution and started taking measurements again there was a good amount of fluctuation at first but it settled to around 455 so that's what I've recorded as ph7 that means that my distilled water is actually on the basic side since it's measuring in the opposite direction of the acidic ph4 solution now it's time for a bit of math but don't worry it's pretty easy math that most of you will remember from algebra or if you're just getting into algebra hopefully this will be familiar to you since we're trying to calculate pH based on our analog readings we're basically deriving a function where our analog readings are the X input for a function and that'll be the xaxis here and the pH values are the Y output of our function so that'll be the Y AIS now I can plot those two measurements I just took onto the graph by locating their approximate analog value for x and pH value for y the function we're deriving will be a linear function so I'll just draw an approximate line between these two points now in theory this line gives us everything we need to calculate the pH from an analog reading so if we have an analog reading of point7 it should be approximately a pH of two pretty simple right but we'd like our microcontroller to be able to do this calculation for us since it's not very practical to carry around graph paper and do this lookup every time we want to make a measurement luckily since this fits the basic definition of a linear function we have some basic algebra on our side you might remember this thing called the slope intercept form and it looks a lot like this and from this formula we can compute the value of y which is our pH from a given X which is our analog reading as long as we know these parameters m and b m being the slope of our line and B being the Y intercept of our line so now we need to calculate our slope and our intercept you might remember how to calculate the slope using the pneumonic rise over run which basically means it's the change in y divided by the change in X so in this case that'll be 4 - 7 / 615 -4 55 and if you do the math that ends up being 3 /16 or in other words 8.75 and to calculate our intercept we can just follow this back using one of our known points and we get approximately 1553 if you do a visual check to confirm you can see that this is about where our line hits the Y AIS so we did everything right now if we have an unknown Point let's say we get the analog reading5 we can calculate y using the slope intercept formula so that'll be our slope time our X Value Plus our intercept and if you do the math that ends up being about 6.15 which would be our pH and if you do a visual confirmation it is on our original line about where 6.15 would be cool now we have a function that we can turn into code so if we go back to our asprino IDE add that constant slope and the constant intercept and then compute y based on those parameters y will now be our calculated pH I'll go ahead and chop off the number to two decimal places just so it's easier to read now I can send the code and then save the state and now if I take a reading of my distilled water you can see that it's a pH of about n so it is slightly basic and then if I pour out some of my ph4 solution you can see that it's measuring at approximately four yay that's exactly what it should be and if I pour out a bit of my ph7 solution you can see that it's measuring about seven so it appears that we have a working pH sensor with a digital display now next I decided to test a bit of distilled white vinegar according to Google this should be somewhere around a pH of 2.4 but it's measuring a bit higher than that this could be either because this is vinegar intended for culinary use and the label acidity isn't exact or it could be because the sensor isn't as precise outside of our four and seven range maybe it's not a linear function after all but I'll need to find an accurate buffer solution outside of that range to really test it luckily for most of my uses the 4 to S range is where I want the most accuracy anyway there are a number of reasons why you might want to know the pH of something for instance I do a lot of canning and pickling and that's a situation where there's some really nasty bacteria that can grow on food if it's preserved with a pH above about 4.6 I also do a lot of wine and cider brewing that's a situation where you're working with raw ingredients so you might get one batch of apples that's really acidic and the next batch of apples might not be acidic enough that'll change how the fermentation goes as well as the flavor profile at the end but if you measure the pH ahead of time you can adjust things and get exactly what you're looking for other ations might include water quality tests either for drinking water or for water used in agriculture or hydroponic setup or even for testing natural sources of water for evaluating Environmental Quality you can also just test random things for the fun of it and see what the pH is it's a fun way to introduce basic chemistry concepts by exploring the properties of things around us anyway I hope you enjoyed this video and until next time bye
Up Next

35:53
Laboratory Assessment of 11 Under-Sink Reverse Osmosis Systems
@bos_water
166.4K views•2024-08-29

12:54
Triumph of Orthodoxy Icon: Byzantine Art & History Explained
@BenCallan
2.1K views•2024-08-06

9:49
FastAPI vs Flask vs Django: Choosing the Right Python Web Framework
@TechWithTim
302.5K views•2024-05-26

1:42
Game of Thrones Opening Credits: A Cinematic Analysis
@gameofthrones
46.3M views•2011-04-18
Related Study Plans & Knowledge Roadmaps
Structured learning paths in General & Interdisciplinary Studies
general-studies
Elevator Engineering: History, Physics & Cities
01From Hoists to Safety Brakes: The Dawn of Vertical Lift
02Hydraulic vs. Traction: The Engineering Physics of Elevators
03Modern Speed, Safety, and Algorithms
+ 2 more learning modules
12h5 modules
Explore Roadmap
general-studies
Rubber: Material Science, History & Geopolitics
01Origins of Natural Rubber & Mesoamerican History
02The Chemistry of Natural Rubber & Vulcanization
03The Geopolitics of the Rubber Boom & Colonization
+ 2 more learning modules
12h5 modules
Explore Roadmap
general-studies
Containerization: Evolution, Logistics & Trade
01Ancient Trade & Bulk Cargo: Amphorae to Barrels
02The Industrial Revolution & Cardboard Packaging
03The Containerization Revolution: Malcom McLean
+ 2 more learning modules
12h5 modules
Explore Roadmap
general-studies
Textile Tech: Evolution, Labor & Global Impact
01Pre-Industrial Textiles: Handloom & Cottage Industry
02Mechanization: The Spinning Jenny to the Power Loom
03The Factory System & Global Labor Transformation
+ 2 more learning modules
10h5 modules
Explore Roadmap