





















![[ASMR] Study Medicine with a Real Doctor | Common Emergency Presentations (whispers, mouth sounds)](https://i.ytimg.com/vi_webp/e_8QhBIY49I/maxresdefault.webp)


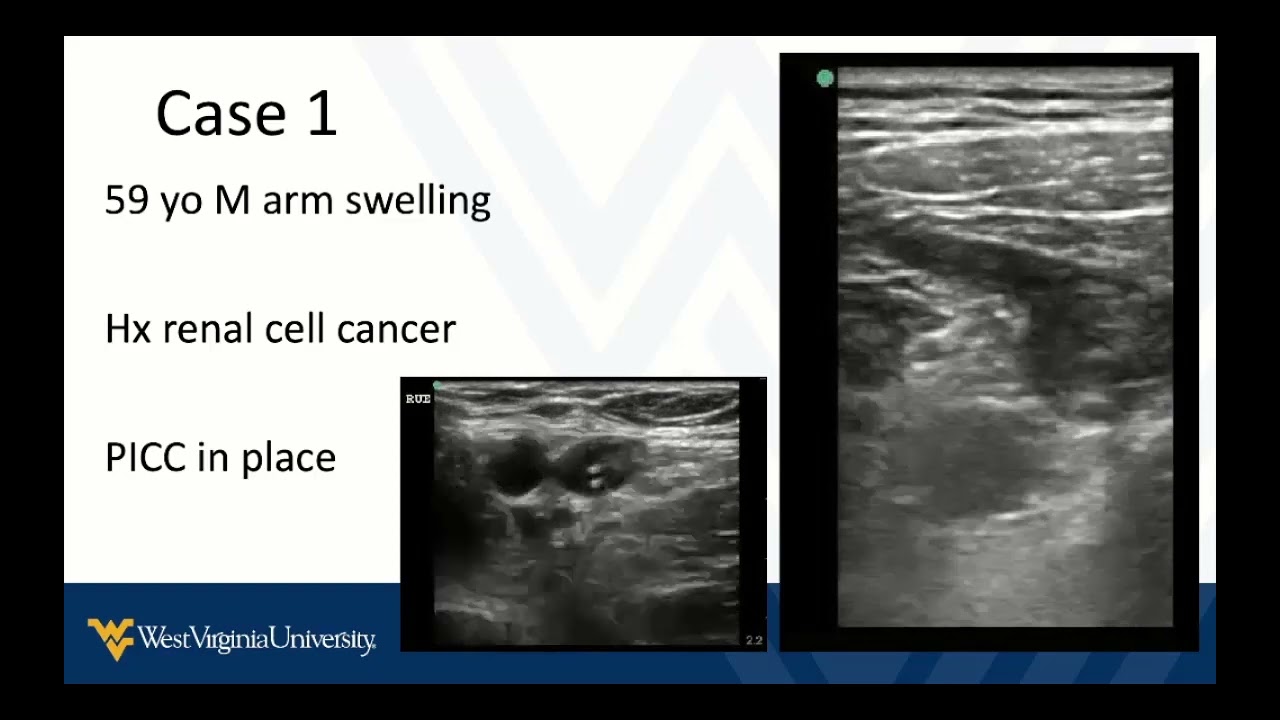

The RUSH (Rapid Ultrasound in Shock) exam is a bedside ultrasound protocol that evaluates the 'pipes' (vascular system) to identify the etiology of shock, including thoracic and abdominal aortic pathology (aneurysm, dissection) and deep venous thrombosis; key findings include right ventricular dilation (LV:RV ratio of 1:0.6 normally, reversed in acute PE), aortic root measurement (>3.8 cm suggests pathology), and the two-point compression test for DVT, which helps differentiate between hypovolemic, cardiogenic, obstructive, and distributive shock types.
RUSH Exam Part 3: Ultrasound in Shock - Pipes & RV Evaluation
Added:Basic physics of point-of-care ultrasound (POCUS), including probe selection (phased array vs. linear transducer) and image optimization.
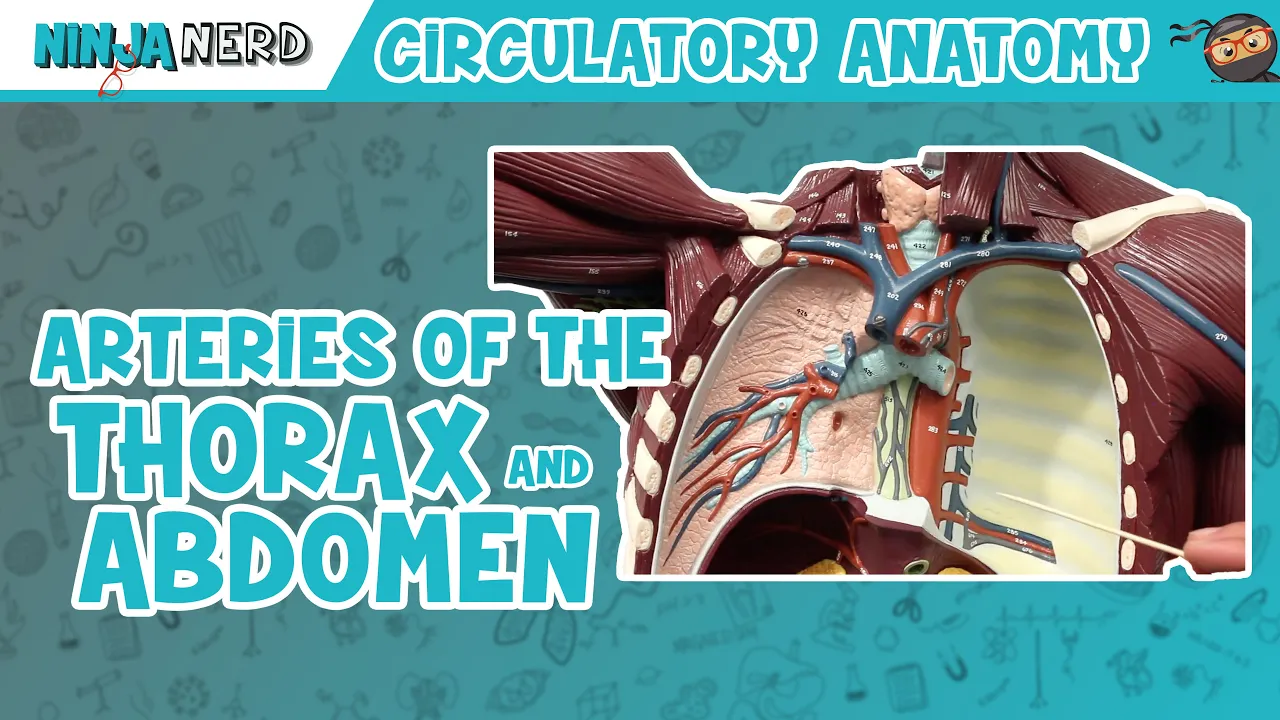
Gross anatomy of the thoracic/abdominal aorta, the deep venous system of the lower extremities, and basic cardiac chamber anatomy.
The pathophysiological classification of shock (cardiogenic, distributive, hypovolemic, and obstructive) and their clinical presentations.
Fundamental concepts of the RUSH Exam Part 1 and Part 2, specifically evaluating the 'Pump' (LV contractility, pericardial effusion) and the 'Tank' (IVC and FAST exam).
Synthesizing RUSH exam findings (Pump, Tank, and Pipes) to construct a rapid differential diagnosis for patients in undifferentiated shock.
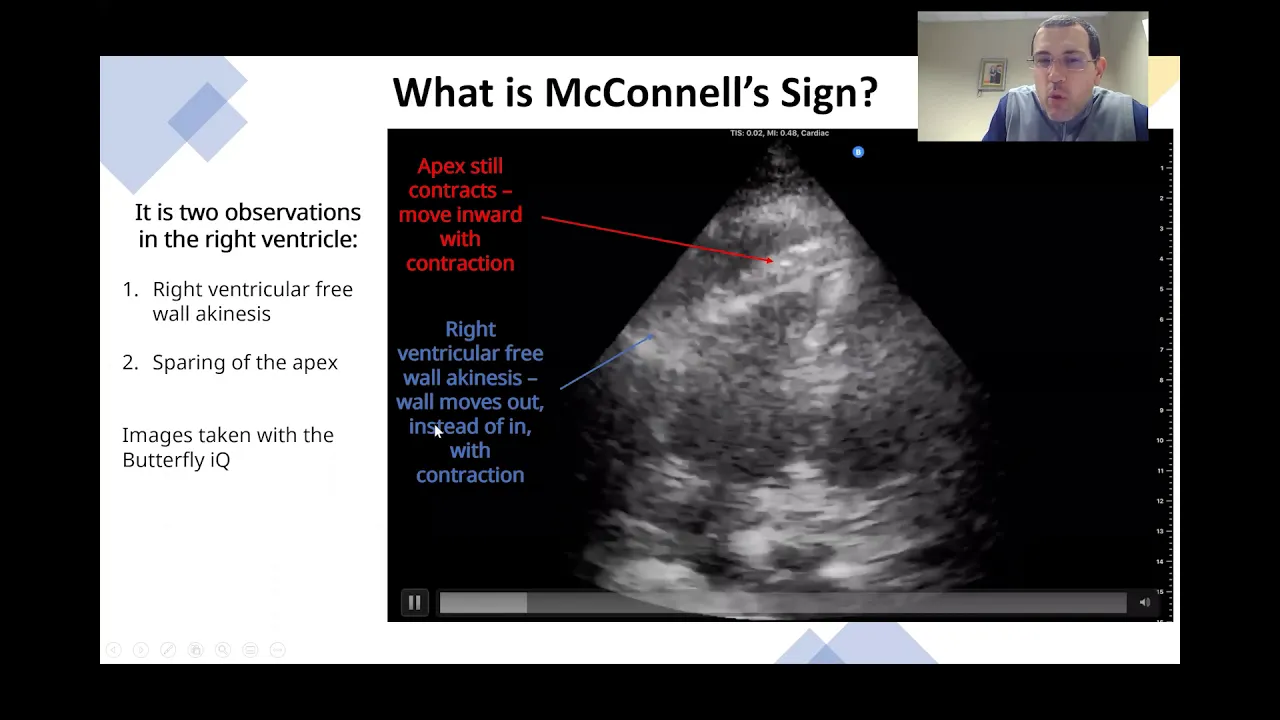
Advanced echocardiography techniques, such as measuring Tricuspid Annular Plane Systolic Excursion (TAPSE) and identifying McConnell's sign to quantify right ventricular strain.
Immediate clinical management protocols following RUSH exam findings, such as massive pulmonary embolism therapies or emergency vascular surgery pathways for aortic dissection.
Recognizing common diagnostic pitfalls in vascular ultrasound, such as misidentifying the vascular sheath for a DVT or misinterpreting reverberation artifacts as aortic dissection flaps.
25.3K views211likes24:14Original Release: 2013-12-17
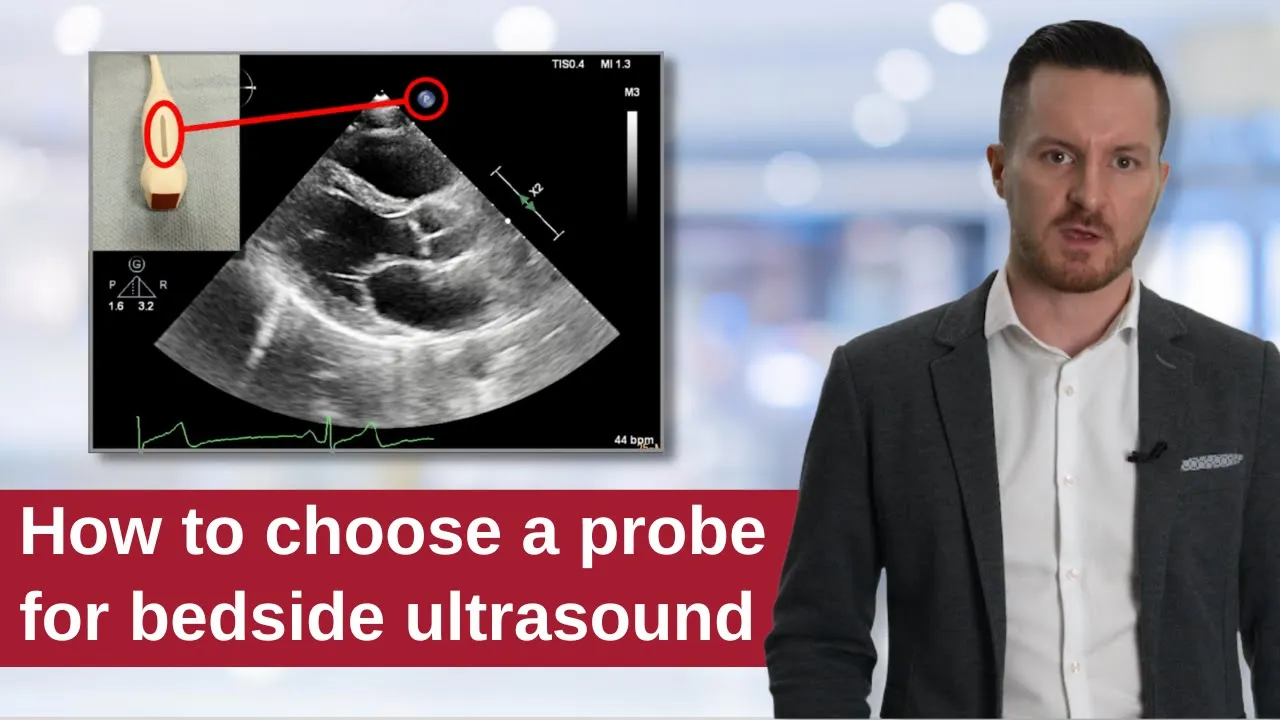
welcome back to sound bites ultrasound teaching videos my name is Dr Phil Pereira and in this video sequence entitled The Rush exam video part four we're going to go further onto our exploration of the rapid ultrasound and shock in the critically illp patient ultrasound algorithm in this video we'll focus on part three evaluation of the pipes I'm also going to include evaluation for right ventricular dilation really part of step one evaluation of the pump that we did not go over earlier in the video sequence here in table one we see the four classic types of shock and the Ultras findings associated with each of these conditions we've covered step one evaluation of the pump specifically looking for cardiac contractility and the presence of a paracardial diffusion now looking under the column of obstructive shock we see two conditions that we haven't covered prior and that we'll go over in this video specifically looking for right ventricular strain or cardiac thrombus that may signal a massive pulmonary emis as the etiology for the patient's shock now let's skip down to part three evaluation of the pipes which will really be the main focus of this sequence and here under hypmic shock we're going to assess both the thoracic and abdominal aorta for pathology specifically dissection or aneurysm with rupture under obstructive shock if we do see right ventricular thrombus or right ventricular strain we may want to switch probes and look for the presence of a deep Venus thrombosis to correlate or corroborate obstructive shock as theology for the patient's condition now let's learn how to analyze the relative cardiac chamber sizes as a means of determining right ventricular dilation and the possibility of a thromboembolic cause for the patient's shock condition the normal left ventricular to right ventricular size ratio should be 1 to 0.6 meaning that the left ventricle should generally be twice the size of the right ventricle in cases of acute pulmonary strain such as a massive pulmonary emblas as seen in the small image to the upper left the right ventricle will suddenly dilate and may be larger than the left ventricle as seen in the image in conditions of sudden right ventricular dilation the RV wall will generally be thin measuring less than 5 mm and this needs to be differentiated from cases of chronic pulmonary artery hypertension or strain where the right ventricle will have time to dilate as well as hypertrophy and the wall will generally be thicker than 5 mm let's take a look at this video clip taken from a patient who presented to the Ed with a blood pressure of 70 over palp and a history of a recent hip replacement one week prior with a small indicator Arrow I'm tracing the confines of the left ventricle notice that the LV is relatively small in relation to the gigantic RV and there I'm showing the confines of the RV with the indicator Arrow this would indicate a massive pulmonary embolism as a cause of the patient's shock and the need for or acute therapy to correct this condition to put that last video clip into reference let's take a look at a normal parasal long AIS view of the heart here we see that the left ventricle is about twice the size of the right ventricle which should be the normal relation between the two Chambers notice in the last video the relation was almost reversed here's another video clip taken from a hypotensive patient who had just Cutten off a long plane flight and what we see here is that the LV is very small in relation to the RV and notice the deflection of the septum away from the RV with each heartbeat indicating relatively High pressures within the right ventricle so this was an acute pulmonary embolis and the treatment here was going to be fibrinolysis we can now examine the heart in the parisal short axis view by moving the probe 90° clockwise now we see the heart in cross-section and notice that the chambers appear as cylinders and on we can see the gigantic right ventricle to the top of the screen and the much smaller left ventricle is traced by the small indicator Arrow notice here that the septum is flattened and Bows away from the right ventricle due to the relatively High pressures within the RV the LV almost takes on the appearance of a d-shaped chamber due to the flattening of the septum and the high pressures within the right ventricle a classic finding in a massive pulmonary emis as we had mentioned earlier we need to differentiate right ventricular Dil in acute causes such as a acute pulmonary emis from a more chronic cause such as primary pulmonary hypertension this was taken from a patient who had long-standing primary pulmonary hypertension and with a small indicator Arrow I'm tracing the confines of the relatively large RV in relation to the LV and we can also see the thickening of the RV wall greater than 5 mm this indicates at time for hypertrophy that would indicate more of a chronic condition we can also see a compensatory hypertrophy of the papillary muscles within the right ventricle tethering the valve that is often seen with primary pulmonary hypertension now swiveling the probe to a parisal short axis view in the same patient we also see the findings of the small LV in relation to the RV and the d-shaped Chamber finding but notice that looking closer at the right ventricle we can again see the hypertrophic wall greater than 5 mm and again the compensatory thickening of the papillary muscles within the right ventricle often seen with primary pulmonary hypertension this video clip was taken from a patient who presented to the emergency department with unexplained tacac cardia associated with putic chest pain and shortness of breath this is a subid view of the heart and looking within the right atrium it looks like there's jelly beans bouncing around within the chamber in actuality this is thrombus moving around within the right atrium very very concerning that this may pass out through the right ventricle into the pulmonary system and cause a massive pulmonary embolism while this is an unusual finding to see clot within the heart we may be able to see this as we look closer and closer at the heart and patients presenting with unexplained tacac cardia and shock this is an apical view from the same patient notice here we see the thrombus bouncing around in the right atrium notice that it actually passes out through the right ventricle into the right ventricle through the tri valve and then is pushed back into the right atrium and this was a very interesting case and that this patient had relatively High pulmonary arterial pressures and a large amount of tricuspid regurgitation that push the thrombus back into the right atrium let's now move on to specifically look further at step three of the rapid ultrasound and shock exam the evaluation of the pipes while in this illustration it looks like there's many probes on the patient's body let's sequentially break break this down let's look first at Pro positions A and B propos A is a super sternal notch view in which we may be able to get a look at the thoracic aorta and the actual arch of the aorta looking specifically for aneurysm or dissection position B is a classic parisal view in which we can also get a glimpse of the thoracic aorta looking for dissection or aneurysm probes position C and D are the classic propositions for place to look for evaluation of abdominal aortic aneurysm we can also see an intimal flap at times that may signal a thoracic aortic dissection extending down into the abdomen now probes position E and F are the classic positions for the DVT exam and should be performed if the patient has right ventricular dilation on bedside Echo and one has a high suspicion for a thromboembolic cause of the patient's shock in this video clip we see a peristernal long axis view of the heart recall that we see the three chambers of the heart from this view the left atrium the left ventricle and the right ventricle we see the aortic valve and the left ventricular outflow tract to the right of the aortic valve notice in this video clip that this aortic route is relatively widened and I'm tracing that with a small indicator Arrow now a normal aortic route should measure no greater than 3.8 cm and a widened aortic route is suspicious for thoracic aortic dissection or aneurysm here we're actually measuring the aortic roote notice that it measures 4.74 cm and we can see there that this patient has a thoracic aortic aneurysm now we may be able to see an intimal flap here within this region which would indicate a dissection as theology for the patient's shock in this video clip taken from a patient with Marfan syndrome and chest pain radiating to the back we see a very widened aortic route taken from the parisal long axis view this would indicate the possibility of a Stanford Class A aortic dissection as a cause of the patient's shock notice here the very very widened aortic root and what looks like the possibility of an intimal flap now an intimal flap may not always be seen on trans thoracic Echo but if one is very suspicious one can pursue a trans esophageal echo or a CT scan to further confirm this condition this patient actually was confirmed to have a Stanford Class A aortic dissection requiring a stent this image of the aortic Arch was taken from the super sternal notch view in this view the probe is placed directly into the Super sternal notch with a probe marker oriented over towards the patient's right side in relatively thin patients it can be possible to move the head to the side and to aim the probe down into the chest to get a view of the aortic Arch and here we can see the ascending aorta to the left the descending aorta to the right and the aortic Arch right in the middle notice we also see some of the branching vessels coming off of the aortic Arch and this would be normal Anatomy not consistent with dissection but occasionally we may be able to pick up an aortic dissection or aneurism from the super sternal notch view this video clip represents the super sternal notch view taken from the patient with Marfan syndrome discussed earlier in the video sequence the first thing we notice right away is that this aortic Arch is much more dilated than the normal Anatomy shown prior and with this small indicator Arrow I'm showing the confines of the aortic Arch let's look closer within the aortic Arch and right away we can see what looks like an intimal flap moving around with each heartbeat so this patient was diagnosed with a Stanford Class A aortic dissection extending from the root through the arch and down into the descending aorta the next step in the evaluation of the pipes is performed through looking at the abdominal aorta the probe should be placed in positions C and D as shown on the patient's abdomen with the probe in a short axis configuration generally we'll begin with the probe high at position C and move all the way down to D to fully examine the aorta we're looking for an abdominal aortic aneurysm as signaled by a abdominal aorta greater than 3 cm in diameter now most AAA will be fusiform in nature and also infrarenal some may extend end down into the iliac artery a minority of aaa's will be sacular as shown in the image over to the right where we have a small protrusion of the wall out from the normal aorta this video clip demonstrates a abdominal aortic aneurysm in a patient who presented to the emergency department with a hypotensive state and tacac cardia here we see a very large abdominal aortic aneurysm in the short axis view notice here we see a large amount of thrombus along the walls of the aorta and recall that when measuring for an abdominal aortic aneurysm we need to measure the thrombus in addition to the Lumen that means we're going to measure from outer wall to outer wall not just the inner walls of the Lumen and we can see the swirls of clot or pre-ot within the Lumen of the AAA now to confirm that this is a AAA we can further go ahead and put color power doppler or color flow Doppler onto this area just to confirm that there's flow within the Lumen and that this is indeed a vascular structure we'll perform that in the next step here and by putting color power doppler there we can see that there this is indeed a turbulent movement of blood within the large abdominal aortic aneurysm so right away we have a etog for the patient's shock and this is a patient who needs to go directly to the operating room and bypass the CT scan in order to live this video clip was taken from a patient who presented to the Ed with hypotension accompanied by chest back and abdominal pain here we see a short AIS view of the abdominal aorta first with the indicator Arrow I'll Trace out the spine our Landmark for the posterior aspect of the abdominal cavity anterior to that we'll notice the abdominal aorta and while it's not terribly large in size we see a positive finding in the Lumen the presence of an intimal flap to the right there is the true Lumen and to the left is the false Lumen so what we see here is a thoracic dissection that's extending down into the abdomen this actually turned out to be a Class A dissection that was extending from the root all the way down into the abdominal cavity so occasionally we can actually pick up an aortic dissection on evaluation of the aorta on bedside ultrasound here's a long AIS view of the same patient notice we have the probe marker so that superiors to the left inferior to the right again we see the abdominal aorta stretch out as a tubular structure across the screen and in the middle we see the presence of an intimal flap moving around with each heartbeat again path neonic for aortic dissection the next step in part three evaluation of the pipes once one has evaluated the major arterial circuit I.E the thoracic and abdominal eorta for pathology is to examine the major Venus circuit I.E probes position E and F looking for pathology within the Venus circuit such as a massive DVT that could be the cause of a thrombolic iology for shock and now while not every patient will need this examination I would go ahead and perform this exam in a patient with a high preest probability for a thrombolic cause of shock or right ventricular dilation seen on bedside Echo this illustration shows the lower extremity Venus Anatomy recall that the common femoral vein bifurcates into the deep and superficial femoral veins now the superficial vemal vein is the one that continues on down the thigh and into the leg and in fact has been renamed the femoral vein of the thigh it will continue on into the back of the knee to become the papal vein now we can perform a two-point compression examination looking for a DVT by placing the probe into the area of the small indicator Arrow scanning from the common femoral vein down to bifurcation into the femoral vein of the thigh and the Deep femoral vein we can then proceed all the way down to the poal vein placing the probe posteriorly and compressing sequentially from high within the papati FASA down to the area of trication into the three calf veins failure to compress would be indicative of a positive DVT this video clip illustrates normal compression of the femoral vein at this level we see the common femoral vein and artery we have the highfrequency linear array probe placed in a side to side configuration with the probe marker laterally oriented or towards the left notice that the femoral vein towards the right or medial completely compresses with probe pressure indicating the absence of a DVT so this would be considered a completely normal DVT examination and in fact we can see a little bit of the sainis vein coming off the top of the femoral vein now we can use Doppler to help us in identification of the femoral vessels this would be a positive examination we can see the femoral artery with pulsations laterally or towards the left and towards the right or medial we actually see the femoral vein and notice the swirls of fresh clot present within the vessel now recall that we must go ahead and compress The Vessel to confirm a DVT so that would be our next step but here again we see absence of flow within the femoral vein which is completely clotted off by a DVT next we'll apply gentle probe pressure downwards with a highfrequency linear array probe notice we see failure of compression of the femoral vein and with a small indicator Arrow I'm tracing the confines of the femoral vein again we can see the echogenic debris of the DVT that's actually the sainis coming off the top also involved with this DVT so a failure of compression of the femoral vein indicative of a positive DBT and in the right clinical scenario this could suggest a thrombolic cause for the patient's shock especially if the patient has right ventricular dilation on bedside Echo continuing downwards we'll look at the poal vein now remember that the probe is placed posteriorly in into the palatial fossa for this exam and gentle probe pressure is applied we can see that the artery is anterior to the vein and that the vein which is posteriorly located completely compresses this would be a normal examination and we can see that the walls completely come together with probe pressure this video clip illustrates a positive exam for poal vein thrombosis recall again that the poal artery is located anterior to the vein and we can see here the poal vein with what looks like swirls of echogenic material with a small indicator Arrow I'll show the confines of the palatial vein and notice that with probe pressure that the vessel does not compress and in fact with a small indicator Arrow there I can see a calf vein that's coming off the poal vein that's also filled with debris or DVT and we know that most dvts occur within the calf and propagate upwards into the palatial vein now let's put all the information we've learned in the various Rush segments into one unified Rush protocol to help us in determining theology for the patient's shock let's begin by looking at hyp ofic shock in step one evaluation of the pump often heart will be small in size and Hyper Contracting with the endocardial walls almost coming together during syy on evaluation of the tank the inferior v aava may be small in size with a large percentage change during inspiration the internal jugular veins may also be small in size with with a low CL closing column within the neck we may see the presence of peronal fluid or plural fluid indicating a hole within the tank in step three evaluation of the pipes one may see an abdominal aortic aneurysm which may be the cause of hemorragic shock causing the shock iology in this patient when may also see an intimal flap indicating aortic dissection another cause of hemorrhagic shock within our patient moving on to the next category cardiogenic shock generally the heart will be dilated in size with systolic dysfunction the heart will be hypoc contracting with a small percentage change from diast through to Cy on evaluation of the tank the inferior vava will often be large in size greater than 2 cm with a small percentage change during inspiration the internal jugular vein will be distended as well with a high closing column within the neck one may see on evaluation of the lung the positive lung rockets that we talked about or ultrasonic be lines indicating pulmonary edema plural Fusion in aites may also be seen as a sign of tank overload on evaluation of the pipes often this will be normal although occasionally a DVT may be seen in this low-flow state an obstructive shock of which the first is paracardial fusion with cardiac tamponade will be looking specifically first circumferential paracardial fusion with diastolic collapse of the right atrium Andor right ventricle indicative of cardiac tanod and the other two types of obstructive shock a massive PE or a tension pneumothorax generally we will see hyper Contracting heart and recall that in cases of a massive PE we may see right ventricular dilation and we may at times actually see thrombus within the right atrium and our right ventricle moving on to the tank the inferior V aaba is usually distended in obstructive shock with a low percentage change from expiration through to inspiration the internal jugular vein will also be distended with a high closing column within the neck now if the patient has attention pneumothorax we may be able to see absent lung sliding and the absence of vertical Comet Tails moving on to the evaluation of the pipes and obstructive shock we may be able to pick up a positive DBT within the femoral or poal regions indicative of a thromboembolic iology of the shock and a DVT that may have moved on into the heart and into the lungs to cause a mass of PE last but not least in distributive shock of which sepsis will be the most common in early septic shock the heart is generally hyper Contracting with the endocardial walls almost touching during syy later in sepsis the heart May Fail and one can see a hypoc Contracting heart with a small percentage change from diaso through to syy on evaluation of the tank in distributive shock generally the IVC will be normal or small less than 2 cm with a high percentage change during inspiration the internal jugular vein may also be normal or small with a low closing column within the neck in cases of sepsis due to empa we may be able to pick up the presence of a septated or complicated plural diffusion and in cases of peritonitis usually due to spontaneous bacterial peritonitis in a liver patient we may see the presence of peronal fluid or aites on the evaluation of the PIP and distributive shock generally this part can be omitted as this usually will be normal so in conclusion the rush ultrasound protocol can quickly help us at the bedside stratify a patient into one of the four categories of shock and immediately start the correct therapy for the patient's shock State now continuing on we can use the rush exam to monitor the patient's response to treatment over time and this is very important in cases of hypovolemic shock or distributive shock where one can look with fluid look in at the response of the inferior Vin aava in internal jugular veins hopefully they should become more plump and less distensible with respirations as volume resuscitation continues this means that the rush exam can first identify the patient's shock State allowing for appropriate therapy and also very importantly can allow us to evaluate the patient response to therapy by looking at the response to fluid loading as we want to push up the central Venus pressure in cases of hypovolemic and distributive shock States so I'm glad you could join me for these sound bites videos and I look forward to seeing you in the future as sound bites continues
Up Next

53:15
RUSH Protocol: POCUS in Hypotensive Patients
@usfemergencyultrasound771
101 views•2025-12-27

48:47
Graphic Medicine: Comics for Collaborative Healthcare Communication
@nationalpatientadvocate
189 views•2023-12-04

13:44
DVT Ultrasound Part 1: Focused Leg Vein Exam Anatomy & Technique
@Sonosite
258.4K views•2011-07-08
3:05
Stages of Labor and Vaginal Birth | Childbirth Animation
@nucleusmedicalmedia
52.1M views•2017-08-18
Related Study Plans & Knowledge Roadmaps
Structured learning paths in Medicine
medicine
Abnormal LFTs: Diagnostic Workup & Pathology
01Liver Anatomy and Basic Physiology
02Introduction to Liver Function Tests (LFTs)
03Hepatocellular vs. Cholestatic Patterns
+ 3 more learning modules
12h6 modules
Explore Roadmap
medicine
Analyzing Blood Smears: RBC, WBC & Platelets
01Introduction to Blood Components & Smear Preparation
02Normal Morphology of Blood Cells
03Erythrocyte Pathologies & Morphological Variants
+ 2 more learning modules
12h5 modules
Explore Roadmap
medicine
Mechanical Ventilation: Waveforms & Alarms
01Anatomy and Physiology of Breathing
02Introduction to Mechanical Ventilation & Core Modes
03Ventilator Settings and Waveform Interpretation
+ 2 more learning modules
12h5 modules
Explore Roadmap
medicine
Neuro Exam: Localization & Stroke Syndromes
01Foundations of Neuroanatomy and Vascular Supply
02The Neurological Examination: Step-by-Step
03Principles of Neurological Localization
+ 3 more learning modules
18h6 modules
Explore Roadmap