

![How Does 3D Printing Actually Work? The Tech That Builds Objects Layer by Layer [ID1312]](https://i.ytimg.com/vi_webp/oeyzY1LR-vQ/maxresdefault.webp)









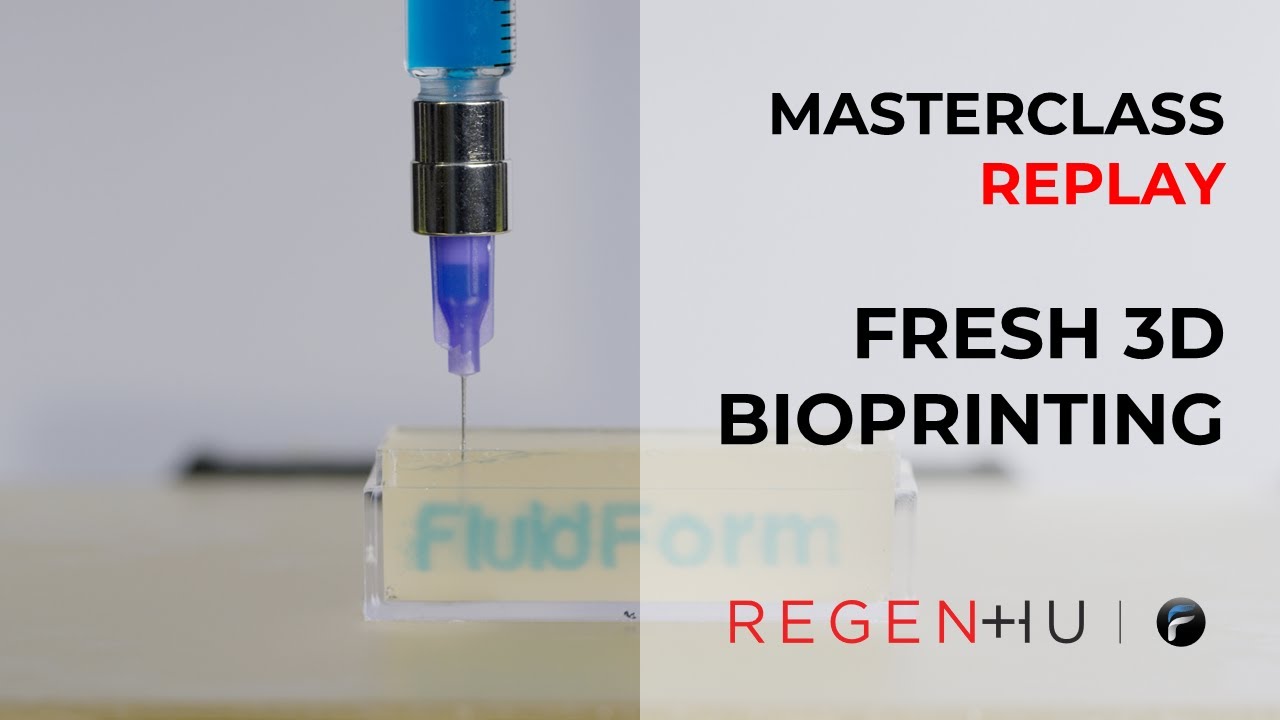










For successful FRESH printing, configure Slicer with layer height at 40% of needle diameter (e.g., 60μm for 150μm needle), 1-3 perimeters to prevent over-extrusion, 30-35% fill density with rectilinear pattern, extrusion speed around 20mm/s, and enable retraction for complex geometries; set temperatures to zero since no heating is required, and customize G-code to skip homing and heating commands while raising the nozzle 0.5cm at completion.
Slic3r Settings for FRESH 3D Printing: A Technical Guide
Added:Basic principles of Fused Deposition Modeling (FDM) and how slicing engines translate 3D models into G-code (layer height, shell thickness, and extrusion multipliers).
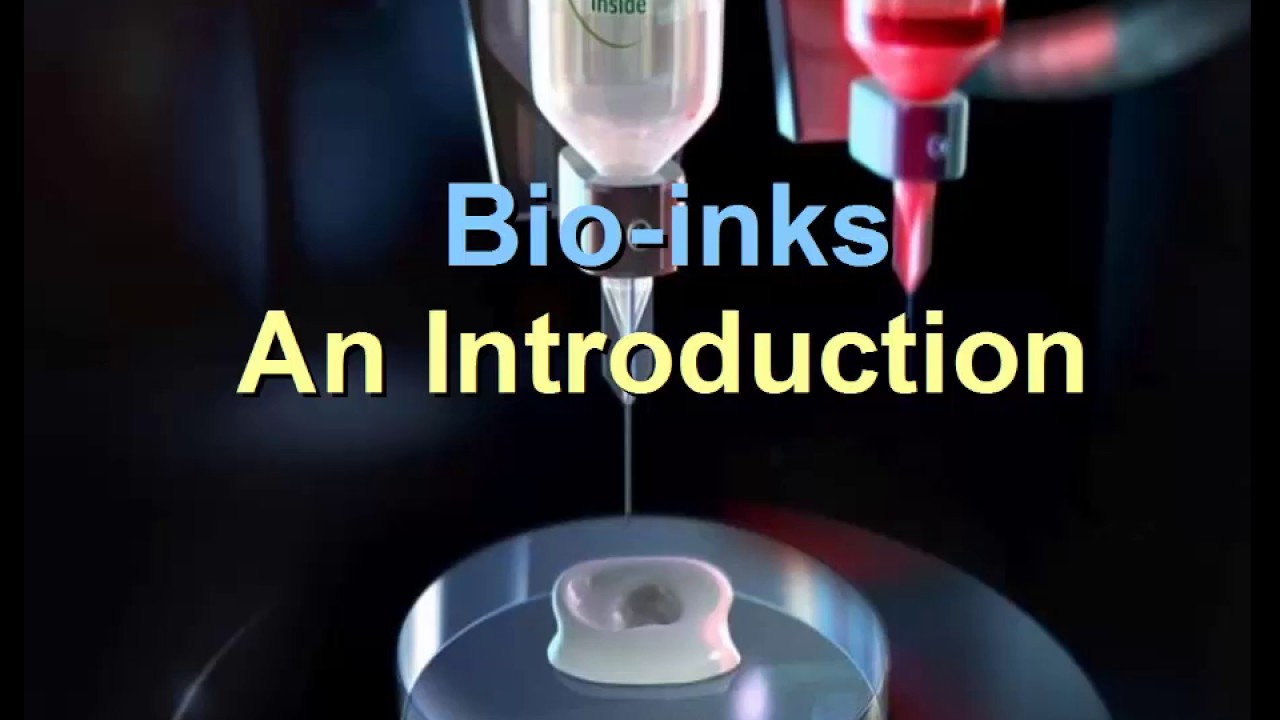
The fundamental concept of FRESH (Freeform Reversible Embedding of Suspended Hydrogels) bioprinting, specifically the role of a temporary, yield-stress support bath.
Introduction to biomaterials and bioinks, including the physical and chemical properties of common hydrogels like collagen, gelatin, and alginate.
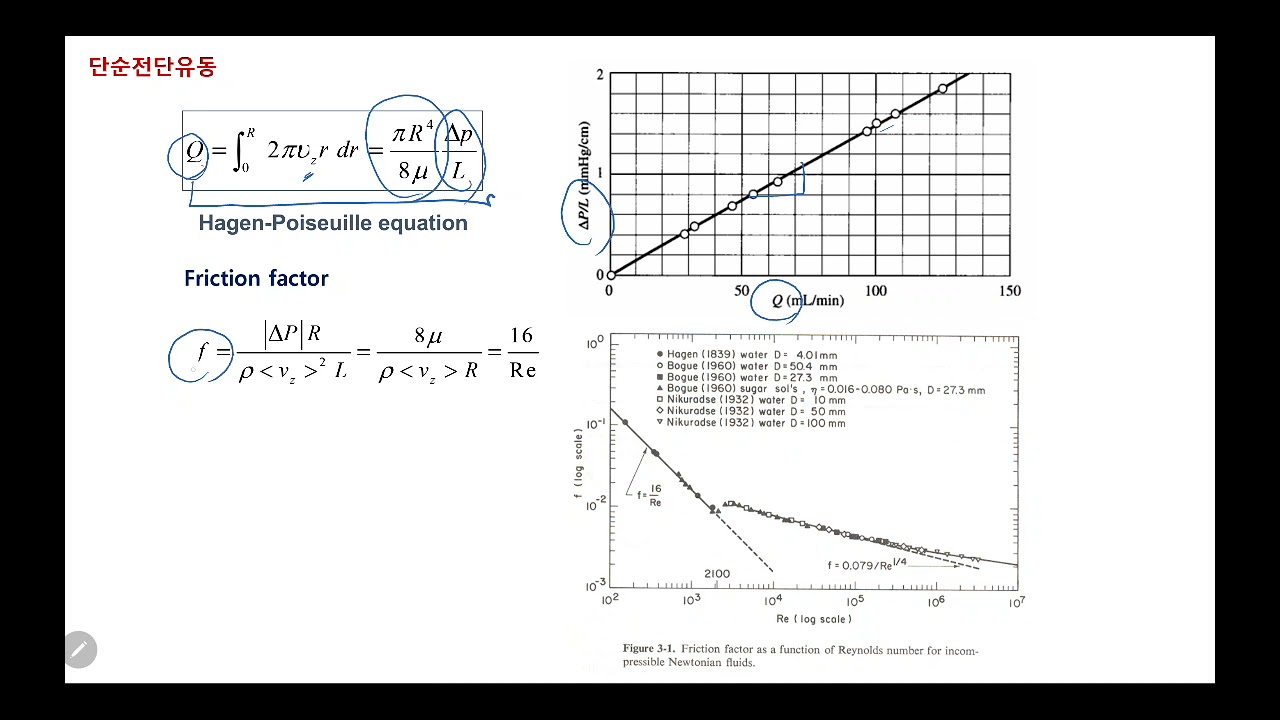
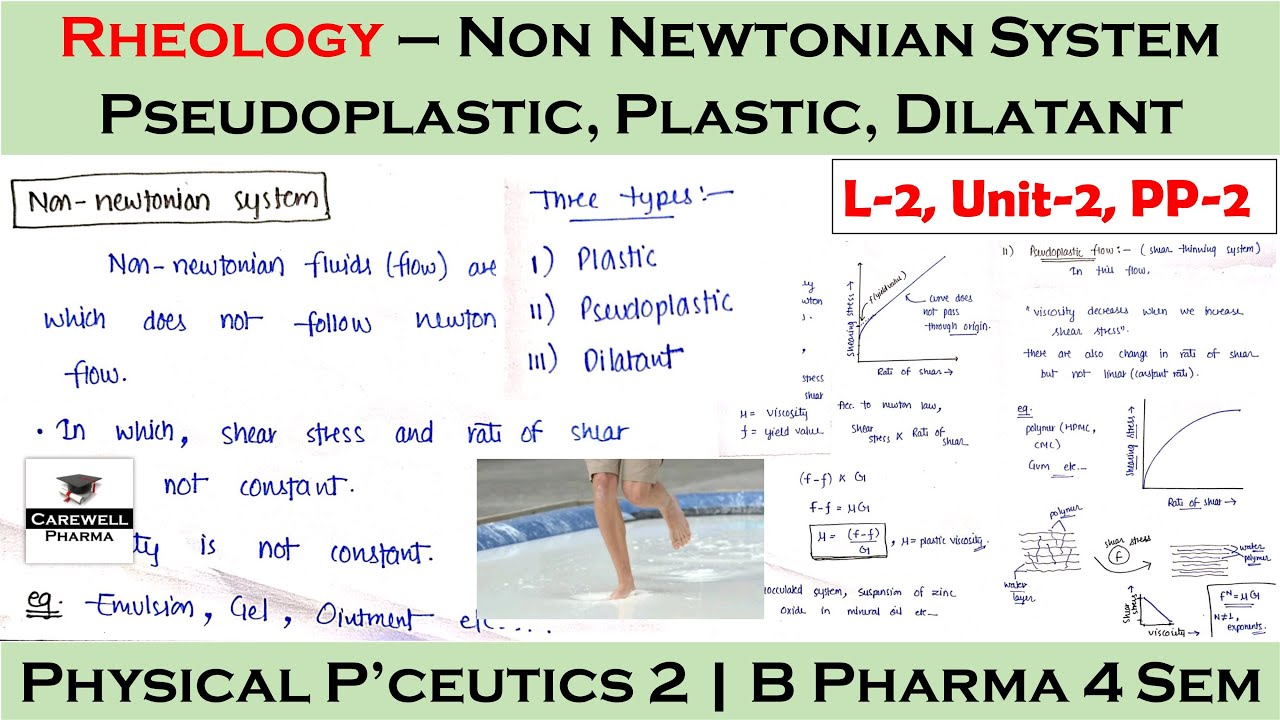
Basic fluid rheology, particularly understanding how viscosity, shear-thinning, and yield-stress behavior affect extrusion through fine-gauge needles.
Post-processing workflows for FRESH prints, including the thermal dissolution of the gelatin support bath and sterilization of the remaining scaffold.
Cell seeding protocols, biocompatibility testing, and the utilization of bioreactors for the in vitro maturation of printed tissue constructs.
Advanced multi-material FRESH bioprinting techniques to recreate complex interface tissues (e.g., bone-to-cartilage transitions or vascularized networks).
Methods for characterization of printed scaffolds, such as scanning electron microscopy (SEM) and mechanical testing (compression/tension) to evaluate structural integrity.
2.2K views17likes12:51Original Release: 2016-08-08
hey guys how's it going we have a slicer tutorial for fresh printing right now so we're going to be using this hand STL file to go through and explain certain settings that are of particular interest for using slicer to set up fresh printing so without further Ado we going to go over we're just going to go through each of these uh settings in the list one by one to make sure that everything that you have is proper so in this case you'll see that our layer height is 60 Micron which you may think is relatively small in comparison to traditional plastic printers which normally have an average resolution of 200 microns per layer height but in this case we're using 60 microns because the formula that we normally use is that your layer height should be 40% of what your nozzle diameter is or needle diameter so in this case we've been using a 150 Micron needle and the 60 Micron layer height is reflective of that if we were to switch over to a 250 Micron needle we would have a 100 Micron layer height as well your first layer height is also just going to be the exact same no reason to change things here perimeters you're going to stick between one to three perimeters traditionally for fresh printing going higher than three you uh greatly increase the risk of overe extruding material and kind of having material uh be above the needle z-axis or Z height of where you want it to be so try and stick anywhere from 1 to three you're trying to get a nice aesthetic print maybe stick uh with one maybe two and then anything that has a little bit more rigidity to it maybe go for three but I traditionally go to a middle ground of two uh all this stuff stays the same you want to have your seam position be nearest this is just going to try and minimize uh any unnecessary traveling that the needle is going to be doing because again you want to reduce the chance that the needle is passing over something that is polymerizing or gelling that is also soft and disruptable so you really want to be careful because the prints are very delicate because they're not a hardened plastic they're potentially still jelling something like a collagen uh over to fill density you're going to try and stick between 20 to 50% in fill normally want to hang between 30 to 35% as your standard and kind of only go out that range uh to 20 to 30 when you get more comfortable with the 30 to 35 but traditionally just set this to 30 and then kind of let it be for a while your infill pattern should be rectilinear we've tried lots of different infill patterns and we find that rectal linear works best could probably make an entire separate video as to why rectal linear seems to be better than other ones like the honeycomb everything else here pretty much stays the same you want to make sure that you have your retract when Crossing perimeters option checked uh this is kind of going back to what I was saying of wanting to reduce any messiness between perimeters or traveling this is kind of like uh retraction whenever you're moving around parameters so it's just good to have for skirt and brim this is totally up to you so this is just to ensure exactly like when you're printing plastic that you have material flowing out of your needle when when your print officially starts just like you do kind of like a a purge of the extruder whenever you're printing plastic it's the exact same for extruding a fluid so this is just to make sure that you go around the perimeter of the entire print and are guaranteed to have fluid flowing by the time that your print officially starts so it's not a bad thing to have but sometimes it is a little unnecessary over to support remember that the entire uh principle behind fresh is that you're embedding a jelling fluid into this support material where traditionally with plastic you have to lay down support material grids which take up time and material but with fresh you are embedding into a ubiquitous support material which saves you time and is actually the uh the reason why you're allowed to or even able to print soft materials because you're embedding into a a uniform and ubiquitous support material so you don't really have to worry about any of the settings here the printer does not know that you are printing into a material so just don't have to worry about that for Speed you're going to try and set everything down to around 20 mm/ second and try and just stay here for a little while and not really adjust this go up to a maximum of 40 millimet per second and maybe a minimum of five but I highly recommend sticking around 20 millimet per second to start out there's really no reason to adjust this drastically when you're just beginning travel speed should be 180 millim per second if you're using something like a MakerBot in this case we're using a MakerBot replicator if you're using something like a printer bot symol metal we recommend decreasing it to around 130 mm/ second first layer speed and all this stuff stays the same so really nothing to change down here multiple extruders I wouldn't recommend using any more than one extruder unless you've absolutely mastered single extruder printing so trying to keep all this to one you want to uh you have to crawl before you can run so try not overdo it by trying to do multiple Extrusion prints before you've mastered the first one advanced again I said that we were using a 150 Micron needle and everything here just reflects that so we're going to have 0.15 mm for everything if I were use a 04 millim syringe this would all just4 yeah everything would just be4 as well so nothing else changes here as well so no more output options that you really have to be concerned with and no notes so going over to filament options you're going to notice that the filament diameter in comparison to plastic printing looks really huge and it kind of is what we're saying here is that the filament diameter is actually reflective of the internal diameter of your syringe in this case we're using a two and a half Mill milliliter Hamilton Gastite glass syringe uh a good way to just measure this is either well you can go onto the manufacturer's website and they'll hopefully have their specs listed or you can measure the diameter of the plunger those are two good ways to try and get your filament diameter or the internal diameter of your needle you definitely want to have this be very accurate because it's going to affect the volume calculations that the printer is going to be doing and the next one that you need to have set to around 6 if you're doing alate printing this is your Extrusion multiplier AKA flow tweak from other slicing packages basically what this is saying is that once you have all of your settings filled out and the program has calculated that say to do a 1 cm edge of a cube that you need let's say 1 milliliter of fluid extruded you're just saying overall I want you to multiply every Extrusion that you've calculated by 6 so instead of extruding 1 ml it will now extrude 600 microl and traditionally you just do this to avoid overe Extrusion it's kind of it's an overall print adjustment so keep in mind that for more sensitive bits of the print uh it may not be the best way to go about fixing them for alginate you want to stick around 6 for something like a collagen you can go up to one we normally use 1.0 and then we go back down to0 6 for something like a fibrin uh temperatures remember that you aren't heating up a filament or a build platform anymore you don't have to worry about bed adhesion or any of anything with temperature really if anything you want to avoid temperature because it can liquefy your support material if you're using gelatin so keep all this down at zero and it's totally okay don't think that your printer is going to freak out uh cooling so this is an advanced setting and it's only because we're interested in the cooling thresholds down here don't worry about the fans because remember we're not heating up anything we don't need a fan at all so for the cooling thresholds what's important here is that we're saying uh we're looking at speeds and so with this is uh what we're trying to tell the printer is you want to slow down if your layer print time is below in this case we've selected 5 seconds and the reason we do that is because if you go and look at the hand up towards the end of the print when you're finishing the cross-sections of these fingers all these finger cross-sections are basically just small circles which means that these layers take next to no time at all and this can become potentially problematic if you're moving around very quickly and immediately coming back you're kind of jostling around a lot of the support material material that you're uh moving through so what we say is whenever a layer takes a very short amount of time like up here towards the end of these fingers we want to drastically slow down to give the support material a little time to thot tropically reset and to be behave a little bit more predictably it's just a way to increase the reliability of the print as it's as it's finishing and you'll also have thought and noticed why don't I print this hand rotated down flat this is more of just a stress test to test uh some certain retraction settings in the future obviously the most efficient way to print this print is to rotate it down and lay it flat uh over in printer settings for your bed shape you're going to try and set your origin to being the dead center of your build platform you don't want to have it be in the bottom left or upper right corners or any Corner in particular you want to now have it centered at the uh the true middle of your build platform and this is the dimensions for something like a MakerBot replicator the uh something that's important to note is that you you don't want to be homing uh any of your movements you're not heating up an extruder or a bed anymore uh you want to be placing the syringe that you are using to print directly into the middle of your support bath uh you don't want to have the printer move around trying to home because that can uh basically drag the needle out and have the syringe knock your container over which is something that you don't want you want to have it be set up so that right when you press print that your printer starts and that it doesn't home anything down for G-Code for firmware you want to have the sish uh firmware flavor installed that's just part of our setup that we detail externally and have all this basically res set as it is at zero Herz custom G-Code this looks a lot more minimal minimalistic in comparison to plastic prints and keep in mind that's because we don't have to tell the printer to heat up any extruders or the bed platform anymore we don't want it to home because that could not go over your container you just want it to as I said press print and go cuz you're you are the one who is centering the needle AKA nozzle right in the middle and the bottom of your support material so we all of our g-codes just reflect this so you set your temperatures to zero you tell the printer that its current position is now the origin which is again reflective of what I've been saying and your NG code is also now saying uh right when you're finished you're now at z0 raise the nozzle by half a centimeter and this is just to allow to take the print out from underneath the needle and then you're going to turn off all your temperatures and disable your motor just as a precaution going down to the nozzle diameter again the 15 uh or 0.15 mm diameter is reflective of the 150 Micron needle adjust this to whatever you see fit for whatever your needle diameter is uh retraction is similar to Cooling and that it's a rather Advanced setting so if you're doing something simple like a cube or a hollow cylinder you don't really have to worry about traction yet but if you've mastered those simple geometries and you want to try something more complex in this case something very difficult like a hand uh you're going to need a setting l or traction and it's the exact same concept as if you're printing plastic where say if I go from printing the edge of this thumb and I'm going to trans transition all the way over to printing the left side of the hand there's a potential that during this travel time that a little bit of material plastic or in this case fluid has leaked out of the material or has leaked out of the nozzle and that's detrimental because it's just going to cause stringing it's going to look bad and it's going to uh kind of corrupt your print so the way that you counteract that is just like with plastic printing you retract a little bit of the material back up into the nozzle this is just what retraction is so in order to avoid stringing we just say Hey whenever uh you are traveling anywhere greater than 5 millim we want to retract these settings so in this case if we are trying to travel between the index finger over to the middle finger we want to have something like retraction enabled because if you don't have good retraction settings you're going to get webbing between uh these fingers which is much like if you're printing plastic only it can be much more pronounced with something like fresh so you want to have good retraction settings and these are kind of the standard ones that we want to recommend the speed maybe decrease that to 0.5 mm/ second but in general uh you will be tweaking these depending on your print because this depends on just our overall size the uh the width of this is maybe 1 and half centm so you want to definitely have retraction turned on for when you're hopping between each digit and going from the thumb over to the body and just have all your settings reflective of that other than that that's pretty much all the settings that you need to have set up in something like slicer to get going so I hope you found this video enjoyable if you have any questions just leave it in the comments below thanks
Up Next

29:00
FreeCAD Tutorial for Beginners: Getting Started with 3D Modeling (2024)
@digikey
155.5K views•2024-12-16

12:54
Triumph of Orthodoxy Icon: Byzantine Art & History Explained
@BenCallan
2.1K views•2024-08-06

9:49
FastAPI vs Flask vs Django: Choosing the Right Python Web Framework
@TechWithTim
302.5K views•2024-05-26

1:42
Game of Thrones Opening Credits: A Cinematic Analysis
@gameofthrones
46.3M views•2011-04-18
Related Study Plans & Knowledge Roadmaps
Structured learning paths in General & Interdisciplinary Studies
general-studies
Elevator Engineering: History, Physics & Cities
01From Hoists to Safety Brakes: The Dawn of Vertical Lift
02Hydraulic vs. Traction: The Engineering Physics of Elevators
03Modern Speed, Safety, and Algorithms
+ 2 more learning modules
12h5 modules
Explore Roadmap
general-studies
Rubber: Material Science, History & Geopolitics
01Origins of Natural Rubber & Mesoamerican History
02The Chemistry of Natural Rubber & Vulcanization
03The Geopolitics of the Rubber Boom & Colonization
+ 2 more learning modules
12h5 modules
Explore Roadmap
general-studies
Containerization: Evolution, Logistics & Trade
01Ancient Trade & Bulk Cargo: Amphorae to Barrels
02The Industrial Revolution & Cardboard Packaging
03The Containerization Revolution: Malcom McLean
+ 2 more learning modules
12h5 modules
Explore Roadmap
general-studies
Textile Tech: Evolution, Labor & Global Impact
01Pre-Industrial Textiles: Handloom & Cottage Industry
02Mechanization: The Spinning Jenny to the Power Loom
03The Factory System & Global Labor Transformation
+ 2 more learning modules
10h5 modules
Explore Roadmap