









This video demonstrates the design and construction of a submarine's variable tank system for buoyancy control and an overpressure relief valve for safety. The variable tank system uses two tanks with a total internal volume of 12.6 liters to adjust buoyancy by adding or removing water, providing 12.5 kg of weight adjustment capacity. The overpressure relief valve is a spring-loaded mechanism with an O-ring seal that releases internal pressure when it exceeds external pressure, protecting the hull from damage. The valve body is welded into the hull and machined as an integral unit to prevent loosening, with adjustable spring tension via a wing nut. The construction process involves precision machining on a lathe, including drilling, threading, and welding techniques to create a reliable pressure relief system.
Submarine Build 152: Variable Tank & Overpressure Valve Machining
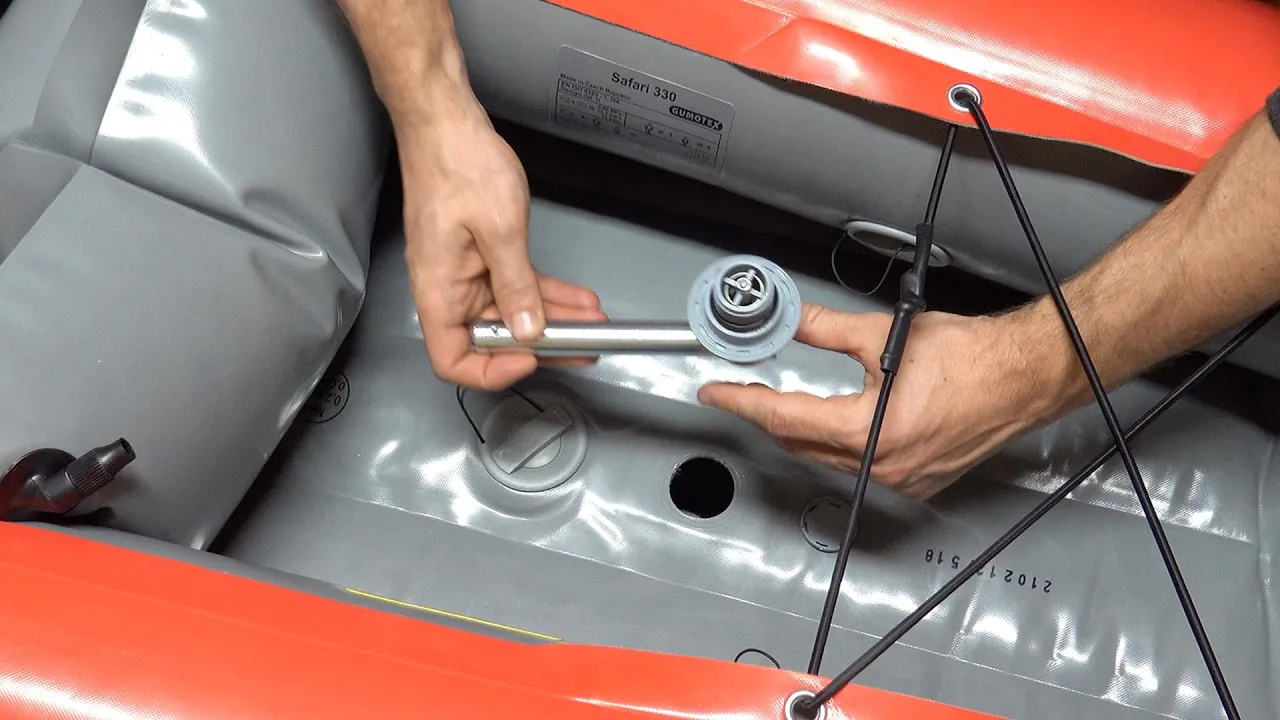
Added:you see that there yeah so 96 so we'll say 80 to the first Arc 96 to the bottom so I'll draw that up properly and get myself a proper accurate uh volume in that but I think it worked out at about 5 and 1/2 lers but I think these caps are a little bit bigger than than I drew originally so uh I'll work that out in a minute [Applause] right so what I was just showing there was the uh uh the variable tank parts have arrived so I mean I've drawn it up there's not really much to show about that there's the pipe and there's a couple of caps but what is interesting is the boundary fill that I just did so um I just move it so that's the internal volume and I've worked that out to be six or computers worked it out to be 6.3 l so I'm going to have with one at the front one at the back that's 12.6 l so let's say 12 1 12 liters so I got 12 and 1 half kogs of weight to adjust the buoyancy uh which isn't a lot so I'm going to have to be really on the ball with it and the other thing I was just saying in the in the video was the i showing the over pressure valve which is this that I was making so the idea with this is it welds this body part welds into the hull and then there's just it's very simple there's just a spring-loaded uh Rod that goes through in an O-ring seal so if this will be on the inside if you get a over pressure situation so the the boat is is become um at higher pressure than the pressure outside due to like an air leak inside um this top will just pop off with uh pressure and just release the release that that pressure and then should spring back down again and you can adjust the spring tension with this uh wing nut um but what I was going to show I did show me um Machining this on the rotary table but I lost all footage so uh it's sort of jumping straight into me finishing it off on the lathe but I did start it all off in the uh in the mill on the rotary table and I've done all the uh the drawings for it as well so there's the the sort of assembly drawing and then the cap and this is what I was also saying in in the video is the whole point of me doing it slightly different this time um is that I wanted this surface and this surface to be machined all in one go and I did do that on jod B but what I didn't do is I didn't do this weld so jod bees is just screwed in uh but what I want to do on this one is I actually want to weld it at the top like that and then machine over the top of the weld so that red part there shows the Weld and that is because um I want it all to be one integral part and then the last drawing where is it yeah that's the valve body so it's fairly straightforward okay last one this [Music] okay so I'm just going to quickly flick back to the three jaw face this surface and the other surface break these edges then this is the base done and then I can start the capab [Music] [Laughter] just uh get these last little burs out of this pipe D barer thing okay so that's the base so now I got to make the cap got be careful not to damage this surface so this is just drilling it out uh 14.5 and I'm going all the way through once you get your mojo on on the correct feed rate then goes quite easy w right so I didn't really want to have to do this but I could have sworn that I had um an M16 by 1.5 I could have sworn I had a 1.5 uh tap by M16 but I haven't got one so I bought this uh I bought this bolt which was going to do the job for me and save me having to do this but uh I didn't have the one I've got is M16 by 1 five and I need bu two I think is that right something like that one I need is one is M16 by 1.5 [Music] oh look at that 16 0 [Music] 05 right anyway so threads Let's Line this up now choosing the right [Music] [Music] one can't quite get in there uh God it's awkward so I got this little tiddler of a live Center for just this sort of awkward situation right is that enough for me to get the uh thread cutting tool in hopefully it is it's very close yeah it is okay it's real close tell you set stop [Music] again so metric 1.5 is LS 6 Z gauge the thread chasing dial fact what I'm going to do actually I'll change my mind I'm going to just offset the uh the cross slide here okay I'm going to go at number one [Music] [Music] right so I got two ways of doing this um I'm going in on number one on my thread chasing G dial and uh I'm going to put in in my cup which is I'm at 28 is something de and I'm going to go in1 of a MM of a cut half knot is engaged I'm in forward and I'm cutting the [Music] thread now what I'm going to do is just come quickly out of the roof [Music] and uh the half KN is still engaged so I'm just reverse now I'm just going to wind back it's a bit boring waiting for it to come back cuz I'm I'm actually cutting at a really slow speed right so I'm going to now go another1 of a millim half nut still in right so this is the other way I'm going to do it this time disengage the half knut so I'm out of gear coming back [Music] to and now what I'm going to do is I'm going to come back around in reverse and I'm going to re-engage at number one and that should be back in the same position [Music] right I've taken it out um so there's nothing I haven't got anything that I can test it with I haven't got any any uh thread gauges thread gauge wire so I've just had to I've had to sort of guess the depth a bit let's see if it's going to fit I don't want this much on it [Music] [Music] Pon tool makes a nice finish it's as good as facing [Music] off nearly as good right uh Power t [Music] should have worked out how far through it has to [Music] go there I think what do you think my bet is no no it's too tight it's back in I think so I'm just going to see that's actually in the right place right so uh I've recked up the thread um and I've done a couple more passes and I've also knocked the top off of this slightly because I felt my outer diameter was a bit too much and I've got now fits as you can [Music] see now just mangle up all my really nice threads I just did [Music] right so the whole the whole point of this is that bit welds into the hole um this bit now screws into there and what I'm going to do is weld down in there in that hole it's still there um and I'm going to w weld that so this bar is never going to come out and they're basically they're now one complete unit on jod B this piece here is just screwed in and it always just worries me somehow it might just wiggle its way loose it's extremely unlikely but um this is the way I've wanted to do it with this so what I'm going to do um is just going to put a shamer on this now out of about I don't know what 60° or something um put a sh I'm going to weld in the top of there put a shamer on then with the whole thing all chucked up in the machine I'm going to then turn this down to exactly the same bar as that which is 12 mm um and that will this must be completely um at 90° to that right so the the whole point of this um was that I wanted to make this and this one complete unit so that when it fits through here this is accurately machined to the to the surface of this and also this this bolt is actually integral to this so there's no way that it could come off um if the jod bees is just screwed in and it's very well screwed in but I just all always a little niggle if that top of that valve came off you'd have the hole a hole through in the hole anyway uh so what I'm going to do now is I'm going to weld down inside there um I'm going to machine this at a little bit of an angle uh that's a tapered angle and then um then I'm going to machine this down to match that 12 mm cuz I want that to be a nice fit [Music]
Up Next
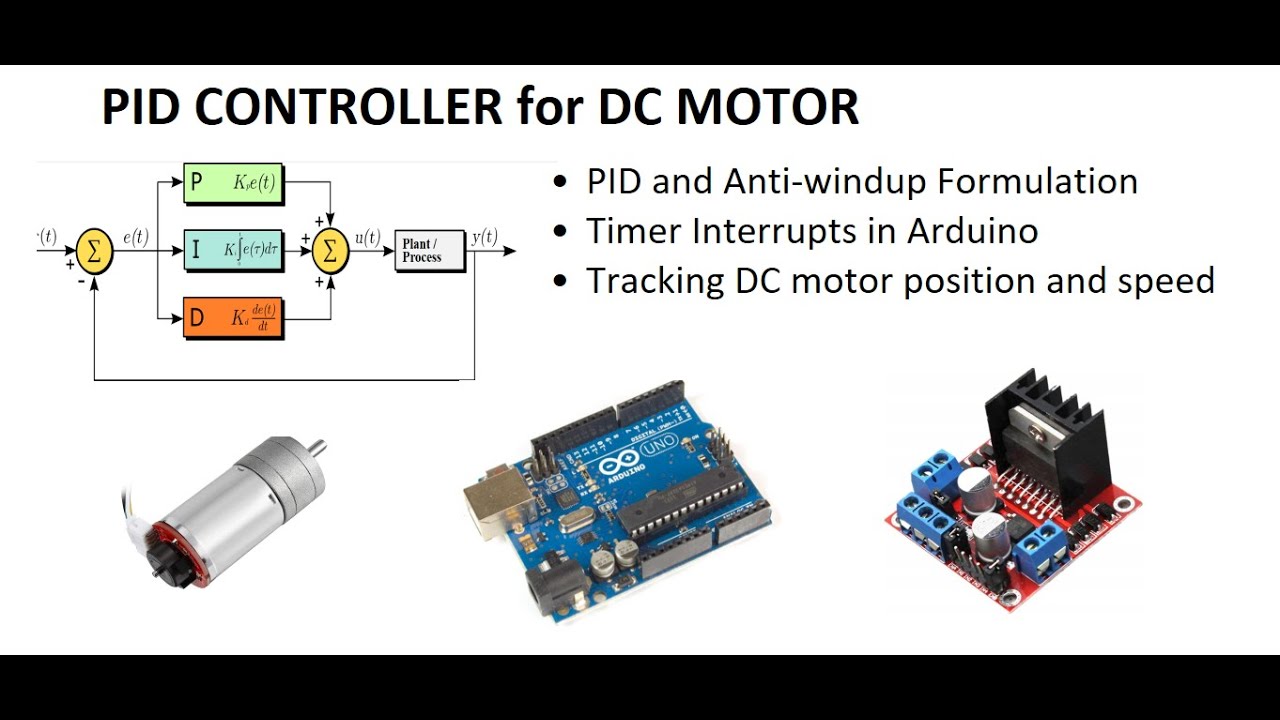
PID Controller for DC Motor with Arduino: Speed and Position Tracking
@GeeKeeCeeBee
120.9K views•2019-12-09

Ultrasonic Transducers: Resonant Frequency Measurement and Horn Design
@imajeenyus42
229.9K views•2017-02-22

Polymer Environmental Degradation: Mechanisms & Stabilization
@iit
1.8K views•2012-07-10

How a Student's Question Saved a NYC Skyscraper from Collapse
@veritasium
22.8M views•2025-04-26
Related Study Plans & Knowledge Roadmaps
Structured learning paths in Engineering