






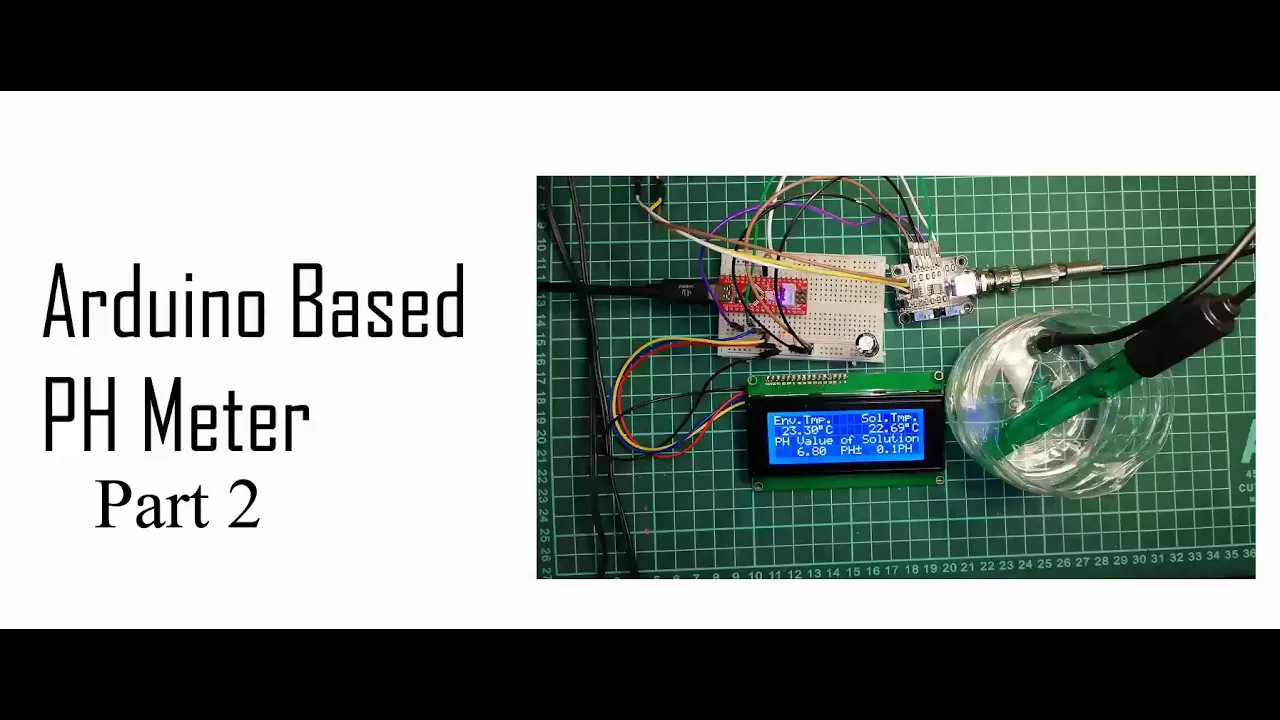




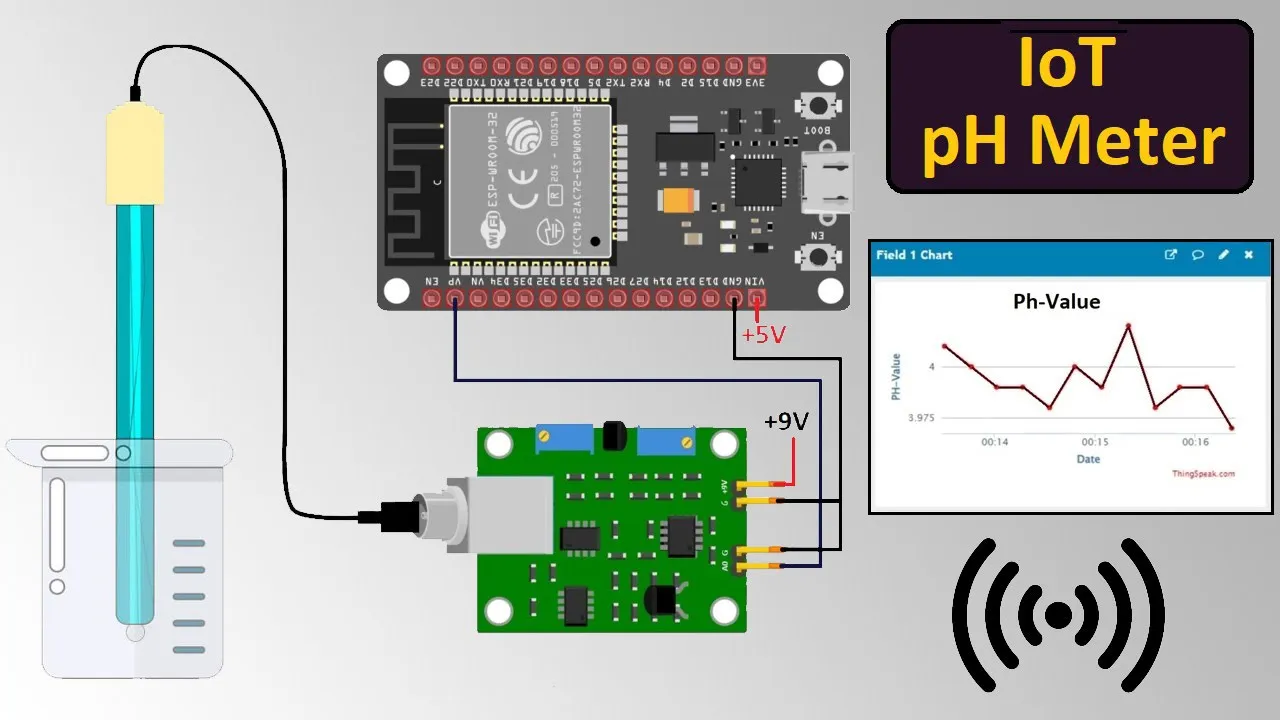



This tutorial demonstrates how to integrate a DFRobot pH meter module (SEN0161-V2) with an ESP32 microcontroller, covering library modification for ESP32 compatibility, hardware wiring using DuPont cables, and a two-point calibration procedure using pH 4 and pH 7 buffer solutions to achieve accurate pH readings.
ESP32 pH Meter with DFRobot SEN0161-V2 Module Guide
Added:Basic microcontroller programming concepts using the Arduino IDE, specifically focusing on the ESP32 GPIO architecture.
The chemistry of pH, including the logarithmic scale of acidity and alkalinity, and how glass electrode sensors detect hydrogen ions.
Analog-to-Digital Conversion (ADC) principles, including how microcontrollers map analog voltage signals to digital values.
Fundamental electronics and circuit safety, particularly interfacing 5V analog sensors with 3.3V-tolerant ESP32 input pins.
Implementing dynamic temperature compensation algorithms using a temperature sensor (like the DS18B20) to maintain pH accuracy.
Storing calibration parameters (slope and offset) in the ESP32's non-volatile storage (EEPROM or Preferences library) to survive power cycles.
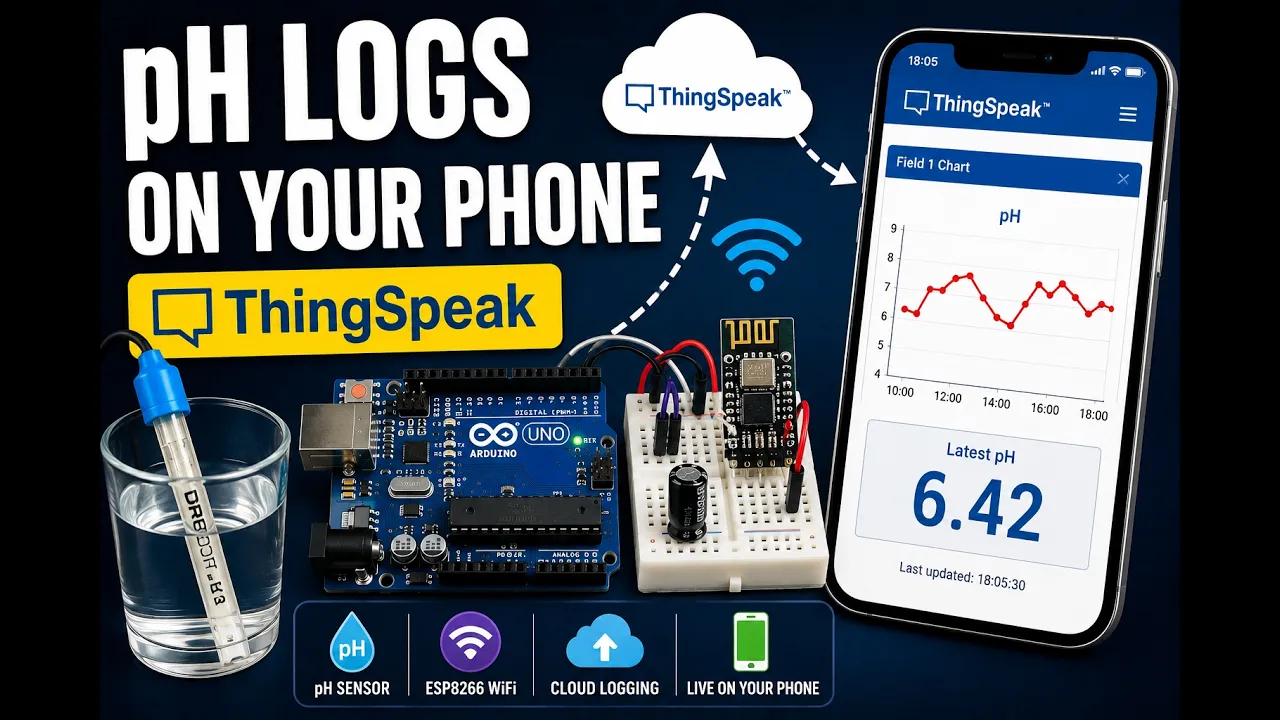
Developing an IoT-enabled environmental monitoring dashboard to transmit pH data over Wi-Fi to platforms like Adafruit IO or ThingSpeak.
Designing closed-loop control systems (such as automated pH dosing using peristaltic pumps and relays) for hydroponics or aquariums.
67K views507likes13:14Original Release: 2019-05-29
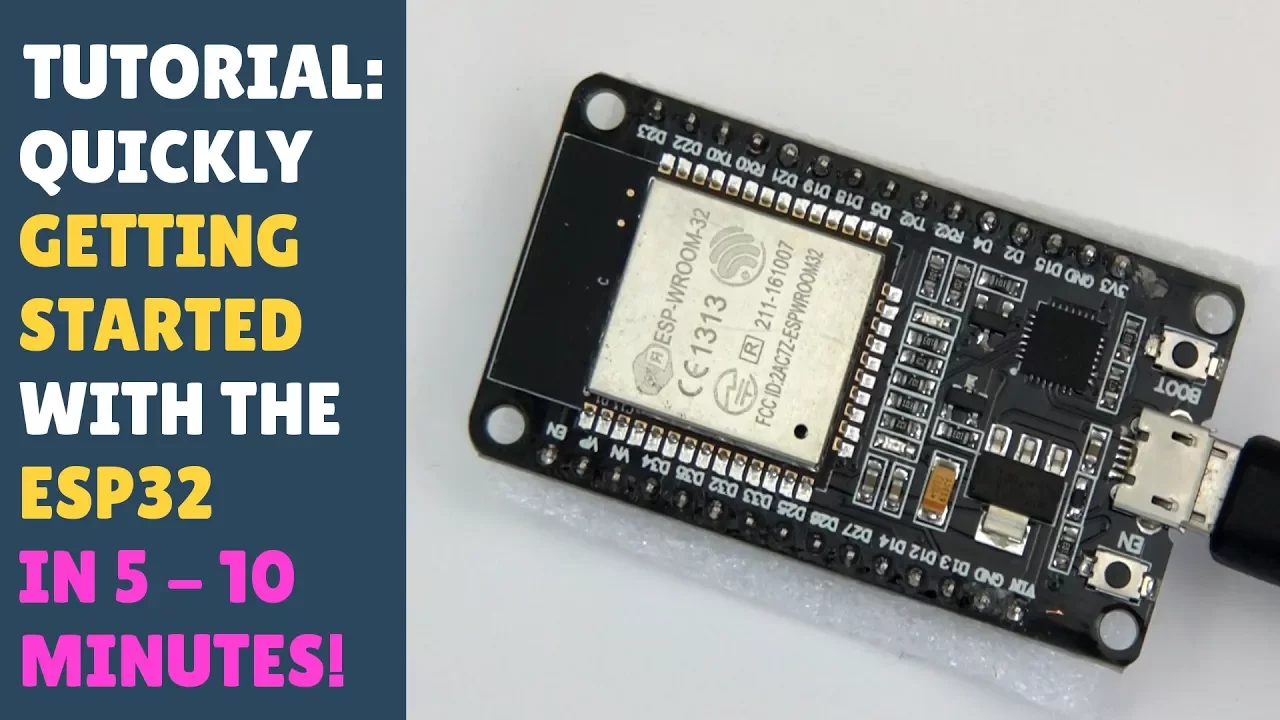
[Music] hello youtube today we are talking about pH sensor secret made by GF robot just for information they made a first version of that circuit few years ago and today they've released the version 2 and the version 2 is interesting for multiple points the first thing is that it's more accurate in the readings it's also easier to calibrate with the sketch provided and now it's compatible with 5 volt microcontrollers and also 3.3 volts microcontrollers which is very interesting because more and more of those microcontrollers are becoming 3.3 volt based and as we can see here the show are to set it up with a standard setup which is an Arduino working on 5 volts you got the DF robot circuits and the pH sensor put into a calibration solution now the thing is they provide a code for that and the code does not work for platforms such as ESP 32 and as it happens we work a lot on ESP 32 so we've modified the library the library a little bit so we can work with this ESP 32 and so that you don't have any issue regarding on the app from parts so how do you make it work let's assume you already have a we know IDE you already have set it up to use it with ESP 32 if you don't you can go on Google and find how to do it now you this circuit work with an ESP 32 so you go on github that's the first step you look for green panic which is us and here you will find two libraries one is for the pH and the other one is for the EC we talk about the EC in another video today we'll click on the pH version you will have to download it you click download download zip so it downloads a zip file where you will have your library and then and the example inside it so now you will have to install that library so what you do you go into your library folder so your library folder will be in your Arduino folder where you have all your sketches and you have a subfolder there called libraries so you go there and you just extract all the files so I've done that already so I just replace it it's not a problem okay don't it's here so now you have to open our new IDE so I've got a session which is already open here a blank one you go on in files examples and you will try to find the F robot pH green panic there is an example you click on the example and here is your sketch it's very short and it will work and now I have to show you how to set up everything regarding the wiring etc so you've got your little kits you receive this box and this box contains the pH sensor which is within a solution right here it's very important that that probe is always with this solution and that has to be dry like never you never want it to be dry because it will kill the probe and that will be useless you have your pH circuits version 2 you get you to standard calibration solution ph4 1hp s7 and what I've added here is a cleaning solution for the pH probe you want to clean it properly when you change your solution so that your measurements are accurate good tip for people using this kind of problem this kind of solution a good idea is to use tapes like this it's double side tape so that's your bottle don't move so when you put the sensor in you don't have a mess around that will ruin your desk entirely and make you yell for hours so now we start to plug this in so you plug your sensors or your circuits and you will need also very nice USB 32 this one is an old one so I hope it still works but I think so and you will need a power supply in form of you USB micro USB cable and to plug the ESP to the pH circuit we need some DuPont cable such as those one you know the one you learn to love and hate at the same time so on a yes beside you plug it's I hope that you will you will see enough Abby but only shut your Graham on the top on the other side and by default the code tells you to plug your data on 35 which is this one right there so you do the same thing on the circuit connector side of things so that minus plus data - plus theta this BAM three in a row and now you can plug your PSP to your PC okay got light here little eyes here seems all good right so on the PC you will have to upload your sketch so to upload your sketch you go back to the arduino ide and on the arduino ide you how to go in tools you have to select the board so you'll have to select the proper board that you you using for us it's ESPE search to dev module and you have to choose the right compost that's 12 here let's go let's upload the thing so here it is don't applauding no you can open server monitor so it's important that it's set on 115 200 boat so that it works with right here so that it works with our sketch now you take the cap off okay you clean your probe like that very gently this thing is very fragile you don't want to break it you don't want to touch it directly so why do I take a little tissue like that like that it gently that's why you put some tissue in there to get that extra moment of solution but never false never could force on the thing so that's really okay I put it in my pH for solution so it's brand-new this one is new still have the cap on it's important fact also when you use a solution like that it's you use it only once because after that it will be spoiled so here is pH 4 so now we have to check the reading on the other side so here we are you know a sketch and it doesn't read for for the moment so that's where the base room stabilizes to trees nearly 5 know what you have to do is to put a command right here so you type you have to type enter enter pH it goes into a calibration it ask you to put your pH probe into a solution between either four seven here is for type calc eh when the reading is stable enough it says ok your buffer solution is for yeah it's right and now it's calibrated to four you can see your reading are pointing to form the type exits pH okay brush and successful execute pH calibration mode so now your pH is calibration calibrated for one solution now you have to go to the next solution so same thing check it out okay just gently dry the thing and do not make any mistake oh you will be sorry they're robot would be very happy but you would be sorry okay now I open the second bottle this one is new also so I have to take the cap off quick remember for the next video do that before you recall the video okay Rob is in steering no no no no now it says 8.30 five and thirty five it seems to be stable enough so now we do the same thing enter pH you wait for it to be stable and you type Cal pH so now it's calibrated to pH seven solution so you've calibrated it for two solution which means that within those kind of ranges your reading will be very accurate now it's time to type excitation that's it now you pH read pH seven if I create again I'm going quickly because I got the habit of this but be careful okay and I go back to pH for you send a sketch it reads pH 4 so now everything is calibrated and everything will be registered in the ESP 30 to a prom and next time you will use it it will use the same calibration information so bear in mind that you have to calibrate and those sensor every weeks or so depending off you use it's always better to calibrate it more often than never so that's it if you got any question you can contact us and we will reply you ASAP see you bye thank you for watching this video if you want to support us you can subscribe to our youtube channel if you got any question you can write them in the comment section you can also visit our website and social networks to get the latest news see you next time bye
Up Next
10:49
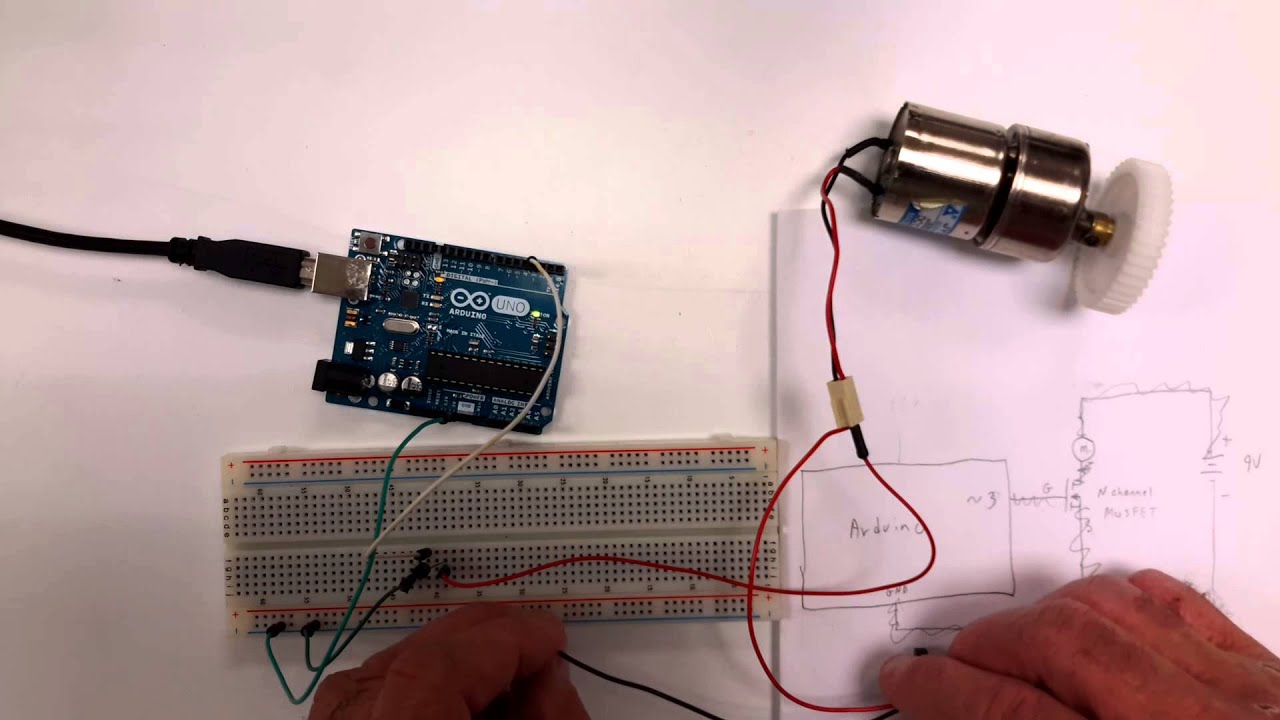
Arduino Motor Control Using MOSFETs and PWM: Complete Guide
@DorianMcIntire
190.5K views•2014-06-10

12:54
Triumph of Orthodoxy Icon: Byzantine Art & History Explained
@BenCallan
2.1K views•2024-08-06

9:49
FastAPI vs Flask vs Django: Choosing the Right Python Web Framework
@TechWithTim
302.5K views•2024-05-26

1:42
Game of Thrones Opening Credits: A Cinematic Analysis
@gameofthrones
46.3M views•2011-04-18
Related Study Plans & Knowledge Roadmaps
Structured learning paths in General & Interdisciplinary Studies
general-studies
Elevator Engineering: History, Physics & Cities
01From Hoists to Safety Brakes: The Dawn of Vertical Lift
02Hydraulic vs. Traction: The Engineering Physics of Elevators
03Modern Speed, Safety, and Algorithms
+ 2 more learning modules
12h5 modules
Explore Roadmap
general-studies
Rubber: Material Science, History & Geopolitics
01Origins of Natural Rubber & Mesoamerican History
02The Chemistry of Natural Rubber & Vulcanization
03The Geopolitics of the Rubber Boom & Colonization
+ 2 more learning modules
12h5 modules
Explore Roadmap
general-studies
Containerization: Evolution, Logistics & Trade
01Ancient Trade & Bulk Cargo: Amphorae to Barrels
02The Industrial Revolution & Cardboard Packaging
03The Containerization Revolution: Malcom McLean
+ 2 more learning modules
12h5 modules
Explore Roadmap
general-studies
Textile Tech: Evolution, Labor & Global Impact
01Pre-Industrial Textiles: Handloom & Cottage Industry
02Mechanization: The Spinning Jenny to the Power Loom
03The Factory System & Global Labor Transformation
+ 2 more learning modules
10h5 modules
Explore Roadmap