BioIK is a Unity asset for inverse kinematics that allows animators to control character limb positions by placing control points in the scene, providing a more accessible alternative to FinalIK for setting up character animations.
Unity BioIK Basic Setup: Configure and Animate Assets for Beginners
Added:Deep Dive
Basic familiarity with the Unity Engine interface, including managing GameObjects, hierarchy navigation, and importing assets.

WATCH THIS FIRST: The Unity Editor interface in a nutshell
22.2K
Unity uses a component-based system where everything in the scene is a GameObject containing various Components (like Transform, Mesh Renderer, and Collider) that determine its behavior; the editor interface consists of four primary windows - Hierarchy (listing all objects), Scene view (visual workspace), Inspector (modifying selected object properties), and Project window (managing assets) - with essential navigation controls including mouse buttons for movement and rotation, and keyboard shortcuts like Ctrl+Z (undo), Ctrl+Y (redo), and Ctrl+D (duplicate) to streamline workflow.
Click to watch →

Intro to 3d Development with Unity
227
Unity's core interface includes the Hierarchy Window (object organization), Scene View (visual manipulation), Game View (end-user perspective), and Inspector Window (object properties). Every GameObject contains a Transform component controlling position (meters), rotation (degrees), and scale (relative). The Project Window functions as a file explorer. Assets can be imported by dragging files into Unity. The Asset Store provides thousands of assets including 3D models, plugins, and complete applications that can be customized. Key manipulation tools include Move (W), Rotate (E), and Scale (R) tools with snapping options (Ctrl for 15-degree rotation increments).
Click to watch →
ULIMA - Unity desde cero: Cap 1 - Interfase y GameObject
246
The Unity interface consists of five main panels: Scene (for arranging game objects), Hierarchy (displaying all objects in the scene), Inspector (showing components and properties of selected objects), Project (managing game assets like audio, scripts, and sprites), and Console (displaying errors and debug information). A GameObject is a fundamental Unity entity that can have components added to it to give it specific properties and behaviors, such as physics, collision detection, or custom scripts that control its movement and interactions within the game.
Click to watch →

HOW TO MAKE A GAME FOR FREE #001 - INTRODUCTION - UNITY TUTORIAL
159.6K
This section covers Unity's core interface components: Hierarchy (stores game objects in text format), Scene View (visual representation), Game Tab (tests game functionality), Inspector Panel (object settings), Project Window (stores assets), and Console (debugging). Navigation includes right-click panning, left-click selection, middle-wheel zooming, and middle-click hand tool for scene shifting. The interface is highly customizable—panels can be dragged and rearranged. Understanding these fundamentals is essential for any Unity development work.
Click to watch →

Unity para Padawans - Editor - Parte 1
5K
Unity's interface consists of Hierarchy (displays game objects), Project (stores assets), Scene (3D workspace with Cartesian coordinates Y=vertical, Z=depth, X=horizontal), Game (player view), and Inspector (object properties). Navigation uses mouse wheel for zoom, right-click for orbit, middle-click for panning, and keyboard shortcuts (Q, W, A, S, D). Game objects are composed of components: Transform (position, rotation, scale), Mesh Renderer (visual rendering), Collider (collision detection), and Rigidbody (physics behavior). Materials define visual appearance and are applied to Mesh Renderer components. Physics uses Rigidbody for mass and gravity, Colliders for collision shapes, and Physics Materials for friction and bounce. Parent-child relationships position children relative to their parent with local position values. Prefabs are configured game objects saved in the Assets folder for reuse across scenes. The Asset Store provides marketplace assets, imported via Package Manager.
Click to watch →
Deep Dive
Fundamental concepts of 3D skeletal rigs, bone hierarchies, and how joint transforms relate to each other.

Maya Tutorial | Rigging Basics Part 1
20.7K
Rigging creates a control mechanism for 3D models, consisting of three components: Geo (the mesh), Bones/Joints (the skeleton), and Controllers (the handles). When bones are connected in a parent chain, they create a hierarchical system where moving the parent affects all children. This 'double transformation' means all bones in the chain rotate the same amount relative to their parent, creating coordinated movement like a claw or finger. Planning a rig requires thinking from larger to smaller portions, starting with a root joint that anchors the entire rig to the world.
Click to watch →

QtWS17 Breathing life into your applications: Animation with Qt 3D, Sean Harmer, KDAB
7.4K
Skeletal animations use skeletons (hierarchy of joints/bones) to deform meshes, enabling objects to bend and flex rather than move as rigid bodies. Joints are nested coordinate systems that inherit transforms from parents. Weight painting binds mesh vertices to joints by assigning influence weights - colors indicate influence levels. The bind pose is the initial pose when binding the mesh to the skeleton. Joints and bones are interchangeable terms. Animation data contains joint transforms relative to parents, requiring composition with parent transforms to get global poses. The inverse bind matrix is constant and can be cached for performance.
Click to watch →
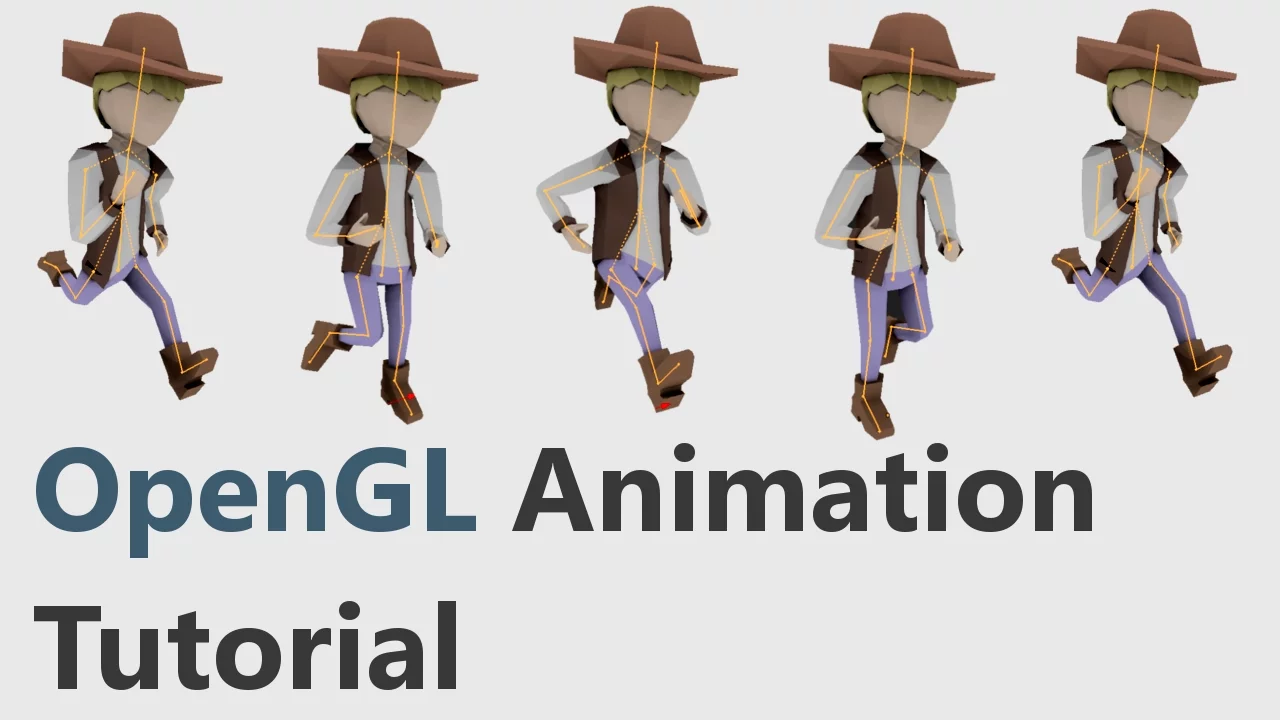
OpenGL Skeletal Animation Tutorial #1
231.5K
Joints in a skeleton are arranged in a hierarchical structure where each joint can have a parent joint and multiple children joints. When a joint is moved, all of its children move with it. For example, moving the lower arm joint causes the hand joint (its child) to move as well. However, the hand can still be moved independently without affecting the lower arm. There must be one root joint that has no parent, and every other joint is a descendant of this root joint.
Click to watch →

Skeletal Animation: Simple Skeleton
1.2K
A bone hierarchy is a tree structure where each bone has a parent-child relationship. Bone zero represents the hip (root), bone one and two are thighs, and bones three and four are knees. Transformations propagate through the hierarchy: to position a child bone, first apply the parent's transformation, then apply the child's local transformation. The bone's final transformation matrix combines parent-to-model, bone local, and bone-to-model matrices. A recursive function applies parent transforms to bone positions, computes local transformations around transformed positions, and recursively updates children.
Click to watch →
Advanced OpenGL Tutorial – Skeletal Animations with Assimp
122.7K
Bones form a hierarchical graph with a root node at the top. Every node except the root has exactly one parent. Transformations propagate downward through the hierarchy: changing a parent bone affects all child bones but not vice versa. This creates a chain of transformations from each bone back to the root, enabling complex coordinated movements.
Click to watch →
Deep Dive
The theoretical difference between Forward Kinematics (FK) and Inverse Kinematics (IK) in character animation.
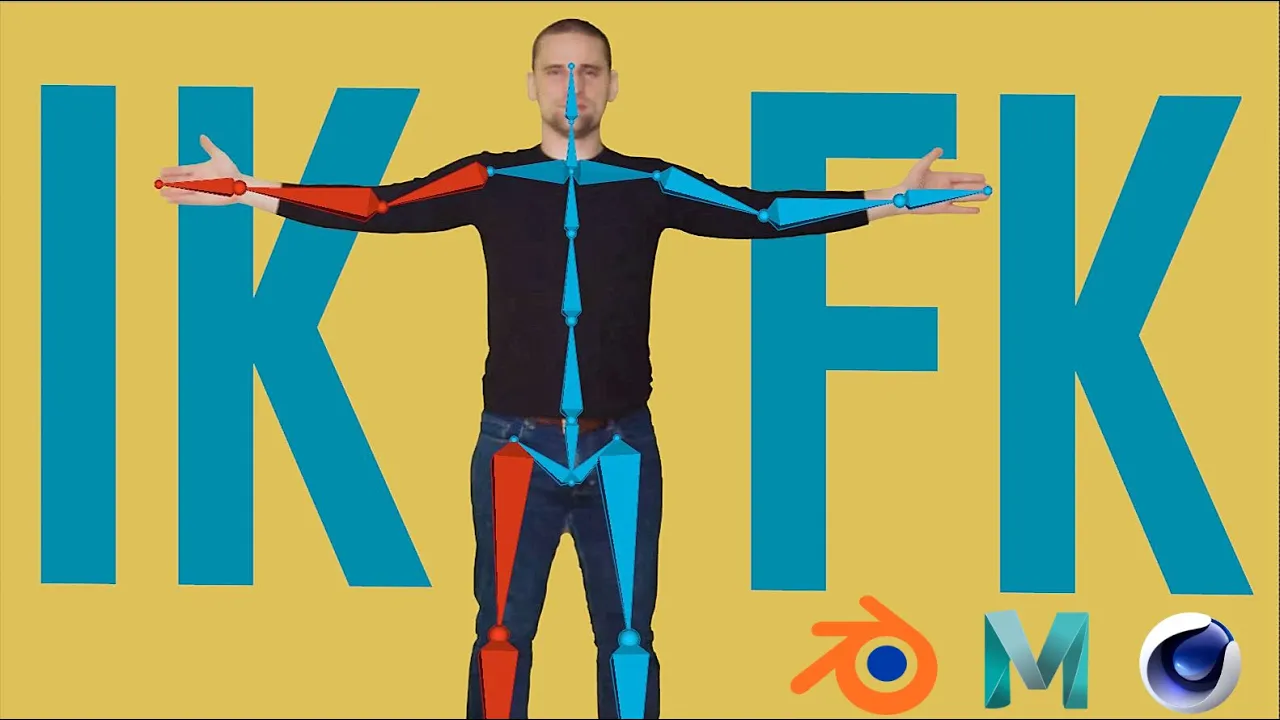
What is IK and FK?
66K
Inverse Kinematics (IK) and Forward Kinematics (FK) are two fundamental rig systems in 3D animation that control character movement differently: FK is a chain system where rotating the first bone affects all subsequent bones with decreasing influence (moving forward through the chain), while IK allows starting at the end of the chain and influencing everything further up (moving backward); animators typically use IK for feet to keep them grounded and FK for upper bodies and hands for more natural posing, and can switch between systems during animation by keyframing the switch attribute over one frame for smooth transitions.
Click to watch →
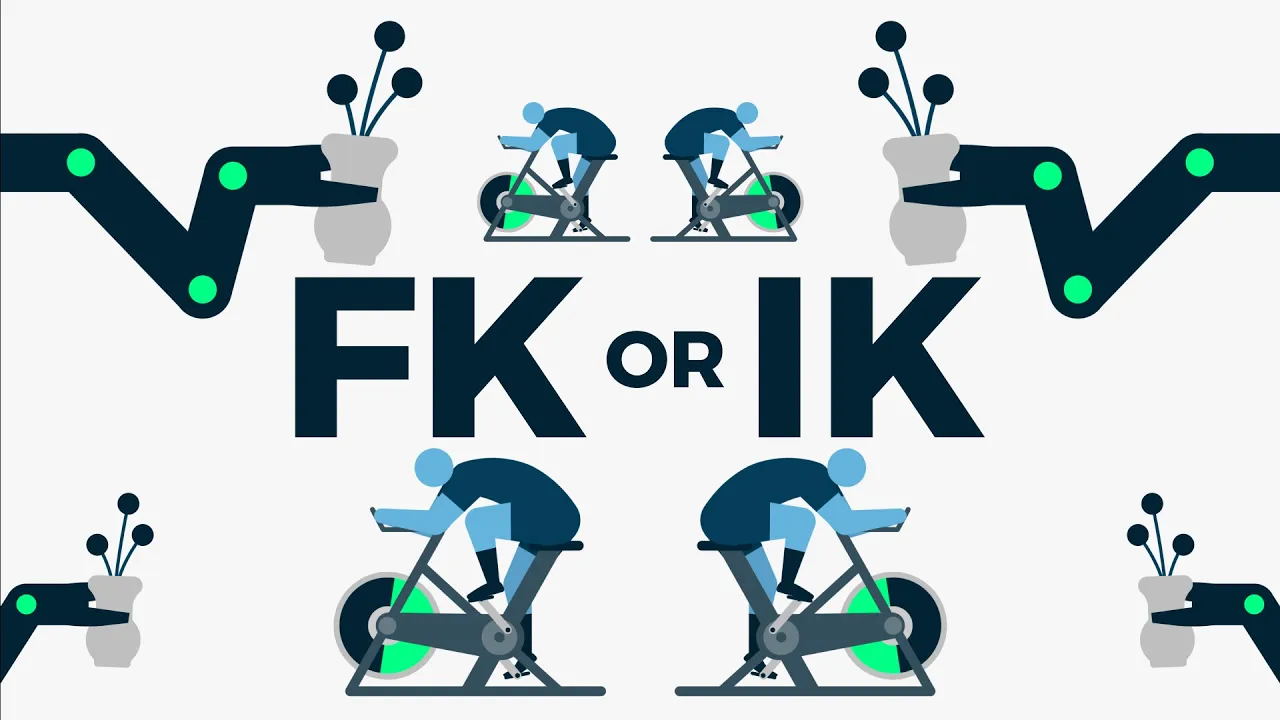
An Intro to Forward and Inverse Kinematics in After Effects
48.9K
Forward Kinematics (FK) is a rigging method where each joint's rotation is manually controlled to move the end of a chain, providing granular control but requiring many keyframes; Inverse Kinematics (IK) allows animators to move only the end goal while the system automatically calculates and adjusts all intermediate joints based on predefined rules, offering fewer keyframes and more natural organic movement but requiring more complex setup; both methods often coexist in character rigs, with FK used for precise control and IK for organic movements like limbs.
Click to watch →

FK/IK? | 3D 애니메이터라면 꼭 알아야할 FK와 IK 비교와 사용법
19.7K
FK (Forward Kinematics) moves parent objects to move children, like a figure where each joint bends individually, while IK (Inverse Kinematics) moves children to adjust parents, like a marionette where moving the hand automatically positions the arm; FK is used for normal body movements, IK for constrained movements like hands holding objects or feet planted on the ground.
Click to watch →
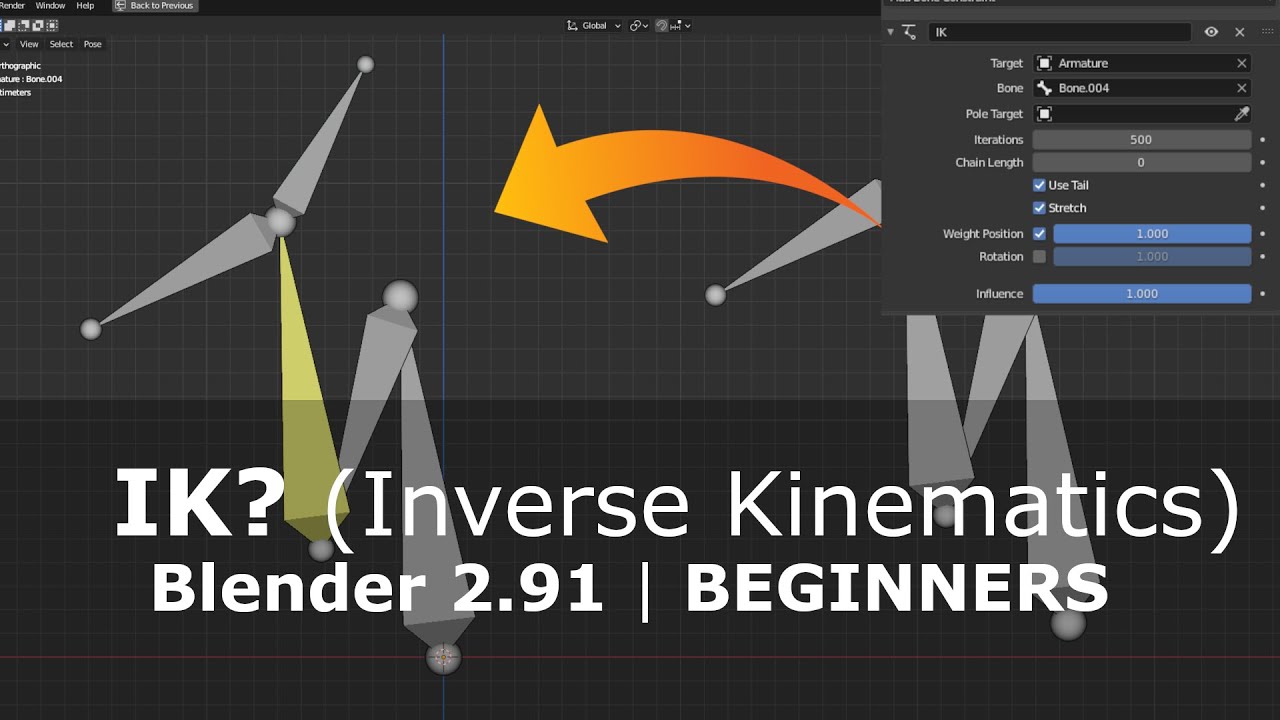
IK? | Blender Inverse Kinematics | Beginners Tutorial
63.1K
Forward Kinematics requires animators to bend each bone bit by bit through the hierarchy, similar to stop motion animation, which is inefficient. Inverse Kinematics uses a special control bone that can be moved directly to animate the entire chain, making the workflow much more efficient for rigging and animation.
Click to watch →

INTERVIEW AT DREAMWORKS ANIMATION | Episode 5
69K
Forward Kinematics (FK) and Inverse Kinematics (IK) are two fundamental methods for animating character limbs in 3D animation. FK involves moving joints sequentially from the root outward (shoulder to elbow to wrist), making it ideal for natural movements like walking cycles where motion is driven by joint rotation. IK allows animators to place the end effector (like a hand) at a specific location, with the system automatically calculating the joint positions needed to achieve that position. IK is essential when a character needs to interact with objects or maintain contact with surfaces, as it keeps the hand fixed while the joints adjust accordingly.
Click to watch →
Deep Dive
A basic understanding of Unity's component-based system and how scripts manipulate transform properties.
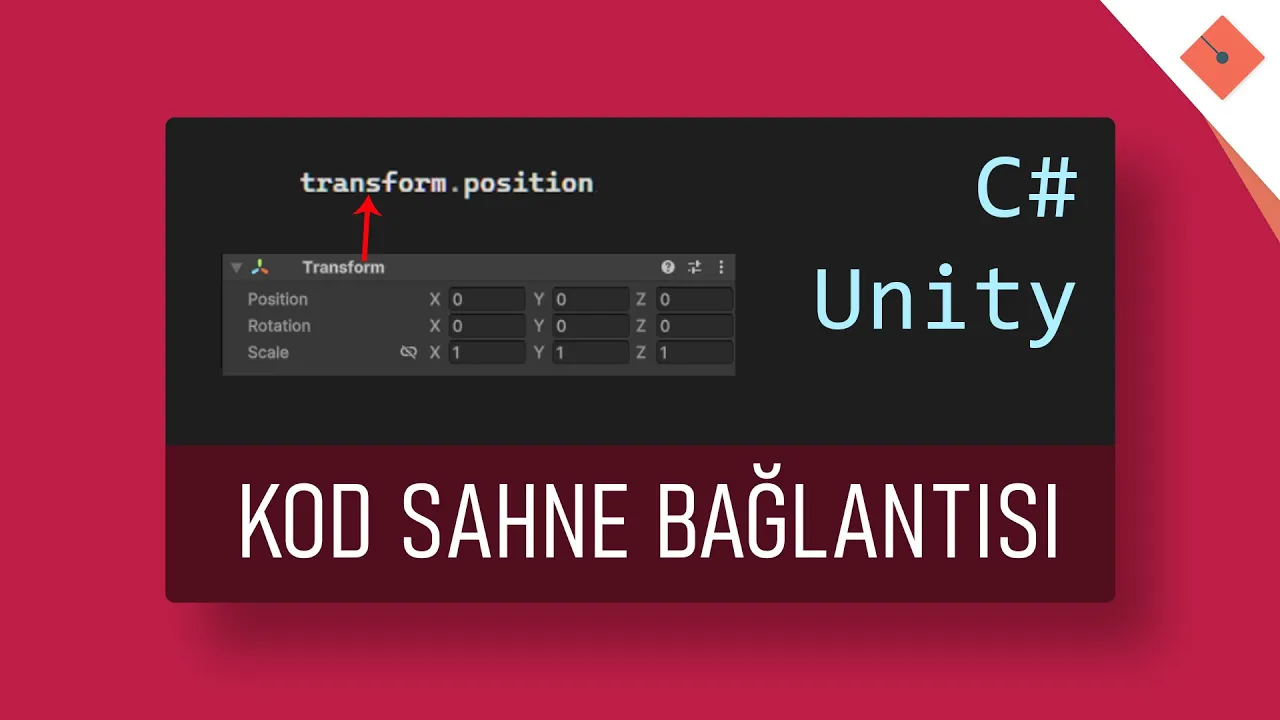
C# - Unity - Kod Sahne Bağlantısı - 2
3K
This comprehensive section covers the fundamental concepts of accessing and manipulating Unity components. The Transform component controls object position, rotation, and scale, accessible via the 'transform' keyword (shortcut for GetComponent<Transform>). Reading position uses 'transform.position' returning a Vector3, while setting position uses 'transform.position = new Vector3(x, y, z)'. For continuous movement, use 'transform.position = transform.position + transform.forward * speed'. Rotation uses 'transform.Rotate(axis, angle)'. Scripts are categorized as Elements (attachable to multiple objects) or Managers (single-instance controllers). Accessing components uses 'GetComponent<T>()' which searches the current object and its parent hierarchy. This knowledge forms the foundation for creating interactive game objects in Unity.
Click to watch →

Como PROGRAMAR com UNITY? - Aprenda a fazer um Script na Unity (Passo a Passo) - UNITY TUTORIAL
11.3K
The Transform component in Unity controls an object's position, rotation, and scale, and can be modified through C# scripts using the Update() function, which executes once per frame, allowing developers to move objects by adding vectors to their position, rotate them using the Rotate() method, and change their size by modifying the localScale property.
Click to watch →
Learn C# In One Video: Unity C# Scripting Tutorial For Beginners ( 2025 Fully Working )
692.6K
The Transform component is automatically attached to every game object in Unity. It stores three essential properties: Position (where the object is in 3D space), Rotation (how the object is oriented), and Scale (how large the object is). These properties are stored as Vector3 values. The Transform component is fundamental to Unity's scene management and is accessed through the Transform class in scripts.
Click to watch →

The Intro Lesson - Part 3 - Camera Follow
132
Unity's Transform component provides built-in references to a game object's position, rotation, and local scale. Every game object has a Transform component, so Transform variables are never null. The Transform component is automatically available to scripts attached to that game object, eliminating the need to call GetComponent<Transform>() for the current object. Unity follows a component-based architecture where each component is responsible for just one behavior, making code more modular and easier to debug.
Click to watch →

바이브 코딩 전 알아야되는 유니티 필수 개념 7가지
1.1K
Unity's interface consists of six core windows: Scene (visual workspace), Hierarchy (object organization), Project (asset management), Inspector (property editing), Console (debugging), and Game (preview). Game Objects serve as empty containers that gain functionality through attached Components—modular pieces like Transform (position/rotation/size), Sprite Renderer (visual display), and Rigidbody (physics). To manipulate components, declare variables in scripts, drag Game Objects into Inspector to establish references, then access their public members. This component-based architecture allows developers to build complex entities by combining simple, reusable modules, forming the foundation of Unity's flexible game development system.
Click to watch →
Prerequisite Knowledge
- Concept 01Basic familiarity with the Unity Engine interface, including managing GameObjects, hierarchy navigation, and importing assets.
- Concept 02Fundamental concepts of 3D skeletal rigs, bone hierarchies, and how joint transforms relate to each other.
- Concept 03The theoretical difference between Forward Kinematics (FK) and Inverse Kinematics (IK) in character animation.
- Concept 04A basic understanding of Unity's component-based system and how scripts manipulate transform properties.
Subsequent Learning
- Step 01Configuring complex BioIK joint limits and objective weights to prevent unrealistic character contortions.
- Step 02Using C# scripting to programmatically control BioIK targets at runtime for dynamic interactions (e.g., reaching for a moving object).
- Step 03Blending procedural BioIK animations with traditional keyframed motion clips using Unity's Animator controller.
- Step 04Implementing advanced use cases such as adaptive foot placement on uneven terrain and real-time physics-based collision avoidance for limbs.
Visual cues
Key moment
Core insight
Final note
Visual cues
0:28Playing Section
- 1
Scene opens with on-screen visuals and audio cues.
- 2
Immediate context set through visual and sonic elements.
- 3
Foundation laid for subsequent narrative development.
Traditional Keyframing and Native Unity Animation Rigging
While Unity's BioIK asset offers powerful procedural animation capabilities, it introduces distinct drawbacks that beginners should consider. Procedural inverse kinematics (IK) can be computationally expensive, potentially harming performance on mobile or lower-end platforms. Furthermore, procedural motion often lacks the nuanced artistic expression, weight, and emotional timing that professional animators achieve through traditional keyframe animation. Additionally, Unity now offers its own free, built-in 'Animation Rigging' package. For beginners, relying on a third-party paid asset like BioIK may introduce unnecessary dependency, integration hurdles during engine updates, and cost, whereas native tools provide a more standardized, performance-optimized, and future-proof workflow for learning character setup.
Deep Dive
Configuring complex BioIK joint limits and objective weights to prevent unrealistic character contortions.
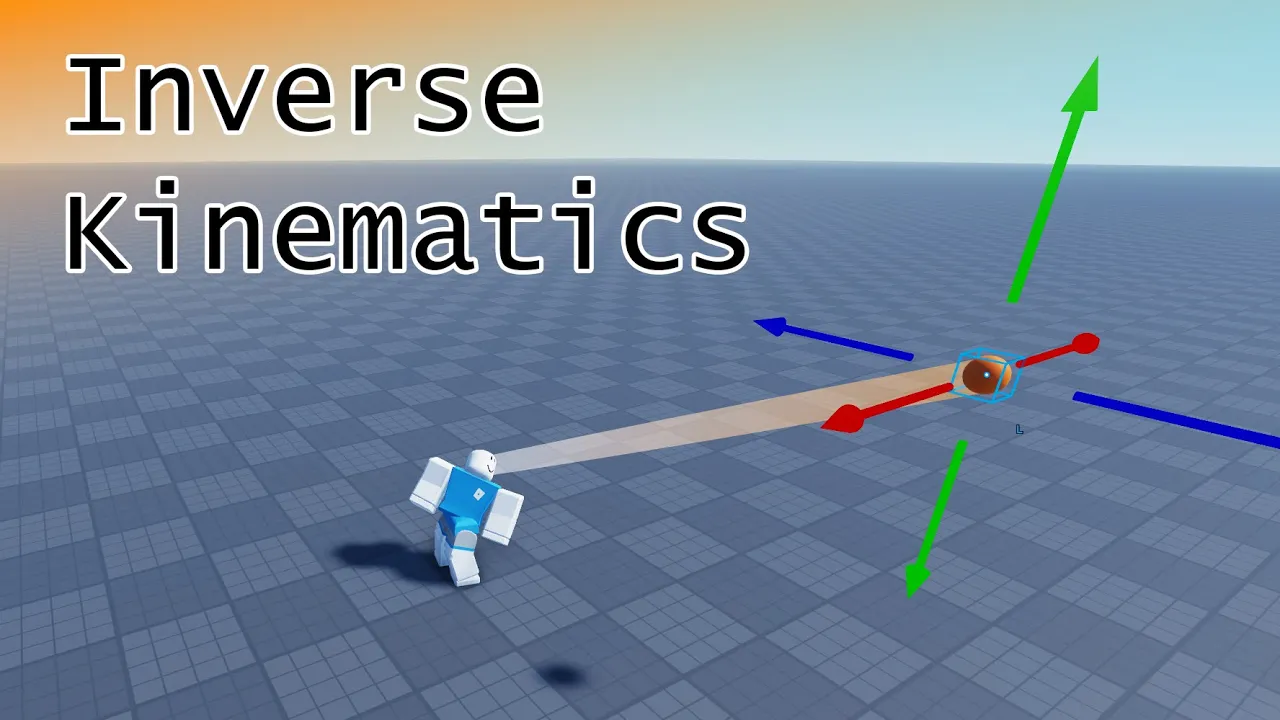
Inverse Kinematics, HingeConstraint - Roblox Scripting Tutorial
78.4K
The weight property controls how aggressively the IK tries to reach its target. Setting weight to 1 forces the end effector to always match the target, which can create unnatural movements when the target moves too far away. Setting weight to approximately 0.999 allows the character to give up trying to reach extreme positions and return to natural posture, creating more realistic and believable character behavior.
Click to watch →

Mixamo vers UE5 : le Guide ULTIME
25.3K
Joint limits prevent bones from rotating beyond natural ranges. For example, a knee should only bend forward, not backward. To configure this, select the bone, add a bone setting, and set the limit on the appropriate axis (e.g., X-axis for knee bending). Preferred rotation forces the bone to rotate toward a specific axis when the solver calculates positions. This ensures that joints like knees and elbows move in natural directions.
Click to watch →
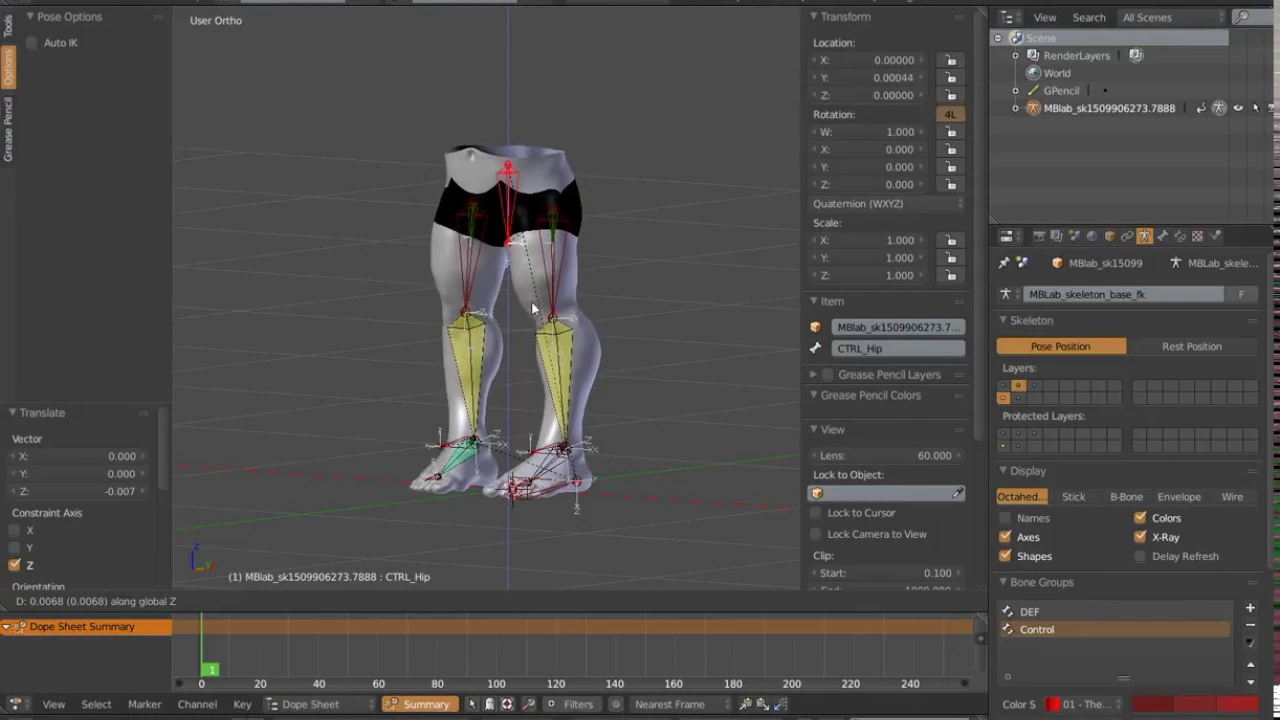
Blender Rigging Rigging Soft IK Limbs
6.7K
After adding stretch values, limit stretching using a dedicated stretching bone with stretch constraints targeting the IK foot controller. Limit local space Y-axis scaling (e.g., 1.03) to prevent unrealistic elongation. IK constraints are always evaluated last in Blender, so standard constraints cannot limit rotations—the IK panel is designed for this. Use custom properties with drivers to enable/disable stretching for different character types (realistic vs. cartoon).
Click to watch →
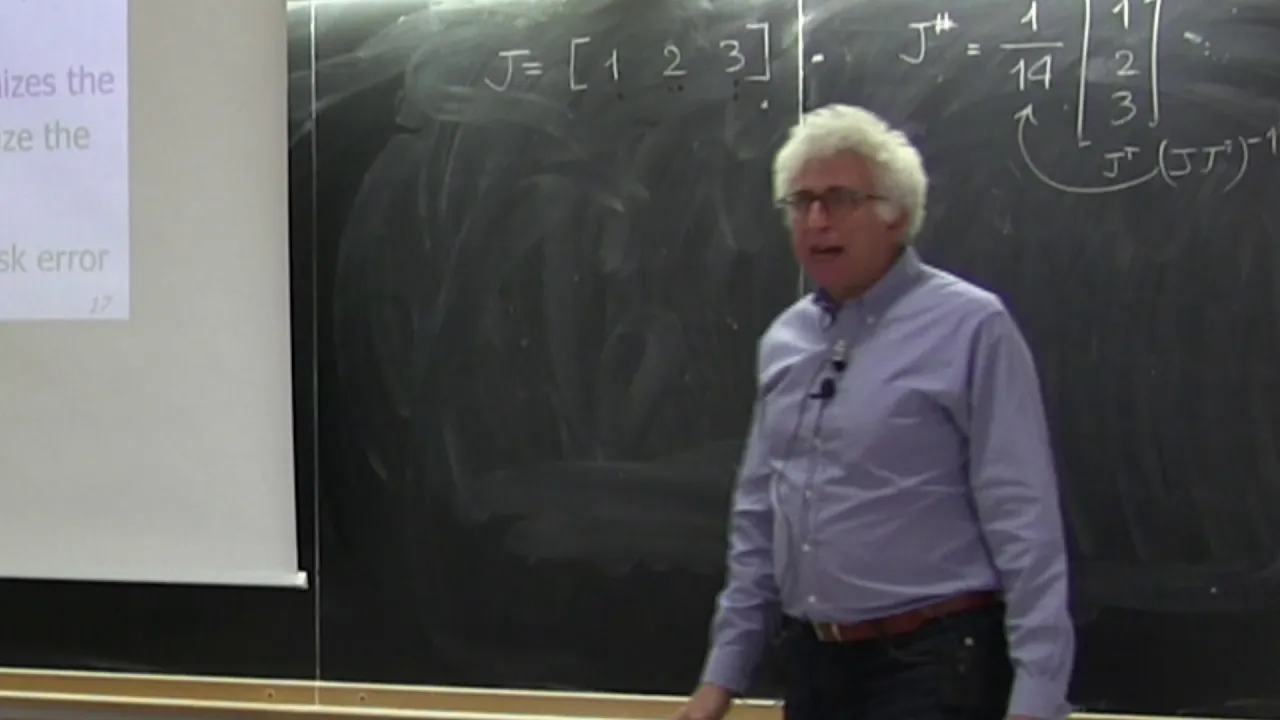
Robotics 2 - Prof. De Luca Lecture 04 part 1 (4 Mar 2020)
4.2K
To prevent joint velocities from driving configurations outside their mechanical limits, weights can be chosen as the inverse of the available joint range (W_i = 1/(q_i_max - q_i_min)). Smaller available ranges receive higher weights, meaning those joints will move less during task execution. This strategy helps keep configurations within safe operating regions, especially important when joint limits are imposed due to mechanical constraints or obstacle avoidance requirements.
Click to watch →

Ragdoll for Blender #2 - Advanced Character Setup
11.3K
This segment covers configuring joint limits for anatomical accuracy. Clavicles should limit downward rotation while allowing upward movement. The upper arm rotates until alignment with the clavicle. The lower arm has limited inward rotation and forward rotation with some twist capability. The forearm can rotate to become straight but not beyond. The head involves two bones working together, so limits should be halved on each axis. The torso has two axes of rotation that combine for large motion. These limits prevent unnatural poses and ensure realistic character movement.
Click to watch →
Deep Dive
Using C# scripting to programmatically control BioIK targets at runtime for dynamic interactions (e.g., reaching for a moving object).
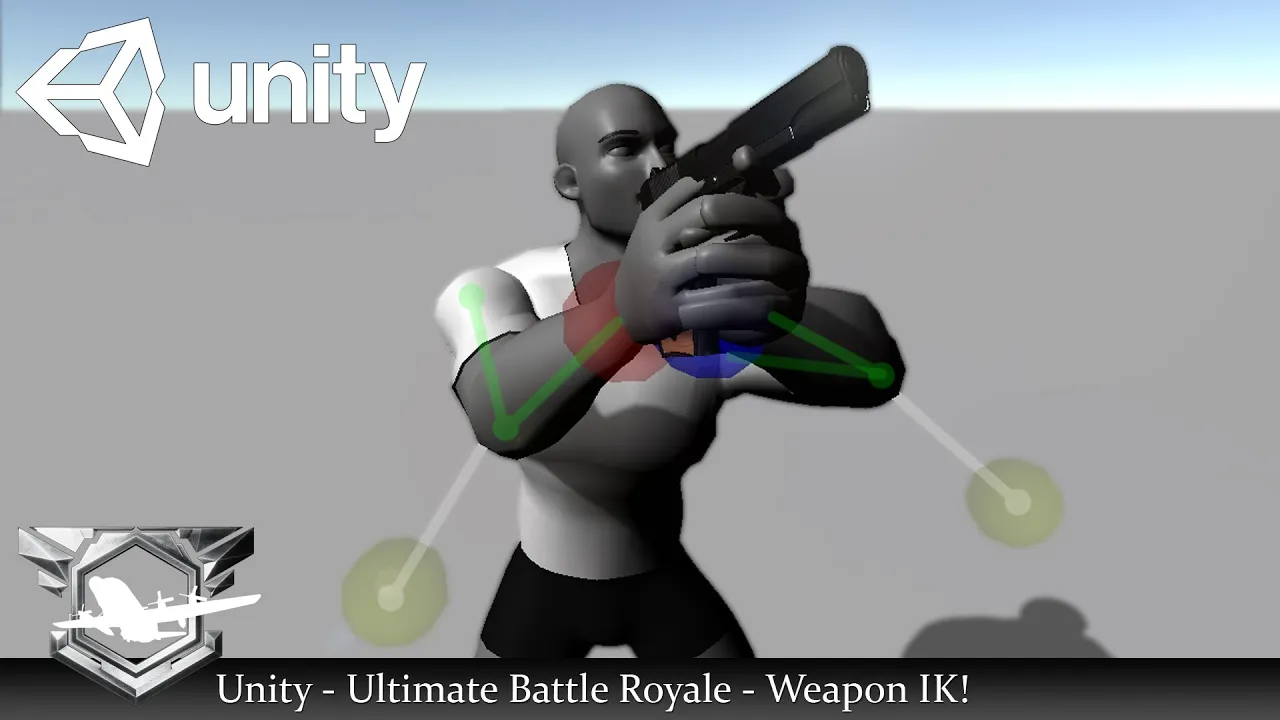
Unity - Ultimate Battle Royale Series - 9 -Weapon IK! (Free Weapon Model in the Description!)
4K
This segment covers writing a C# script to control the IK system. The script includes public variables for animator, look-at object, and hand/hint targets. The Awake() method implements the Singleton pattern to ensure only one instance exists. The script uses Animator.SetIKPositionWeight() and SetIKRotationWeight() to control how strongly the IK system overrides the animator's poses, with weights ranging from 0 to 1.
Click to watch →
Real time IK in Unreal With Control Rigs!!
1.2K
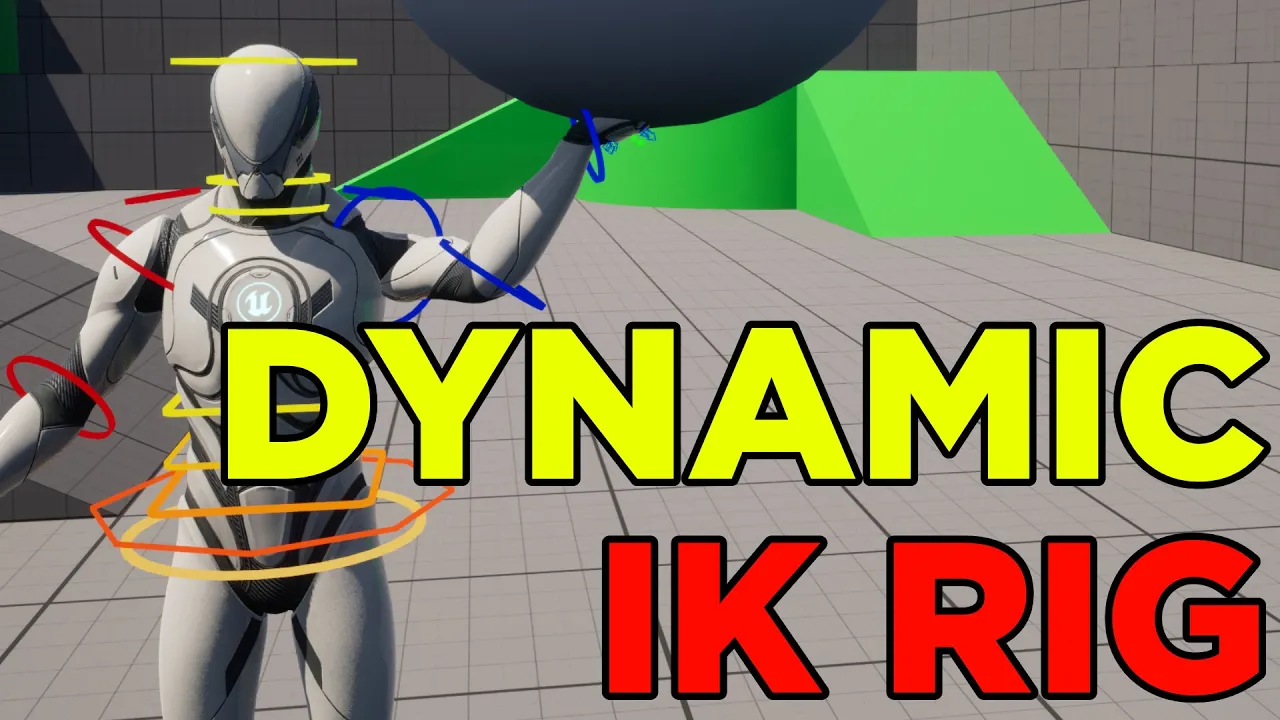
Implementing dynamic IK targeting requires creating an actor blueprint that triggers IK when overlapped by the player. Use Begin Overlap and End Overlap events to enable/disable IK state. Line tracing from the player to the target actor determines the actual reach position, ignoring the player themselves to avoid instant self-hits. The resulting hit location sets the IK target. This system creates responsive grabbing behavior where the character reaches toward objects in the environment. The implementation demonstrates how gameplay actors can drive animation through Control Rig, creating interactive character behaviors based on environmental interactions.
Click to watch →
![[spine-unity] Getting Started with the spine-unity runtime](https://i.ytimg.com/vi_webp/DxDZtTK2nlE/maxresdefault.webp)
[spine-unity] Getting Started with the spine-unity runtime
83K
IK (Inverse Kinematics) constraints allow you to control bone positions at runtime based on game logic. For example, feet landing positions can change based on step height by programmatically changing the position of feet IK bones. A hierarchy of SkeletonUtilityBone components allows overriding certain bone positions of your animation. The SkeletonUtility GroundConstraint example demonstrates calculating target heights and adjusting bone positions accordingly.
Click to watch →
Inverse Kinematics, HingeConstraint - Roblox Scripting Tutorial
78.4K
To create IK controllers for holding objects: (1) create separate IK controllers for each hand, (2) set the chain root to the upper arm for each hand, (3) set the end effector to the corresponding hand, (4) set type to 'transform' so the hand matches the target part's CFrame, (5) set enabled to 'force' initially (but will be toggled later), and (6) parent the IK controllers to the humanoid. These settings ensure the hands can dynamically reach and hold onto targets.
Click to watch →

Creating Dynamic Character Movements with Foot Inverse Kinematics and Open-Source Code
62.6K
IK targeting refers to setting a target position for a specific body part (such as a hand or foot) and computing how to move the rest of the body so that the target reaches that position and rotation. For example, if you want to grab something on a table, you don't consciously think about moving your shoulder or arm - you just think about getting your hand there, and your arm does all the motion automatically. The game engine solves for this by computing how to move relevant bones in the avatar so the target can reach the desired position.
Click to watch →
Deep Dive
Blending procedural BioIK animations with traditional keyframed motion clips using Unity's Animator controller.
![Procedural Animation in Unity | Procedural Environment Interactions [1] Intro & Character Setup](https://i.ytimg.com/vi_webp/Y6hJlaOwpds/maxresdefault.webp)
Procedural Animation in Unity | Procedural Environment Interactions [1] Intro & Character Setup
55.3K
As long as the rig is set in the Rig Builder, its constraint and weight values will reach Unity's animation system and interpolate between or completely override any keyframed animation values based on what it receives. This allows procedural animations to dynamically modify or replace pre-defined keyframed animations.
Click to watch →
Using IK to Improve Animations in Unity
77.9K
Unity's Timeline system can be extended with custom tracks to blend IK controls with animation clips for complex cutscene sequences. Create custom track assets for different IK types (such as Body IK and Look IK), each exposing transform targets and weight goals. Use mixer behaviors to blend multiple IK tracks together, combining different target positions and weight values to create smooth transitions between animation states. This approach allows characters to perform complex actions like reaching for objects without requiring bespoke animations. The technique supports blending between multiple scene transforms, controlling transition speeds through curve adjustments, and can be combined with traditional animation state machines for optimal results.
Click to watch →

6 DEVS Make a GAME without COMMUNICATING! (Simulator edition)
137.2K
Animator Blend Trees in Unity allow developers to blend between multiple animations smoothly. By using input X and Y values, the system can transition between different movement animations (walking forwards, backwards, strafing left and right) in real-time. This creates fluid character movement without requiring separate animations for every possible movement combination.
Click to watch →

【Unity6対応】アニメーション完全解説!【初心者から上級者まで】
4.9K
FK (Forward Kinematics) requires manually adjusting each joint sequentially, while IK (Inverse Kinematics) automatically adjusts surrounding joints when moving one, making it faster and more natural for limbs. To use IK: install Animation Rigging package, create IK Rigs and Targets, add IK Constraints, and assign bones. Create IK animations by enabling IK editing and moving targets. Blend Trees mix multiple animations based on parameters (e.g., SpeedX, SpeedZ) for smooth transitions between states like idle, forward walk, and backward walk. Configure Blend Types (1D, 2D, Directional) and apply to objects by assigning the Animator Controller. The Animator Override Controller allows overriding specific animations in a Controller without modifying the original, useful for customizing animations per character while sharing the same Controller structure.
Click to watch →

Unity Starter Assets In-Depth Overview | 1st & 3rd Person Controller w/ Input System & Cinemachine
76.9K
The animator uses a blend tree to smoothly transition between idle, walk, and run animations based on movement speed. Idle occurs at speed 0, walking between 2-3, and running above 6. Jumping triggers a jump start animation, transitions to in-air animation, and upon landing (when grounded), plays the landing animation. Falling off cliffs triggers freefall animation. Exit times determine when transitions occur.
Click to watch →
Deep Dive
Implementing advanced use cases such as adaptive foot placement on uneven terrain and real-time physics-based collision avoidance for limbs.

Nucl.ai 2015 - IK Rig Procedural Pose Animation
660
For uneven terrain, the simplest rule is to trace down and lift the character based on ground position. A more believable behavior involves ray tracing to detect whether the character is going up or down. Steep ground is usually avoided or faked by moving the character's pivot up and down on the slope. Side tilting terrain is usually ignored, but by retracing every foot, the system can shift the weight of the whole body and compensate with the hands. Continuous terrain presents challenges because sudden changes can break IK solutions, but the footstep curve approach can handle stairs of any direction and size.
Click to watch →
Creating Dynamic Character Movements with Foot Inverse Kinematics and Open-Source Code
62.6K
Hip adjustment prevents feet from floating on uneven terrain by lowering the player's entire model when feet cannot reach the ground within leg length constraints. Overlap correction handles cases where feet clip into ground during ascent by raycasting from hips to feet and adjusting positions with smoothing. Moving platform support tracks surface movement deltas and applies them to grounded feet, accounting for rotation. These advanced techniques ensure feet remain properly positioned on slopes, stairs, and moving platforms without unnatural stretching or clipping artifacts, completing the realistic foot IK system.
Click to watch →

Complete Scene Production Workflow with iClone 7
12.2K
Foot contact enables automatic ground interaction for characters walking on uneven terrain. Enable foot contact in character attributes. When characters move, their feet automatically adjust to match the ground mesh, whether flat or angled. This creates realistic foot placement regardless of terrain complexity.
Click to watch →

WORKING HUGE LEGS!!! - Build a Boat For Treasure ROBLOX
78.3K
When loading custom limbs, unanchor everything and make all components except the bottom two limbs uncollidable. This means turning off collision for everything except the two main limb blocks. This setting prevents the custom limbs from interfering with other objects while still allowing them to function properly.
Click to watch →
Animation Cleanup Tools KineFX | Mihnea Stoica | Houdini 18.5 HIVE
13.5K
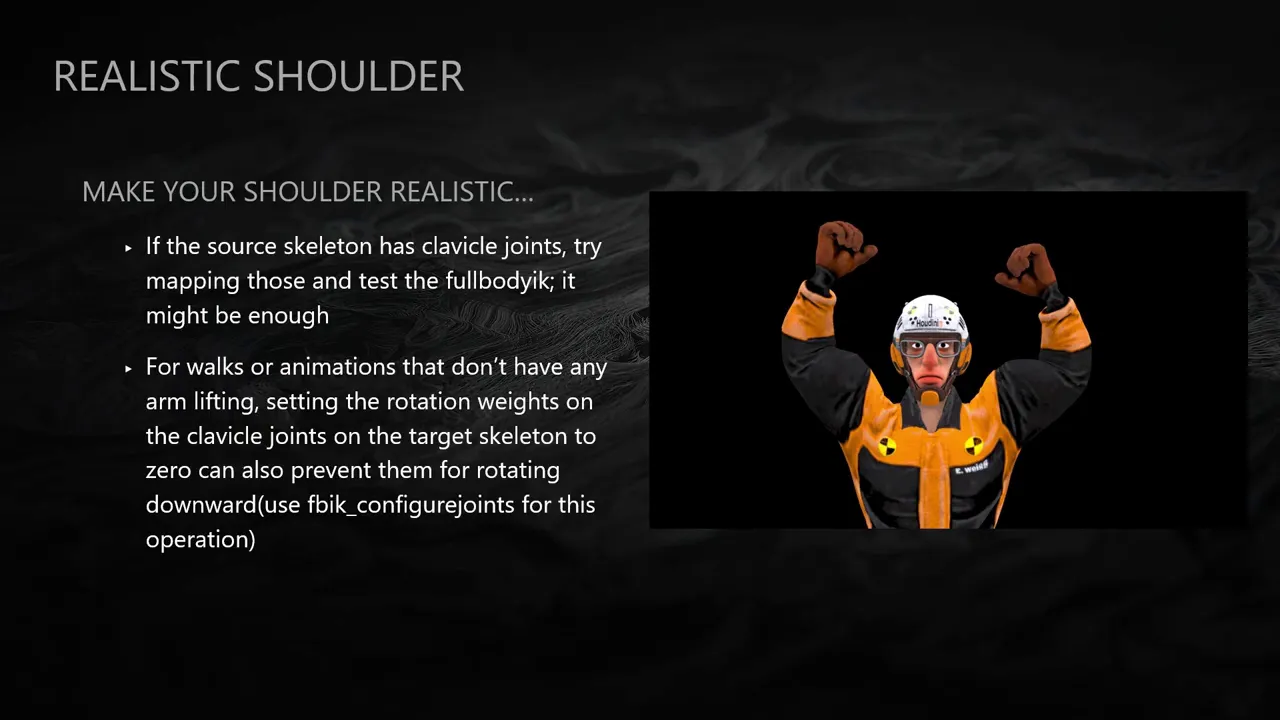
The Adapt to Terrain node generates new motion by adapting existing animations to different terrains. It requires specifying hip/pelvis joints and lower limb chains (knees, ankles, toes). Advanced options include hip lean range (for natural slope bending), max rotation per frame (smooths transitions), ankle-to-toe lookat (ensures natural stepping), terrain-based foot lift (raises feet appropriately on slopes), and output stabilization attributes. The node uses Full Body IK with configurable iterations and damping. Results can be refined using motion trails and soft transforms before final solving.
Click to watch →
Visual cues
Key moment
Core insight
Final note
Visual cues
0:28- 1
Scene opens with on-screen visuals and audio cues.
- 2
Immediate context set through visual and sonic elements.
- 3
Foundation laid for subsequent narrative development.
Traditional Keyframing and Native Unity Animation Rigging
While Unity's BioIK asset offers powerful procedural animation capabilities, it introduces distinct drawbacks that beginners should consider. Procedural inverse kinematics (IK) can be computationally expensive, potentially harming performance on mobile or lower-end platforms. Furthermore, procedural motion often lacks the nuanced artistic expression, weight, and emotional timing that professional animators achieve through traditional keyframe animation. Additionally, Unity now offers its own free, built-in 'Animation Rigging' package. For beginners, relying on a third-party paid asset like BioIK may introduce unnecessary dependency, integration hurdles during engine updates, and cost, whereas native tools provide a more standardized, performance-optimized, and future-proof workflow for learning character setup.
Basic familiarity with the Unity Engine interface, including managing GameObjects, hierarchy navigation, and importing assets.
Fundamental concepts of 3D skeletal rigs, bone hierarchies, and how joint transforms relate to each other.
The theoretical difference between Forward Kinematics (FK) and Inverse Kinematics (IK) in character animation.
A basic understanding of Unity's component-based system and how scripts manipulate transform properties.
Configuring complex BioIK joint limits and objective weights to prevent unrealistic character contortions.
Using C# scripting to programmatically control BioIK targets at runtime for dynamic interactions (e.g., reaching for a moving object).
Blending procedural BioIK animations with traditional keyframed motion clips using Unity's Animator controller.
Implementing advanced use cases such as adaptive foot placement on uneven terrain and real-time physics-based collision avoidance for limbs.
264 views4likes3:33@kyastalOriginal Release: 2021-10-30
[Music] oh [Music] [Music] oh [Music] [Music] [Music] so [Music] [Music] [Music] you
Up Next

92:15
Civil-Military Relations: The Soldier and State in India
@gunnersshot
995 views•2024-04-01

12:54
Triumph of Orthodoxy Icon: Byzantine Art & History Explained
@BenCallan
2.1K views•2024-08-06

9:49
FastAPI vs Flask vs Django: Choosing the Right Python Web Framework
@TechWithTim
302.5K views•2024-05-26

1:42
Game of Thrones Opening Credits: A Cinematic Analysis
@gameofthrones
46.3M views•2011-04-18
Related Study Plans & Knowledge Roadmaps
Structured learning paths in General & Interdisciplinary Studies
general-studies
Elevator Engineering: History, Physics & Cities
01From Hoists to Safety Brakes: The Dawn of Vertical Lift
02Hydraulic vs. Traction: The Engineering Physics of Elevators
03Modern Speed, Safety, and Algorithms
+ 2 more learning modules
12h5 modules
Explore Roadmap
general-studies
Rubber: Material Science, History & Geopolitics
01Origins of Natural Rubber & Mesoamerican History
02The Chemistry of Natural Rubber & Vulcanization
03The Geopolitics of the Rubber Boom & Colonization
+ 2 more learning modules
12h5 modules
Explore Roadmap
general-studies
Containerization: Evolution, Logistics & Trade
01Ancient Trade & Bulk Cargo: Amphorae to Barrels
02The Industrial Revolution & Cardboard Packaging
03The Containerization Revolution: Malcom McLean
+ 2 more learning modules
12h5 modules
Explore Roadmap
general-studies
Textile Tech: Evolution, Labor & Global Impact
01Pre-Industrial Textiles: Handloom & Cottage Industry
02Mechanization: The Spinning Jenny to the Power Loom
03The Factory System & Global Labor Transformation
+ 2 more learning modules
10h5 modules
Explore Roadmap