![Docker Course For Beginners 2025: Basic to Advance Tutorial 🔥 [HINDI] | MPrashant](https://i.ytimg.com/vi/OhnTMWmfTBE/maxresdefault.jpg)




![Git & GitHub Crash Course for Beginners [2026]](https://i.ytimg.com/vi_webp/mAFoROnOfHs/maxresdefault.webp)








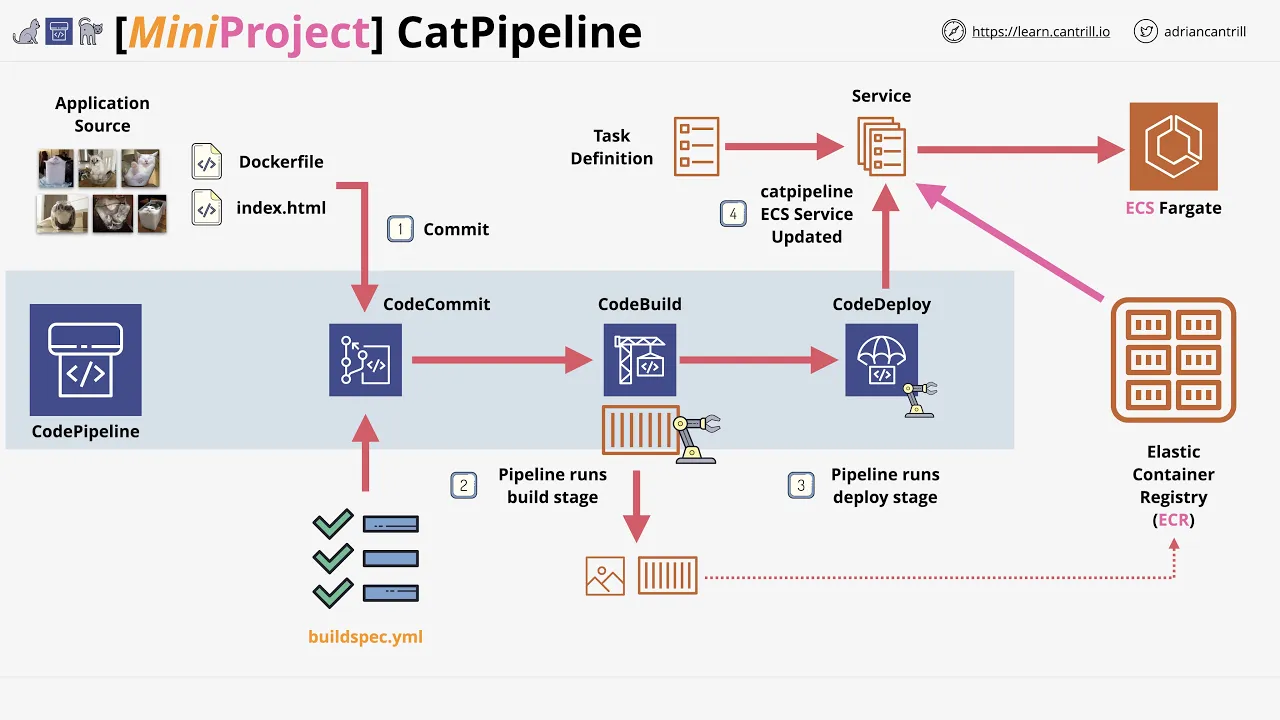





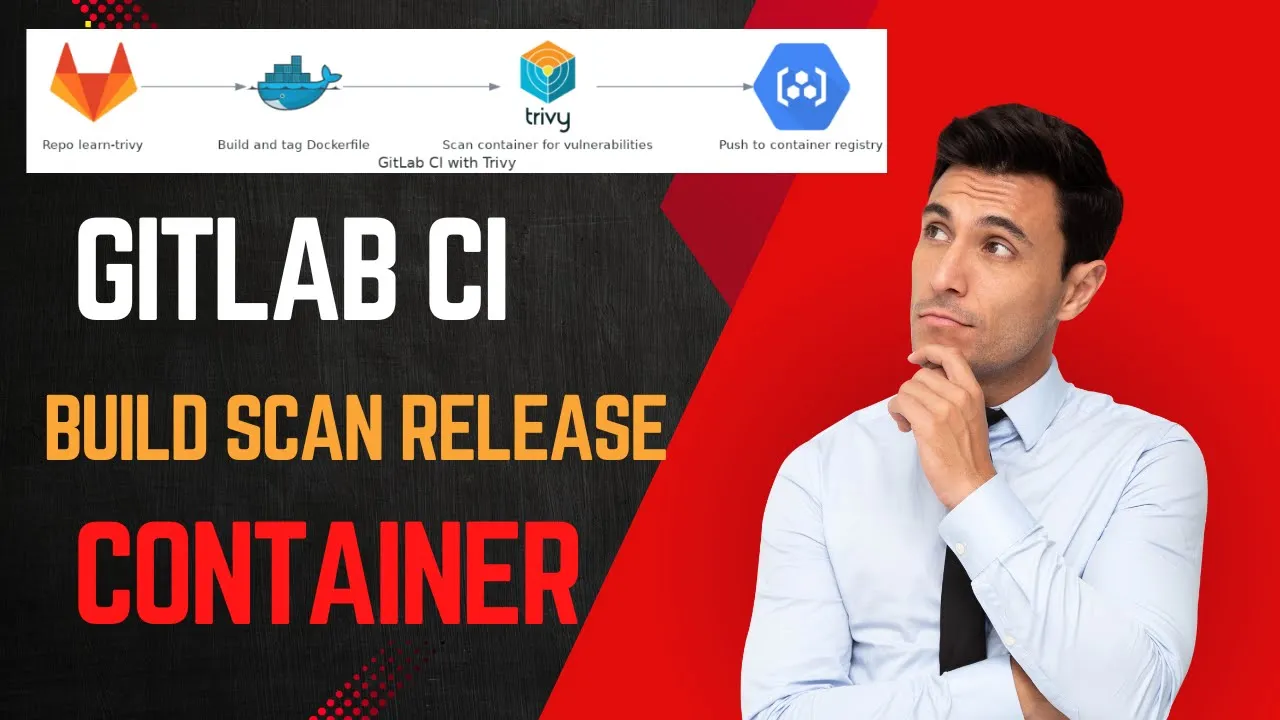

This tutorial demonstrates how to automate the process of building Docker images and publishing them to AWS Elastic Container Registry (ECR) using GitHub Actions. The workflow involves creating a Go application, writing a multistage Dockerfile using distroless images for security, configuring GitHub Actions to trigger on main branch commits, setting up AWS credentials and IAM policies for ECR access, and implementing automatic semantic versioning (major.minor.patch) to tag images with each commit. The pipeline enables continuous delivery by automatically tagging new images with version numbers, allowing tools like Flux to detect and deploy updated containers to production environments.
Automating Docker Image Builds to AWS ECR with GitHub Actions
Added:Basic understanding of Docker concepts, including how to write a Dockerfile, build images, and run containers.
Familiarity with Git and GitHub, specifically repository management and basic version control workflows.
Fundamental knowledge of CI/CD concepts and GitHub Actions, including workflows, jobs, steps, and YAML syntax.
Basic awareness of AWS services, particularly AWS Identity and Access Management (IAM) for managing permissions and access keys.
Implementing secure authentication in GitHub Actions using AWS OpenID Connect (OIDC) to eliminate the need for long-lived AWS credentials.
Setting up automated deployment pipelines to run the ECR images on AWS hosting services like ECS (Elastic Container Service), EKS (Kubernetes), or App Runner.
Optimizing GitHub Actions workflows using caching mechanisms to speed up Docker builds and reduce execution time.
Integrating security scanning tools (such as AWS ECR image scanning or Trivy) into the CI/CD pipeline to detect vulnerabilities in container images.
32.7K views650likes14:29Original Release: 2021-10-17
GitHub Actions makes it easy to automate all your software workflows.
You can build, test and deploy code directly from GitHub. In this video, I'll show you how to build the docker image using GitHub actions and upload it to the AWS ECR repository. For the first take, we will hardcode the image tag to the latest. In the second iteration, we will improve using a helper script to create releases every time there is a change in the main branch.
Whenever you push to the main branch or merge PR, it will create a new Git tag and use it to tag the docker image in the ECR repository as well. You have three options, increment major, minor, or patch version. This technique simplifies the continuous delivery; for example, you can use Flux to detect the new image in the ECR repo and deploy it to your environment.
First of all, we need to create a GitHub repository. It can be private; I will make it public and leave you as a reference that you can explore.
Since it's lesson 86, I'm going to call it that way.
Now you either can clone an empty repository or later add a remote URL. Let's clone it now.
For this tutorial, I will use golang to create a simple app that says hello.
You can use any language; GitHub actions won't care. Let's initialize the go module.
This will allow you to track all the external dependencies and use this module in other projects in case you are building a library.
That command will generate the go mod file. For now, it will only have module reference and the golang version. Let's create the main dot go file.
Set package to main. Then import few libraries, including external logurus.
I'll use an external library just to show you how to build a docker image and install dependencies.
Create the Hello function that will accept the name and return the hello string or the error. Also, define the main function and call this Hello function with a name.
To download missing dependencies, run go mod tidy. It will check for missing libraries and download them, in this case, logurus. You can also format the code and imports using this command. It's not part of the golang distribution, and you may need to install it separately using this command.
Finally, let's verify that we can run it and get the correct output; it looks good.
Next, create a Dockerfile. It's going to be a multistage docker build; in the first stage, we will build the golang binary, and in the second, we copy that binary to google's distroless image.
"Distroless" images contain only your application and its runtime dependencies.
They do not contain package managers, shells, or any other programs you would expect to find in a standard Linux distribution. Now we can create a GitHub workflow.
GitHub will automatically detect that file and run steps declared within that workflow. First, create a dot github folder. Then workflows. And main dot yaml.
Give it a name: Build and Push Golang Image to AWS ECR. Then you can specify what will trigger that workflow. You can choose to run it on any change to any branch, or maybe you want to run unit tests when a Pull request is created. For this workflow, I only want to run it when we commit to the main branch or merge PR to the same main branch. Now, let's declare few steps to build and push the image. Build and push is an arbitrary name that you can give to the job. Then you need to specify where you want to run, in this case, ubuntu latest; for now, it will reference ubuntu 20.04 newest long term support version. Then define steps. Obviously that you need to check out the code. In this case, we will use open source GitHub action. Actions are standalone commands that are combined into steps to create a job.
Actions are the smallest portable building block of a workflow. You can create your own actions or use actions created by the GitHub community. such as checkout version 2. The next step is to configure aws credentials to use to authenticate with AWS ECR. You need to provide an access key, secret key, and a region. We will define those secrets later from the github page. Next, after you have configured aws credentials, you need to log in to ECR. It's another github action provided by aws. The final step is to build a docker image and push it to ECR. Here you need to specify the ECR registry; we can use outputs from other steps here. For example, one of the outputs of the login to amazon ecr step will be the registry URL. Then you need to declare the ECR repository. We will create a later lesson-086 ECR repo. Also, you need to give a tag; for now, let's hardcode it as latest; later in the tutorial, we will dynamically update this field using git tags. Now, let's go to the aws console and create a private ECR repository.
Let's call it lesson-086 and keep all other default parameters.
Next, we need to give github actions permissions to push docker images to ECR. To do that, we need to create an IAM policy and a user. Let's start with the policy.
The first statement will allow getting an authorization token. The second one will allow pushing docker images. Optionally, you can restrict to a single ECR repository or use * to allow access to any ECR repository in your account. Keep in mind that you need to update the region and the account number. All the commands and the code you can find in my repository, the link will be in the description. Let's give it a name Allow push-pull policy.
Let's follow the best practice and not attach IAM policies directly to the users.
Instead, let's create an IAM group and place your user in that group. We need to attach the policy that we created to this group. You can filter by customer-managed.
Finally, we need to create an IAM user for GitHub actions. Let's call it github-actions; you can use any name here and only grant programmatic access. Select IAM group with our policy.
Alright, we have created the user; now, let's use these secrets in GitHub.
Go to settings and create the first secret.
You can grab secret names from the github workflow file. The first one is aws access key id.
The second one is aws secret access key.
We're all set.
Now let's create our first commit and push to the remote. GitHub immediately will detect the workflow file under the github folder and start executing those steps that we defined.
It's running build and push to ECR job. Let's wait a little bit till this job is completed.
Now we can go to the ECR repository and check if we were able to upload the docker image.
At this point, we don't have any tags; we will fix it later.
Here is the docker image with the latest tag. Now let's update the github actions workflow to create github tags with each commit in the main branch and use that tag with the docker image. First, we need to create a helper script under the build directory.
First, let's get the input parameter. We are going to follow the standard semantic version flow.
The first number will represent major, then minor, and patch. Based on your input, this script will update the corresponding version. You will see it in action in a few minutes. Then let's get the latest git tag. If there are no tags at all, start with v0.1.0. Then based on your input, update either major, minor, or patch version. Finally, create a tag and push it to github. Also, github actions allow us to define output variables for each step. Here we have a git-tag variable that we set to the new tag. We will use this output variable in the last step to tag the docker image.
Let's add an additional step to perform automatic tagging of each release or commit.
Here we specify that every time there is a new commit to the main branch, we want to increment the patch version. On line 35, we can reference that output variable that we defined in the previous step. increment-git-tag is an id of the step before, and the following is git-tag variable name with a new tag.
Alright, let's commit and test it.
Let's go back to github.
Now we have an Automatic tagging step here. You can see that we didn't have a git tag before; that's why it's started with v0.1.0. and incremented the patch version to v0.1.1.
Under the tag section, we have a new v0.1.1.
Now let's check the ECR image. Alright, we have the proper tag here as well.
Last thing here, for example, this time, you want to increment the major version. In general, you have three options here, major, minor, and patch. To bump the major version, just replace the patch with major.
Let's commit and push.
Now, under tags, you will find the new version v1.1.1. Same thing in the ECR repository.
This script can be used with CD tools such as flux or any other that can detect the new image and deploy it to your environment.
Take a look at this video Kubernetes Continuous Delivery with Flux v2. Using that technique, you can configure your CI/CD pipeline. Thank you for watching, and I'll see you in the next video.
Up Next
69:50
Master AWS ECS: Deploy FastAPI with Docker & ECR | Fargate Guide
@prograamer
64.9K views•2024-09-23

12:54
Triumph of Orthodoxy Icon: Byzantine Art & History Explained
@BenCallan
2.1K views•2024-08-06

6:10
Cloud Functions vs AWS Lambda: 2023 Performance Benchmark Analysis
@AntonPutra
9.7K views•2022-10-09

1:42
Game of Thrones Opening Credits: A Cinematic Analysis
@gameofthrones
46.3M views•2011-04-18
Related Study Plans & Knowledge Roadmaps
Structured learning paths in General & Interdisciplinary Studies
general-studies
Elevator Engineering: History, Physics & Cities
01From Hoists to Safety Brakes: The Dawn of Vertical Lift
02Hydraulic vs. Traction: The Engineering Physics of Elevators
03Modern Speed, Safety, and Algorithms
+ 2 more learning modules
12h5 modules
Explore Roadmap
general-studies
Rubber: Material Science, History & Geopolitics
01Origins of Natural Rubber & Mesoamerican History
02The Chemistry of Natural Rubber & Vulcanization
03The Geopolitics of the Rubber Boom & Colonization
+ 2 more learning modules
12h5 modules
Explore Roadmap
general-studies
Containerization: Evolution, Logistics & Trade
01Ancient Trade & Bulk Cargo: Amphorae to Barrels
02The Industrial Revolution & Cardboard Packaging
03The Containerization Revolution: Malcom McLean
+ 2 more learning modules
12h5 modules
Explore Roadmap
general-studies
Textile Tech: Evolution, Labor & Global Impact
01Pre-Industrial Textiles: Handloom & Cottage Industry
02Mechanization: The Spinning Jenny to the Power Loom
03The Factory System & Global Labor Transformation
+ 2 more learning modules
10h5 modules
Explore Roadmap