![LEARN FUSION 360 FAST! A Beginner Tutorial [step by step instructions, no prior knowledge required]](https://i.ytimg.com/vi_webp/mK60ROb2RKI/maxresdefault.webp)




![La différence entre les corps et les composants [FUSION 360]](https://i.ytimg.com/vi_webp/AWPtp1u_s5k/maxresdefault.webp)









![[Rendering] HDRi in 3dsMax](https://i.ytimg.com/vi/r6mC4uUo4a4/maxresdefault.jpg)






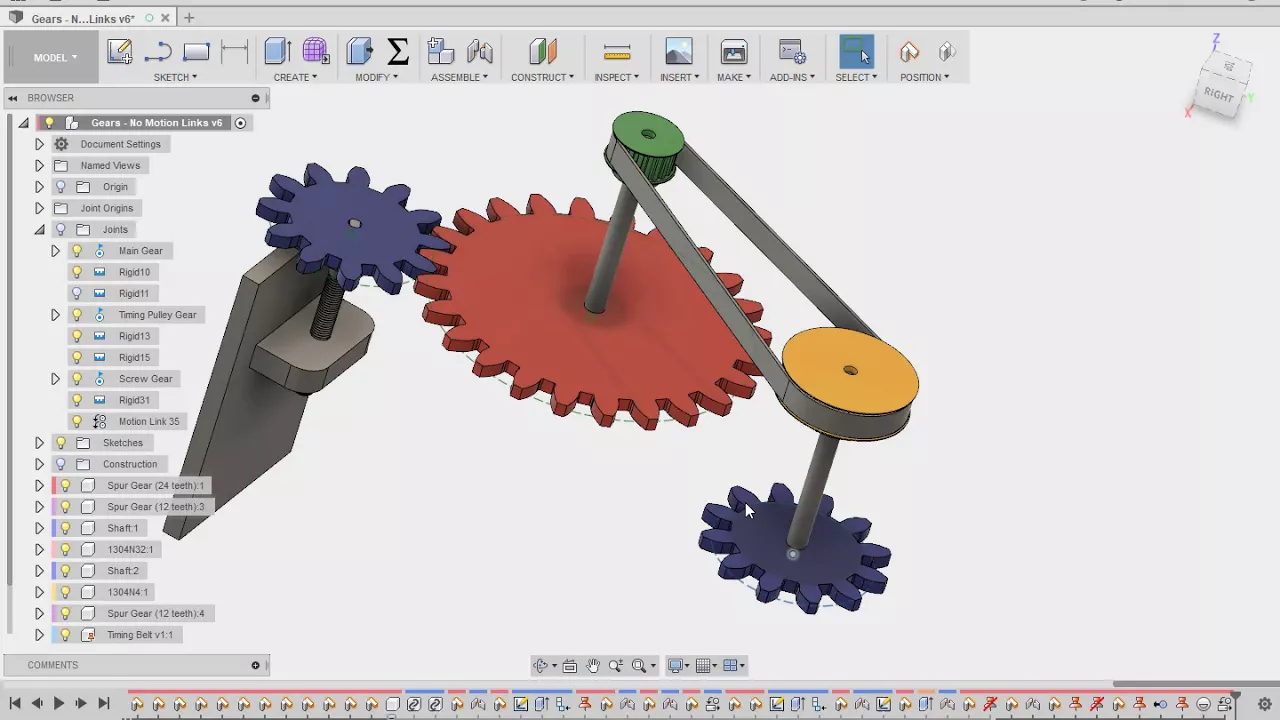
This lesson teaches how to assemble parts in Fusion 360 by inserting components, fixing them in space using the ground constraint, and applying joints between parts using locating points; it also demonstrates how to assign colors to parts by accessing the render mode, exploring material libraries, creating a material library for consistent colors, and applying materials to individual parts to achieve realistic rendering.
CAD Assembly and Color Rendering Techniques for Fusion 360
Added:Basic proficiency in 3D parametric modeling, including creating 2D sketches and extruding them into 3D bodies in Fusion 360.
Understanding the fundamental difference between 'Bodies' and 'Components' in Fusion 360, which is crucial for creating assemblies.
Familiarity with the concept of Degrees of Freedom (DoF) and how spatial constraints restrict movement in 3D space.
Basic awareness of physical materials versus visual appearances in CAD environments.
Mastery of advanced joint types, motion links, and motion studies to animate and test mechanical interactions within assemblies.
Advanced photorealistic rendering techniques, including custom environment mapping (HDRIs), depth of field, and emissive appearance setups.
Generating detailed 2D technical drawings, exploded views, and automated Bills of Materials (BOM) from the completed assembly.
Applying motion analysis and structural simulation (FEA) to the assembled components to evaluate performance under load.
189 views0likes12:50Original Release: 2020-02-17
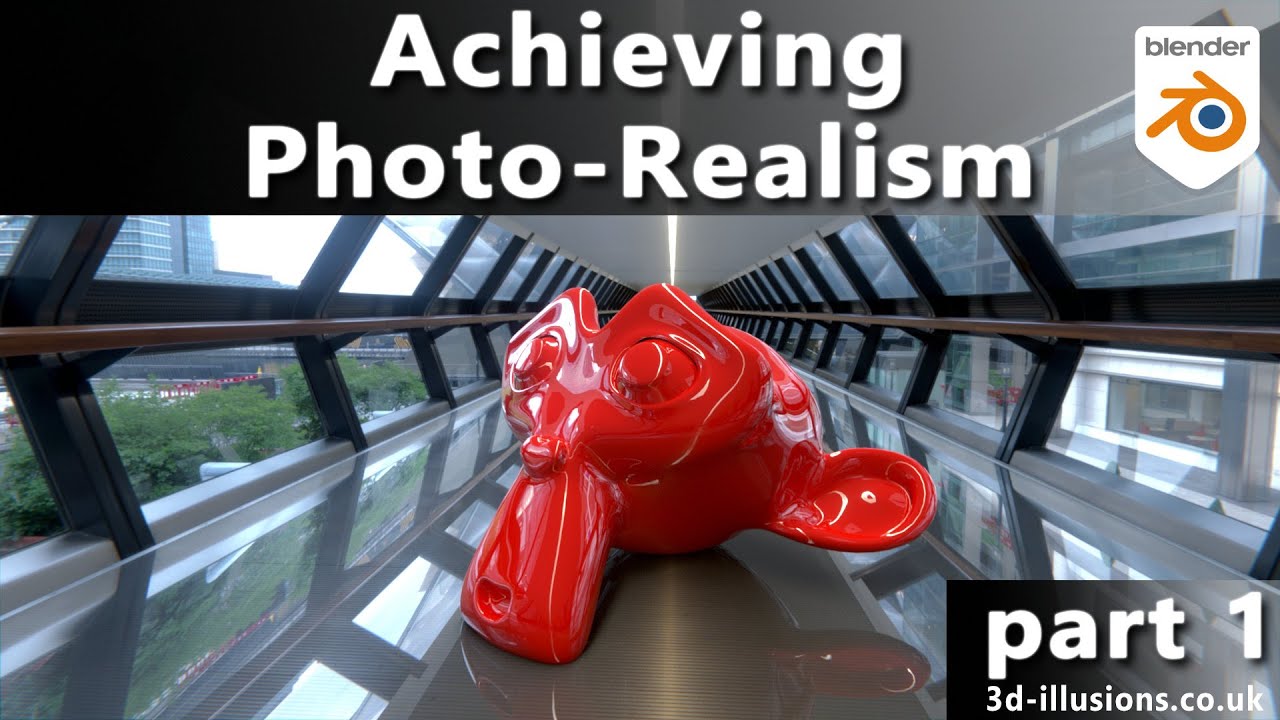
okay guys welcome back to this next lesson goal for this lesson is to show you how to assemble some parts together and also to how you how to use color in the rendering settings to be able to distinguish those parts so they look realistic so the first thing you'll need to do is you've got a couple of parts over here that you might want to put together I'm just going to grab this two by 6 and then add a few pieces onto it it's not actually a real kick but I'm just gonna use as a demonstration so the first thing I'll do is I'll create a new design if you haven't done so so to do that we go file when you design you sit open a new page here it hasn't got a name yet so then I'll go file save and it's going to the correct folder and then what's going to call this a simple demo just demonstration purposes you might call it well whatever the name of your kid is or it might be a sub assembly I suppose so click on save and that will update in a few seconds there it goes and now what we need to do is we need to add some of these parts into this assembly so we can start to build the first thing I'm going to do is I'm going to bring in this 2 by 6 flat because it's a largest piece what I'd suggest you do when it comes to assembly is actually to get a copy of the assembly documents of everyone got them I've got mine here somewhere like in here and just get my project so I was bear with me for a second there's my instructions under the snowspeeder so it's a pretty good idea to actually start assembling parts just the way you've been assembling it when you actually made your kit so you can start with this 2x4 if you're doing the snowspeeder then you'd add this two by six on top and at that point too it's good to actually assign colors to the parts as you go so that it actually builds it up in realism I suppose all right so back to the fusion so let's bring a part in so there's two by six over here I'm going to right click onto the two by six and I'm going to insert this into the current design so it grabs that pops it in here and the first thing you want to do with this first piece is actually fix it in the space so just accept all the settings here don't change anything click OK and then you'll see the part has come in but I want you to actually fix this in space so select the part by left clicking on it then right-clicking and the first option is called ground and ground is another way of saying fix that spot in space so then everything else will then be relative to it to click on ground that's great deselect just by clicking somewhere over here in space and then I'm going to bring another part in to join on to there so let's grab this one by one tool right click insert into current design and we'll see that appear in a second there it is there now at this point in time it's good practice to use these arrows here on your part to actually bring the object in so it's kind of close to where you might want it to go in reality so what I'm going to do I'm going to say that I want that corner there of this one more one tool to line up with this corner over here so what I'll do I'll kind of bring it close so that when I put a joint on that in a second it'll be really obvious so that's just bringing it in once you've got round about the right spot mmmm you can rotate you can do all sorts of things with different around positions and Heights while dragging different stuff I get roughly in the right spot then click OK and then we need to apply a joint between the new part and the original part so come up here to the assemble tab and the right hand side you've got joints and you can see that it's already selected the first component is the first one there the second component is this one and as you hover over all the different aspects of this second part it's actually trying to guess well which part on here they wanted line up with this corner here so as you can see my cursor has a zoom in with as my cursor moves along that edge there's a halfway locating point there's the end now that's interesting here as I move my cursor different positions that's an end vertical locating point and then I move my cursor again there's an end horizontal locating point so I'm going to select that one first and then it's asking me for the second piece or the second locating point now same thing here there's a vertical locating point I want that to turn into a horizontal and you'll see as I get to that point it's actually give me the horizontal the corresponding if you like a matching point for this one above it so click onto that one and then what happens is it moves the part down onto the grounded part and you can at this point you can do flips and you can spin things around but also the type of joints important would you join so if it's in the right spot great if your knees still need to move it you can still find adjust at the air by moving on the x y&z axis you can even change the angle still if you wanted to at that point in time but you'll notice it moves relative to the point that we actually made adjoint so undo that last one now I can't do the begin joint horizontal locating point corresponding horizontal locating point brings it down I'm happy with that I click OK all right so that's good and you continue to do that for these other pieces that you would then build that really go modern but it's also handy to have different colors assigned to different objects now to do that the easiest way is to use the rendering capabilities of fusion 360 and to access that you need to get out of this design mode which is the current mode that we're in at the moment click on the arrow there and come down to the one that says render and let that start up I might just close this data panel it gives me more space and you can see now we've got a fairly different looking rendition of what's going on also I can see that that joint icon is visible over here you see that you can actually turn things on and off I'm just going to turn these joints off so I can't see it all right so let's experiment a little bit with colors and how to apply colors and so on so the first thing to do is to click on to the lip work from left to right here explore all these buttons mean click on the appearance icon and over here on the right hand side is should be if you're connected to the Internet and provided there's no update right you should be able to access all these different materials now I spoil them aside the everything from fabric glass you name it plastics and so on so being Lego being a plastic I'm going to investigate what's in the plastic folder so just sort of clicked on that once and then Oh scroll them and there's different types of plastic about ABS acid or nylon and so on and with inside those plastics there's also textured transition transparent the other translucent you then got some default colors which are pretty handy and pretty close to some of them I'll Lego stuff that we use now probably the one that's most used of course is the white you do realize it's just say matte so what I might do they actually get out of that and that wine and goats are glossy because not many pieces of Lego actually make most of the lawsuit I'm going to grab the glossy white and I'm gonna drag it onto the piece that I want to make white now you see it only selects one piece at a time let it go and the preview window is now changed it to being white now as you've added that to it you'll notice up here it stores the material that you've applied to not just one but every single piece it adds this material top here so you could then grab this red one I suppose gloss is red and you can apply it to there and you see that stores and shows it let's say though that you wanted to make a couple of versions of so great so I'm just gonna grab this grain and I override the white you can see it's the white still in there but I've just overwritten with gray so I want this one to be a light grain this one to be a dark gray so what we want to do in a create a library of colors up here which will then use for all of the different parts in our kit so what we can do you can go right click on the color so I'm going to make this and then make a copy of this light gray and then I'm going to make a new color called dark gray so I'm going to duplicate this existing gray light gray duplicate and now I've made it over here you can see it's got my number one decide it at the very end I'm gonna right click and I'm gonna edit this material first thing I'm gonna do it was change its names that get rid of lively and translucent glossy and I've got to put in front of that dark right and then you can use all different ways of creating dark brown as we use more slider here and get down towards say there perhaps and click on done and you see the preview changes up here and I'm going to grab that material this time from this library and I've created called dark gray and I don't know let it go and you can see now the difference between the two braids so that's a really efficient way of keeping your materials all of the same material are the same settings of your light light same add a texture or not texture and then you can just edit their colors up here so I'll just go through it again the idea is you grab an existing material let's say there's a red one here so I'll make that into like an orange or something like that I right-click duplicate right click on the material I've just duplicated the kind of edit let's make that an orange to comment down and you said that's okay Oh still sits glossy red I just need to edit that name as well sorry so let's just call that orange and you can go as far as actually getting into all of the exact red green and blue colors that logo make all their products from you actually get exactly right if you want to do that or you can get it in a roundabout in this this mode also if you want to see what it looks like in a rendered view you can go to scene settings up here you can choose one of the standard department library settings grid-like i think works quite well let they grid-like go darrell's at the moment or a texture map but if you click on this in canvas you render it'll then start to create a preview of what that render would actually look like and you can see it in the bottom it kind of gives you I really out about what that would look like now that's actually looking pretty order at the moment but once it got through Final which will take a while so money didn't play around a little bit with the lighting there I think that's quite gonna do what we wanted to do anyway that's the basics if I want to go back to the design world I click on the icon Peter you go with design and then you can see here it's actually picked up the materials and you can see the different to you as well which is kind of cool alright save that before we lose it and continue on
Up Next

38:41
Fusion 360 Robotic Gripper Tutorial: CAD Design & Assembly
@SPARKPLUG98
144.5K views•2022-03-24

12:54
Triumph of Orthodoxy Icon: Byzantine Art & History Explained
@BenCallan
2.1K views•2024-08-06

9:49
FastAPI vs Flask vs Django: Choosing the Right Python Web Framework
@TechWithTim
302.5K views•2024-05-26

1:42
Game of Thrones Opening Credits: A Cinematic Analysis
@gameofthrones
46.3M views•2011-04-18
Related Study Plans & Knowledge Roadmaps
Structured learning paths in General & Interdisciplinary Studies
general-studies
Elevator Engineering: History, Physics & Cities
01From Hoists to Safety Brakes: The Dawn of Vertical Lift
02Hydraulic vs. Traction: The Engineering Physics of Elevators
03Modern Speed, Safety, and Algorithms
+ 2 more learning modules
12h5 modules
Explore Roadmap
general-studies
Rubber: Material Science, History & Geopolitics
01Origins of Natural Rubber & Mesoamerican History
02The Chemistry of Natural Rubber & Vulcanization
03The Geopolitics of the Rubber Boom & Colonization
+ 2 more learning modules
12h5 modules
Explore Roadmap
general-studies
Containerization: Evolution, Logistics & Trade
01Ancient Trade & Bulk Cargo: Amphorae to Barrels
02The Industrial Revolution & Cardboard Packaging
03The Containerization Revolution: Malcom McLean
+ 2 more learning modules
12h5 modules
Explore Roadmap
general-studies
Textile Tech: Evolution, Labor & Global Impact
01Pre-Industrial Textiles: Handloom & Cottage Industry
02Mechanization: The Spinning Jenny to the Power Loom
03The Factory System & Global Labor Transformation
+ 2 more learning modules
10h5 modules
Explore Roadmap