










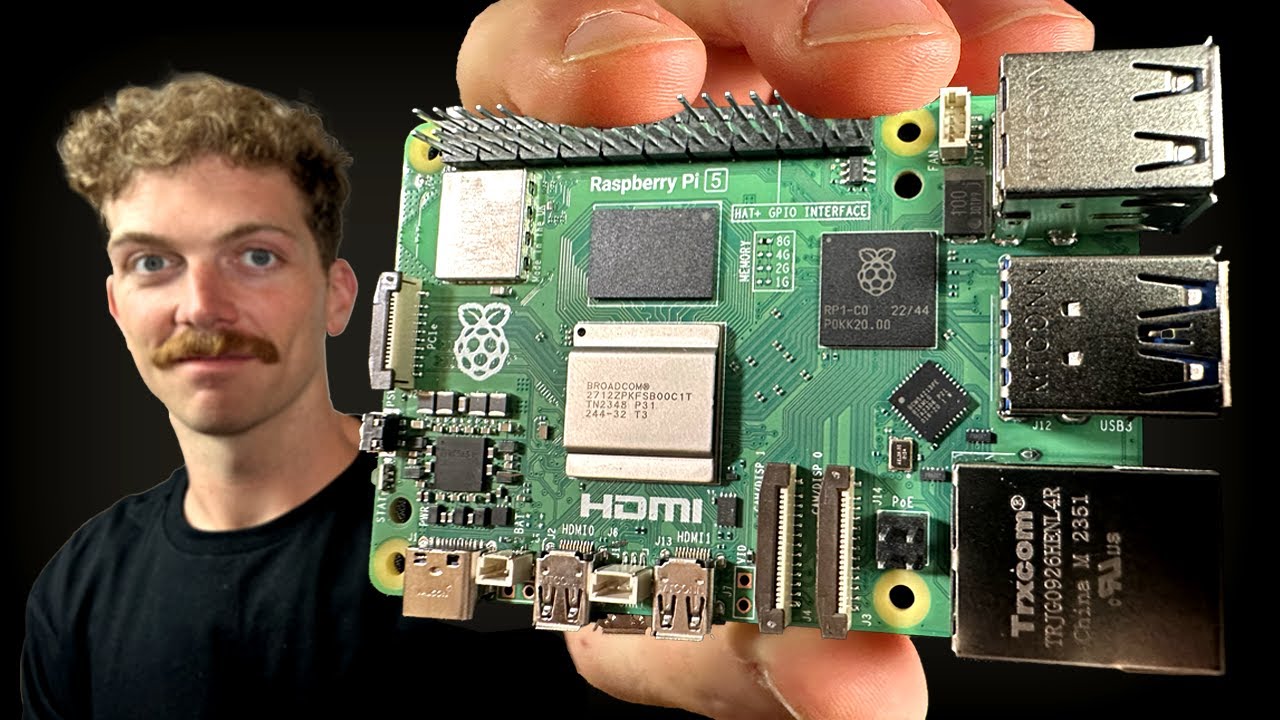










This video demonstrates how to control an LED using the Raspberry Pi's GPIO pins by setting up a circuit with a 330Ω resistor and writing a Python program that imports the RPi.GPIO module, configures pin 12 as an output, and uses time delays to turn the LED on and off; the program must be run with sudo privileges to access GPIO pins.
Raspberry Pi GPIO LED Control: Python Circuit Tutorial
Added:Basic Python programming concepts, including importing libraries, using variables, and writing simple loops.
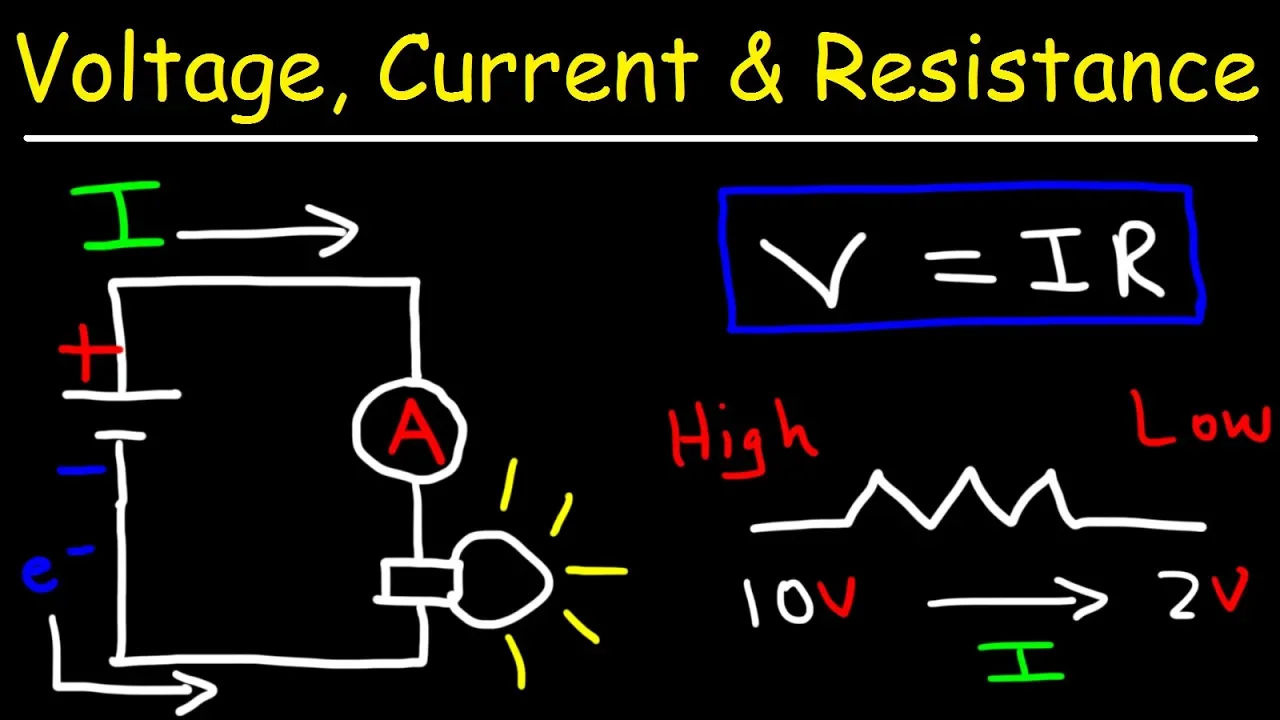
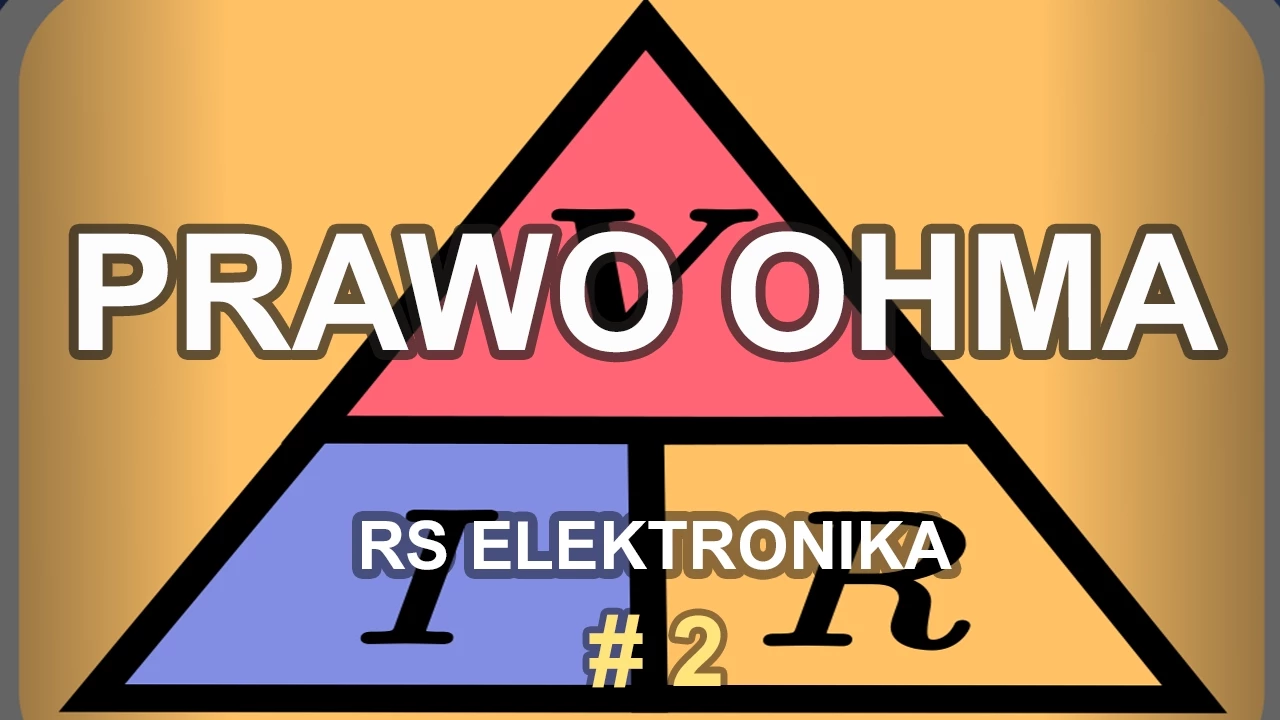
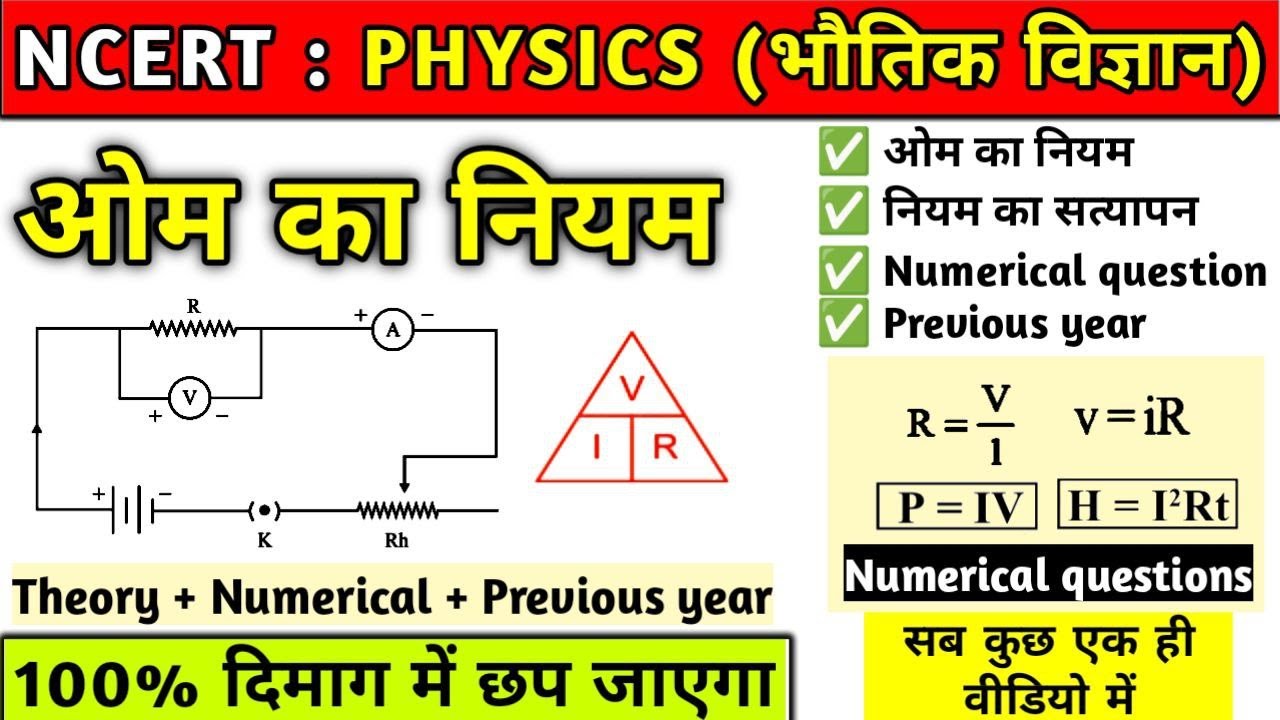
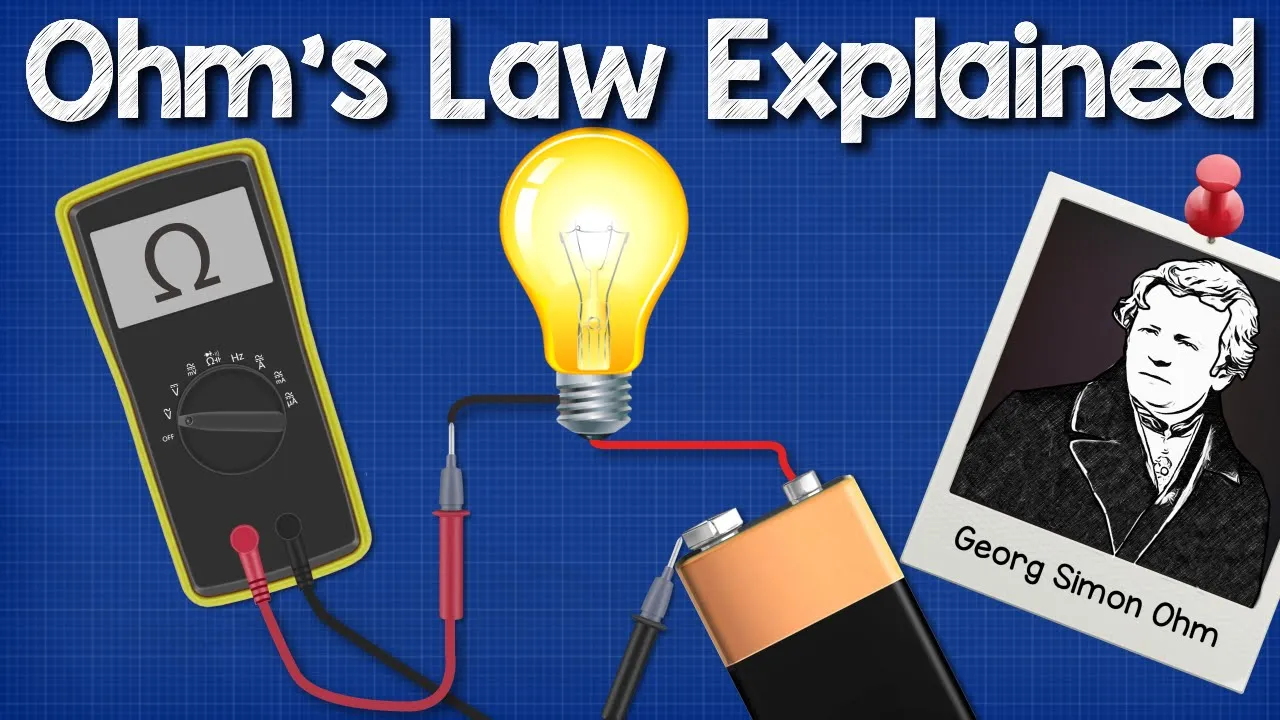
Fundamental DC electronics theory, specifically Voltage, Current, Resistance, and Ohm's Law.
How to use a solderless breadboard to construct simple circuits with components like LEDs and resistors.
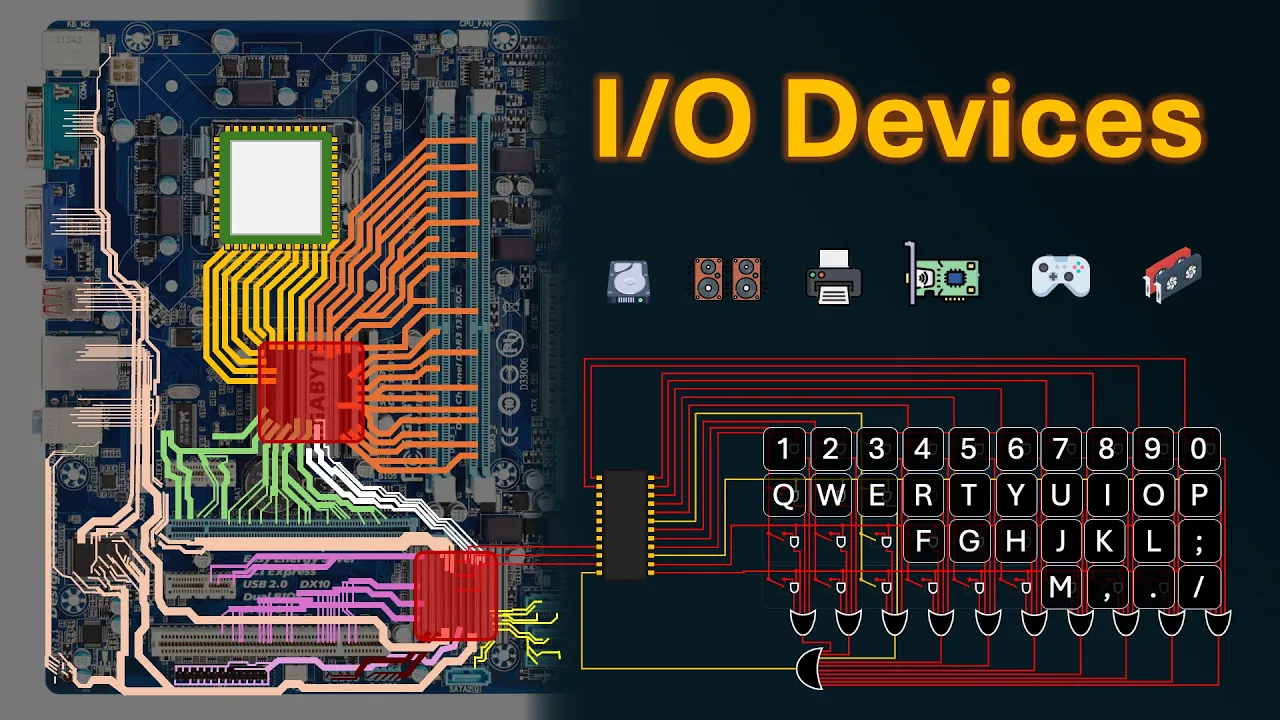
The physical layout of the Raspberry Pi, including how to power it and the general purpose of GPIO (General Purpose Input/Output) pins.
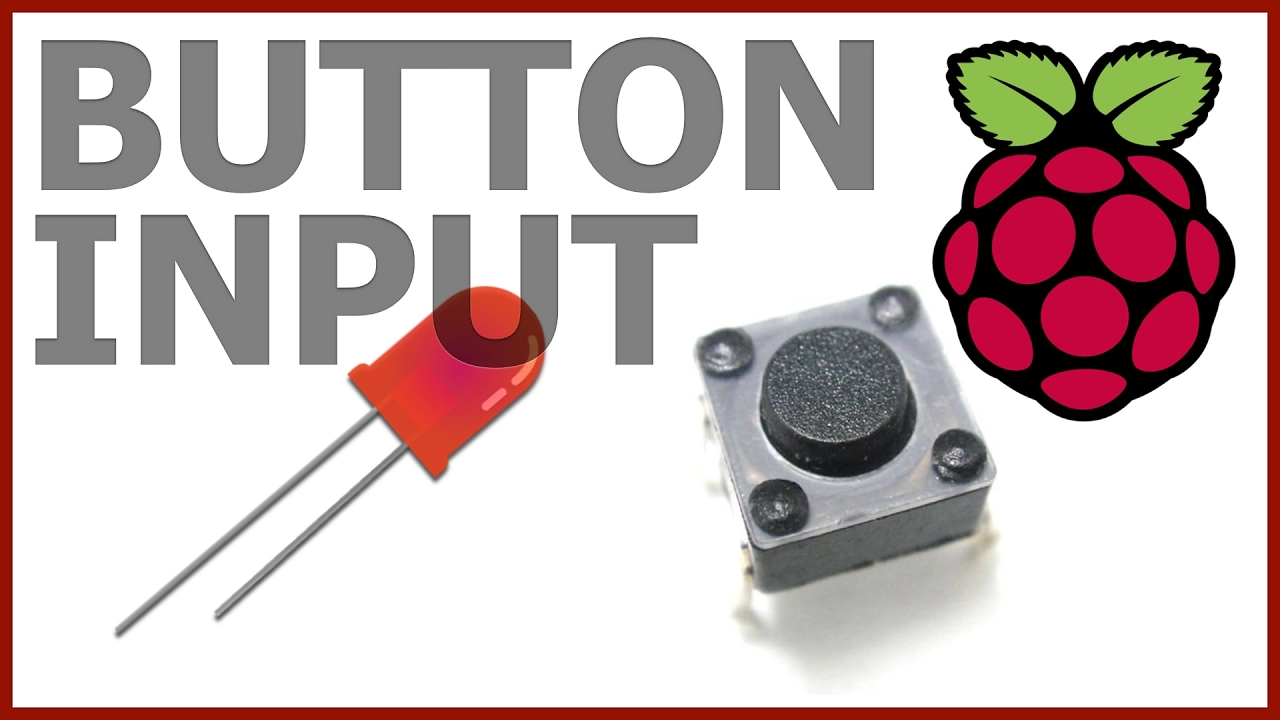
Reading digital inputs by connecting physical buttons or switches to the Raspberry Pi GPIO pins.
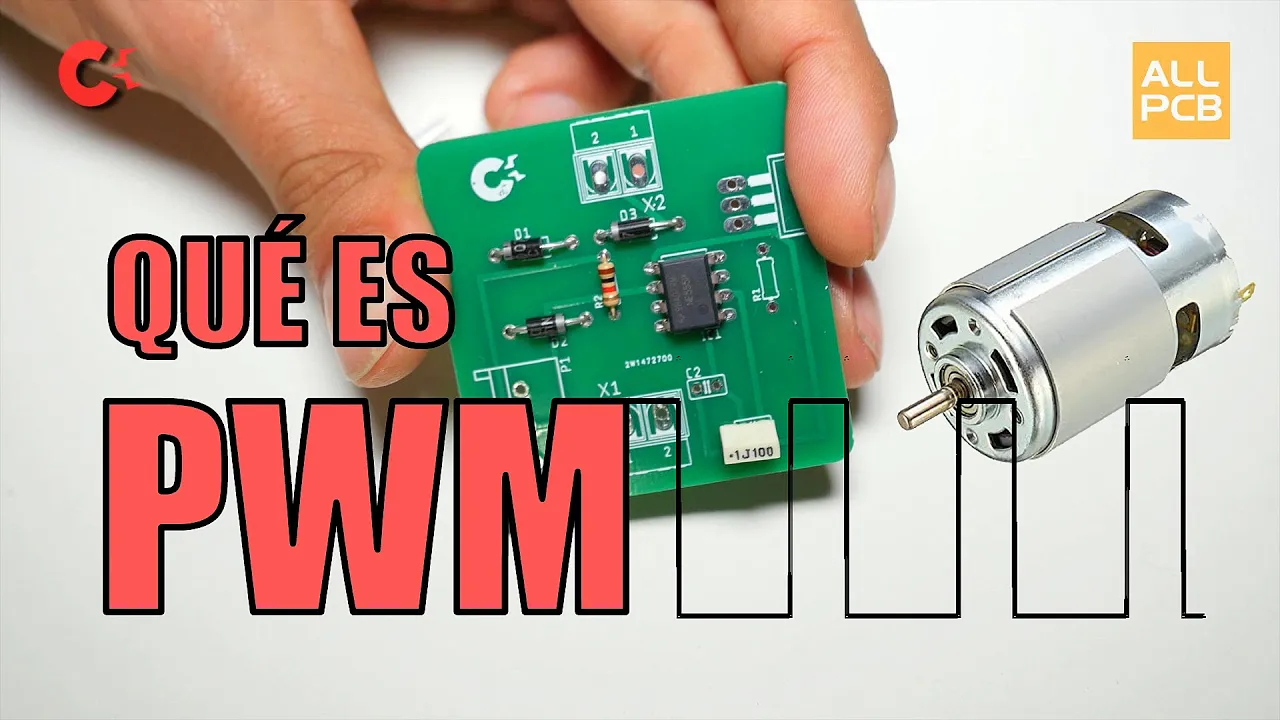
Implementing Pulse Width Modulation (PWM) to control LED brightness or run a DC motor.
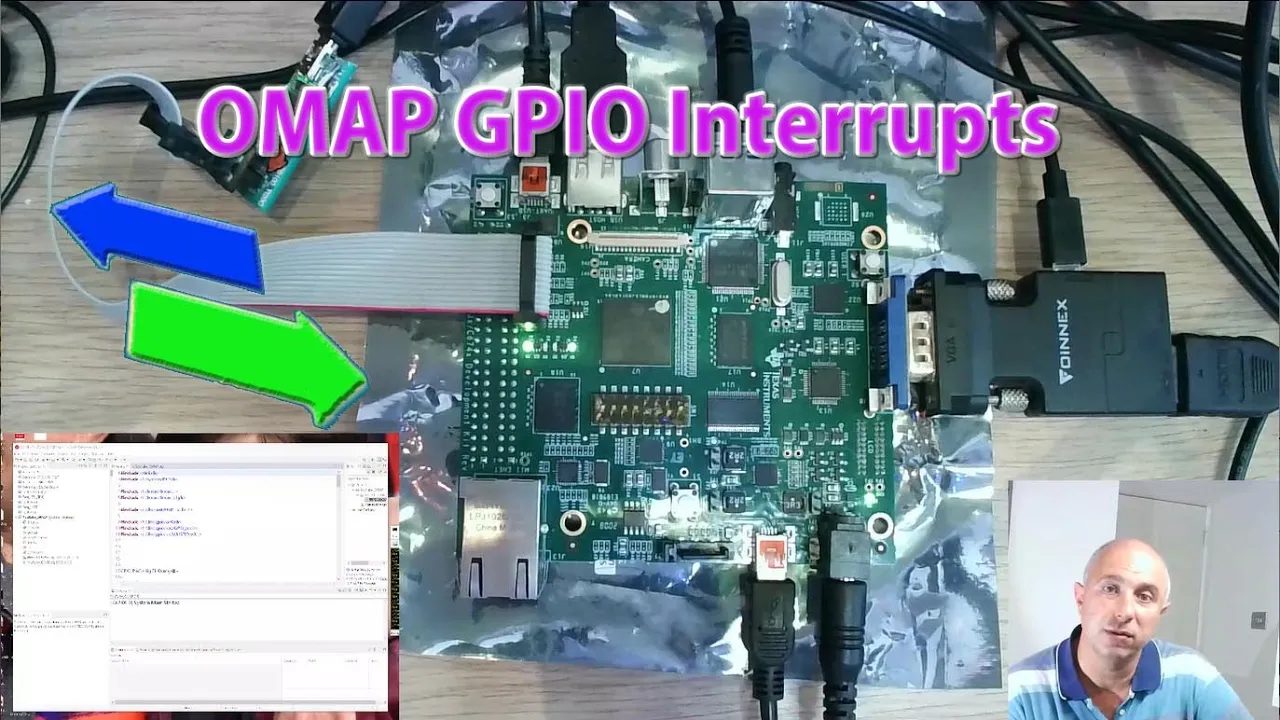
Transitioning from polling to interrupt-driven programming in Python for more efficient hardware interaction.
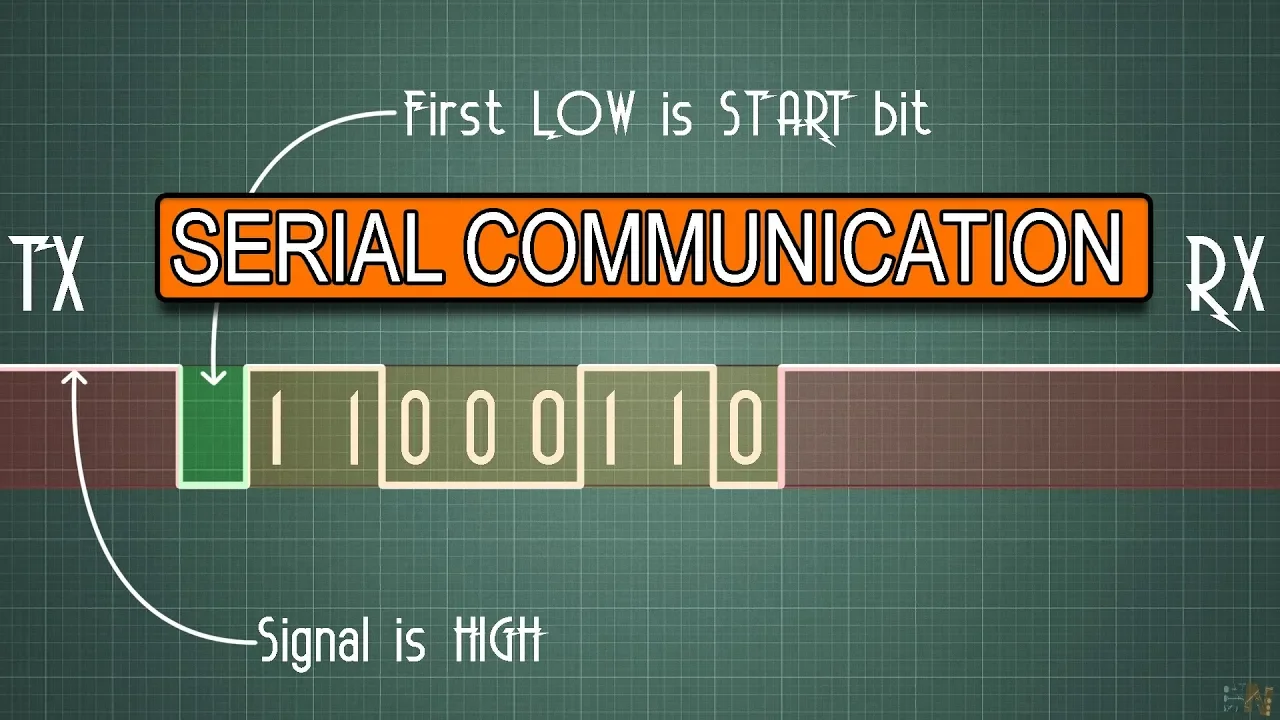
Exploring serial communication protocols (I2C, SPI, UART) to interface with advanced sensors and displays.
120.8K views520likes4:22Original Release: 2013-07-05
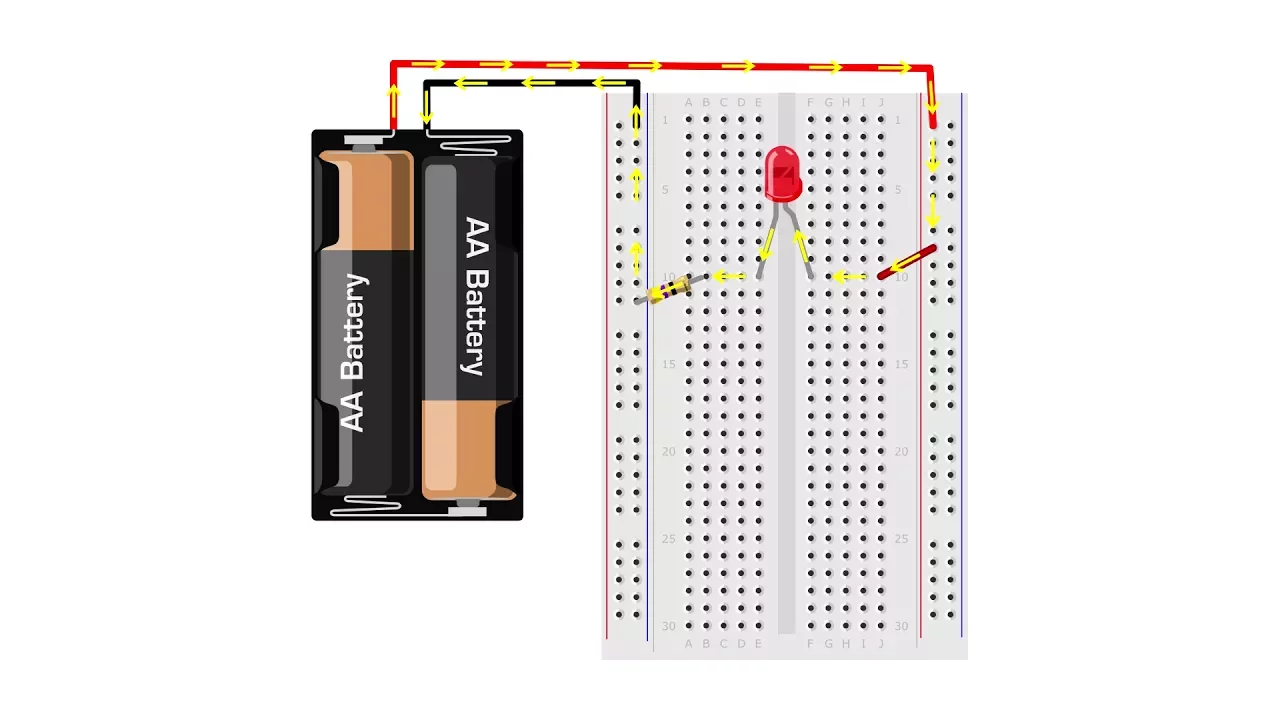
in this video you will learn how to control an LED using the Raspberry Pi's gpio pins you should already know how to light an LED using the 5volt rail be able to edit text files using the Nano text editor and run python programs using the terminal screen we've already seen how to light an LED using the Raspberry Pi's 5volt rail this resulted in an LED which turned on with the Raspberry Pi but what we would like to be able to do is control when an LED turns on and off to do this we will need to write a simple computer computer program but before we begin with that let's set up the circuit here I've decided to use the gpio pin at Pin 12 but any of the green labeled pins would work fine now the gpio pins use 3.3 logic meaning that they are connected to the 3.3 volt rail in this circuit I've chosen to use a red LED which has a voltage drop of 2 volts that means there will be 1.3 volts left across the resistor you should recall that we use a resistor to limit the current passing through the circuit this is a especially important when dealing with the gpio pins as only 16 milliamps of current can safely pass through a gpio pin for our LED we will need 4 milliamps of current so we will be well within the safe current limit to calculate the value of the resistor we use ohms law which gives 325 ohms so a 330 Ohm resistor should work just fine the wiring for this circuit is pretty straightforward it I've decided not to use either of the power rails on the breadboard to save on the use of wires but feel free to use them in your your circuit if you want it's really a matter of preference of course as we have an LED in this circuit make sure that's placed with the cathode leading towards ground now it's time to write the code I'll name my file control as that's what I aim to do control and led the first thing that I must do is give away for my program to interact with the gpio pins luckily all I need to do is import a module which someone else has put together this line tells python that the program will use the module rp.
gpio and we can make reference to it by typing gpio we could change gpio to any word we like but we might as well use a word that sounds relevant next we need to say how we will make reference to the gpio pins this line says that we will refer to the pins by their numbers one through 26 pins can also be referred to by different names but PIN numbers are straightforward and that's what I'll always use now let's set up pin 12 the pin that will control our LED this line is fairly straightforward it simply says that we are going to set up pin number 12 as an output pin this is in contrast to an input pin which would read a voltage level we will see how to use an input pin in another video now that pin 12 is set up we can start telling it what to do we actually only have two choices we can set it to low which is essentially setting the PIN to 0 volts this will result in our LED not turning on alternatively we can set a pin High which will set it to 3.3 Vols this will turn on the LED in our circuit if you'd like a simpler way of writing this we could use 0o and one for low and high just be careful here Z represents ground which is 0 volts but one represents High which is 3.3 volts once our program is complete we should always reset the pins to their default values gp. cleanup does exactly this if we were to forget this pin 12 would stay high even after our program has completed now if I ran this program I wouldn't see much as pin 12 briefly goes high and then goes low again once we hit the gp. cleanup what we need to do is put some time delay after we set the PIN to high we can do this if we import another module called time we won't include as something else as time is a perfectly good reference to this module time dos sleep will halt the program for the number of seconds included in the brackets in this case 3 seconds this number doesn't need to be an integer so you can also type something like 0.1 seconds okay let's give it a try if we try to run this program with python we run into an error which happens on line one where we have our import command the solution to this problem is actually being stated here to run python as a root user which we can do by using sudu so whenever we are using a program that uses the GPO pins we need to include sudu let's give it a try there we have it an LED that turns on for 3 seconds
Up Next
39:19
Raspberry Pi GPIO Control: 6 Ways & Benchmarking Libraries
@mindthomas
118.1K views•2012-09-06

12:54
Triumph of Orthodoxy Icon: Byzantine Art & History Explained
@BenCallan
2.1K views•2024-08-06

9:49
FastAPI vs Flask vs Django: Choosing the Right Python Web Framework
@TechWithTim
302.5K views•2024-05-26

1:42
Game of Thrones Opening Credits: A Cinematic Analysis
@gameofthrones
46.3M views•2011-04-18
Related Study Plans & Knowledge Roadmaps
Structured learning paths in General & Interdisciplinary Studies
general-studies
Elevator Engineering: History, Physics & Cities
01From Hoists to Safety Brakes: The Dawn of Vertical Lift
02Hydraulic vs. Traction: The Engineering Physics of Elevators
03Modern Speed, Safety, and Algorithms
+ 2 more learning modules
12h5 modules
Explore Roadmap
general-studies
Rubber: Material Science, History & Geopolitics
01Origins of Natural Rubber & Mesoamerican History
02The Chemistry of Natural Rubber & Vulcanization
03The Geopolitics of the Rubber Boom & Colonization
+ 2 more learning modules
12h5 modules
Explore Roadmap
general-studies
Containerization: Evolution, Logistics & Trade
01Ancient Trade & Bulk Cargo: Amphorae to Barrels
02The Industrial Revolution & Cardboard Packaging
03The Containerization Revolution: Malcom McLean
+ 2 more learning modules
12h5 modules
Explore Roadmap
general-studies
Textile Tech: Evolution, Labor & Global Impact
01Pre-Industrial Textiles: Handloom & Cottage Industry
02Mechanization: The Spinning Jenny to the Power Loom
03The Factory System & Global Labor Transformation
+ 2 more learning modules
10h5 modules
Explore Roadmap