









![Mikroprocesory [RS Elektronika] #43](https://i.ytimg.com/vi_webp/Wiv4k4ku-Qc/maxresdefault.webp)









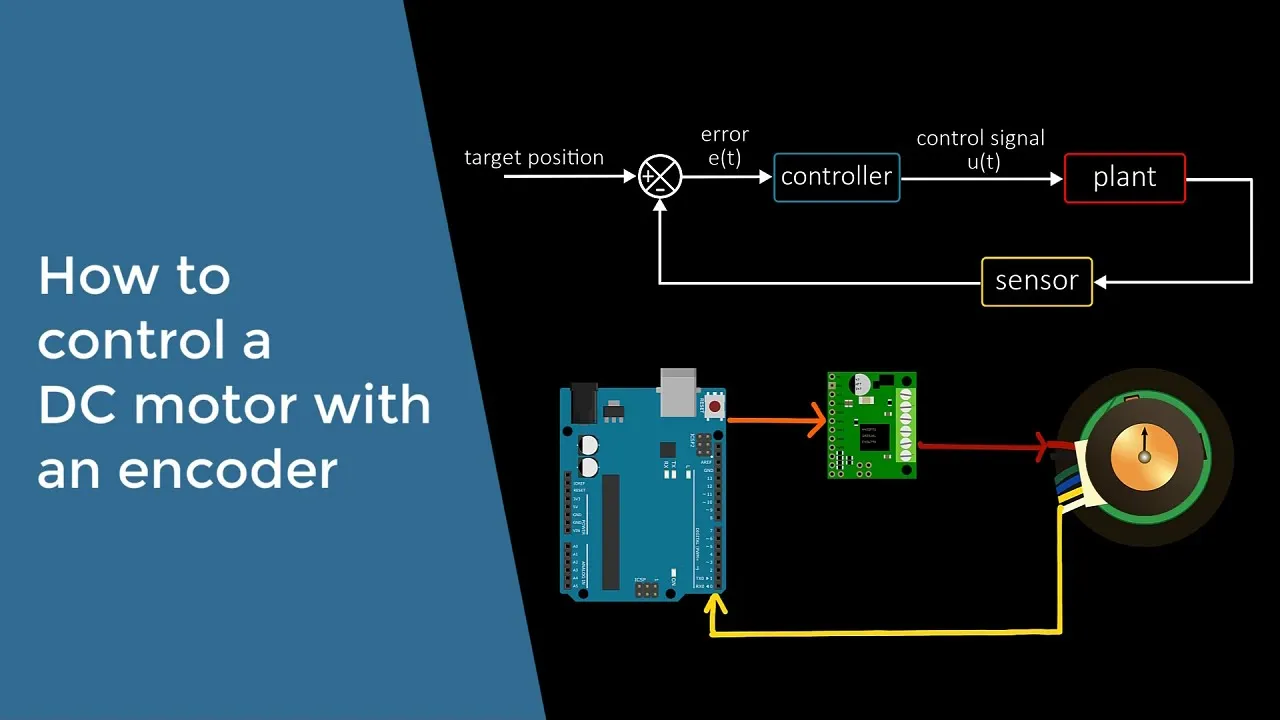






To build a remote control robot platform, you need three core components: gear motors (select 200-800 RPM for optimal performance), electronic speed controllers (choose amperage rated above your motor's stall current), and lithium polymer batteries (select appropriate voltage and capacity based on your motor requirements); the assembly involves connecting the battery to the ESCs, wiring the motors to the ESC outputs, connecting the receiver to the ESCs for control, and ensuring proper polarity throughout the system while incorporating safety features like emergency kill switches and indicator LEDs.
Build Your Own Remote-Controlled Robot Platform: A DIY Guide
Added:Basic DC Electrical Theory: Understanding voltage, current, resistance, and Ohm's law to safely connect components without causing short circuits.
Introduction to RC (Radio Control) Systems: Familiarity with how wireless transmitters (controllers) communicate channels of data to receivers.
Fundamental Soldering Techniques: Basic knowledge of thermal joining, preparing wire joints, and electrical safety practices when handling hot irons.
Battery Chemistry and Safety: Understanding battery specifications, particularly Lithium Polymer (LiPo) safety, cell configurations, voltage levels, and discharge ratings.
Microcontroller and Microprocessor Integration: Transitioning from pure RC control to programmable autonomy using platforms like Arduino, ESP32, or Raspberry Pi.
Sensor Fusion and Feedback Systems: Adding ultrasonic sensors, LiDAR, and IMUs (Inertial Measurement Units) to allow the robot to perceive its environment.
PID Control Algorithms: Implementing Proportional-Integral-Derivative feedback loops to achieve precise control over motor speed, steering, and trajectory.
Introduction to ROS (Robot Operating System): Learning software frameworks for advanced robotics applications, including mapping, localization (SLAM), and path planning.
102.9K views4Klikes24:59Original Release: 2021-04-09
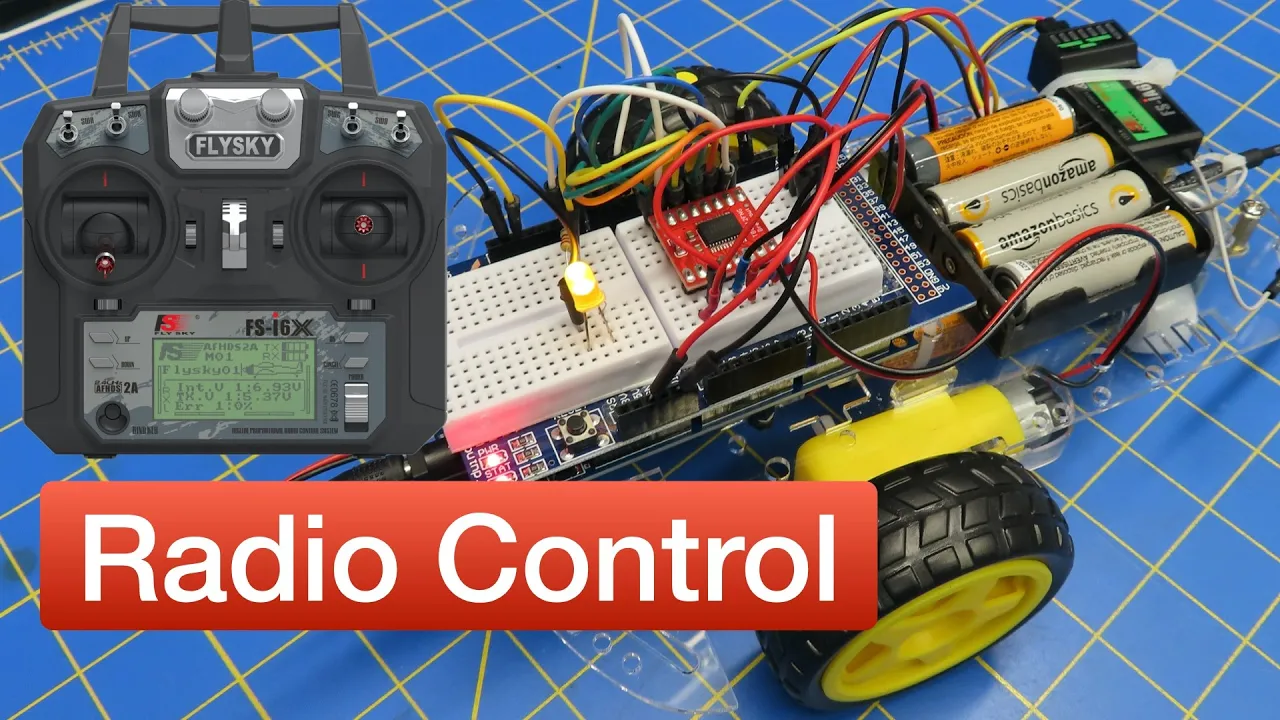
in this video i'll show you how you can build your very own remote controlled robotics platform just like this for whatever purpose you like whether it's for fun for research or even for combat robotics let's get started welcome back to makers news my name is angus and if you're new to the channel then welcome it's my aim here to empower your creativity through technology just like this this is my off-road robotics platform that i recently showed shown the channel that a lot of you really really liked and in that video i promised to show you a breakdown of how you can build your own this is actually kind of just a introductory video into robotics platforms in general what you need to get how they work and how you can use them to make all manner of different interesting projects because at the heart of it they're all kind of the same it's just the implementation will change depending on what you're going for in this project the aim was simple get some wacky wobbly wheels and make a platform that i could use to test them out so i wanted to make a four-wheel drive platform that i could control remotely and then drive around and see how the wheels responded on different surfaces so i'll be starting with the electronics and then i'll show you the design process and then the assembly process to put something like this together and let me just say there's a lot involved this is sort of an introductory video there's a lot that you'll need to do some research independently from this video it's not just a click a list of purchase links and then throw it all together and magically it works it's kind of involved but i will say that it's very very rewarding i learned so much building combat robotics back in high school that influenced my university and then my uh 3d printing interest which is kind of where i am today is thanks to my interest in combat robotics so there's a lot involved but it's definitely worthwhile checking out so the component we'll start with is the gear motor this is what you'll use to make your platform able to move around and essentially it's a motor with a geared reduction to an output shaft that you attach your wheel or whatever to so the machine can move and if you just go on like ebay and search gear motor you'll see just how daunting this task can be there is thousands of different motors to choose from all different price points and features and it can be a bit uh daunting to know what to look for so let me break it down for you a general good range for a robot platform i found at least of this size is around 200 rpm up to maybe 800 to perhaps a thousand which is going to be a very fast remote control platform but 200 is probably the minimum speed i'd go for any lower it's going to be very very sluggish it might have high torque due to the high reduction but it's going to be very very slow so i'd say 200 up to maybe 800 is a good rpm range for your first robotics platform so what i'll generally do is just search for like 500 rpm gear motor on ebay for example and i'll have a look and see what shows up and you'll find listings like this so dc 12 volt motor gear reduction uh worm there is no worm reduction no home gear in this motor but whatever 60 to 500 so i've actually got different uh rpm output ranges available which is the different gear reductions so again 60 100 200 uh 60 would be like one revolution a second that's so slow uh whereas you can go all the way out to three to five hundred so let's say you want to do 500 quite a fast platform at 12 volts and here we can see the sizing for the motor it's got 52 which is about that in length 24.4 which is just about an inch in diameter and that's a decent size for a platform like this you could probably drive with four of these something that's about three kilos in weight or so without too much trouble but if you want to copy exactly what i've built i did buy these surplus motors uh and these are 184 to 500 rpm again depending on voltage um but the reason i chose these is because i had a nice looking planetary gearbox so planetary gears are a lot more durable than a spur gear reduction it's not really going to be a problem if you're not abusing your platform but if you want to build like a combat robotics platform then you might want to choose planetary gears instead i will say though with this gear motor the motor itself seems a bit gutless it's all a bit trial and error depending on what you go for and that's just how much current the motor pulls in some motors are quite efficient but therefore they don't put out too much torque that takes us to the next section and that's what speed controller you need to select now based on the motor choice that you've got okay so to interface with your gear motor you need something called an esc or electronic speed controller and this will control the speed by varying how much power is given to the motor based on your inputs from the battery it's not like you know you're putting a motor straight on the terminals of the battery it's going to be full power this lets you vary speed and also change directions which is very very important for trying to control something precisely for my off-road platform i use two bot bits 30 amp brushed speed controllers they're very much overkill for the size of this platform but i have them on hand they also have the 10 amp controls but uh you might be wondering what does this amperage rating even mean well that's how much current the speed controller can handle before it kind of overheats and eventually releases the magic smoke and breaks they get hot during operation and if you run them too hard they will break but if you have them specked above what you need then it's like bulletproof they'll last forever so i went overkill here but how do you know what sort of current rating you should be going for anyway if we go back to your motors if you go down the page sometimes the seller will have your stall current and uh load current so when these motors are under load they've got a torque rating here and they've got a load current of 145 milliamps which is tiny really tiny but what you've got to worry about is the stall torque that is like locking the motor and then running it and that stall talk is usually what blows up the controllers so 2.1 amps which is very very small still compared to the 30 amp rating of these controllers but there is very very weak esc's on the market that might not even handle that those times you can choose from the bot bits are just single output which you can chain to two motors if you like on one side or there's the saber tooth which is a dual five amp motor driver so you can have it controlling both sides from just one unit it's got two separate um outputs for each side or you can also get speed controllers that are big enough to power a go-kart sized platform like this robotech which is a dual channel 150 amp brushed dc motor controller which can handle up to 60 volts obviously massive and massively expensive but it's pretty cool you can make something like this that's the size of a golf cart and you still would be able to remote control it if you have the suitable hardware all right now is battery it's determined on what gear motors you want and what speed control you've chosen to determine what battery you should go for uh so we i generally use lithium polymer batteries because they're very cheap they're lightweight and they're used in a lot of remote control projects anyway so they just fit right into the ecosystem so a few things to note about lithium polymer starting with the safety they are dangerous if they are punctured or shorted or over charged they can burst into flames you want to make sure that these are stored in a non-flammable area like a cake tin or something in a safe space and when you're charging them they need to be charged on a non-vulnerable surface like a uh a tile or something like that and under observation at all times beyond that though if you treat them well they're actually very very safe uh like you have to really abuse them to make them catch fire so how do you choose a battery for your project well you have to consider the voltage you have to consider the capacity and you have to consider uh how much current it can put out what is discharge rate is because some motors will be very current hungry and you need a battery that will keep up otherwise it might explode so for example this battery is just a very cheap one on hobbyking this is a zippy compact 1000 milliamp hour three cell 25c lipo so what do those numbers mean well the three cell means it's got three separate cells in them and for lithium battery that means it's 11.1 volts total which is very close to the 12 volts of those gear motors which makes it a suitable battery for that voltage range uh then you have the capacity 1000 milliamp power or one uh modern amp hour that's how much power it can discharge over a period of time and then you have the c rating and that is how fast you can discharge the battery safely and if you exceed the c rating that's when things get a bit hairy and you can blow up packs or they can get puffy and that sort of thing and they won't last very long or they might catch fire you can figure out the discharge current by timing the c rating which is 25 c times the amp hour rating which here it's 1 000 milliamp which is 1 amp hour that machine discharges battery at 25 amps continuously till it needs to be recharged which is way higher than this little platform will ever do because remember those motors were like 2.1 amps at stall so they have to be all stalled and still it would be like 9 under 9 amps so very safely this battery can handle the current of this platform and uh in terms of your capacity you'll determine how long the platform will run for uh 1 000 milliamp hour is quite small but for something this small with very low current draw it still lasts for a very long time at least 20 minutes if you want to double the capacity you get double the run time etc and you can get humongous lithium polymer batteries if you want to run something all day if you like it's absolutely absolutely possible and obviously the larger capacity you get with the same c rating the higher current discharge you can pull out of it because of how that equation works lithium polymer batteries also can't be discharged to completely flat because that will destroy them and they won't recharge properly so i don't recommend driving these until your robot like can't move anymore um if you see it start getting a little bit sluggish then i would change packs and recharge there is some speed controls will have a load voltage cut off to protect your battery i generally don't bother with that but you can definitely get that if that's your kind of thing and then you'll need to recharge the lithium polymer batteries and you don't need to spend a lot of money doing it if you're using a small pack like this uh up to four cells you can use something like this which i highly recommend uh it's just a slow charger that uses the balance leads because it keeps the nervousness three cell keeps each uh cell balance which again is important for longevity uh this is a really cheap charger that just uses a 12 volt dc jack your 3d printer probably has one already and i just plug the battery in let it sit there and then it will charge slowly and then it beeps at me when it's done you can get very expensive much more advanced lithium polymer battery chargers which can charge much faster or if you have a much larger pack probably more important but for this sort of little thing one of these little charges is absolutely more than uh adequate okay so we have our platform with its gear motors we've got the speed controller and we've got the battery now we need to tell the whole thing what to do and this is where the remote control side comes in so again this platform is remote controlled i'm not talking about building autonomous robots in this video but you absolutely could get some sort of autonomous system and slap it in at this stage but this platform is remote controlled so i'm going to talk about remote controls you should check out so there is so many different remote control systems out there um what i do recommend is a transmitter like this which is a multi-protocol transmitter so that means it can communicate with receivers that are from different brands quite easily by just changing the protocol you don't you're not locked in to a certain brand and protocol of uh of transmitter and receiver and these are pretty cheap they're on banggood i'll have a link to all the stuff in the description below um the only thing i don't like is they're a bit kitty like a bit small when we're talking about remote control transmitters you need to think about how many channels you get and the form factor and if you can do on-board mixing and if that's important to you so for example with these uh this one has up to 12 you'll need a receiver that can receive 12 channels but for example how it works is you've got one two on one stick and then one two on the other stick then you've got all these little auxiliary like switches and dials for some sort of proportional or on off control which is transmitted to your receiver on your platform um and then you want to do something called mixing and mixing is important because this platform's like a tank each side has its own channel and we don't want to control it by you know one up and down is just one side moving and then left right shows the other side moving you want to make up and down have both sides go forwards and then left and right actually reverses them so it can spin on the spot like a tank and that's called v-tail mixing or tank mixing that sort of thing there's heaps of tutorials on different uh platforms on how to do it you can do it on this transmitter so i can recommend it but you can also buy something called a v-tail mixer which you can plug in between the receiver and your speed controllers to do it on board at a hardware level she ever remote control that's more like one of the remote control car ones which might only have two channels you can still use that using a hardware v-tail mixer by putting that in the robot platform itself i just recommend these because you get actually so much more flexibility and you can add things like a servo arm or lights or activate like a camera or all sorts of things and they're very cheap these days they're much more affordable than when i first got into combat robotics that's for sure in terms of the receiver again if you get like a multi-protocol remote control transmitter then you have heaps of options just look at what protocols it supports but this is like a great one that i know does work with the the transmitter i've shown and you get six channels of uh of um control here so that's more than enough for most robotics platforms i could imagine uh you need only two for the control of the drive system so something like this is great they're very cheap and uh i will grab a couple because they're pretty fragile and i often just put them in the row control builds i do and then just leave them in there and they join together through a system called binding so look at the manual for your transmitter to see how binding works it's generally a plug you put in and then you turn it on you can see it actually in the photo here you put it into one of the channels turn it on it'll flash and then you press a button on your transmitter and it binds together and long gone are the days of having like frequency crystals and stuff these systems all work on the 2.5 gigahertz frequency range and they're very reliable they have great range um it's just so they they work so much better than the old-fashioned days of having huge aerials and having to be like within meters of your platform there's also a lot of misc stuff that goes into these platforms one of them you'll need to get is the plugs these are xt60s if you have an ender three you're probably quite familiar with them and there's heaps of different variations now you can get xt 30s for like smaller platforms they'd probably be totally fine something like this or xt90s which are much larger for much bigger high current applications and there's also different like mounting options for example you've got like a mounting hole on this one so if you want to mount it to the frame you could so it would lock in place uh then you probably need lots of wire i recommend this sort of wet noodle stuff it's quite nice it's flexible uh not as durable to abrasion i suppose but much easier to route in a system uh then you'll also need some sort of switch i just choose a switch that can handle the current of your system at the voltage that you've used it's all fairly basic you'll be able to get it as you go along and you can adjust it and adapt it for whatever platform you're building this is something called a removable link you don't really need it for something like this but if you're doing a dangerous platform i recommend it this is like a secondary switch where if something goes out of control you have it uh accessible and you just yank it and it breaks the circuit so it's like a switch but it's like a emergency switch you can pull out to just stop all power which i do recommend for platforms that are large enough to cause any sort of damage like if this little thing drives into me it hurts a little bit but it's not a big deal if you have something that weighs 20 kilos and it chugs into your leg you might break an ankle so you might want something like this to stop an out of control system if something does go awry i do also recommend having some kind of light to show that the platform is on and live i just use some leds on the front of this one and they've got a resistor light soldered in and they uh go straight into the battery through the switch as well so again it's only 11.1 volts you can drop that down quite safely with a resistor just to show the whole platform's on um i often will do that to make sure you can see everything's on and live and you know when it's safe and when it's uh you gotta be careful with it alrighty so i'm gonna take this opportunity to go through my uh cad design for the wobbly wheel robot platform that you can find the links also in the description below to print out yourself and use it for whatever purpose you like you can use it for just directional platform you can add your own autonomous system to piggyback the speed controllers and control it autonomously you can add sensors cameras whatever you like i'm just going to go through the design process just quickly to show you what my sort of um thought process was so what i did is i designed it with the motor pods that snap into place and i did that because the gear motors that you find and select will probably be different to what i used because it's very i use surplus units as i showed you and it's very difficult to find motors sometimes so they actually snap into the frame here and use these little locking points to snap in and then those files have included a blank version of this motor mount so there's no cutout in the middle for the actual motor so whatever you choose for example if it's like 24 millimeters in diameter you can punch a 24 millimeter hole through this motor mount and it will suit your motor this design also has a lot of a lot of allocation for reinforcing so if the snapping points aren't durable enough for your application you can also put a nut in just a m5 nut and then what you can do is just run an m5 bolt into that nut um just like a little stubby one and it will give it a little bit more purchase and reinforcing and depending on your clearances the motor mounts are quite tight anyway but you can also put a nut and bolt through to clamp them down just a bit so the motors don't move at all during operation all the parts print really easily except the main body and i do apologize it's got a lot of complicated detail to it that just had to be there for the thing to work which means it does need support material and this is how i generally do it this is like 15 15 degrees overhang yeah so 15 degrees overhang support material automatically generated you could manipulate this so for example it's not necessarily needed in the holes that are horizontal but it is needed for the overhangs for the motor mount that clamps into place and it is needed for how the top cover bolts into place there's a little underside uh recess for a nut and the nut goes in there and then the it presses in and the top cover is secured with an m5 screw these details aren't necessarily required if you aren't designing something that has to bolt together and be securely contained so i've also included the the original fusion 360 model and the step file if you want to change these details such as just remove them or add a column so there's no support material necessary but i just like it because it gives you a lot of internal space uh so yeah as you can see wires take up a huge amount of space in these platforms when you're attaching everything join it all together it gives you a lot of wiggle room by having it overhang like that but if you want to modify it you totally can and uh the files uh allow you to do that all right so all your parts are arrived you're excited you've made your frame you're ready to put it all together now you have to wire it up this is and i'm going to give you a warning here the most tedious difficult part of the whole process if you get it wrong you can blow everything up if you get it right it's really really exhilarating and there's going to be a little bit of troubleshooting along the way but just take your time with it and you'll not have any issues so how do you wire up a platform like this well it looks like a nest of spaghetti but it's actually quite simple in theory the battery goes into your speed controllers then your speed control is output to your motors and your receiver connects to your speed controllers and your receiver will tell them what to do you also have a switch probably hopefully in line to turn things on and off and then a light so you know when the whole platform's on and off that's it but in practice to make it all joined together is a little bit more challenging so here's a wiring diagram i threw together on how this platform works the um the most difficult part i find is splitting the battery because each controller at least in this case i've got the two bot bits 30 amp controllers has its own power in so you need to get the battery and split it into two and it generally looks like something like this so it's not very neat but the battery goes in here and then it splits the wires into two and then one speed controller the other speed controller like that and then i have a switch which inter interrupts the positive side in this case going back to the battery it doesn't matter if it's on positive or negative as long as it interrupts that flow so you can turn the whole system off or on safely you will need to do some soldering to put this whole thing together even if you buy parts with plugs attached you'll still need to attach the switch and that and soldering is a critical maker skill so if you haven't done already then you need to check it out for something like this i recommend a 40 watt or higher soldering iron anything lower you can't get the heat into these components because again they're designed for high current draw generally which means they have a lot of a lot of metal to heat up and a uh it dissipates the heat very quickly so you need a higher power soldering iron instead of just sitting there with a low power one that just won't get to temperature won't melt the solder a natural actually will do more damage overall than something that's hotter quicker throughout this whole process you need to be really careful of polarity so that is your positive and negative terminal on your battery the red is positive and the black is negative you need to make sure this is plugged correctly into your speed controller as the positive goes to positive and negative goes to negative otherwise you will blow up your speed controller this only applies to the input the output of the speed control that goes to the motors you have to worry about polarity it just determines which direction the motor will spin in which direction you push the stick so if the motor is turning the direction that you don't want for example if you push the stick forwards and the robot's side goes backwards just reverse the output wires on that side of the speed controller but i can't say it enough get your polarity right from the battery into the speed controllers otherwise things will go boom your speed controllers plug into the receiver using a three pin plug it has ground positive and then a data pin which is either going to be white or maybe orange and just consult the manual for which alignment that is sometimes grounds facing outwards sometimes it's facing inwards they're all different just consult that they need to figure out what channel on the transmitter affects what on the receiver and sometimes it's not very intuitive consult the manual but often i'll just do trial and error here i'll plug the plug in to maybe one and two turn the system on when it's like off the ground and the motors can't touch anything and see what channel and transmitter moves what and then trial and error until i get the plugs in the right spot and then once you're happy with that make sure there's no exposed contacts make sure there's no things that will jam into the battery when you put the top cover down make sure it's all safe the battery's charged your transmitters charge and then go have fun because you have earned it it is a huge undertaking to build something like this so well done if you get something like this moving it's a huge accomplishment it's not something that many people can do so you deserve massive praise so i hope this video has given you a good primer into building remote controlled platforms it's a lot to take in yes you're going to spend a lot of time doing additional researching but i find it just so rewarding because once you have these parts yeah they are a fairly large investment not as much as they used to be but it is a fairly high cost endeavor to get started you can use them again and again and again in different things for example this um this is a remote controlled uh buy cylinder that has inside it this little mechanism i did that has counterweights that swing around the whole thing can move uh around in a weird way i did a video on it ages ago you can check out here uh this is this uses the same stuff it uses little row control gear motors with the electronic speed controllers and a tiny lithium polymer battery it's exactly the same concept just a different different implementation and if you want more like remote control weird stuff content and remote control combat robotics content then there's another one of my fellow aussies ben from team panic he's been doing ant weights using 3d printing and stuff like this for years and he uploads content really regularly and he has heaps of tutorials on how to do it so i'm going to link to him here as well so if you're going to get a bigger fix on crazy little rock control platforms like this definitely go check his platform out either way guys i hope you found this video useful and look forward to you again very shortly here on maker's mutes catch later guys bye
Up Next

14:26
Mastering Arduino millis() Function for Non-Blocking Code
@programmingelectronics
254.3K views•2019-04-18

12:54
Triumph of Orthodoxy Icon: Byzantine Art & History Explained
@BenCallan
2.1K views•2024-08-06
25:35
Fusion 360 Beginners Guide: Design & 3D Print a Maker Coin
@MakersMuse
271.9K views•2017-03-31

1:42
Game of Thrones Opening Credits: A Cinematic Analysis
@gameofthrones
46.3M views•2011-04-18
Related Study Plans & Knowledge Roadmaps
Structured learning paths in General & Interdisciplinary Studies
general-studies
Elevator Engineering: History, Physics & Cities
01From Hoists to Safety Brakes: The Dawn of Vertical Lift
02Hydraulic vs. Traction: The Engineering Physics of Elevators
03Modern Speed, Safety, and Algorithms
+ 2 more learning modules
12h5 modules
Explore Roadmap
general-studies
Rubber: Material Science, History & Geopolitics
01Origins of Natural Rubber & Mesoamerican History
02The Chemistry of Natural Rubber & Vulcanization
03The Geopolitics of the Rubber Boom & Colonization
+ 2 more learning modules
12h5 modules
Explore Roadmap
general-studies
Containerization: Evolution, Logistics & Trade
01Ancient Trade & Bulk Cargo: Amphorae to Barrels
02The Industrial Revolution & Cardboard Packaging
03The Containerization Revolution: Malcom McLean
+ 2 more learning modules
12h5 modules
Explore Roadmap
general-studies
Textile Tech: Evolution, Labor & Global Impact
01Pre-Industrial Textiles: Handloom & Cottage Industry
02Mechanization: The Spinning Jenny to the Power Loom
03The Factory System & Global Labor Transformation
+ 2 more learning modules
10h5 modules
Explore Roadmap