








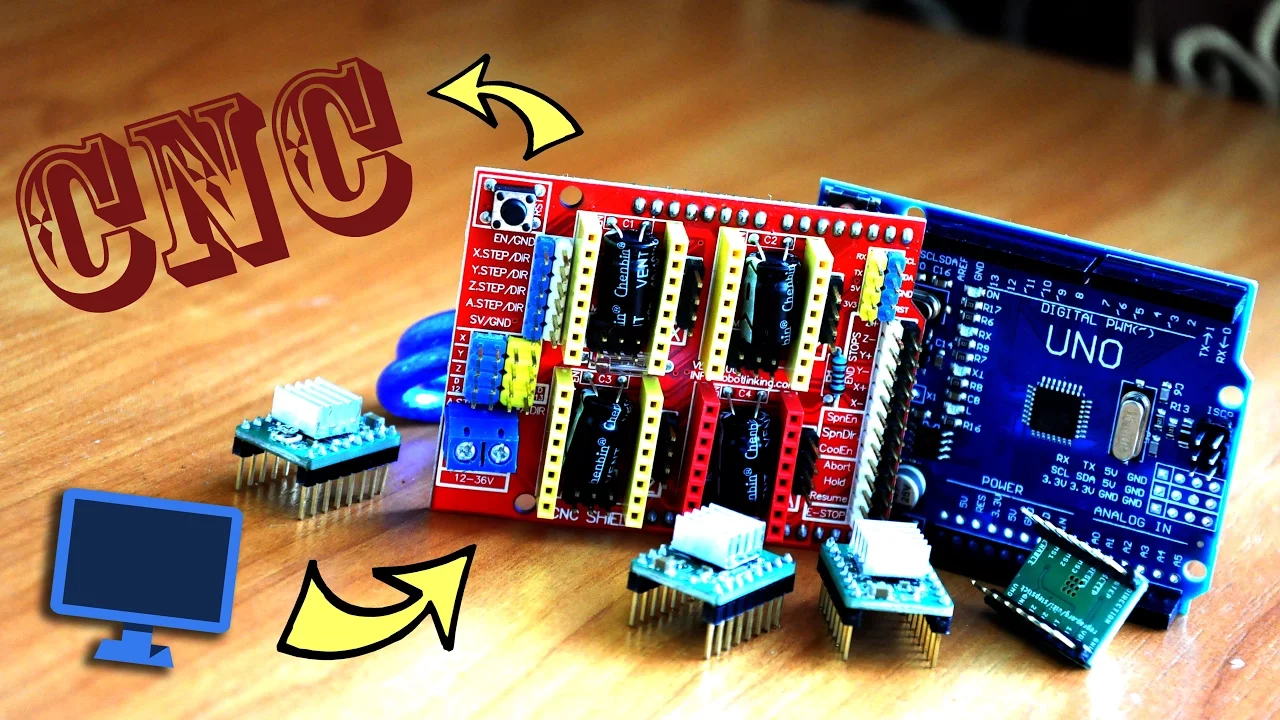
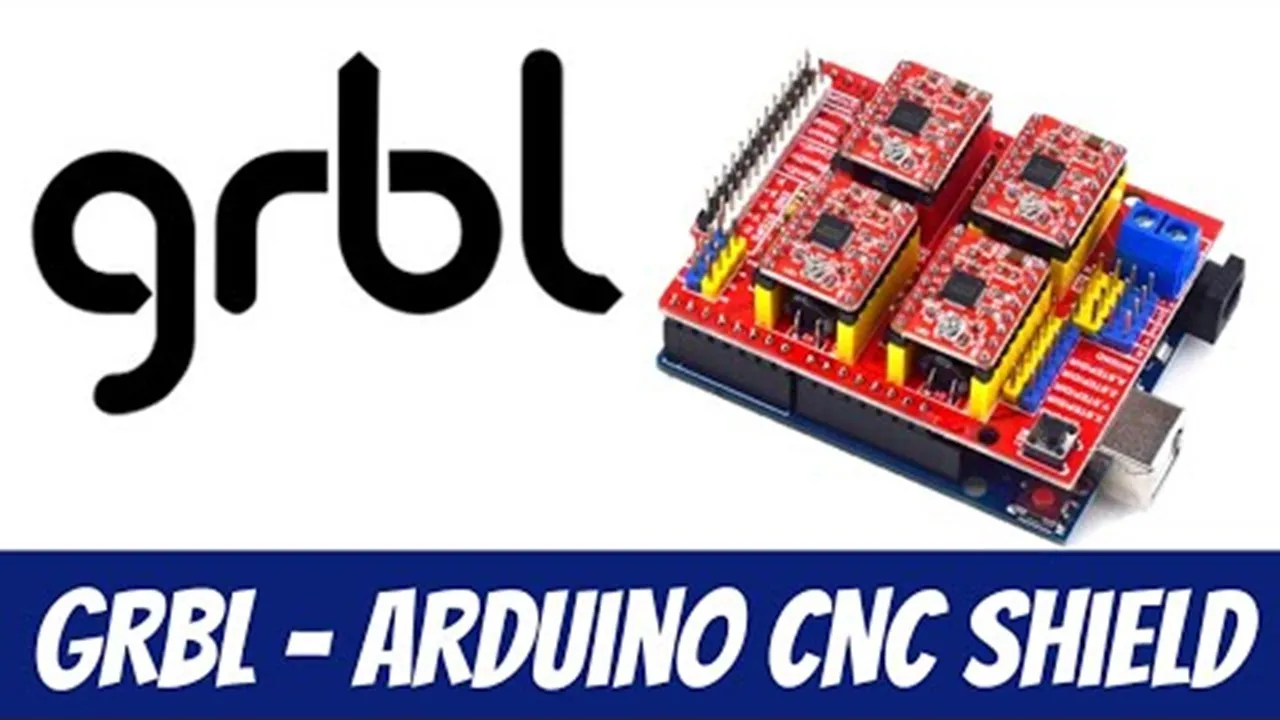


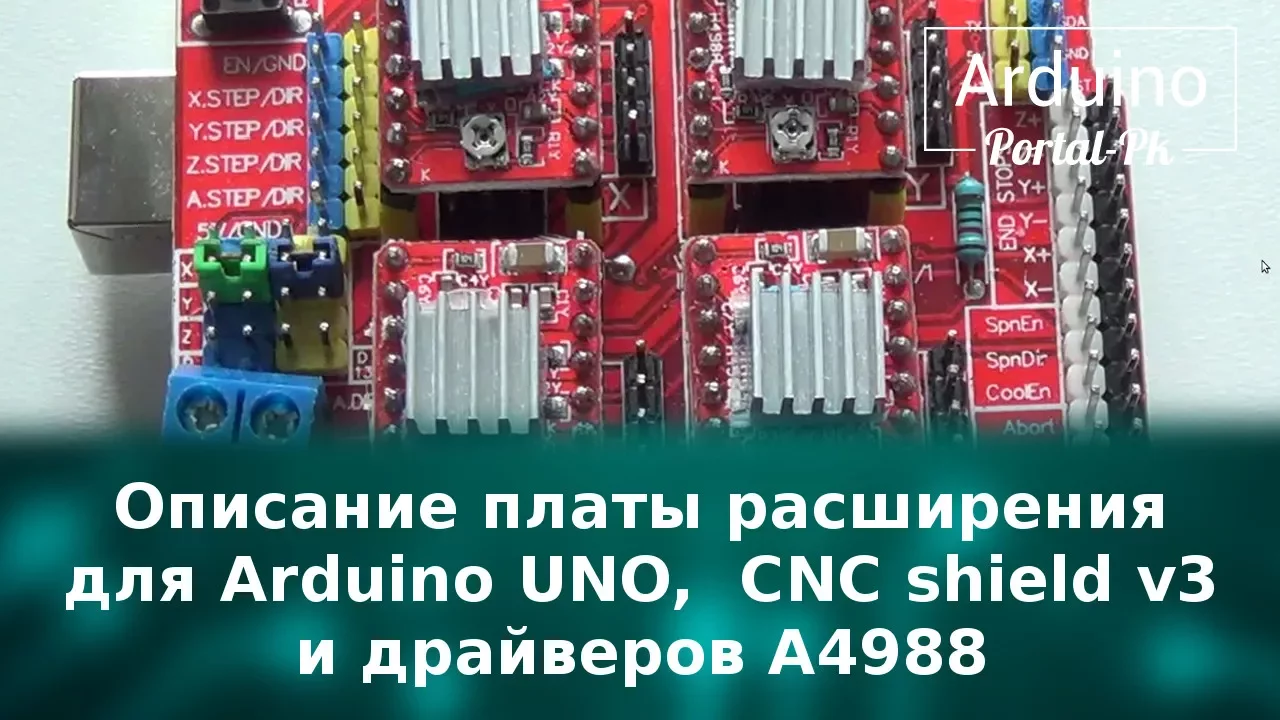





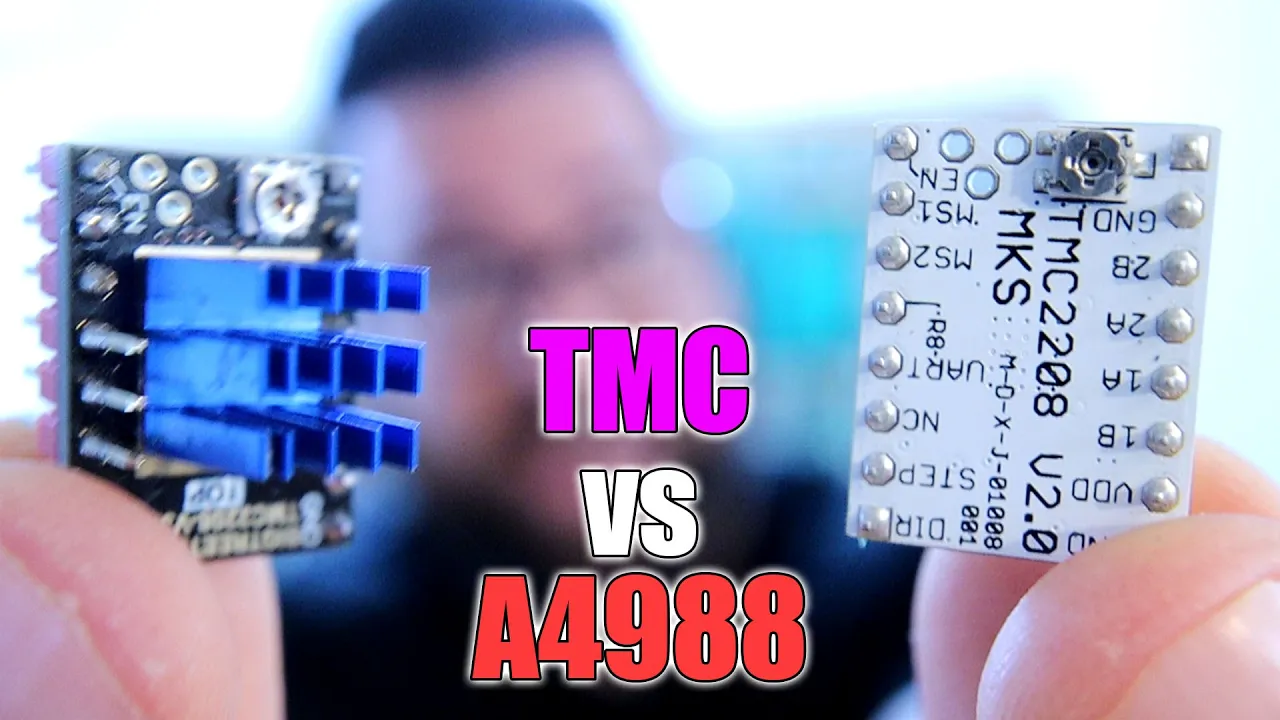


When building a DIY CNC machine using Arduino Uno with CNC Shield and DRV8825 stepper drivers, always ensure a stepper motor is connected to any driver socket before powering the board to prevent driver burnout; set the current potentiometer to zero before installation; replace the sticky thermal pad with Arctic Alumina thermal paste for reliable thermal management; and tune the current to approximately half the stepper motor's rated current before fine-tuning to the maximum safe level without triggering thermal shutdown.
CNC Shield Arduino UNO DRV8825: Setup Tips for Reliable Operation
Added:Basic electrical principles, including Ohm's Law (V=IR), power dissipation, and the difference between voltage and current limit settings.
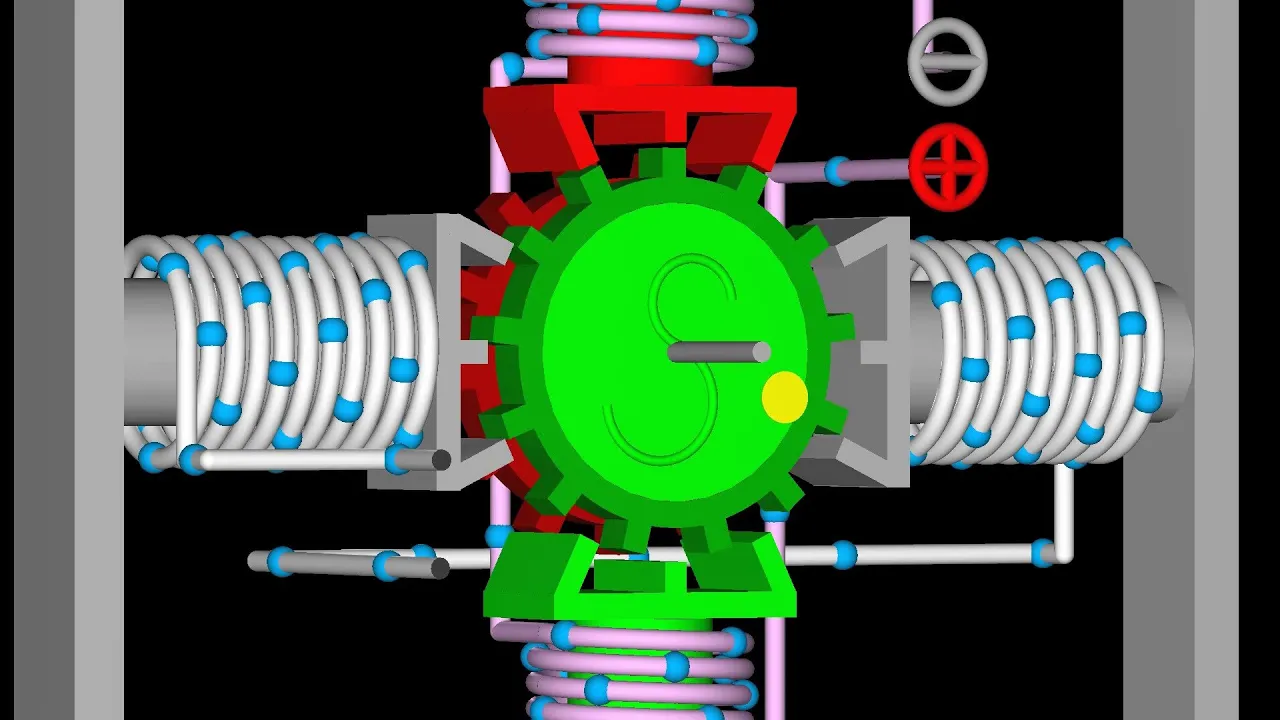
Fundamentals of bipolar stepper motor operation, including phases, steps per revolution, and how stepper motors hold torque.
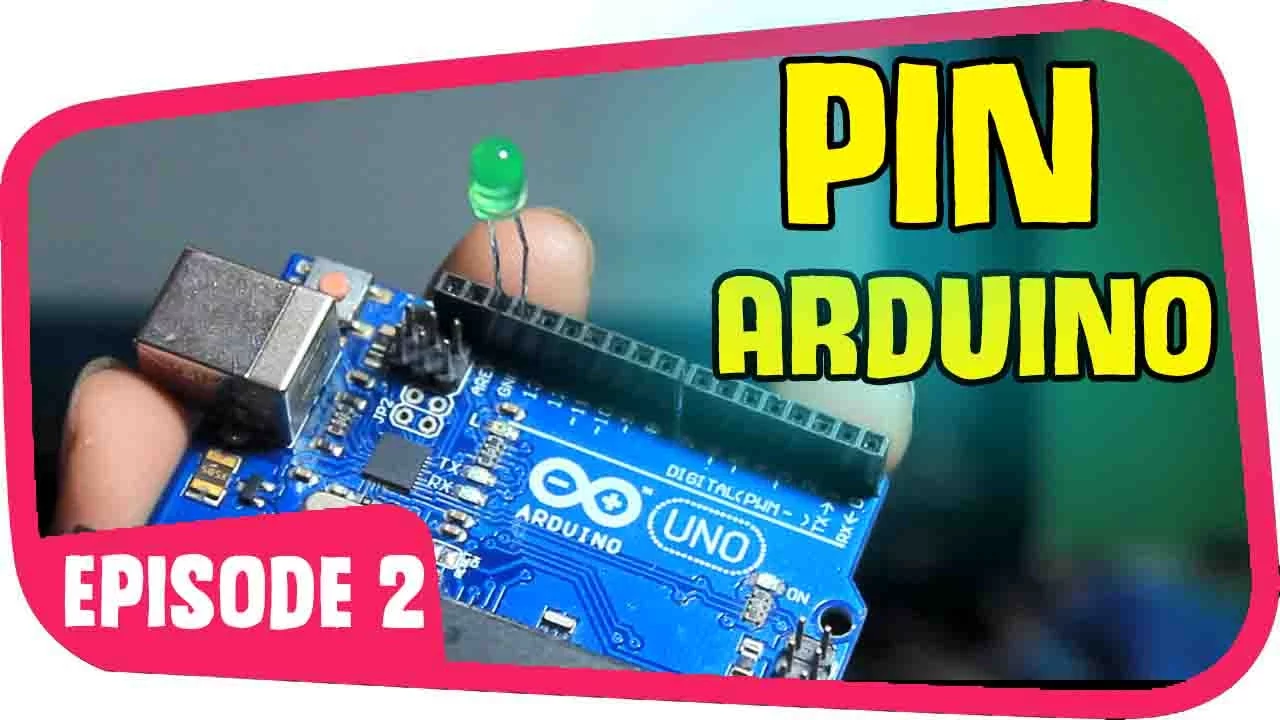
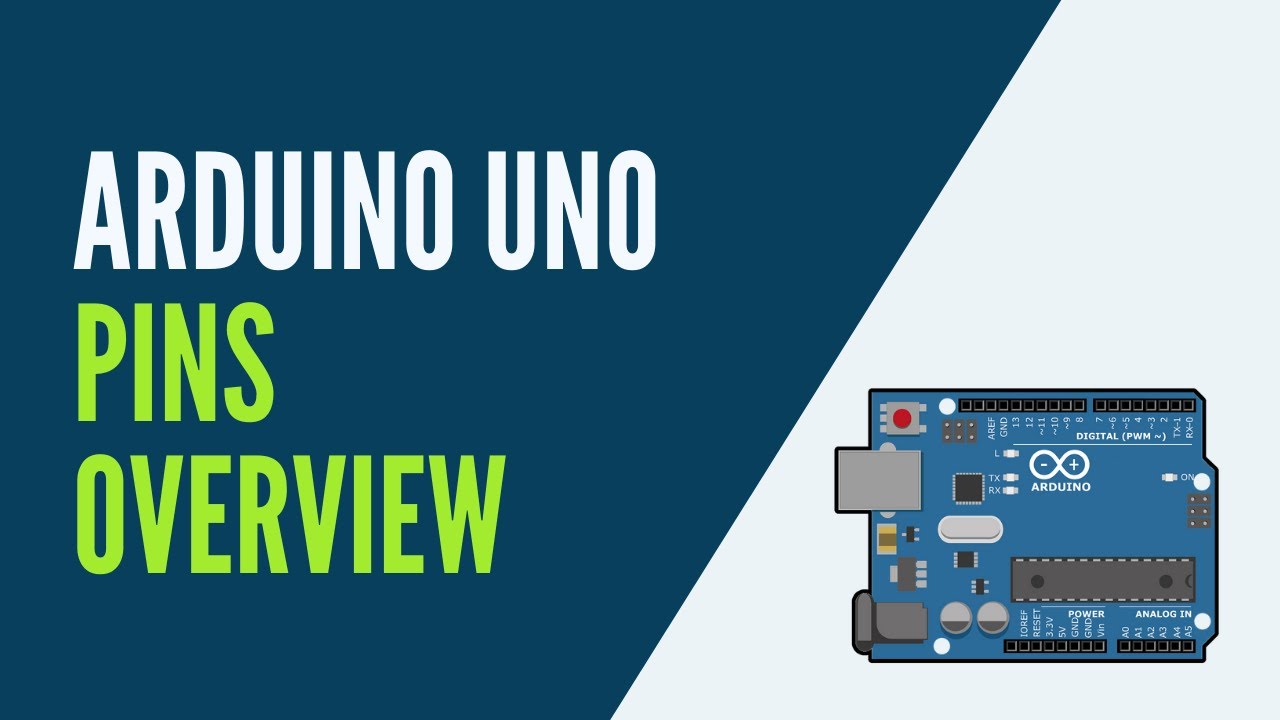
Familiarity with the Arduino UNO platform, including its pinout mapping, basic wiring practices, and how to upload firmware.
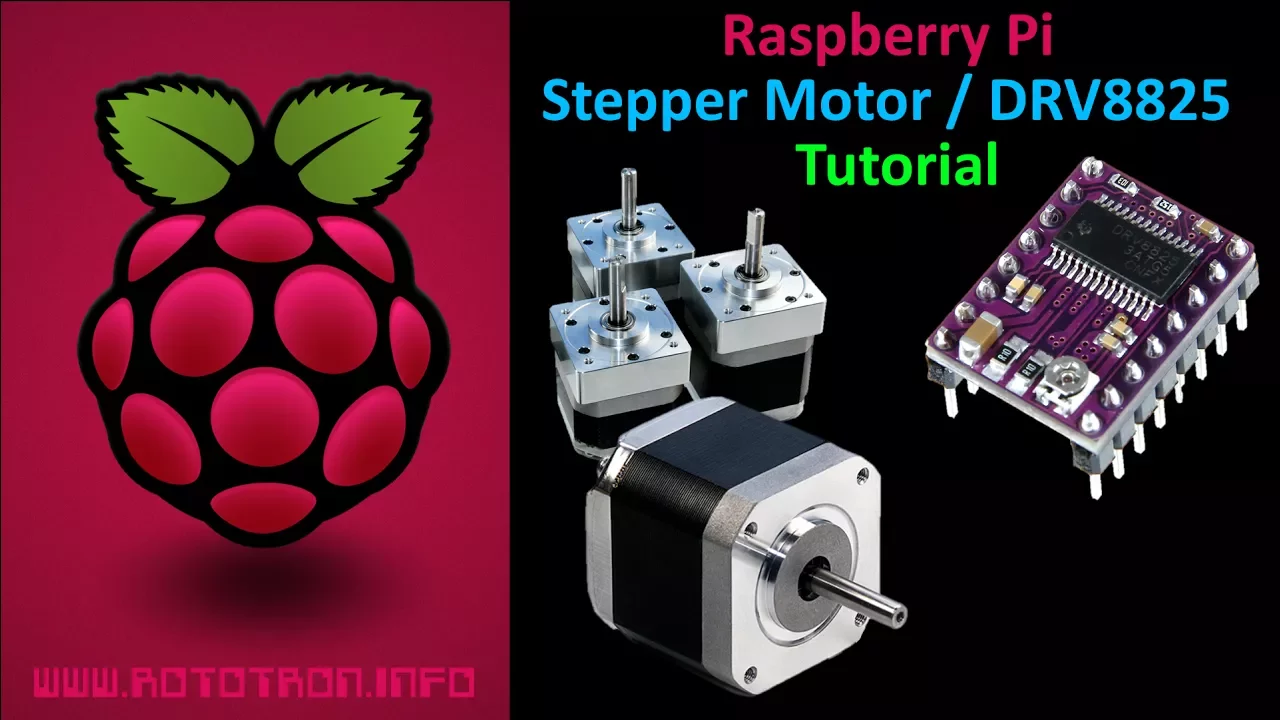
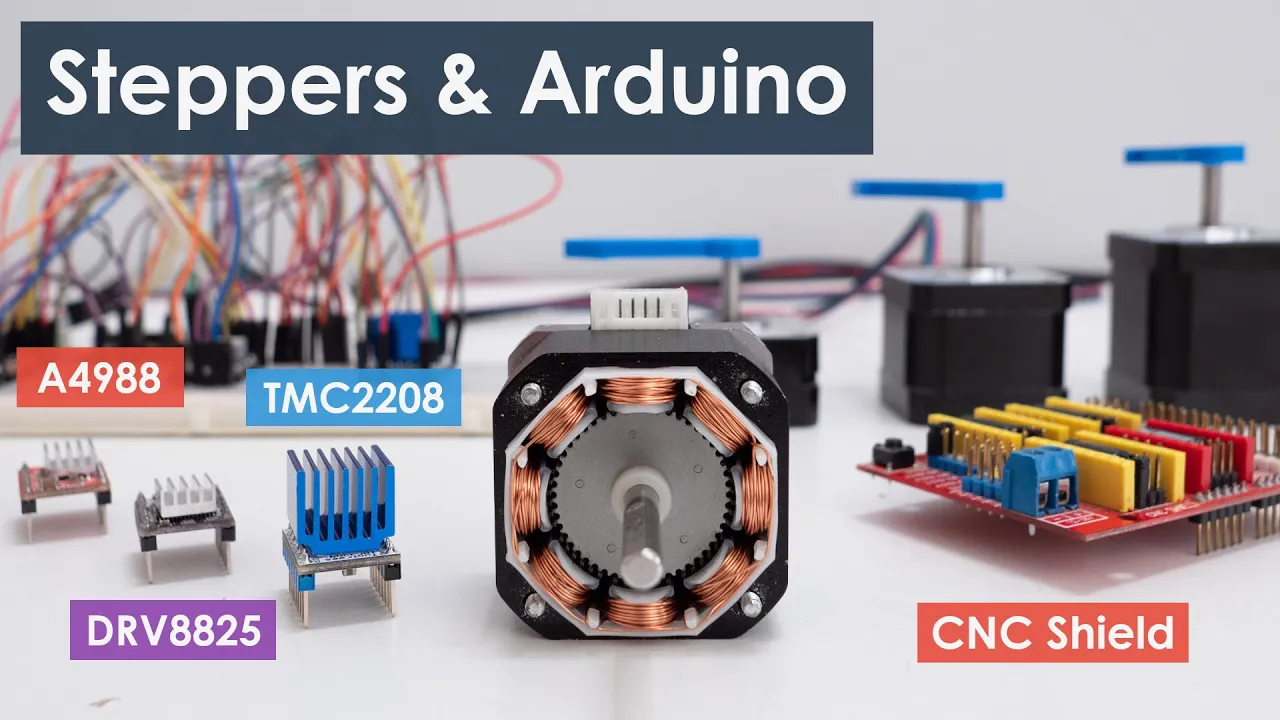
An understanding of the role of a dedicated stepper driver (like the DRV8825) in translating logical step/direction signals into high-power current pulses.
Flashing, configuring, and calibrating GRBL firmware parameters (such as steps/mm, acceleration, and maximum feed rates) for the Arduino.
Implementing safety features into the CNC Shield hardware, including limit switches (homing), emergency stops, and spindle/coolant control relays.
Mastering the CAD/CAM-to-machine workflow, from generating toolpaths in CAM software to streaming G-code via a sender utility.
Exploring advanced motor driver technologies, such as Trinamic (TMC) drivers for silent operation, or transitioning to closed-loop stepper systems for missed-step prevention.
159.2K views4Klikes8:02Original Release: 2020-02-27
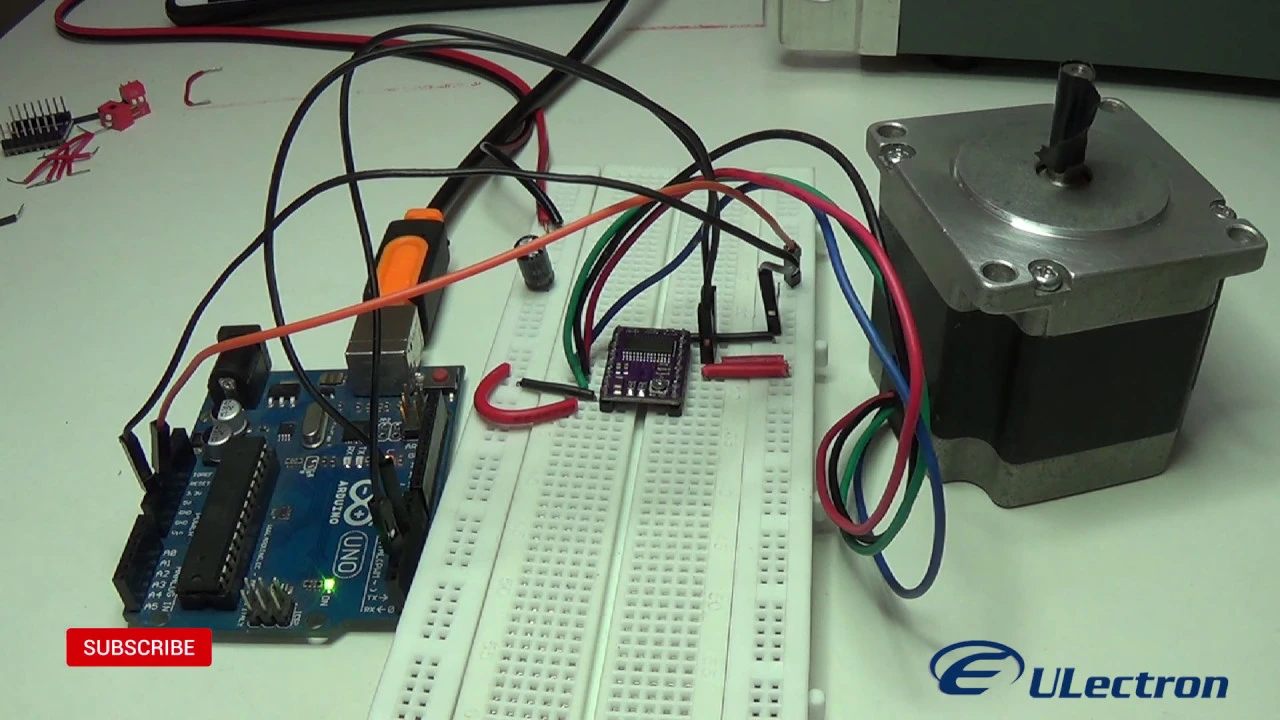
all right here good perfect hey everyone Joe here jtech customs hoping to save a few do-it-yourself CNC errs some headaches some money some wasted time etc etc all surrounding the very affordable option of using a Arduino Uno with CNC shield and drv8825 stepper drivers for their do-it-yourself CNC project I've built quite a few machines now all of which used this same configuration and I'll be honest the first time I burned out a few drivers I watched a CNC board smoke I wasted time I had to buy other parts again thankfully they were inexpensive but at the same time just a waste so recently I've seen quite a few posts especially on the C&C related groups on Facebook mostly surrounding problems that people are having with this setup and I feel like the tips I can provide today will prevent a bunch of that so let's just get to it number one most important rule in my opinion surrounding this setup is you can never supply power to the CNC shield when you have a stepper driver attached to a driver socket without having a stepper motor attached to the corresponding driver socket so example in case I need to spell it out for you if I take this ada25 chip and I were to put it here in the x-axis like so and I power this board on without connecting a stepper motor to that 4-pin connector here you might as well consider this driver is pretty much garbage instantaneously it will ramp up power there's no resistance from the motor this thing fries itself I'm serious almost immediately so don't let it happen to you make sure that if you supply power to this board at any point in time if you have a stepper driver in a slot you better have a stepper motor connected to that same location for that driver is toast alright next tip specifically regarding the stepper driver this drv8825 driver I highly advise that before you ever put a single driver onto the board you adjust the total current to zero and to do that you simply adjust this tiny little potentiometer right here turn that pot clockwise until it bottoms out all right so next tip your stepper drivers they come with a little heat sink and on the back of the heat sink is a sticky back thermal pad remove the sticky back stick it to the chip and away you go yeah not so much the first machine I built I just repeatedly battled the inability to send full rated current for my stepper motors which at the time were NEMA 23 s with this sticky back solution so while while approaching the rated current I would repeatedly hear the stepper motors shutting down due to the chip turning off thermal shutdown okay I have since learned to remove the thermal pad completely with a razor knife and use a small amount of a product called Arctic alumina I'm sure there's others out there it's a two-part mix dries in five minutes it's super easy I feel like it allows me to send the current without the need to have fans blowing all over the surface of my hardware and it reliably allows me to send that current without thermal shutdown so let me show you how we do that this is the Arctic alumina product that I mentioned previously two-part mix five-minute cure time it's a one-to-one mixture so I simply make two lines of roughly even lengths right out of the tube you you can see a little bit of the thermal paste squeezed out from underneath the heatsink but don't be alarmed the product is not electrically conductive therefore if it touches other components it won't cause any issues all right so last tip you should now have a drv8825 driver we're ready to go it's set to zero in terms of current the heatsink is properly installed with a nice thermal paste so you know it's going to do the job properly it's time to install it to the board connect a stepper power it all on and then tune the amount of current based on the allowed current rating for the stepper itself so let's go ahead and get to it all right so here I have my CNC shield an Arduino Uno stack ready to go the stack is powered on via the 12-volt power supply in my case and I also have it connected to my laptop I'm going to go ahead and touch the negative side of the terminal block with the negative lead on my multimeter and of course I'm going to touch the positive end which you can see I have attached to a screwdriver here over on to the pot on the given driver that will be adjusting I have a connected via that little extra whip so that I can adjust and see the results at the same time on the multimeter I'm gonna go ahead and begin turning counterclockwise and immediately you see the current is increasing and now I'm simply going to set it for what will be about half of the allowed current rating for the stepper the stepper I'm using in this example is a NEMA 17 with a 1.7 amp rating so I'm gonna safely go a little bit lower target 1.5 amps which means this number that I'm hitting will be 0.75 once you have a great starting point you can then tweak it to get the maximum amount possible without letting the driver board go into thermal shutdown mode you
Up Next
28:10
4xiDraw Clone Building Tutorial: Plotter Assembly & G-Code Setup
@TheMiguelBi
198.8K views•2017-06-26

30:32
Ultrasonic Transducers: Resonant Frequency Measurement and Horn Design
@imajeenyus42
229.9K views•2017-02-22

54:16
Polymer Environmental Degradation: Mechanisms & Stabilization
@iit
1.8K views•2012-07-10

33:39
How a Student's Question Saved a NYC Skyscraper from Collapse
@veritasium
22.8M views•2025-04-26
Related Study Plans & Knowledge Roadmaps
Structured learning paths in Engineering
engineering
Building Acoustic Levitators: Physics & Arduino
01The Physics of Sound and Standing Waves
02Piezoelectric Transducers and H-Bridge Drivers
03Arduino Programming: Generating 40 kHz Signals
+ 2 more learning modules
14h5 modules
Explore Roadmap
engineering
Building Peltier Cloud Chambers: Particle Tracks
01Cosmic Rays & Cloud Chamber Physics
02Thermoelectric Cooling (TEC) Fundamentals
03Custom Liquid-Cooling Loop Design
+ 2 more learning modules
18h5 modules
Explore Roadmap
engineering
Yagi-Uda Antennas: Modeling, Build & VNA Test
01Introduction to RF and Antenna Fundamentals
02Yagi-Uda Antenna Design Principles
03Antenna Modeling and Simulation in 4NEC2
+ 2 more learning modules
18h5 modules
Explore Roadmap
engineering
ECG Monitor Design: Op-Amps, Filters & Noise
01Electronics & Breadboard Basics
02Op-Amps and Instrumentation Amplifiers
03Bioelectricity and ECG Fundamentals
+ 2 more learning modules
18h5 modules
Explore Roadmap