
![[Lập trình nhúng Arduino] Bài 1: Cách nạp Code vào Arduino Uno](https://i.ytimg.com/vi/zP_jauUvbLc/maxresdefault.jpg)



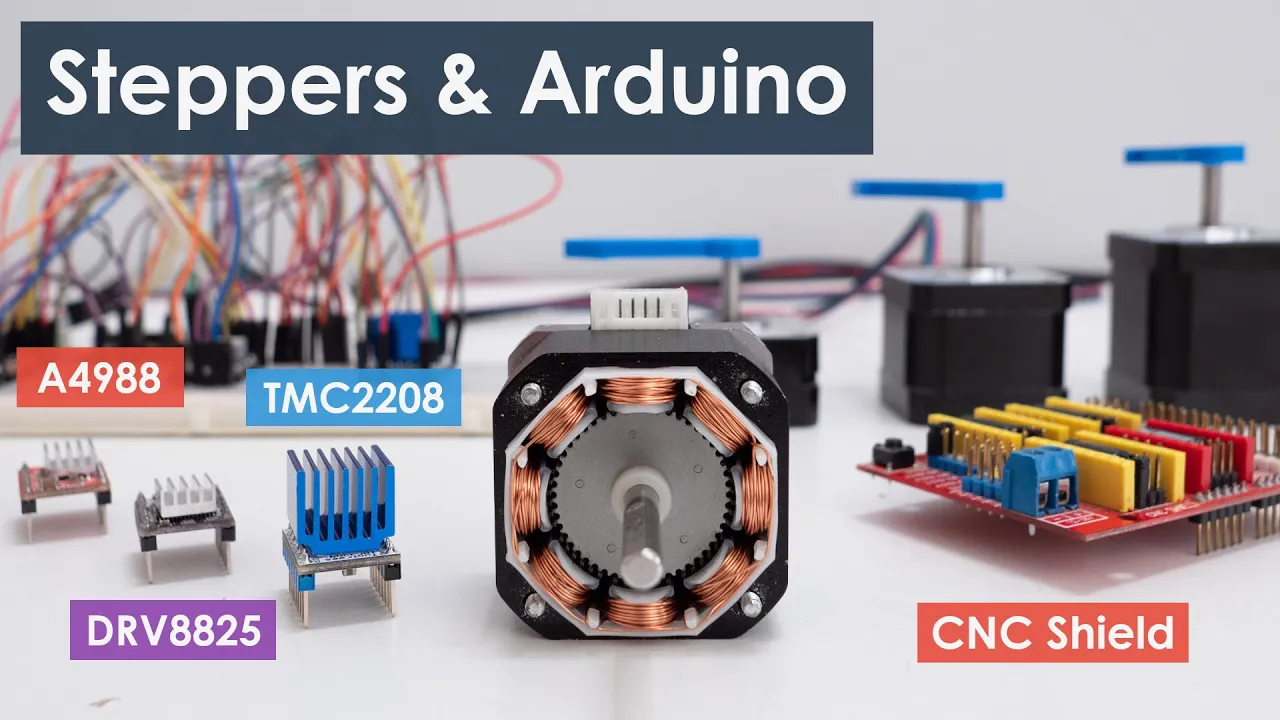

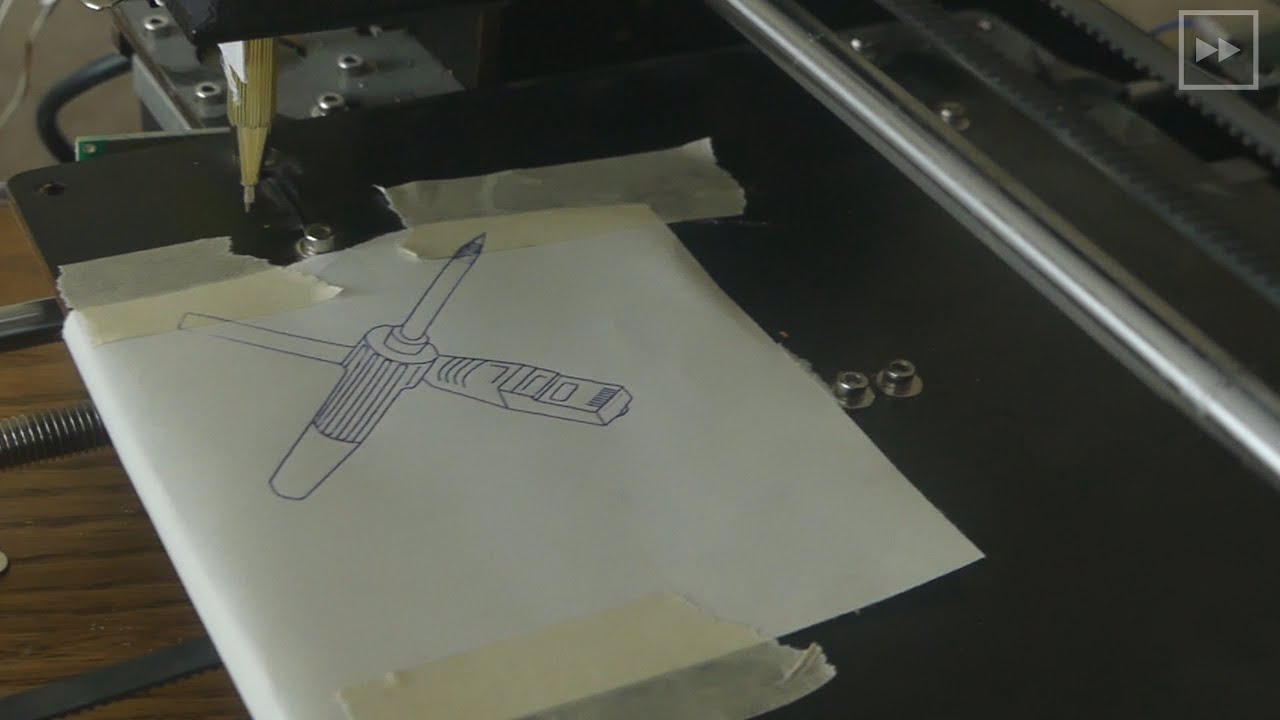








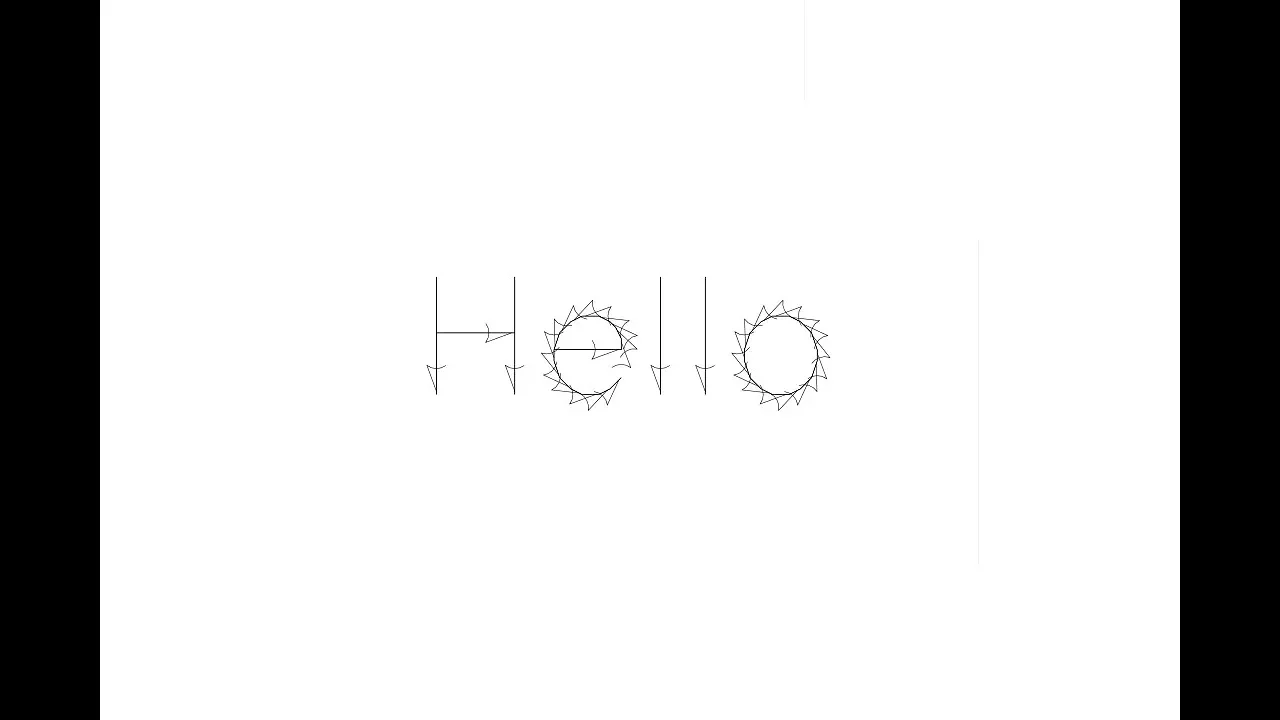


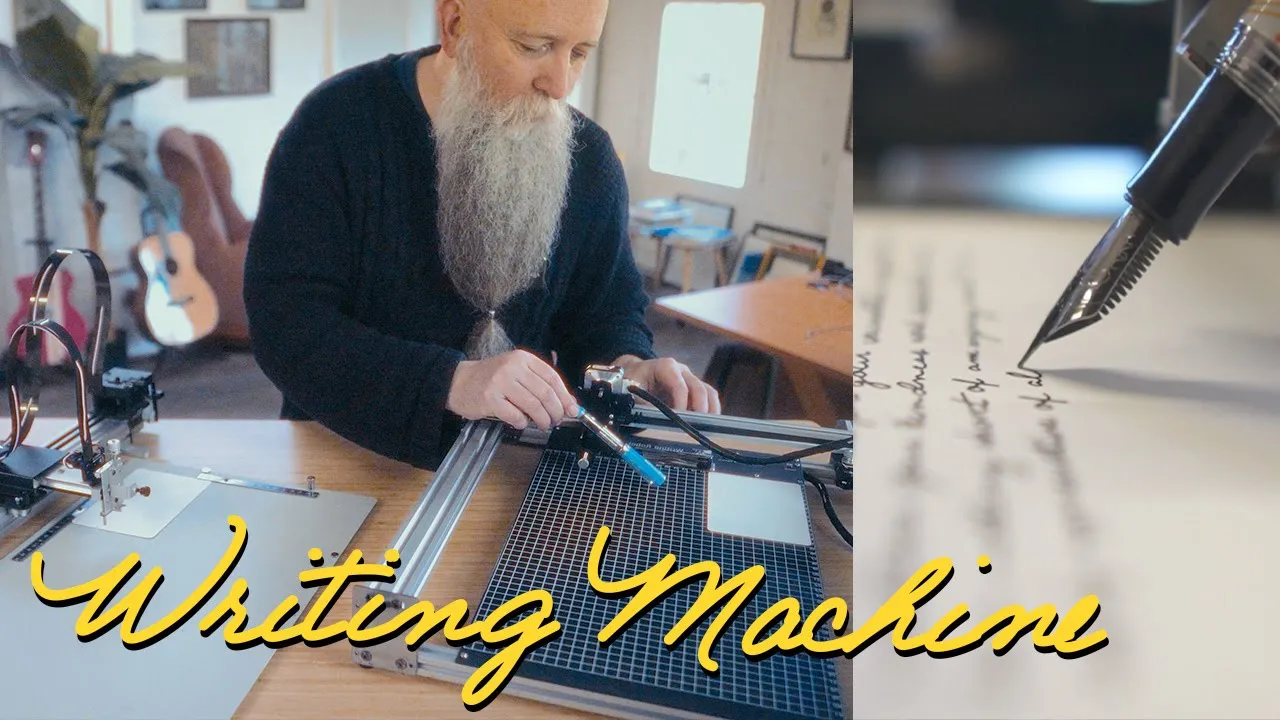
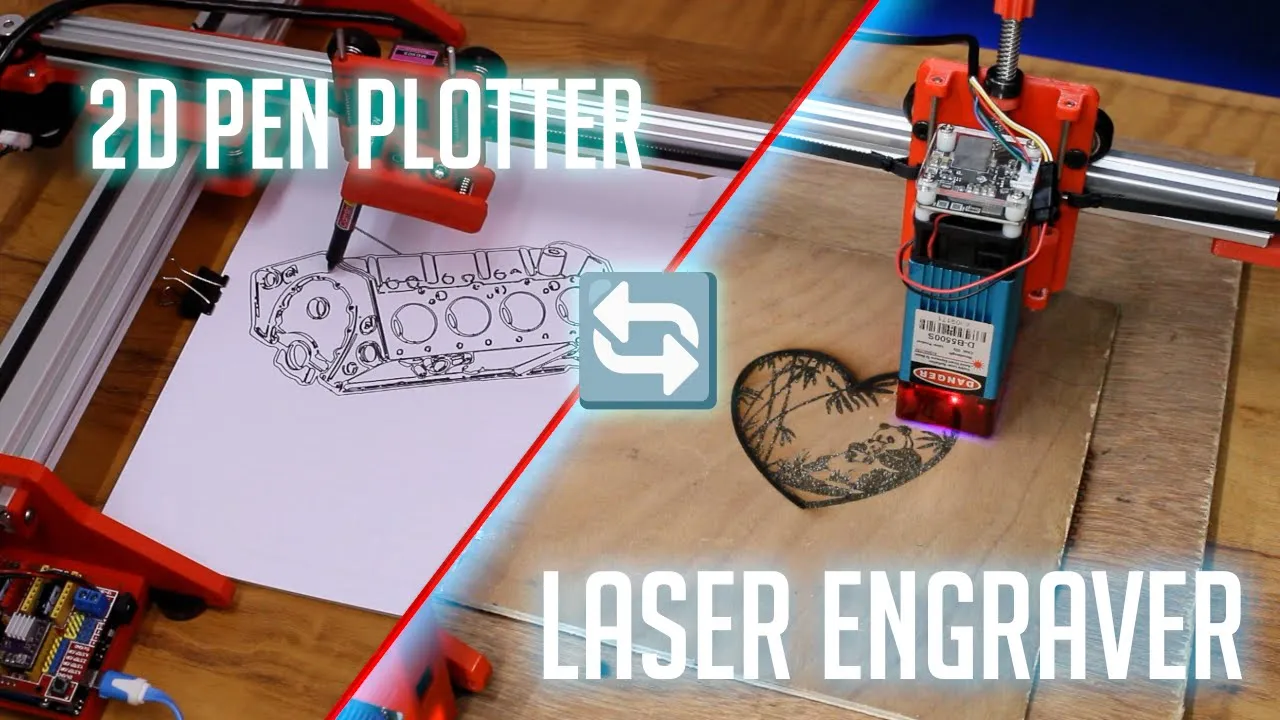

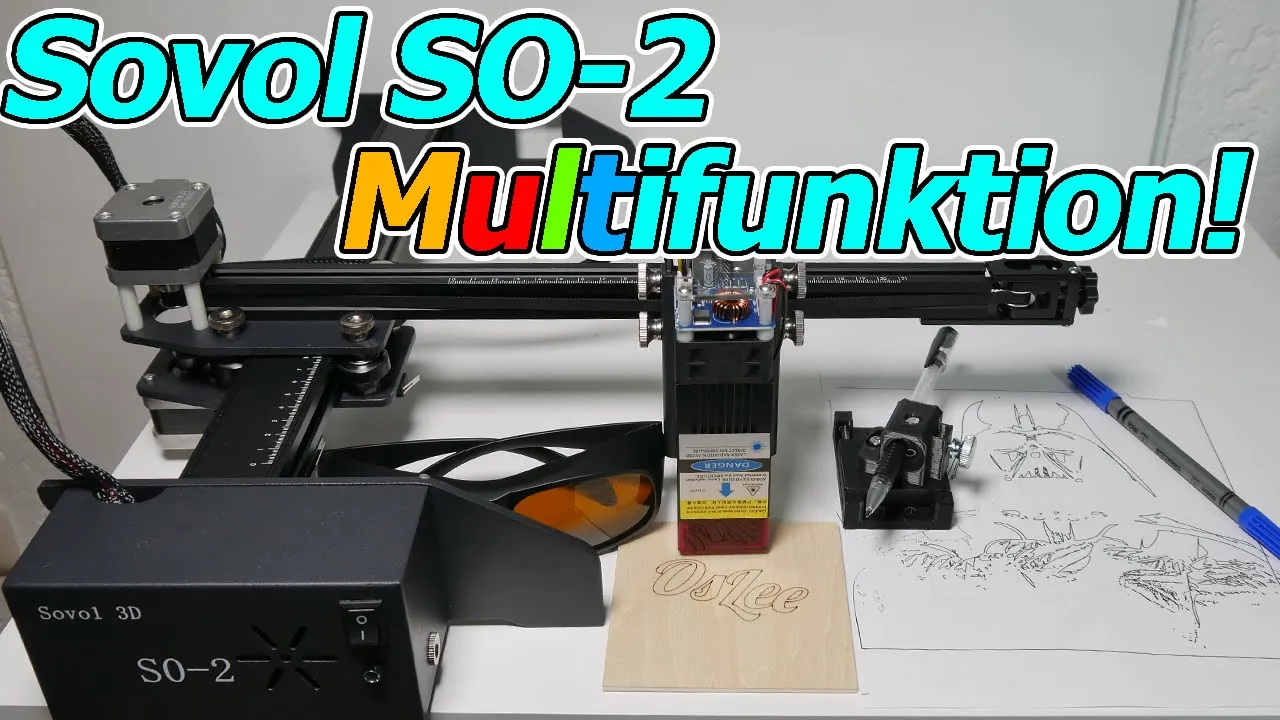



A DIY XY plotter (drawing machine) can be built using two NEMA 17 stepper motors, a single GT2 belt, and an Arduino Uno with GRBL firmware, where the GRBL software is modified to control a servo motor for pen tilting, and G-Code files are generated from vector graphics using Inkscape with a specialized plugin, then sent to the plotter via Universal G-Code Sender for precise drawing operations.
4xiDraw Clone Building Tutorial: Plotter Assembly & G-Code Setup
Added:Fundamentals of microcontroller programming, specifically using the Arduino IDE to upload firmware to an Arduino Uno.
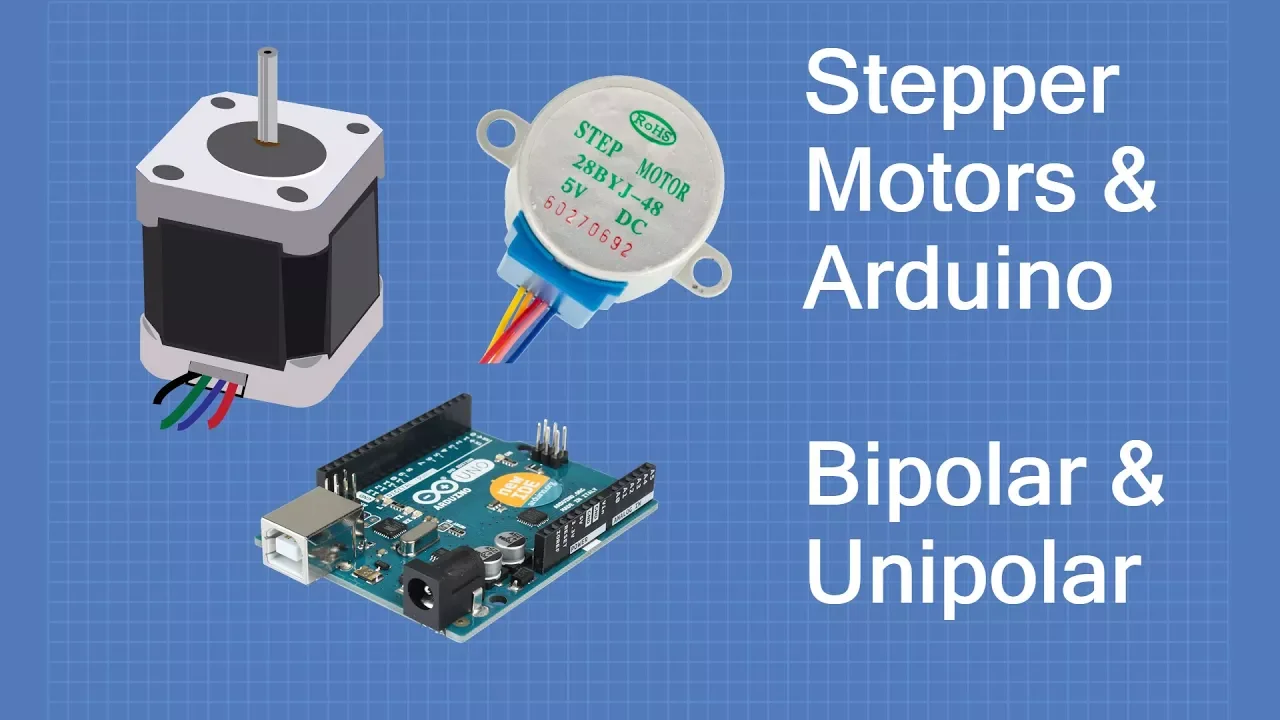
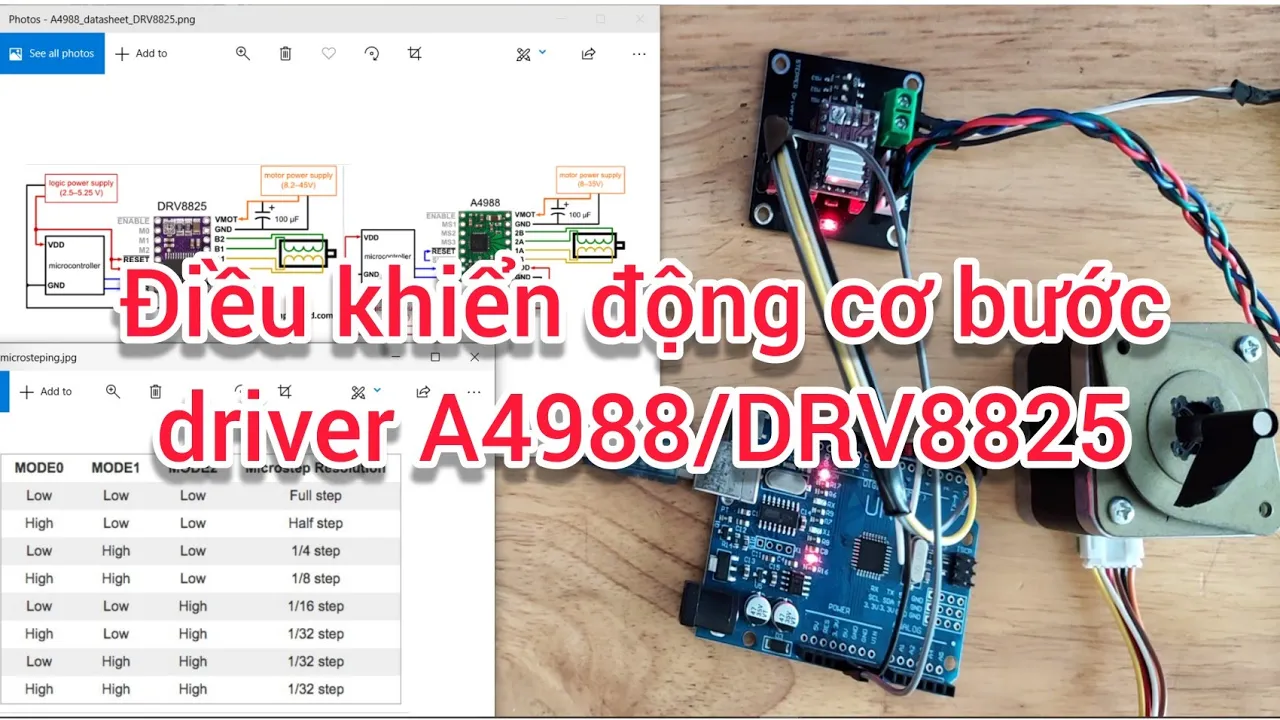
Basic understanding of stepper motors, motor drivers (such as the A4988 or DRV8825), and how they translate electrical pulses into precise mechanical movement.
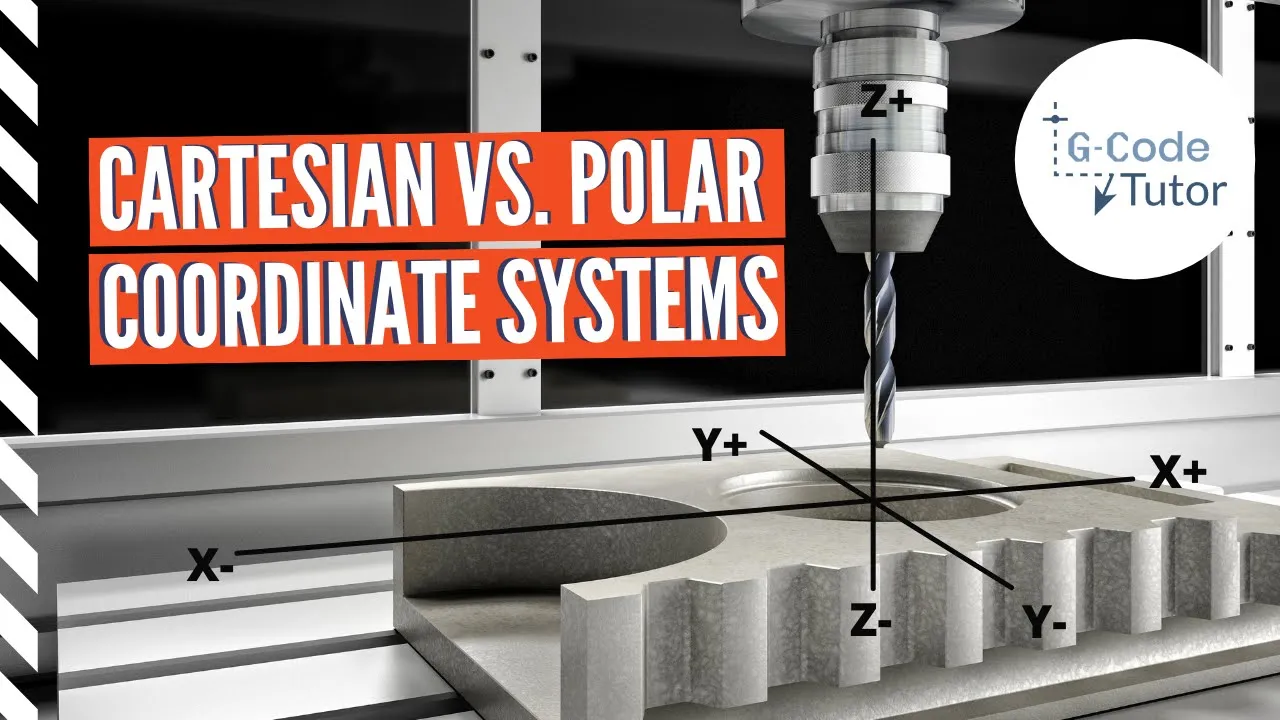
Introduction to the Cartesian coordinate system (X, Y, Z axes) and the foundational concept of G-code as a machine control language.
Familiarity with vector graphics basics, such as paths, strokes, and fills, which are essential for generating machine-readable paths in Inkscape.
Calibration and fine-tuning of GRBL firmware parameters, including adjusting steps/mm, acceleration rates, and maximum velocity to prevent motor stalling.
Advanced G-code generation and vector optimization techniques, such as using single-stroke (Hershey) fonts and path-sorting algorithms to reduce plotting time.
Hardware expansion and modification, such as retrofitting the plotter pen mechanism with a low-power laser diode for engraving wood or paper.
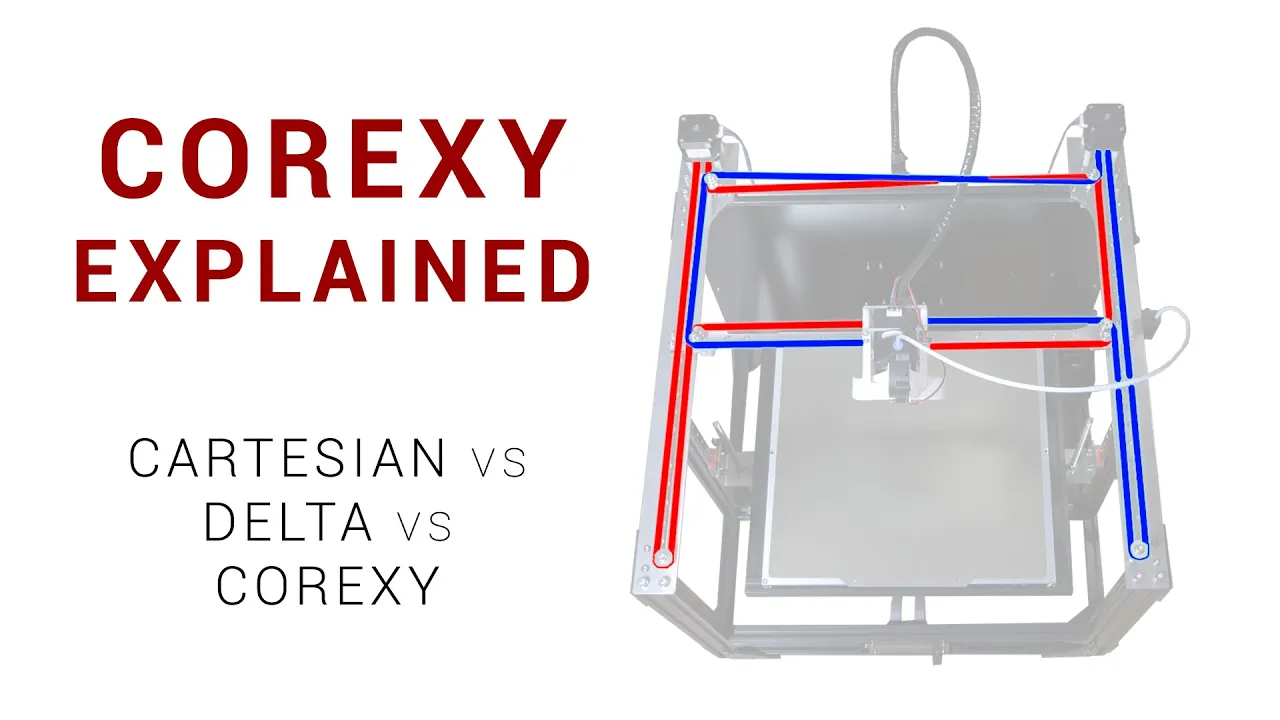
Exploring advanced machine kinematics, including the mathematical differences between Cartesian, CoreXY, and Delta mechanics, as a stepping stone to building 3D printers or CNC routers.
198.8K views2.7Klikes28:10Original Release: 2017-06-26
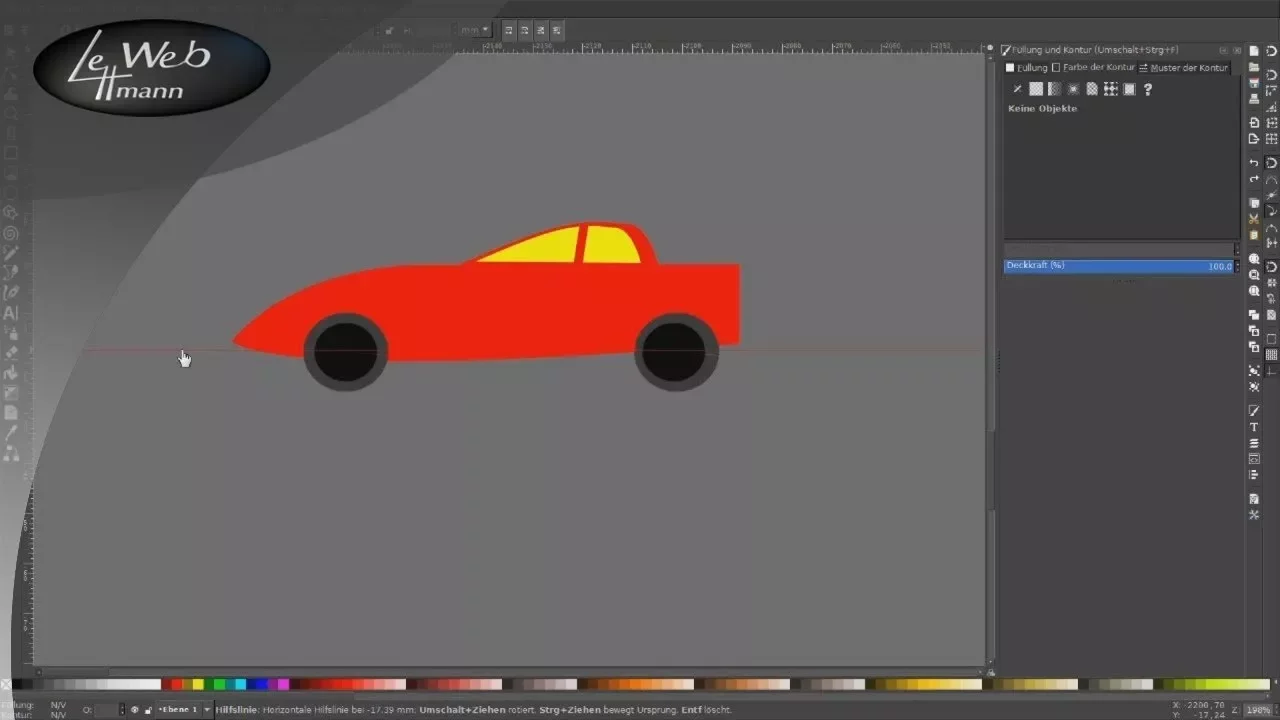
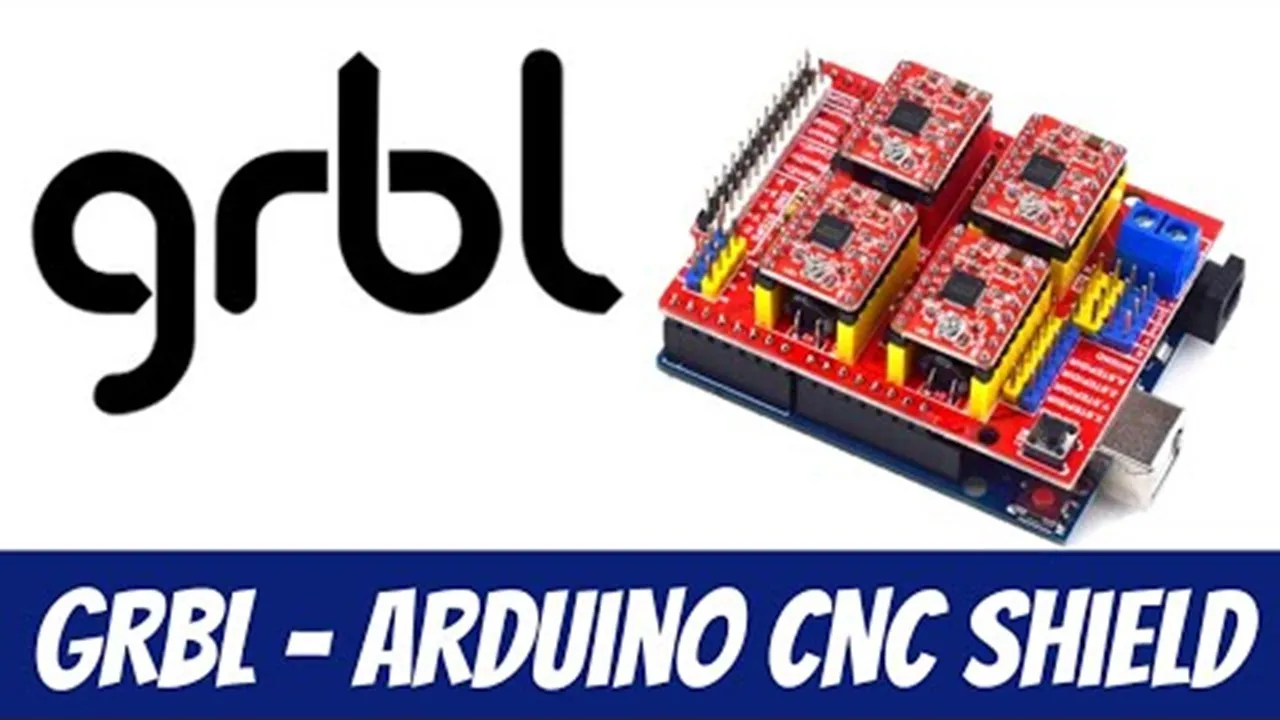
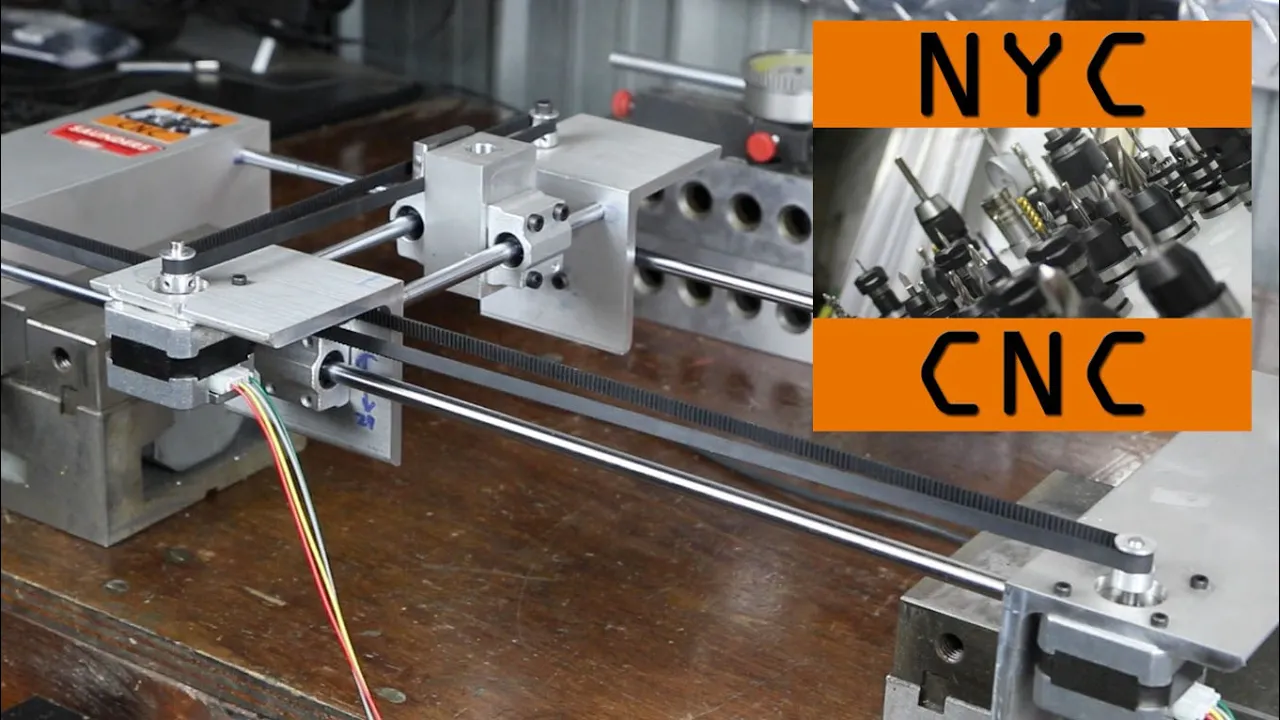
hi everyone in this video we will create a drawing [Music] machine this fantastic plotter can ride on any flat surface or almost it can use any pencil Balo pen and even pen Fountain having the ability to tilt the pen it is a new version of an XY plotter using a single belt and two stepper Motors in a configuration called hpot I saw demonst rtion video for the first time and I immediately wanted to have one thanks to manen's work I started printing plastic parts in 3D searching the web I later found a shop where to find the hardware parts and I just got to work let's see what's needed follow me I bought all the hardware at thingy box inside there is a letter informing us of manual packaging and therefore in case you miss something to contact them to resolve the problem you can find the 3D Parts in the video link description we will therefore need two Nea 17 stepper 4 8 mm smooth rods 2 400 MM long and 2 320 mm long 8 lm8 U two 20 to GT2 pulley 10 f623 ZZ bearings one micro Servo sg90 plus a 250 mm cable extender one Arduino one CNC Shield two poo step sticks one GT2 belt 1.4 M long two M10 threaded rods 400 MM long each 8 M10 knots 8 30 mm emp3 screws with nuts 8 6 mm emp3 screws 4 16 mm M3 screws with nuts 2 15 mm M3 screws four M3 washers two 4 mm OD 100 mm long carbon fiber tubes one 12 v6a power supply One USB cable one felt tip pen or many for more fun think box also shipped other accessories thank you good assemble everything in 20 easy steps one slide two lm8 uu in each of the two long longest smooth rods two Slide the rugs into the motor pieces one on each side leave an extra 20 mm of the rugs in one of the two sides protruding from the part towards the motor this will later be used for supporting the Arduino holder three insert the M10 treaded rods so each one supports one side of the motor supporting pieces using a nut on each side total 8 and 10 knuts four Mount the Nema 17 stepper Motors on the two big plastic parts using 8 cubic meters screws 8 mm long five insert 8 cubic M nuts into the nut hold in the bottom squared carriage and place it supporting The lm8 UU linear bearings you inserted in the long smooth rods already installed six take the remaining shorter two smooth rods and insert two lm8 uu linear bearings on each one of them seven insert the 2 ND Parts on each end of the pair of smooth rods now you have the second axis done eight insert the top square Carriage over the four linear bearings of the shorter smooth rods nine insert four m3030 mm long screws in the four Central holes of the top square Carriage put the carriage upside down carefully so the head of the screws will lay on the table and the screws will Point upward 10 insert one of six 123 ZZ bearing with the flange down next an M3 washer and finally another bearing but now with the flange up into each one of the four screws of the top square Carriage 11 use a posted or a similar size piece of paper to press it against each one of the screws protruding soap paper is perforated and is pressing against the top of the bearings the goal is for this paper to hold them in place while we put the whole thing upside down preventing the bearings to fall off 12 place the top Carriage over the bottom Carriage so the smooth rods on the top form a right angle with the bottom smooth rods 13 screw lightly each one of the four M3 screws and once you notice each one is attached to the nut in the bottom tier of the posted paper apart next finish tightening the screws and add the other four cubic m 30 mm screws that do not have a bearing but add strength to the union of top and bottom parts of the carriage 14 Place one GT2 pulley on each steper motor but do not tighten the grub H yet 15 place a pair of f623 ZZ bearings with an M3 washer in between fixed with an M3 screw in the end Y part that will supports the servo part 16 insert the belt all along its path The Crossings of the central Carriage are a bit tricky and once pulleys are aligned with the Bell tight and the grub screws on each one 17 use two m three screws and Two Nuts to attach the servo support part and later add the micro sio using the two screws that come with it 18 using a couple of M3 screws and nuts fix the pen holder Park to the vertical carriage 19 make sure the vertical two holes in the servo support part are 4 mm diameter and that the carbon fiber tubes can be inserted into them if not drill the holes with a 4 mm drill bit insert both tubes from the top but only Midway and next insert from the top the vertical Carriage the one that looks like a smiling face gently push it down till you can insert the remaining half of the carbon fiber tubes so they are inserted into the bottom holes of this Carriage 20 Push the Arduino holder into the protruding smooth rods on one of the steeper motor holders use a couple of M3 screws to attach the Arduino board to the plastic holder compliments the mechanical part is over now we'll see the software part and finally we will see the part about the wiring we open the I struble page and we look for menax a draw let's go to the third step load uo firmware and we download this version grbl modified to be able to use a Servo motor this will be its content while explaining how to vary the move of the servo motor within this file you can change the program the servo motor will be connected to the Arduino pin called d11 and you will use the M3 commands to move the servo motor from 0 to 180° where XXX can be a numeric value from 0 to 255 steps four shows an extra harness to give more Force to the servo motor missan recommends connecting a piece of cable from the positive pole of the terminal strip to the pin of the V and of Arduino as you are seeing from the photo steep f five computer software first we would need a special plugin for icape with icape we will create the g code starting with an image to install this plugin we will follow the step-by-step disc description of the page we will also need to download python exactly the 32-bit version 279 let's download the zip now we open the python page and download the version shown [Music] the next and last step is to download code sender a Java program which will allow you to send our code directly to our plotter Universal g code sender and download the latest stable version as mentioned above for the latter program you will need to have a recent version of java installed on your PC so let's go get it once the universal g code Center has been opened some parameters will need to be modified in order to obtain correct calibration of the X and Y AIS displacements by typing dollar sign dollar sign the list will be displayed with its grbl parameters parameter and 101 will be to be varied we wait for the download deadline and thank Manan for the great work he has done very well let's start with the installation the first step is to send it to Arduino Rano the program grbl plus Servo M to do this we need the latest version of uino wide if you do not already own it go to Arduino CC and retrieve [Music] it once you open Arduino wide let's go to sketch and click on include library next add library from dotzip here we will highlight the library grbl Servo Master now let's go to file examples and go to the voice grbl Servo master and click on grbl upload close the old window this will be our program to send to the card before uploading we must make sure you have selected the correct Arduino card and the right door the doors are slightly different in Windows environment find the correct one with some tests we complement the program and if there are no serious mistakes we upload to ouru no well upload [Music] completed second step we install python run the PKG file and follow the installation until the end third step let's add icape the correct plugin we open the folder laser code exporter icape Master plugin open a new window and enter the icape [Music] folder we open content resources share andscape extensions here exactly within the the extensions folder we should drag the two files with extension INX andp fourth step we check to have the plug-in inside oncap let's go on extensions export and make sure we get the voice TurnKey laser exporter perfect already we have open icape we can immediately generate a test code file before we begin we must set our worksheet let's go to file document properties set the unit in pixel and insert the pixel dimensions of our want in my case an A4 300 DPI will have these [Music] values for convenience we set the default unit in millimet now we can draw text at the end we C click on track drawing by track now we are ready to export to code we give the desired name ensuring the correct extension [Music] code we'll find him in the desk and let's do it apply perfect we have the file Point g code fifth step we install the Java program we follow the installation guidelines perfect this passage probably does not work I have also installed the development version of java 8 I recommend you try the light version of java and only if you have trouble to proceed with you with this 500 megabyte version sixth step we open Universal g code sender we open the folder version one only if you're using Windows we'll just open the file dobat and you're done if you are using a Mac as I am doing you must open the terminal here we write the first part of the read [Music] file and complete by dragging the Java icon we send and we will have our window program caution you do not have to close the terminal window otherwise the Java program will shut down now to use this program we have to select the right Port set spot to 115,200 make sure we have selected firmware grbl only now can we click open if we look at this phrase it means everything is is going for the best with the command dollar sign dollar sign you will see the grbl settings values 1011 will surely be different to do this just copy my actions [Music] at the file mode window we can search for the file called hello code and start printing we will see the plotter [Music] move now there is a way to start this latest Java program quickly exactly as with Windows and the extension file bat follow me I'll show you the secret to doing so we open the automator click w flow and next select shell script let's clear the current text in type Java Les jav and complete by typing the address where our Java file is located that we want to open let's give one now save let's type the name we want let's remember to change the file format application it will be the right choice and we close everything we will have a nice robot icon in our desk now just click on it and the only jum window will open automatically with the program Universal g code Center without the annoying second terminal window magnificent is not it well we almost finished it now that we've finished with the software part we come back from our plotter and end with the wiring we retrieve the extension cable for the servo motor and we enter the connector on the servo motor cable or straighten the wires as I did let's remember the colors used in my case red for 5vt black for mass and green for signal to improve the Aesthetics and functionality we cover all the wires with a pet cable sleeve replace the dupon terminals of the servo motor singles will be fine and wiring will be more practical to avoid damaging the servo motor cable you must lock it to the base with an electrician clamp and about half the cable lock it with another electrician clamp using the special 3D print piece as you are seeing on video before placing the two po make sure you have inserted the three jumpers under each housing connect a sufficiently sized cable piece directly to the Jack connector it will facilitate connection with the 12volt power supply now to improve the operation of the servo motor and therefore do not encounter problems with operation get a piece of wire and connect it sends exactly as shown in the picture on one side directly on the 12vt positive terminal the other side in the VIN of uino pin now is the time to connect the CNC Shield over to R2 and one important before connecting any cable you must calibrate the POA 4,988 with the right reference voltage to do this I refer you to my video about setting up the drivers then proceed to the connection of the two Motors during the final tests it may happen that you have to rotate these two connction by 180° now we connect the servo motor to the CNC Shield to do this we will connect the red and black cables visually to the 5vt and gnd board while the signal Cable Green to video will connect it to the white pin of the CNC card which is related to the z+ signal that's the Arduino pan 11 and after breaking the pen arm even after two prints I recommend printing the modified 3D piece and more robust compliments you've finished the drawing machine now you have the opportunity to open your mind and give space to your imagination good job my plotter is also glow-in-the-dark oh [Music] [Music] thanks for watching if you like the video you found it interesting do not forget to give a like if you have also made a drawing machine spend 2 minutes and let me comment on the video finally subscribe to my channel if you have not already done so thanks for the support I look forward to the next video tutorial ciao
Up Next

3:55
IIoT vs. IoT: Key Differences and Real-World Applications in Industry
@Onupkeep
36.1K views•2024-02-20

30:32
Ultrasonic Transducers: Resonant Frequency Measurement and Horn Design
@imajeenyus42
229.9K views•2017-02-22

54:16
Polymer Environmental Degradation: Mechanisms & Stabilization
@iit
1.8K views•2012-07-10

33:39
How a Student's Question Saved a NYC Skyscraper from Collapse
@veritasium
22.8M views•2025-04-26
Related Study Plans & Knowledge Roadmaps
Structured learning paths in Engineering
engineering
Building Acoustic Levitators: Physics & Arduino
01The Physics of Sound and Standing Waves
02Piezoelectric Transducers and H-Bridge Drivers
03Arduino Programming: Generating 40 kHz Signals
+ 2 more learning modules
14h5 modules
Explore Roadmap
engineering
Building Peltier Cloud Chambers: Particle Tracks
01Cosmic Rays & Cloud Chamber Physics
02Thermoelectric Cooling (TEC) Fundamentals
03Custom Liquid-Cooling Loop Design
+ 2 more learning modules
18h5 modules
Explore Roadmap
engineering
Yagi-Uda Antennas: Modeling, Build & VNA Test
01Introduction to RF and Antenna Fundamentals
02Yagi-Uda Antenna Design Principles
03Antenna Modeling and Simulation in 4NEC2
+ 2 more learning modules
18h5 modules
Explore Roadmap
engineering
ECG Monitor Design: Op-Amps, Filters & Noise
01Electronics & Breadboard Basics
02Op-Amps and Instrumentation Amplifiers
03Bioelectricity and ECG Fundamentals
+ 2 more learning modules
18h5 modules
Explore Roadmap