


![[CSE 312] Lecture 13: HTTP POST | File Uploads](https://i.ytimg.com/vi/Zn4rROI6tko/maxresdefault.jpg)





![Requirements txt como funciona e por que usar? [Obrigatório]](https://i.ytimg.com/vi_webp/WsNjkyZ0Otg/maxresdefault.webp)


![Connect Amazon RDS to FastAPI [Complete Cloud Guide]](https://i.ytimg.com/vi/wqVyN2LAFDY/maxresdefault.jpg)


![[10분 테코톡] 필립, 박스터의 엔진엑스의 Everything](https://i.ytimg.com/vi/l-7XA6gXqzs/maxresdefault.jpg)








To deploy a FastAPI application on Render.com for free, you need to create a requirements.txt file listing all dependencies (such as uvicorn, fastapi, and python-multipart), push your project files to a GitHub repository, connect your GitHub account to Render.com, select 'web service' as the project type, configure the start command as 'uvicorn main:app --host 0.0.0.0 --port $PORT', and deploy the project; Render.com will automatically clone the repository, install dependencies, and make your API accessible via a public URL.
How to Deploy FastAPI on Render: Free Tutorial
Added:Basic Python programming and familiarity with the FastAPI framework, including defining routes and running a local development server.
Fundamental Git and GitHub workflows, such as staging, committing, and pushing code to a remote repository.
An understanding of HTTP request methods (such as GET and POST) and how multipart/form-data works for handling file uploads.
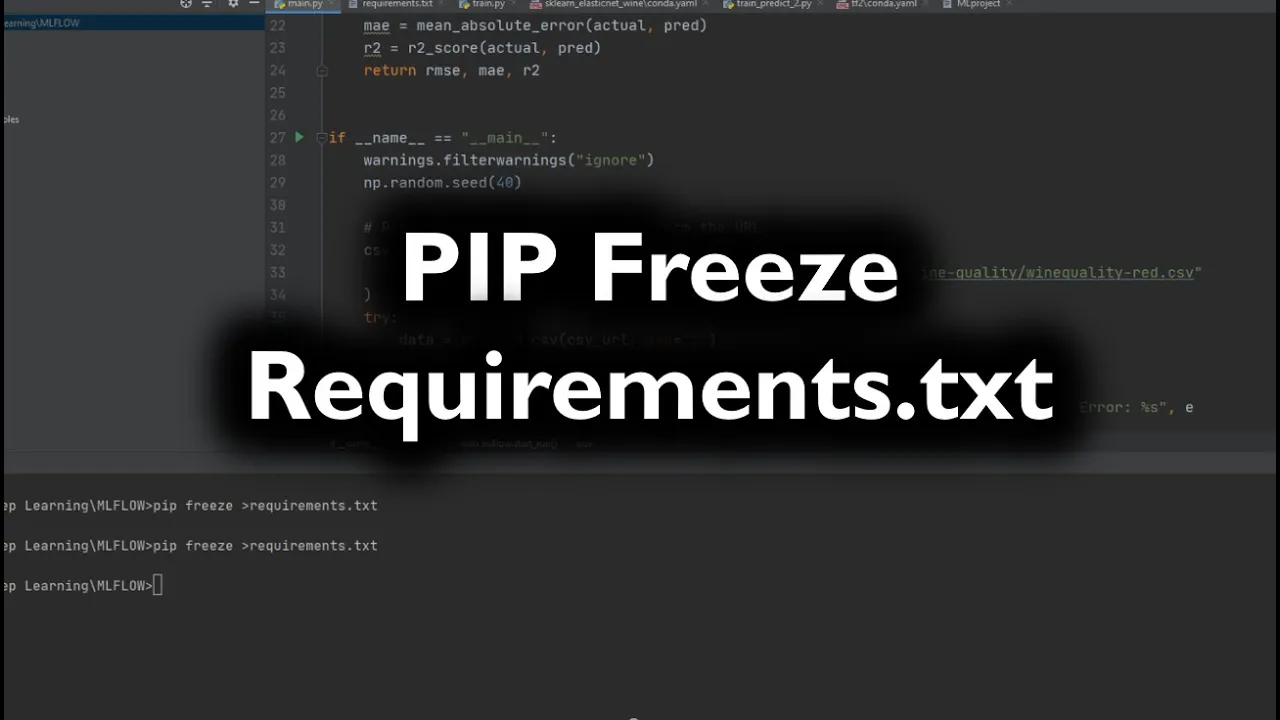
Python dependency management, specifically how to generate and use a 'requirements.txt' file for third-party packages.
Integrating persistent databases (such as PostgreSQL or MongoDB) with a deployed FastAPI application, as PaaS free tiers usually feature ephemeral file systems.
Implementing production-grade security, including SSL/HTTPS configuration, CORS settings, and managing environment variables for API keys.
Setting up automated Continuous Integration and Continuous Deployment (CI/CD) pipelines using GitHub Actions to run tests before deploying to Render.
Optimizing FastAPI performance for production using advanced ASGI configurations (e.g., Uvicorn workers) and setting up monitoring and logging tools.
1.7K views18likes8:10Original Release: 2025-08-24
In this video, we're going to see how to deploy a fast AP and render.com. As you can see, I have a fast API project here and we're going to see how to deploy this fast AP project to the render.com.
First, let me show you the demo for this fast AP project is support. You can see that I have two endpoints. The first one is the form endpoint and second is the extract endpoint. What this extract endpoint will do is it will take a PDF as a input and then it will extract the content and it will just return it. So, let me start this flask API server now.
So to start the flask API u and the name of the file is main and the app and we're going to start it as reload. So you consider the first API has been started. Let me click on this URL. Consider and the home page it displays hello world and if you go to the do now so let me go to the doc route as you can see it gives us the swagger UI and you consider we have two endpoints the endpoints you are interested is the exact endpoint and in this set point and if you click on try now consider it takes a file as input so let me click on try it out and you consider here we need to select the file the file that I'm going to upload is this PDF file let me show you the PDF now you consider this PDF as a sample content that endpoint will take this PDF as a input and then it will return the contents from this PDF. Basically, it will extract the text from this PDF. So, let me select this PDF now and I'm going to execute now. You consider currently you don't have the content, right? And when I click on execute, it will return us the text from the PDF. You consider it give us the text from the PDF.
Basically, it will extract all the text present in that PDF. So, this is the project that we're going to deploy to the render.com. Just go to the new tab and type panda.com because this is the website and make sure you log in using your GitHub account or any account. And before we continue here, we need to do one more thing. We need to create a file called the requirements.x file. So inside that file, we will put all our dependencies. So let me create that file now. Requirements.x file. Make sure you type the requirements filling correctly.
And inside this text file, we have to put all the dependencies that we need.
The first one is u as usual and pu pdf and fast api and we need the python multipart. So if you are having file upload then you need to put this library python multipart. So these are the four libraries. So and once you have done all of these then what you have to do is you have to upload all of the source file to the github and I have done this. So let me clear the screen and if you go to my browser you consider I have already pushed all my project files to this repository here and consider in this repository I have the requirements.ext file as well as the main.py file as well and consider this the main py file and if you go to my requirements file I have four bonuses here. So let's go to the render.com now. So in the render.com click on dashboard. So if you don't have your account then what you can do is so you can just uh create a new account using your GitHub account. So let me show you how to do that. If you click on let me sign out.
You consider you have four options.
GitHub. So make sure you select the GitHub and it will automatically login using your GitHub credentials. Once you have logged in the dashboard and to add a new project just click on add a new and make sure you select the web service because we are interested in the web service right. So select the web service and you consider either you can connect your GitHub account directly to this render here. So you can consider I have connected my GitHub account here or you can use the public repository. So I'm going to choose the public repository now and for the URL let me go to my GitHub and so let's go to the repository now and let me click on code and copy the repository URL and paste the URL here. So and click on connect and it will basically fetch all information from the repository and you can see this is the name. Let me change the name to PDF extract. So this is our project name and if you scroll down you consider it will automatically select the branch. So this is the branch that we have. If you have multiple branch so make sure you select the appropriate branch and leave the root directory as source and make sure you type the requirements.x file filling color three consider inside the requirements.x file we have the dependencies and the start command is very important. So we're going to start using the uon. So uon and here you have to take the file name. So let me go to my github. Now we consider in the github in the main py file I have the app. So main py that is main inside the main I have this app. So inside the main I have the app and so let me type app and you have to provide the for the URL also for equal to I'm going to type 0.0.0 and the port. So you also have to include the port number as well. The port will be automatically selected. So dollar symbol port. So make sure you type this. I will provide the link of this command in the description as well.
and select the instance type. I'm going to select the free type now. So let me select the free type and you can see that this is the free type and if you have environment variables you can add your environment variables here also.
And that's it. I think we have configured everything. We can click on deploy now. So deploy web service and you consider the vendor.com will do everything for you. You don't have to do anything. Just relax and you consider it's cloning the repository and it will install all the required dependencies from the requirements while you consider it starts downloading the library for us. Just give you a few minutes. It will take some time. You consider now the libraries has been installed successfully and is uploading the build for us.
Consider uploading build and the build has been successful and it starts deploying. Just give you a few minutes.
So once it is deployed the URL that we're going to open up is the URL that you can see at the top. You consider this the URL that I mentioned. So using this URL you can access all your endpoints. So before that let's make sure our deployment is successful and you can see our service is live. You will get a message like this your service is live and available at the primary URL. So either you can click this URL or you can click the URL at the top. So let me go to the top. Now you consider available primary URL and the status is also okay. So let me go up now and click on this URL and you can see that our homepage is successfully displayed. Hello world. So let me go to the docs now. So let's go to the docs now.
And you can see that we got this swagger UI as well and we also got the URL as well. So this is our URL. So let's say so let me try this sack endpoint and I'm going to upload a PDF now. So let me upload this PDF and click on execute and you can see it successfully the content from the PDF. Now we have successfully deploy the fast API project on our render.com. You can also test this out locally as well. So what you can do is so let me remove this. So this is our endpoint and what you can do is let me copy this endpoint and if you go to the SR manually consider the method not phone because you have to use the post request. This only accept the post request but since the browser will automatically send the get request to try this out programmatically consider have this code here and you have to paste the URL here the URL is so let's go to the render.com one more time and to copy the URL consider this the URL and paste the URL here this is our URL and in the next line what I have done is I have open a PDF file consider I have opened this PF file and I have passed this PDF file to the URL that we have here consider this method only as the post request and I have sent the post request to the URL along with the files.
So let's try to run this now. And one more thing is that we have copy and paste the URL here. The endpoint that we going to use is the SAR endpoint and let's save this and let's try to run this now and press enter and you can see that we got the contents from the PDF. So yeah, this is how you deploy a fast API project and render.com for free. You don't have to pay anything. We are deploying this project for free.
Up Next
14:29
Automating Docker Image Builds to AWS ECR with GitHub Actions
@AntonPutra
32.7K views•2021-10-17

12:54
Triumph of Orthodoxy Icon: Byzantine Art & History Explained
@BenCallan
2.1K views•2024-08-06

9:49
FastAPI vs Flask vs Django: Choosing the Right Python Web Framework
@TechWithTim
302.5K views•2024-05-26

1:42
Game of Thrones Opening Credits: A Cinematic Analysis
@gameofthrones
46.3M views•2011-04-18
Related Study Plans & Knowledge Roadmaps
Structured learning paths in General & Interdisciplinary Studies
general-studies
Elevator Engineering: History, Physics & Cities
01From Hoists to Safety Brakes: The Dawn of Vertical Lift
02Hydraulic vs. Traction: The Engineering Physics of Elevators
03Modern Speed, Safety, and Algorithms
+ 2 more learning modules
12h5 modules
Explore Roadmap
general-studies
Rubber: Material Science, History & Geopolitics
01Origins of Natural Rubber & Mesoamerican History
02The Chemistry of Natural Rubber & Vulcanization
03The Geopolitics of the Rubber Boom & Colonization
+ 2 more learning modules
12h5 modules
Explore Roadmap
general-studies
Containerization: Evolution, Logistics & Trade
01Ancient Trade & Bulk Cargo: Amphorae to Barrels
02The Industrial Revolution & Cardboard Packaging
03The Containerization Revolution: Malcom McLean
+ 2 more learning modules
12h5 modules
Explore Roadmap
general-studies
Textile Tech: Evolution, Labor & Global Impact
01Pre-Industrial Textiles: Handloom & Cottage Industry
02Mechanization: The Spinning Jenny to the Power Loom
03The Factory System & Global Labor Transformation
+ 2 more learning modules
10h5 modules
Explore Roadmap