







![GOC Class 11 One Shot Chemistry [ Concept + PYQs ] AP TS EAPCET 2025](https://i.ytimg.com/vi/6xjzvqf2y0E/maxresdefault.jpg)

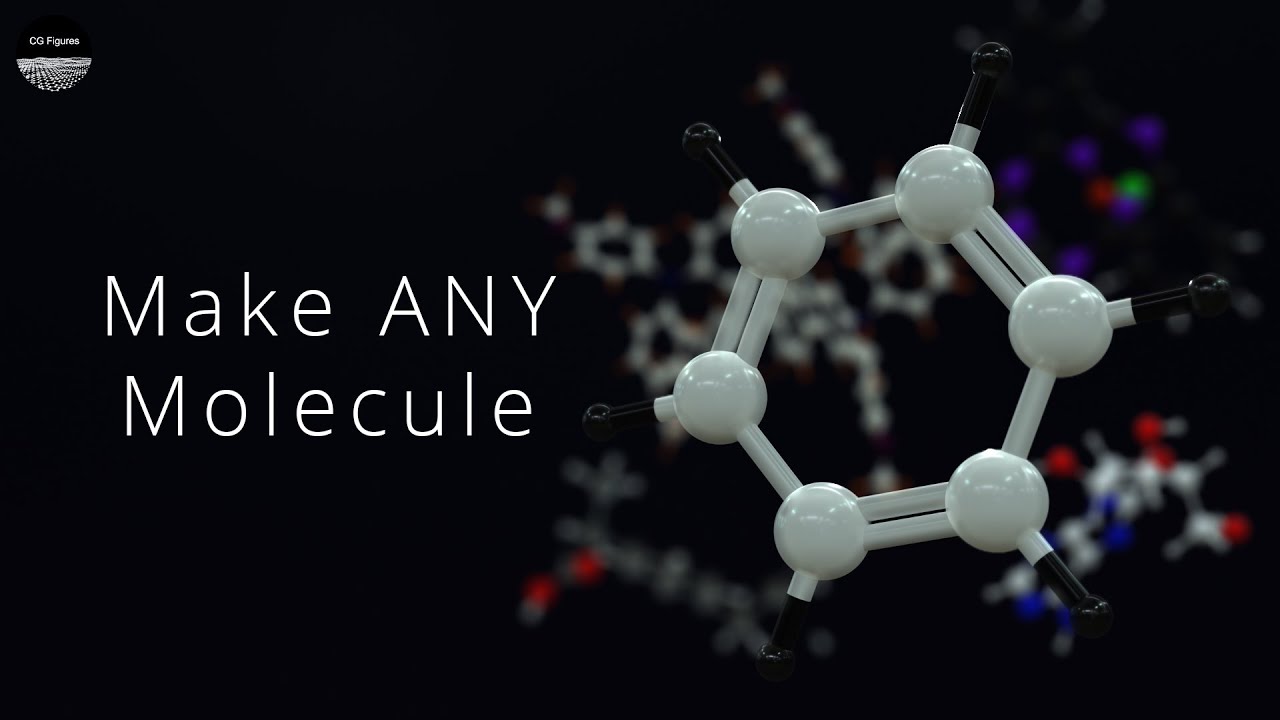








This tutorial demonstrates how to draw various molecules (methane, ethene, N2, and benzene) using Avogadro's Draw Tool, covering essential techniques such as selecting elements, adjusting bond orders, utilizing fragment insertion for pre-loaded molecules, and understanding the importance of optimizing drawn structures before computational analysis.
Drawing Molecules with Avogadro: A Tutorial for Methane, Ethene, N2, and Benzene
Added:Understanding of covalent bonding, including single, double, and triple bonds, and how they are represented in Lewis structures.
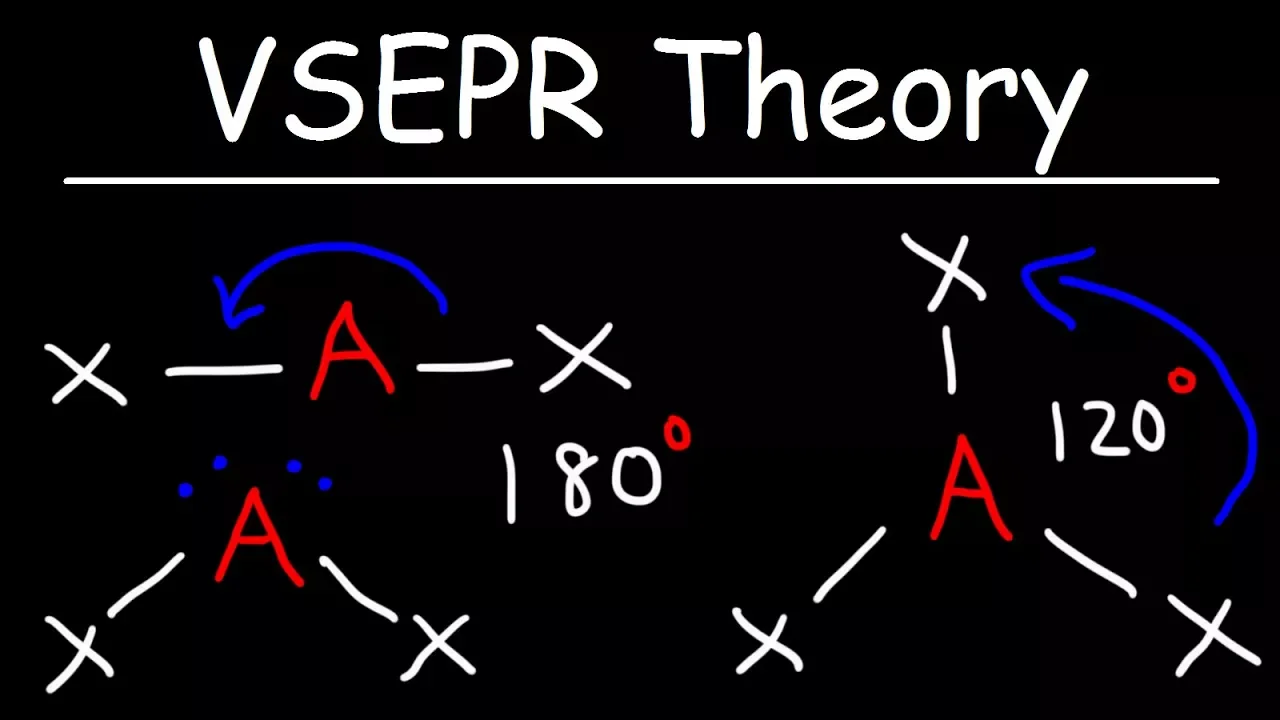
Basic knowledge of molecular geometry and VSEPR theory to conceptualize the 3D shapes of tetrahedral, planar, and linear molecules.
Familiarity with chemical nomenclature and formulas for simple organic and diatomic molecules like methane, ethene, nitrogen, and benzene.
Concept of aromaticity and resonance structures, specifically regarding the delocalized ring system in benzene.
Performing geometric optimization and energy minimization on the drawn molecules using molecular mechanics force fields within Avogadro.
Generating input files from Avogadro for quantum chemistry engines (like Gaussian, ORCA, or GAMESS) to run advanced electronic structure calculations.
Visualizing calculated molecular properties such as electrostatic potential (ESP) maps, dipole moments, and molecular orbitals (HOMO and LUMO).
Building more complex chemical systems, such as polymers, crystal lattices, or biomolecular fragments using coordinate files and advanced editing tools.
15.6K views134likes17:39Original Release: 2021-02-15
hi everyone in the second tutorial today i will talk about how we can draw different molecules using avogadro if you remember from the first tutorial where we discussed a little of all of these different tools we will mostly be using the draw tool for drawing different molecules and as you can see the default element that selected is carbon and also the bond order single and you have double integral there so the adjust hydrogen's option is checked which means that i don't have to worry about drawing hydrogen or adding hydrogen atoms manually they will be adjusted accordingly so since carbon is selected and the draw tool is selected if i just click here i should get methane and i clicked here as you can see by rotating it it indeed is methane so yes we have our first molecule here now um it looks pretty tiny so if you want to zoom in or zoom out if you're using a mouse the best way to do it would be to um scroll your uh using the scroll button on the mouse just scroll it up and down and you'll be able to zoom in or zoom out uh but if you're on your laptop and um you want to look at it uh so what you can do is you can just place two fingers on the touchpad and just move them like downward to zoom in upward to zoom out or to zoom out so you can just uh try playing with it and um you should be able to do it so yeah zooming in and zooming out shouldn't be a problem and if you want to move the molecule around like you can hear you're only able to zoom in and zoom out and you see the molecule is here if you want to take the molecule here uh press or hold down the command key on your keyboard and then hold the molecule with the mouse or your uh or using the touch pad with like one finger and then move it around so as long as the command key is pressed you can just move the molecule around wherever you want and once the command key you once you like stop holding down the command key you can only zoom in or zoom out and rotate in a given uh fixed point in a position anyway so we have nothing here and let's go back to the draw tool uh if i hit axis what basically does is it shows the axis right at the molecule and we don't want them as you can see we see the ball and stick model that's because this is checked if we hit cartoon we don't really see anything because it's not a protein where you can have a cartoon if you see uh if you hit dipole you can actually see something and you don't really have hydrogen bonds here and in the label option you can click the screwdriver like thing that you see there and here i selected the label to be the atomic number so if you want to name it by element symbol you can see carbon hydrogen hydrogen hydrogen and hydrogen and if you don't want any label just hit none and you won't see anything if you want symbol and number in group carbon since you have four different hydrogens it's h1 h2 h3 and h4 uh symbol and atom number um then it's see this is the first atom c1 then all the hydrogens are like second third fourth and fifth atoms that came when you draw so that's how it's labeled um you don't really have labeling by partial charge or by formal charge so you have like labeling by for a partial charge here if you if you want you can do that but i don't see how that could be very helpful if you want use the full element name and that's not super helpful either and you cannot name it with the residue because it's not a protein again you cannot use a residue number or you can use the unique id like just again the order in which the elements up here it's just starting from zero and the custom data is just the element names uh the symbols so i usually go by atom number it's just um convenient for me but you can label you can choose whatever you want and um you can change the color here so if you want to label it with i don't know turquoise you can pick that wait did i not select that okay turquoise and click okay you need to hit okay and it labels enter cause right see um if you want to change it to i know green uh you go for it green i think uh it's surrounded by red but yeah and you can change the font if you want um it's helvetica bold 14 so if i want 18 and hit ok i i can do that so if i want i don't know if that if that would work looks like that isn't um working right no that the changing font size is not working for some reason but i guess if you want to change it to um i don't know ariel and um maybe like 12.
i still don't really see a change but um i guess it should be possible to do it um text bond like okay these are the bond labels so if you see um it is labeling the bonds by the bond lengths uh bond numbers so it labels the bonds the first bond second bond third bond fourth bond between atoms one and two obviously you'll have the first bond so that's how it's done bond order then all of them will be one because they're all single bonds um unique id will just be zero one two three it's just the order starting from zero i guess so i don't usually label the bonds i don't really see how that can be super helpful but um if you want to label them you can change the colors as how you like so and here you can see the atoms and the bonds so the bond says that atom one is connected to atom two one is connected to three one is connected to four and one is connected to five so you can see there are no bonds between any of the hydrogen atoms it's just that carbon is spawning with every other atom so you can see the information here you can see how the atoms label the atom the element symbol and the number so um by by clicking on this you can actually look at you can explore and change the settings for each of the display types so here the atom here the item reduces this but if i want to change the atom radius i mean i can make it as huge or as tiny as i want but that's not what i want so i'm just going to stick with what we have that is covalent and the smaller volts radius so and then you have the bond radius too so we don't want really thick bonds so i'm not going to change anything to it and if you have like this is the opacity controller just put it to maximum so you see things clearly and again you have the information color by element um which is the best thing to do so that the standard colors are like carbon and gray hydrogens and white oxygen isn't red nitrogen is in blue chloride is in green or chlorine is in green so um it colors by element if you want to color by distance then that is it or color by index partial charge so you can uh in in color by residue again you have like different things but that does not apply here because we don't have a protein or an amino acid so um you can just leave it as color by element which is uh pretty good and you can try different settings here and see what happens to actually do it um you won't you probably not really see much because you're not dealing with a protein yeah but if you go for the stick representation you you will see that and if i remove ball and stick you just see sticks so we don't want the stick we will find the ball and say we don't really see a surface but this is the vanderbilt spheres so like the huge spheres you can see there and we don't have the wireframe for this either so you can just play around with the different display types and see and pick what seems like the best fit so we have methane here um it looks okay so let's just go ahead and save it so remember how we did it in the first tutorial just type methane and it's an xyz file just save it uh so if you want to clear it all up use the selection tool and just move this around and you can select it if you want to unselect it and you're on a laptop just do the right click which is like press with two fingers and you should be able to unselect everything select everything deleted um let's go draw another molecule methane was pretty easy right um so don't we try something that has a double bond maybe ethan uh uh ethylene or you know ethene or ethylene so let's try that um we have methane let me just connect it here we have ethane now let me click on a single bond to turn it into a double bond now we have ethene right so here we go this is how we um can generate a structure with a double bond let's go ahead and save as and save so we have saved it and we can select everything deleted and now try and drawing another molecule something with the triple bond uh why do we have to just keep using carbon let's try something with nitrogen so select nitrogen you immediately see that you have ammonia but then you get nh2 nh2 we don't want that not this just hit one more time and you will see that what we have here is a triple bond so we have an n2 molecule right so you can see the triple bond here one two three so we have an n2 molecule and um yep so let's see this so this how we can draw a triple bond molecule and two now let's clear it up um let's say we want to draw benzene okay so when you go to other um of course you have the periodic table here um but um yeah if you go to build if you go to build in this menu and go to insert so instead of drawing some things you can actually insert certain segments or molecules straight away so if you click on fragment so there are different things you see here that you can insert if you go to amino acids you can just enter the amino acid straight away uh if you go to aromatics you should be able to insert a lot of things just straight away if you go here benzene like a lot of molecular structures are already pre-loaded so you just get you can just pick them and click insert and go back um hang on and but when you insert something it it's like you uh it's all like fully selected so hit the selection tool and right click to unselect everything we can select everything and then just move it around and select it yeah let me just rotate it as you can see you have benzene so there are a lot of molecules that are already there which you can just insert but if you want to draw benzene all by yourself how do you do it so let me select everything um delete and now let's go to the drawing tool and pick carbon so let's go here we have methane now what i'm going to do is i'm going to click on carbon and drag until i have another carbon now click this drag click and drag click and drag click and drag and click and connect drag and you connect it to the first carbon as you can see you have six carbons uh you basically have something like a cyclohexane but this does not look like a cyclohexane it's neither in the chair nor the ring conformation uh so we want benzene so hit the alternate single bonds to change them into double bonds so this is how a benzene molecule would look if we were to make it ourselves and as you can see very clearly it is not symmetric it is not in the optimized structure but we we definitely did make a benzene molecule so first let's just go ahead and save it as benzene okay now that we have saved it as benzene um if you want to add something to it like maybe you want to have an amino benzene uh right and that will be um just this you just have to like hit something if you want to add maybe a chloride group or something to your benzene so hit the carbon click and drag so you can replace a hydrogen with chloride and if you want to actually add a metal group here click and drag and you have a metal groove if you want to add an o h click and drag and if you want to add a flooring click and drag if you want to add a sulfur click and drag so um i'm pretty sure this molecule doesn't exist but if you want to like uh draw something you can definitely do it so the point the whole point of this exercise is to show you that you can draw different types of molecules you can either load them like insert the preloaded molecules or you can draw them you can make them by yourself and um you can just move from one structure to the other with such ease and you can just save it as don't don't hit save because if you hit save it will be it will replace the benzene you have so i i usually go with save as uh benzene modified it could mean anything so um now that we have created some sensible molecules and totally random molecule let's just close it and here in this window you can see the different molecules that we created if you click if you double click you see this and you can see the bonds are missing because well it's it's it's not um recognizing it as benzene because the bond because the bond lines are not optimized and the structure just looks crazy so as important as it is to learn how to draw molecules in avogadro it's equally or even more important to optimize the structures you draw so that we know what it is that we have drawn there right so in the next tutorial i will talk about optimizing the structures you can use um avogadro lets you use different force fields to optimize the structures that you have so the optimized geometry from avogadro is not perfect uh because it uses force fields and not quantum mechanical calculations however um they're definitely a great start to begin a quantum mechanical geometry optimization if you if you provide the structure that is not optimized in avogadro with the force fields like the structure we have here for benzene it will definitely take a much longer time for a quantum mechanical calculation or any other calculation to optimize this structure um when as compared to optimizing um the the inserted benzene molecule which was just perfect or as compared to optimizing the benzene molecule that you used force fields in avogadro to optimize so optimizing molecules is very important and i will discuss that in detail in the next section uh hope you enjoyed this tutorial um i'm looking forward to preparing the next tutorial and uploading it as soon as possible again if you have any comments or questions or concerns please feel free to comment them and i will make sure to address all of those questions um if you also want me to make a tutorial about some other thing in avogadro please feel free to let me know and i'll make sure to make a tutorial about that and yeah i'll try my best to explain it as well as possible and i hope you enjoyed this tutorial
Up Next
13:24
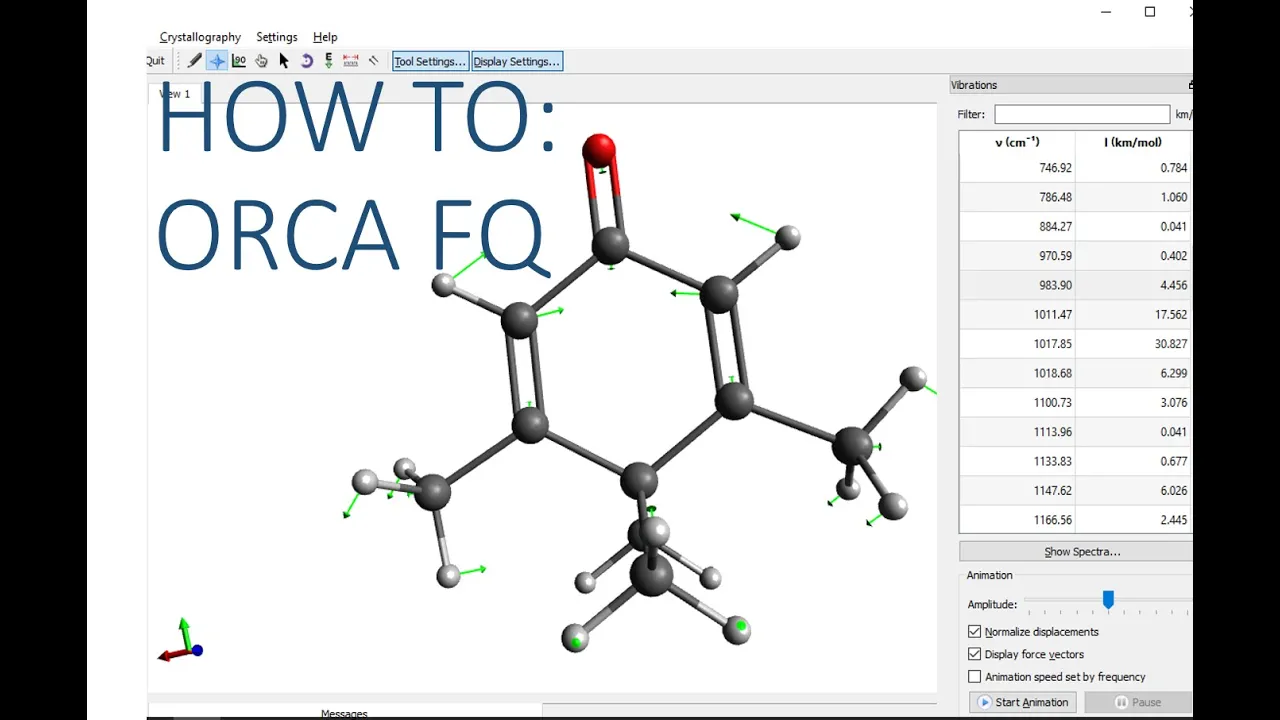
Computing and Analyzing Vibrational Frequencies in ORCA Using Avogadro
@IaNiusha
20.1K views•2016-01-09

12:54
Triumph of Orthodoxy Icon: Byzantine Art & History Explained
@BenCallan
2.1K views•2024-08-06

9:49
FastAPI vs Flask vs Django: Choosing the Right Python Web Framework
@TechWithTim
302.5K views•2024-05-26

1:42
Game of Thrones Opening Credits: A Cinematic Analysis
@gameofthrones
46.3M views•2011-04-18
Related Study Plans & Knowledge Roadmaps
Structured learning paths in General & Interdisciplinary Studies
general-studies
Elevator Engineering: History, Physics & Cities
01From Hoists to Safety Brakes: The Dawn of Vertical Lift
02Hydraulic vs. Traction: The Engineering Physics of Elevators
03Modern Speed, Safety, and Algorithms
+ 2 more learning modules
12h5 modules
Explore Roadmap
general-studies
Rubber: Material Science, History & Geopolitics
01Origins of Natural Rubber & Mesoamerican History
02The Chemistry of Natural Rubber & Vulcanization
03The Geopolitics of the Rubber Boom & Colonization
+ 2 more learning modules
12h5 modules
Explore Roadmap
general-studies
Containerization: Evolution, Logistics & Trade
01Ancient Trade & Bulk Cargo: Amphorae to Barrels
02The Industrial Revolution & Cardboard Packaging
03The Containerization Revolution: Malcom McLean
+ 2 more learning modules
12h5 modules
Explore Roadmap
general-studies
Textile Tech: Evolution, Labor & Global Impact
01Pre-Industrial Textiles: Handloom & Cottage Industry
02Mechanization: The Spinning Jenny to the Power Loom
03The Factory System & Global Labor Transformation
+ 2 more learning modules
10h5 modules
Explore Roadmap