![[비트메이킹] 에이블톤 라이브 Vol. 1 - 에이블톤라이브 다루기](https://i.ytimg.com/vi_webp/m9w-n8PBbzg/maxresdefault.webp)








![How To Make Emotional Progressive House Like Manse & Third Party [Drop Design Sessions Ep 3]](https://i.ytimg.com/vi_webp/ogwQPX5oNSE/maxresdefault.webp)
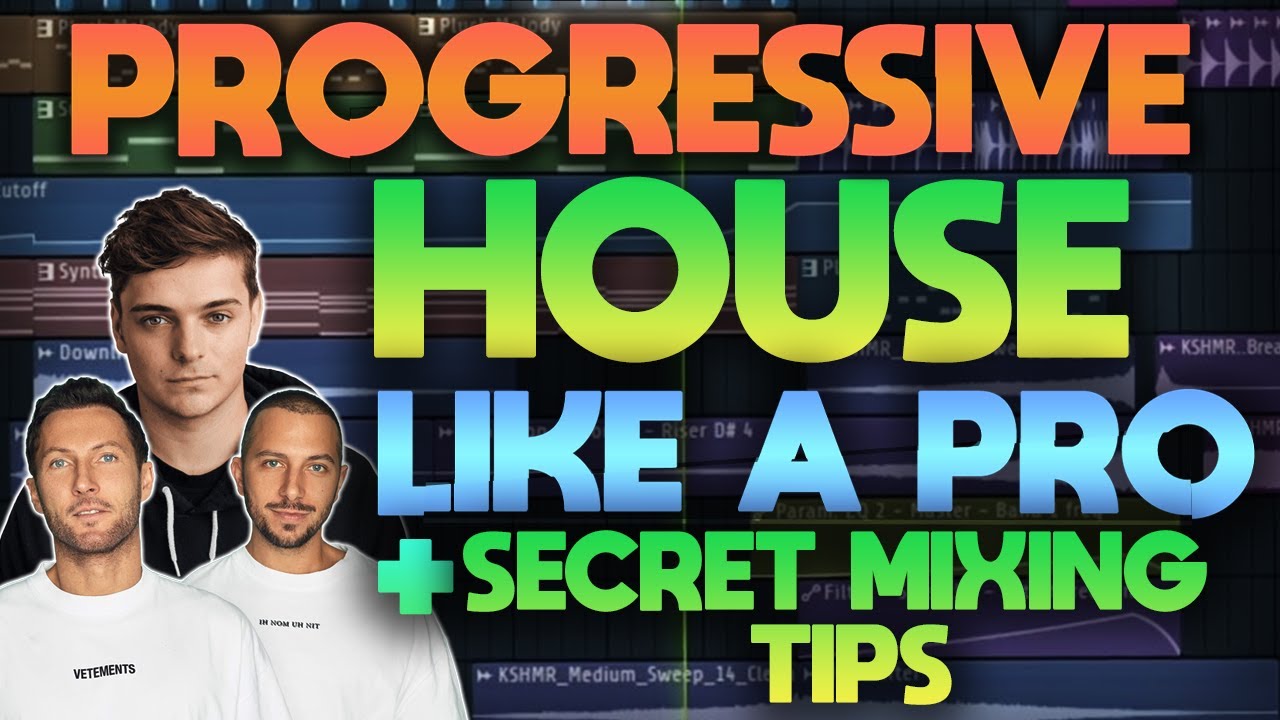







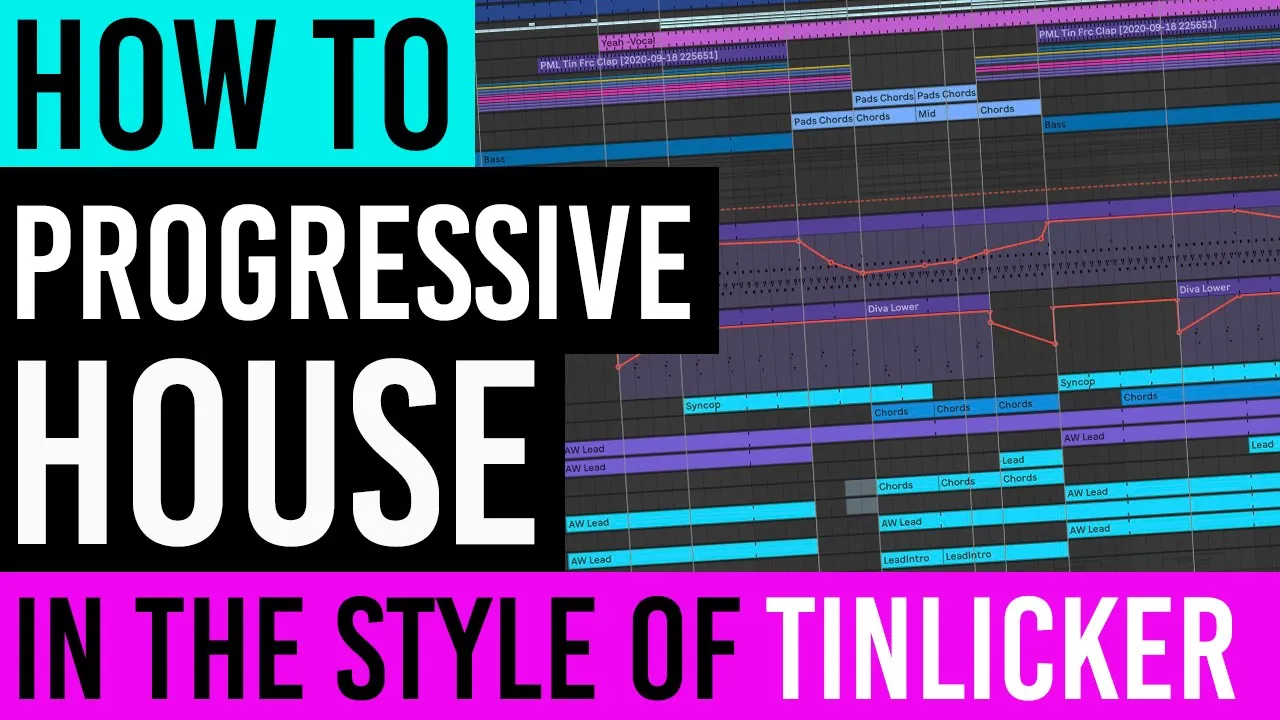
This tutorial demonstrates how to produce progressive house music in the style of Ben Böhmer and Anjunadeep artists by covering key production elements including selecting a deep kick drum with high-end presence, creating emotive piano chord progressions in G minor, designing layered bass and sub-bass with portamento sweeps, programming delicate percussion with atmospheric reverb, crafting melodic arpeggios, incorporating field recordings for texture, and applying sidechain compression for rhythmic pumping effects. The instructor emphasizes using stock Ableton plugins while demonstrating techniques like freeze reverb for ethereal atmospheres, velocity variation for human feel, and harmonic excitation for rich bass tones.
Making Progressive House in Ableton: Ben Bohmer Style Guide
Added:Familiarity with Ableton Live's interface, including navigating the Arrangement View, inserting MIDI tracks, and loading stock instruments and effects.
Understanding of basic music theory, specifically minor keys, chord progressions, and voice leading to create the emotional, melodic foundations typical of progressive house.
Fundamental knowledge of subtractive synthesis, including how oscillators, filters, envelopes (ADSR), and LFOs function to shape synth leads, pads, and plucks.
Basic drum programming concepts, particularly the traditional 'four-on-the-floor' house rhythm, off-beat hi-hat placement, and syncopation.
Advanced mixing techniques specific to progressive house, such as dynamic sidechain compression, frequency pocketing, and managing the relationship between the kick and sub-bass.
Arrangement and tension-building strategies, focusing on how to structure a 6-to-8-minute club mix with gradual builds, atmospheric breakdown sections, and satisfying drops.
Sophisticated sound design using advanced modulation, such as utilizing Ableton's LFO tool and Envelope Followers to create evolving, organic textures that change over time.
Mastering-stage essentials for electronic music, including multi-band compression, limiting, and preparing a track to meet the loudness standards of club sound systems and streaming platforms.
141.9K views5Klikes51:27Original Release: 2020-04-22
They've taken another heart and they put it in MY heart 💞 THAT'S how much heart there is ♥️ What's up, guys? It's Will from EDM Tips. Today I'm going to show you how to make progressive house in the style of Ben Böhmer and Anjunadeep.
So in the last couple of months I'm really pleased to say that these videos that I've been doing on particular genres and styles of artists have been blowing up BIG TIME... So thank you so much for the support! Anyway, I've had loads of requests for doing in the style of Ben Böhmer, so that is what I decided to do today. I'm going to be using Ableton 10 but you can use any DAW to follow these techniques, and you can download all the samples and the project file for free below this video as well. So today we will be covering the kick and bass... the percussion and atmosphere... the chord progressions... melodic arpeggio and some mixing and arrangement. If you want music production tutorials like this each and every week hit that subscribe button and the notification bell to make sure you never miss one. 👍 SMASH the like button if you dig this video, and without further ado, let's hop into the DAW and get it done... Okay so the first thing to do once you've checked you have your dinosaurs ready is choose the perfect kick and we've chosen 124 bpm because it's that and unity been boma type speed or tempo and this kick I've included it for free in this sample pad below which you can download but it's got lovely low deep Sabinas and it's also got this high end tick which is going to help it pop through the mix so what I'm going to do and you can do this in MIDI as well I'm just doing it in audio because I want to show you as much as I can in this time we have available so simple right everyone knows how to do that I'm going to just gonna put it to minus six so when other elements are added I've got some space on the head room on the master channel which is what we need what we want now I've called this project progressive now's see what I did there so next it's all about the emotion when it comes to Ben Bowman and these and una deep tracks in general progressive house you know it was my first love in terms of dance music that and the rave rave like The Prodigy so I'm just going to call this chords and we're gonna just get a grand piano and we'll probably end up keeping that piano sound so to put piano and I'm gonna use Ableton piano so I'm just going to go to sounds and I'm gonna go to piano and I'm just gonna choose a normal grand piano that comes with Ableton so where is it oh I've actually downloaded like the piano pack I think which was free I believe so come on come on there you go right now this kick I know is in G it's a kick on G so I'm actually going to create this track in the key of G whether it's minor or major it depends how I'm feeling but let's just vibe with some some note I'm gonna work out some bass notes first and then work out the chords over the top okay so I'm gonna do it in G minor like that's not complex okay so let's just draw those notes in whack them there and this is in the style of that in memoriam track that I mentioned before and by having them kind of come in just before the beat it gives it a bit of vibe already so the third and the fourth sorry the second and the fourth note that kind of plane before the beads and I'll do it with this nodes as well so we've really got some kind of movement and energy I'm gonna reduce the velocity so it's a bit more gentle and ethereal and I just bump up the volume a bit that's quite nice so now let's work out the the chord notes that we're going to have on this so I'll just close that down we don't need the velocity showing much anymore and you can use my template technique which I've linked to in one of these others and one of these other videos if you're using FL Studio you can use a scale thing or you can draw in all the notes in the scale move them to the side in Ableton and press fold so let's do that really so these are all the notes in the key of G minor natural so I'll just kind of drag these in and then we'll move them to the side and then we'll press that we'll we'll just duplicate it down and I'm not shit to the side by pressing the left cursor key but if I press fold now these are just the notes showing in the key of G minor natural so if we use any of these notes is gonna sound good so let's build up our chords by building them up just skipping a note each time you but we'll have to move it up an octave bukas and they sound a bit so I'm just going to draw in the basic notes first and I will it's another in my template so I'm just skipping a note each time to make these chords and then if I unfold I can decide whether they should be major or minor by just moving this the middle one either up or down each time so I want the last one to be major because I thought the minor one sounded a bit dodgy okay okay on to the next thing is let's add some kind of reverb to that but first with Ben bonus stuff there quite naturally played so he uses lots of orchestral instruments so what I'm going to do - you can either play this in if you're good with piano or if you're not then you can manually hold the command key and just drag the notes so they're not quite on exactly on the grid and that will give it a bit of more of a human feel so they're not all playing it precisely the same so if you heard their you know it's kind of OneNote it's before the others and we just add some and you could even you know choose different velocities for the notes as well which give it give it even more of a human feel but you know for brevity's sake I'm not going to do that in this example so here we go and I'm actually gonna extend that last cord much like in memoriam which I'll refer back to several times we're not trying to copy it remember but we are using it as an inspiration for the vibe of our track so I'm going to consolidate that and make sure that loops turned off just so I can drag that clip longer and I'm just going to extend these last notes and although I usually do mixing a bit later I'm going to add a reverb here because I want to give it that ethereal feeling as quickly as possible and the way I'm going to do that is I'm going to use it in the channel as opposed to on the auxiliary Channel and I'm going to use this freeze function on the reverb which is a pretty cool effect so let's just get the reverb sounding nice first it's nice and big very Spacey and I'm gonna put a utility to bump up the volume of the whole track rather than using this fader because I don't want no I don't want to use all of the fader up like this otherwise I've got nowhere to go if I need to go louder so I'll just put five decibels on there and what we're gonna do is automate this freeze function on and off so let me just kind of minimize that don't need those anymore so if we chose choose to automate and what this does is it freezes the reverb to go on infinitely but obviously you want to kind of switch it off before the next notes plays so this will give that cool effect that he's got in that track in Moorea you'll really hear it at the end as well so you can hear it's staying on forever whoops I got spit it up there so it gives it a really nice big field and if it's too much reverb you can always just notch back the dry/wet control it that will do for now okay on to the next thing we have got base and sub-base so the base is really important in all dance music so let's get straight onto the base we're gonna take the base notes from the chords that we've written so let's put base in color it yellow and again I'm just using the stock plugins I will be using some of the sound toys bundle as well because they are an awesome third party bundle and you can get that from below this video as well and if you buy it through that link I get a nice little bit of Commission which kind of helps me run the channel which is cool okay but you don't need it you know you can do it with the stock plugins but I'm gonna show you one cool effect actually with one of the soundToys plugins that you can't do with a tables and stuff plugin okay cool this base and we're just copying the base notes from the piano chords and we're just gonna paste them into our clip here so we're just going to use the same chords and we are going to use to do what should we use actually that because thankfully I'm gonna turn off this reverb for the time being just because it's distracting every time I press stop and the freeze is on then you know it's an issue because I can still hear it so let's use wave table I'm just going to use a stock sound from wave table base let's try this first one how does that sound okay that's cool but it's a bit high up so I'm just gonna grab it all command a to select all then hold shift and press down to notch it down an octave that's too low actually what I'll do is I'll split this base into two and have the sub base one octave but there's too many high frequencies so I'm going to notch down the frequency okay there's something going on here so I'll have to go into the matrix and have a look at what's going on velocity we don't want it affecting the frequency at all so let's turn that back to zero and there's some kind of envelope playing on the frequency as well so that's better that's more how we want it nice and low so we turn off this and let's work on this bass a bit now we want a portamento sweep between those notes I'm just gonna make them overlap a bit like this you can see this note is overlapping this one this note is overlapping this one then we make sure it's set to mono or it already is and we've got glide on so let's have a listen so it kind of sweeps in between the notes and at the end it gets a bit boring so I'm just gonna open up the envelope choose MIDI control pitch Bend and then I'm gonna do a pitch Bend at the end of the bass just give it some character so it's just to give it some extra character and emotion okay let's split this base out I'm gonna duplicate this and I'm going to call it sub base like so and I'm gonna use an operator for this which is a super simple synth that comes with Ableton as well operator we just want a sine wave for this and you can hear we need to make sure this is monophonic as well at the moment has got six voices we just want one and it's not sliding between so we need to add some glide turn that on and you could choose the same glide amount you know 112 BP 112 milliseconds just to make sure they slide at the same time but it's too high up for sub-base so I'm gonna go in and I'm gonna grab them and move them down an octave maybe not all of them we'll see until they're almost sub-audible see if I move this one octave below you'll barely hear it so I'll keep that up I might leave that one low because you can you can just hear that okay if you've got good headphones or monitors you'll hear that low bass note what I'm going to do is I'm going to filter out the sub bass of our main bass sound otherwise it's going to clash with the sub bass so let's listen to that on its own so the sub-base can now be controlled separately see or hear rather I need to make sure they're really pitch bending the same amount as well - the pitch Bend on this I don't know where is it well anyway I think it's - I can't remember where it is at the moment probably a MIDI buffer pitch Bend yeah pitch - so if we go into the sub base we can make sure our pitch Bend amount is - there as well there you can see it defaults to 5 so we just make that 2 and that means they both go down at the same rate there so it kind of sounds like one place now we are going to group them together and call that base and we're going to get that pumping with the kick using sidechain compression so I'll show you how to do that really quickly and we're going to add more processing - but this is what we're gonna do at the moment so sidechain compression then we're going to go into percussion and the arpeggios that make Ben bonus tracks so ethereal and lovely so let's do this first because we're going to use this sidechain compressor on many of the track channels so we're going to call that pump come pump Compton open up the sidechain options here and we're gonna create a little sidechain track now what I would usually use is Steve do this LFO tool but because I'm trying to do this in as much just using the Ableton 10 plugins as possible I'm gonna do it like this so rather than using a kick for the trigger I'm going to use a short sharp hi-hat because the kick lasts too long and it's going to duck everything too much so I'll go to samples then I will go to I shall goats drum hits and closed and then I'm gonna put that into a simpler where is my simpler I don't have it there okay I'll just use a sampler and then I will convert it to simpler now I'll go back to my samples or my drum it's your my mob drum hits boy here we go so I'm just gonna program them in on the kick as you'd expect there we go just on every beat ba-ba-ba-ba and then I'm going to go to the routing cuz you can hear it now but we don't want to hear the tick so I'm going to change it to send only and minimizing and that means we can just refer to it when we need it from these other devices so sidechain audio input from SC as you see I've called SC for sidechain and then I can just use attack and release to get it pumping in the rhythm that I want cool okay that's working nicely so now we can just copy and paste this whenever we need the sidechain compressor all right on to the next thing percussion so been bohmers percussion is very delicate as again some lovely atmosphere in there so we're going to add some tech note well some progressive house atmosphere as well but first let's get the drums going so we're just going to go drums I'm going to use a drum rack for this so I'll stick that there just call it drums and we will be working on this bass to make it even bigger and leave here so don't worry about that yeah so we'll put drums in first thing to get is the clap that would be the main thing so I'm going to go to my drum hits got those of drum hits all organized nicely and I'm going to use a let's see lots of different claps I'm going to use this which is from a classic Lin drum machine and yeah just put it on on every other beat I like sound selection is so important guys it's worth it's worth spending the time on getting the right sounds if you need to you can put Ableton into hot-swap mode like this when they're programmed in just press this little button here and now I can just press up or down and load in different ones to preview them and you want the one that sounds you know right for what you're trying to achieve that's the sound I want okay now I'm gonna add a little bit of reverb to that and I'm gonna do it on an aux Channel so I'm just going to create an auxiliary channel on Apple it's command alt and T and then I'm gonna call that room for room reverb and I'm gonna whack on a Ableton delay Ableton reverb and I'm gonna you program the drum to have that reverb on it so you can press this little button here in Ableton turn on the routine turn on the returns right click create return chain select room as your output and now we have the room reverb and we can control it by just turn those off by turning on this s this send thing here that so I'm gonna pump it up nice and loud too loud so I can get the K the right time and I want it quite subtle so I'm gonna take off some of the high end of the reverb how's about right so it's it's quite subdued and I'm gonna put a an EQ after the reverb just to make sure there's nothing happening in the low end that's gonna muddy up the mix when we get to that cool okay on to the next thing that would be the hat sounds that sounds I'm gonna go to the current project because I've already saved some of them just for the speed of it so I'm going to use this one because it's got lots of lovely tonal qualities to it and I'm just gonna program it in super simply let's call that hat and we're just going to loop this level pattern and we can add a little bit of well I wanted a bit softer it's more of an atmosphere than anything so we're gonna use classic I'm gonna choose one voice so they don't overlap and then just tweak the attack slightly to soften it so it's more like a shaker almost and then you can add some of this reverb to which you can't really hear because the reverb has got a lot of the high end rolled off so if we listen to the reverb on its own you can kind of hear it just so just to add all these little bits add to the thickness and the richness of this style of music okay on to the next thing we are going to add a bit of a kind of ride rhythm as well we are going to have come in at a particular point in the track when we get to the arrangement which we will do so gonna go to my drums again drag in this tambourine sound just called a Tam and then add in a little rhythm really simple just to give it some more some more groove and then repeat that excuse me I'll put one there as well and then we're just gonna duplicate that I'm gonna add some interest to this so I'm gonna add a tiny bit of delay and so it can bounce around a bit ping pong turn reverb right down so now the tambourines kind of bouncing left and right a bit I just make sure there's no untoward low-end in there which there is so it's just cleaning up the sounds as we go okay on to the next thing first let me know if you're liking this guys give me a hell yeah in the comments below because that lets me know I'm on the right track I'm doing something that you like so I'm just going to write what time that was 52 1152 cool on to the next thing these awesome awesome arpeggios which is going to start giving it some real character so if we just write arpeggio we're gonna do this manually and I'm going to do a sample I'm going to use a sample for this and all I'm gonna do is I'm gonna choose a simpler you can use a synth for this but as I said I'm just going to use a sampler just to show that it is possible and I've got this crappy piano sound from decades ago so I'm gonna use this but make sure it's tuned to the key of the track so if I use my chords as an example because it's a grand piano middle C now my sampler yeah they're they're in tune I might be chewing this up a tiny bit and now let's draw in this arpeggio so we're going to do it in the key of G minor natural of course because that's what the track is and this is going to be a really subtle effect but it's very important and this had some harmonic content so it's gonna sound really crap at first but we'll make it sound good I promise and you can use the template technique here as well so if you kind of go to the right and can I see my template maybe I already deleted them okay so I won't do it but you can draw in all the you know all the notes in G minor natural and use the template technique if you want what those playing really quickly that's kind of cool so it's playing a 7th chord but really quickly in succession and now what I'm gonna do is I'm gonna just repeat that and then we're gonna make it sound cool and this is going to be playing underneath the piano chords maybe I will have that minor now I'll leave it major and now we can add some of that room reverb to this can't really hear it so I'm going to add it so in reverb I'll create another aux Channel and I'm gonna call it all and this is going to be another reverb Ableton reverb so I can just copy and paste that but with a much longer decay to add a second reverb that everything can use if we want it so we need to turn off this high diffusion because we want to hear the high end in this now and I'm going to add a utility because the Ableton reverbs are usually quite quiet so it's more atmospheric and again you might go in and kind of take off some of the decay or the attack and you can hear it already start sounding frankly awesome and then you can start bouncing it around a bit with a bit of auto pan so let's get one of those on-the-go auto pan on the arpeggio - so it bounces around a bit and we are going to get one of these pump pumps the sidechain compressor remember that from earlier and put that after here we might not use all of those notes and the cords so next we want to add some atmosphere now this is important as well so I've actually got a recording that I took when I was DJing around the world a few years I was in Thailand I think and I recorded it and I've got loads like this of just different field recordings from atmospheres that I've I've recorded around the world so the one I've got was from a jungle whereas this one here we go and I just made a really short loop out of it and you know it's got crackling noise in there you can hear me kind of accidentally rubbing the microphone so I'm just going to repeat that and again you can get this in the sample pack below for free I'm gonna color it green because it's an effect they're bright green and I'm going to just listen to it with the chords and these chords I'm going to add some extra reverb and our I put the reverb that we did earlier now you can hear that jungle sound has got the cicadas doing the really high school kind of screech so I'm actually just tuning the cicadas to the to the key of the track so it's in tune and you might want to take out some low end and then use the pump compressor again and get that sitting nicely with everything else you might even take that arpeggio down now I want to beef that bass up so this is where I'm going to use the soundToys Decapitator students of my master class actually get 50% off all the master class sorry all the soundToys stuff anyway so you can check out about my master class below this video so you can add you can hear it adding some richness and what I'm gonna do now is I'm going to group the kick and the bass together like so and I'm gonna you can just bust them if you're not using Ableton but Ableton's got this cool group thing so now the kick and the bass so there's the bass bus which has these two separate bases in it and then that in turn is in the kick and bass bus so it's kind of nested and this is so we can gel the kick and the bass together and getting get them really sounding fat so I'm going to put another Decapitator on the kick and the bass bus and then tweak it just a tiny bit though at this stage and then I'm going to use this free plugin bark of dog just to add some lower harmonics I'm going to boost it right up then tweak this till I hear where the sweet spot is where it's resonating about sixty Hertz Oh then I'll dial it right back and then just add some in so this is with none of our kicking base processing just a bit weaker bit less less gutsy and actually this base the upper base so not the sub base we can actually spread that out using this other free plugin called the but Berber Berber what is it called it is the ozone imager and there's I'll put a link to it below here as well but you can spread out the base now it's already pretty wide actually there's not much need for that I'll just turn that off so forget that all right cool on to the next thing is the strings as I said earlier been boomers tracked are known for their beautiful orchestration so we're going to use some real strings I'm just going to use the ones that come with Ableton as well and we're just going to add some extra notes based in that same key that we've been using which is G minor natural so let's just put strings here and then let's choose one of the string packs that come with Ableton this is Ableton where are they this is the top one I can't remember the suite Ableton suite okay strings let's get something lovely that'll do and I strings ensemble that's French for Ensemble right let's get some beautiful heart-melting chords in I'm just going to play along with the piano chords I'll roll off some of the low-end with the piano as well so it's not clashing with the bass and now let's play some strings yet that's what I will do for the second part of the the sequence let's just stop that playing so this is kind of good going to be building into the repeat of the progression again just using notes from is in the key of G minor natural I'm just making this up as ongoing guy as I'm going so it might not be the best production in the world but it's just to give you an idea let's add some more reverb on the auxilary and next we are going to do a another little riff just kind of rolling things along in the background I feel it needs more rhythm so I'm just gonna do another piano actually so it gels in nicely and we're going to play with those piano chords as well so then we're going to do a vocal and a couple of effects and then some arrangement I know we're running out of time so let's get this going okay piano I'm going to delete the reverb I don't want that just going to confuse things I'll delete me utility and I'm just going to repeat two notes over and over for this so that's what I'm gonna repeat over and over and I'm gonna play it so we've got some nice you know I'm actually really playing it so we'll have some discrepancies and velocity okay I screwed up a bit at the end there so I'm gonna do is split it into consolidate that then I'm gonna actually quantize it so it's nicely in time but we want this sat right back in the rift now in the mix and then repeat it make sure that we don't have any unwanted low frequencies in the strings okay so we are almost there now we're going to add some extra kind of excitement so what I'm going to do for this is that actually I'm gonna sing something so sorry in advance but I just want to give it some texture and then I'm going to convert it into a kind of female voice by using formants and picking it up a bit so here we go blah blah blah can you hear me yeah simple as that gosh and now let's put complex Pro on and play with the foreman see if we can get it sounding a bit more like a girl a woman I mean you know it's a bit dodgy but it does the job for the sake of this example I'm just gonna add a bit of EQ make sure the low ends taken out Weaver let's try the arpeggio up one octave cool that's sounding pretty good now I will just add a couple of bits of effect so like something to start the phrase with and then we will get on to making this piano better and then a bit of arrangement then we're done cool so effect what effect should I use I will go into my current project I would just use this crash and just to add some interest and what I can do is actually use a a delay Miley's echo because that's quite nice on a new auxiliary Channel let's stop that piano reverb so a new auxiliary Channel gonna call this delay let's put this echo on there and I'm going to make that that kind of cymbal crash a cup a bit so let's choose notes not dotted one two four where is it crash here we go okay there's a high filter there we go and now it just runs on a bit longer but if I wanted to just have that play the tail rather than the initial impact I could automate that like this show automating in new lane and then just run up that automation after the initial transient and then we've got this effect so it's just a kind of ringing that's delayed as opposed to the initial transient see so this is a bit softer and nicer okay with these piano chords let's see what we can do what I'm gonna do is just do a bit of an ad-lib cuz it sounds nice ready hi nice it's like someone's got my heart they've opened up that heart and taken another so I hope that gives you an idea about how to start developing this progressive house sound as I said I've done this all from scratch so it's not perfect but I've shown you some really useful tips if you've enjoyed it let me know smash the hell out of that life but like button give me a hell yet in the comments below and download this project and all the files I'm actually gonna I'll do some more work on this so it sounds better but in terms in fact in terms of the baseline the Benbow my baseline what you can do is let's average us listen to the kick in the bait you can actually add a the second oscillator you could bump that up seven semitones and then you get this cool effect and then you could automate the frequency as well as he does in that in memoriam track so that's pretty dope as well I know one more thing we are now going to do a bit of arrangement very quickly because it's all about arrangement as well so I'm just going to copy and paste some of this and we're just going to develop it slightly so you might just have the arpeggio and the effect in the background you know like the jungle effects so let's try that and that might be improved even with a bit of baseline but you could turn off the sidechain compression for that so it's less pumpy and you probably want to you know take the bass level down for this brain and then it would go into you know the very minimal beats I probably take some of those notes out from the cords just to make it a bit less and with the strings you wouldn't have those repeating so you could add some ad lib there as well and you wouldn't you wouldn't overuse that vocal as well but you can see how you you'd start off with that lovely beautiful ethereal atmosphere at first and then you go into the beats and the main idea and then just develop those drums over time as well and then you go into another break but if you do want to if you would want to arrange this into a full track that's when you could use a reference track to get a better arrangement from it and I'll link to a video there as well so there you have it guys I really hope you enjoyed this Benbow my progressive house tutorial don't forget you can grab all the files below this project completely free if you want to find out more about my master class then there's also a link to that below as well where you can get 50% off sound toys and loads of other plugins too thanks for watching until next time stay safe cheers and happy producing
Up Next

7:55
Ambient Drum and Bass Production: Ableton Techniques for Chords, Drums, and Bass
@glueue
17.8K views•2023-10-21

12:54
Triumph of Orthodoxy Icon: Byzantine Art & History Explained
@BenCallan
2.1K views•2024-08-06

23:59
Melody Writing Guide: 3 Rules for Catchy Musical Ideas
@EDMTips
939.8K views•2022-10-18

1:42
Game of Thrones Opening Credits: A Cinematic Analysis
@gameofthrones
46.3M views•2011-04-18
Related Study Plans & Knowledge Roadmaps
Structured learning paths in General & Interdisciplinary Studies
general-studies
Elevator Engineering: History, Physics & Cities
01From Hoists to Safety Brakes: The Dawn of Vertical Lift
02Hydraulic vs. Traction: The Engineering Physics of Elevators
03Modern Speed, Safety, and Algorithms
+ 2 more learning modules
12h5 modules
Explore Roadmap
general-studies
Rubber: Material Science, History & Geopolitics
01Origins of Natural Rubber & Mesoamerican History
02The Chemistry of Natural Rubber & Vulcanization
03The Geopolitics of the Rubber Boom & Colonization
+ 2 more learning modules
12h5 modules
Explore Roadmap
general-studies
Containerization: Evolution, Logistics & Trade
01Ancient Trade & Bulk Cargo: Amphorae to Barrels
02The Industrial Revolution & Cardboard Packaging
03The Containerization Revolution: Malcom McLean
+ 2 more learning modules
12h5 modules
Explore Roadmap
general-studies
Textile Tech: Evolution, Labor & Global Impact
01Pre-Industrial Textiles: Handloom & Cottage Industry
02Mechanization: The Spinning Jenny to the Power Loom
03The Factory System & Global Labor Transformation
+ 2 more learning modules
10h5 modules
Explore Roadmap