The spot test is a microbiological technique used to detect bacteriophages by spotting 3 microliters of filtrate onto a lawn of Mycobacterium log on an agar plate; if phage is present, a clear spot (zone of lysis) will appear where the bacteria were killed, allowing researchers to identify promising samples for further study. The procedure requires proper labeling of plates with sample source, dilution, name, and date, along with a negative control using phage buffer to verify no contamination occurred. Plates are incubated overnight to observe results.
Spot Test Protocol 5.6 | Phage Isolation Lab Demo
Added:Deep Dive
Basic bacteriophage biology, including the lytic cycle and host-virus specificity.

Lytic cycle and lysogenic cycle of bacteriophage | virology lecture 5
103.6K
Bacteriophages are viruses that specifically infect bacteria, with E. coli being the model organism. Unlike animal viruses, they inject only their nucleic acid through a contractile tail acting as a syringe. The lytic cycle follows six stages: adsorption (binding to host receptors), penetration (tail-mediated injection), biosynthesis (host-hijacked production of viral components), assembly (capsid, tail, and genetic material organization), maturation (viral particle completion), and lysis/release (host cell rupture and progeny release). This virulent cycle kills the host cell but ensures rapid viral propagation.
Click to watch →

lytic cycle of bacteriophage | virus lytic cycle explained | life cycle #virus#bacteriophage
330
Bacteriophages are viruses that infect bacteria and have puzzled scientists due to their ambiguous cellular status. Discovered by Frederick Art in the UK, these 'bacteria eaters' complete their life cycle inside bacterial hosts. Unlike cellular organisms, bacteriophages lack their own genetic machinery including ribosomes, tRNA, and mRNA. They rely entirely on host cellular machinery for replication. The lytic cycle, consisting of five sequential steps—adsorption (binding to host cell), penetration (genetic material entry), replication (using host machinery to multiply), maturation (development of viral particles), and release (bursting out of host cell)—demonstrates how these acellular entities achieve self-replication. A single bacteriophage can produce millions of progeny through this efficient cycle.
Click to watch →
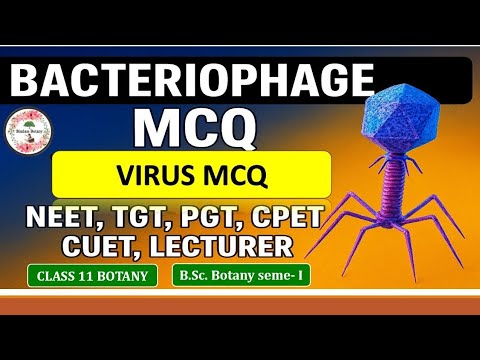
VIRUS MCQ|| BACTERIOPHAGE MCQ || VIROLOGY|| MICROBIOLOGY MCQ|| VIRUS|| LYTIC AND LYSOGENIC CYCLE||
614
Bacteriophages are viruses that specifically infect bacteria, discovered by Frederick Twort and Felix d'Herelle. Most have double-stranded DNA as genetic material, though some like MS2 use single-stranded RNA. Structure includes head (capsid with capsomeres), collar, tail, tail fibers (for host attachment), base plate, and tail sheath. The lytic cycle follows: attachment, penetration (DNA injection via tail sheath contraction), replication, assembly, and lysis. Key enzymes include lysozyme (degrades bacterial cell wall) and endolysins (rupture cell wall for viral release). T4 is a virulent phage that always follows the lytic cycle. Lambda and T4 are most studied in molecular biology. Host specificity is determined by tail fibers recognizing bacterial receptors.
Click to watch →
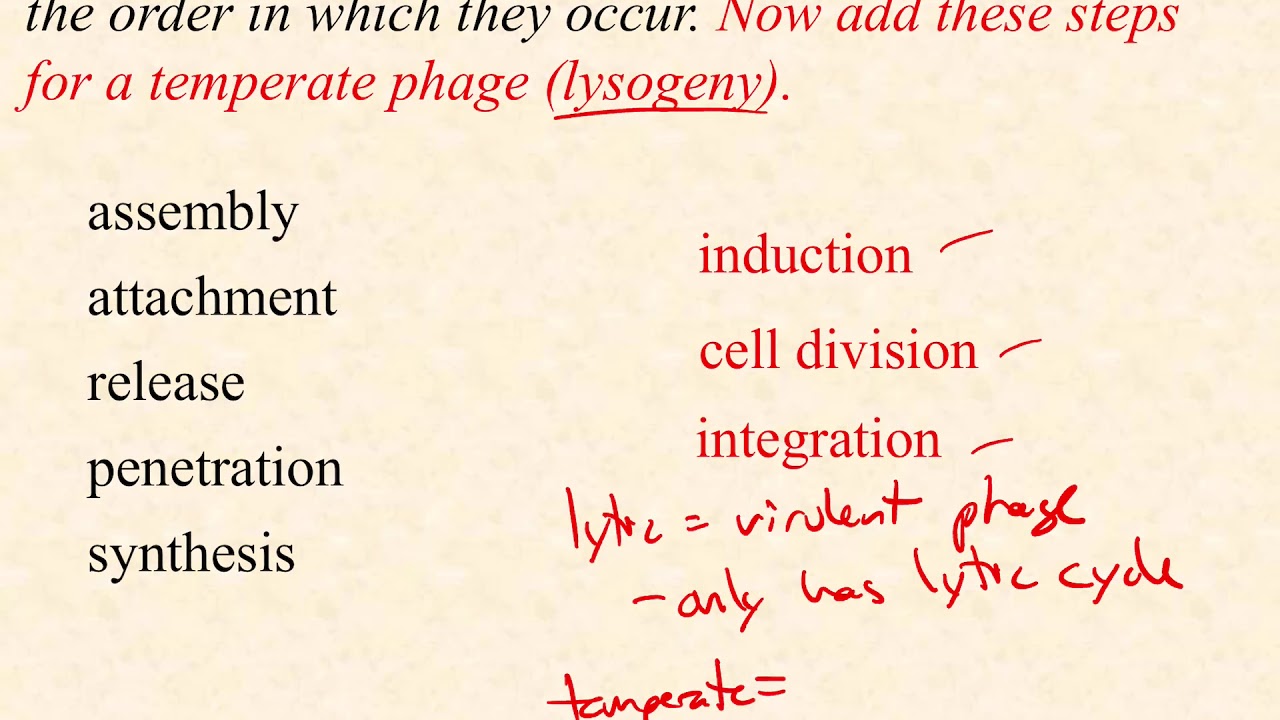
BIO2020 Episode 045: viruses part 5
988
The lytic cycle is the primary life cycle of bacteriophage, consisting of five stages: (1) Attachment/adsorption via tail fibers determining host specificity; (2) Penetration where only viral DNA enters the cell; (3) Biosynthesis hijacking host machinery to produce viral components; (4) Assembly and packaging of new virions; (5) Release via lysozyme breaking the cell wall. The typical burst size is 100-300 virions. Most human viruses follow this pattern with key differences.
Click to watch →

Seminario CCG: Dra. Laura Bonofiglio.
189
Bacteriophages (phages) are viruses that infect bacteria. They can follow different infection cycles: the lytic cycle (where phage progeny are produced and released, lysing the bacterial cell) and the lysogenic cycle (where the phage genome integrates into the bacterial chromosome as a prophage). Prophages can be replicated along with the bacterial genome during cell division. Under certain stimuli, prophages can excise and enter the lytic cycle. Phages are highly host-specific, meaning they can only infect bacteria with specific receptors. Phages produce enzymes called lysins that break down the bacterial cell wall, allowing progeny release.
Click to watch →
Deep Dive
Fundamental aseptic techniques for maintaining sterile working environments in a microbiology lab.
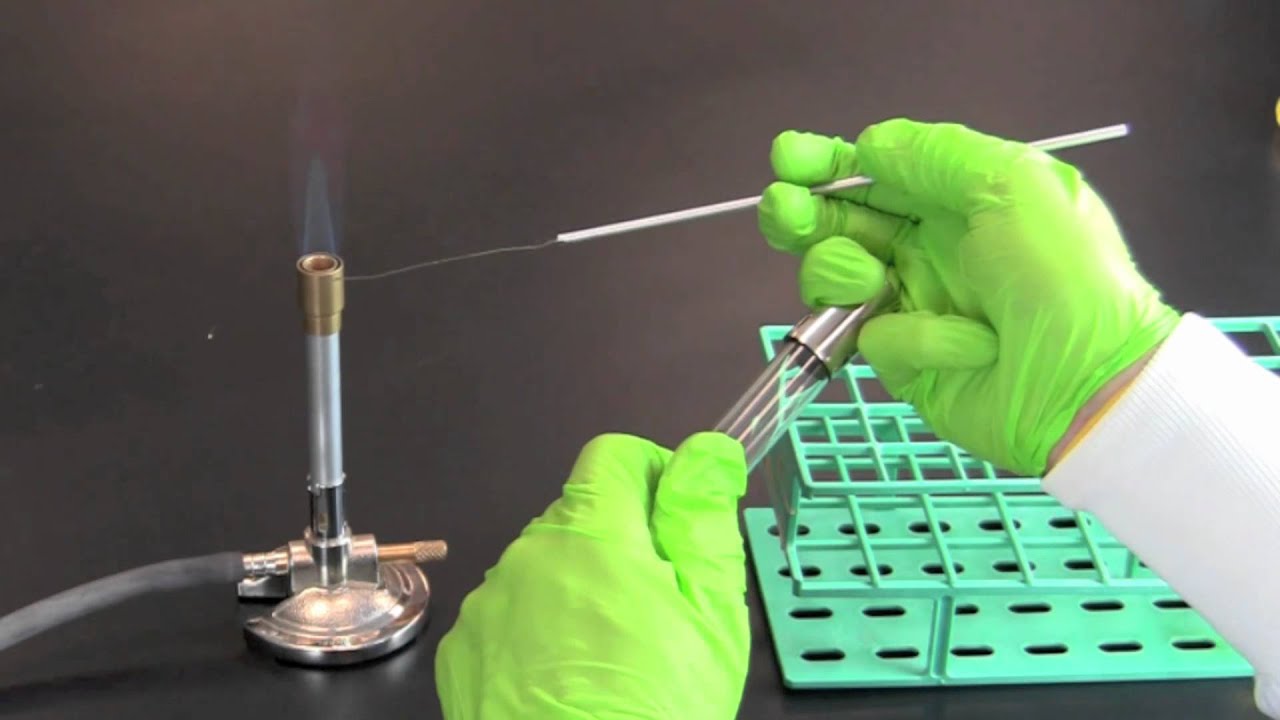
Aseptic Technique
1.2M
Aseptic technique is a fundamental microbiological practice that prevents contamination during bacterial transfers by using a Bunsen burner to sterilize inoculation tools (loops and needles) through the hottest part of the flame, then carefully transferring bacteria between cultures while maintaining sterility through proper flaming procedures and shielding techniques.
Click to watch →
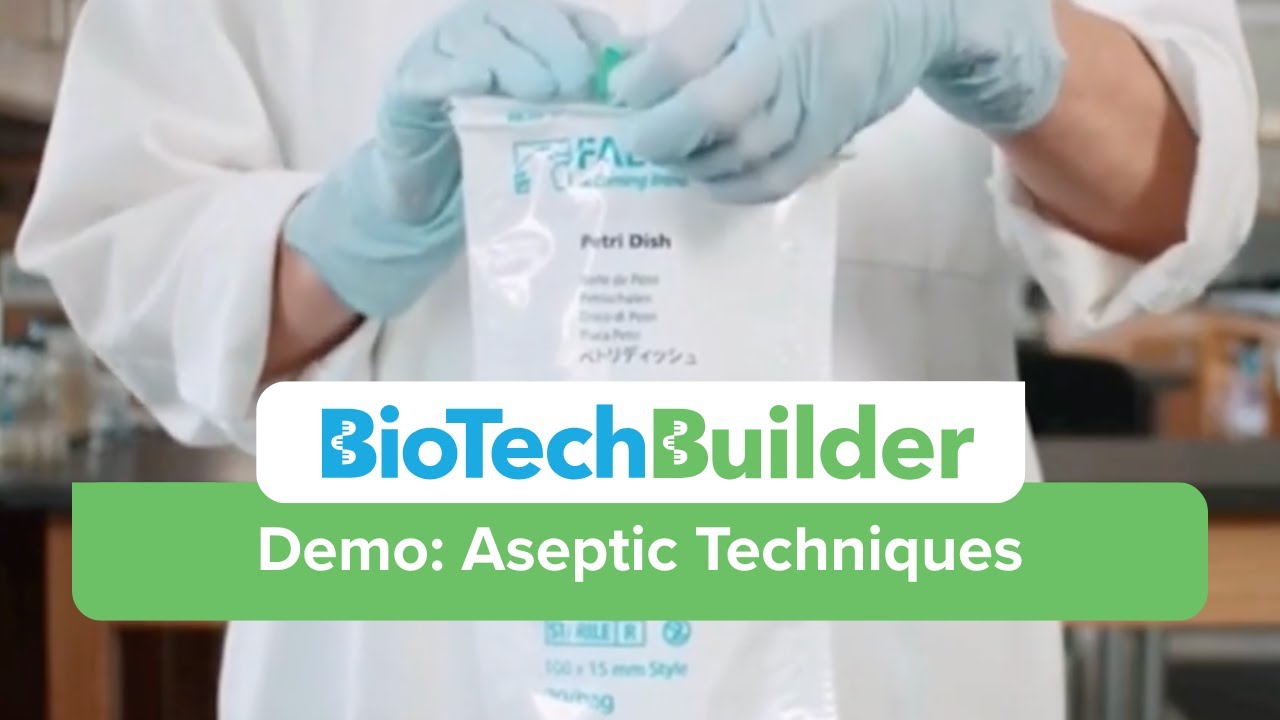
Aseptic Techniques: Lab Skills Demo for Science & Biotech Careers | BioTechBuilder STEM Curriculum
1.6K
Aseptic technique is the essential laboratory method for preventing contamination of samples and oneself during microbiology experiments, involving proper hand washing, surface sterilization with bleach or alcohol, opening sterile materials from the non-working end, and maintaining sterility throughout procedures like pipetting, spreading cells on petri dishes, and preparing overnight cultures.
Click to watch →

Técnicas Assépticas
3.5K
Aseptic techniques are essential laboratory methods for manipulating microorganisms while minimizing contamination, involving the sterilization of all materials (Petri dishes, culture media, test tubes) before use and the use of flame sterilization to create a sterile environment around the work area; key practices include working alone with materials within reach, opening Petri dishes minimally with one hand while holding the base with the other, sterilizing the platinum loop by passing it through the flame before and after each use, and performing all manipulations behind the flame to protect both the material and the operator from contamination.
Click to watch →
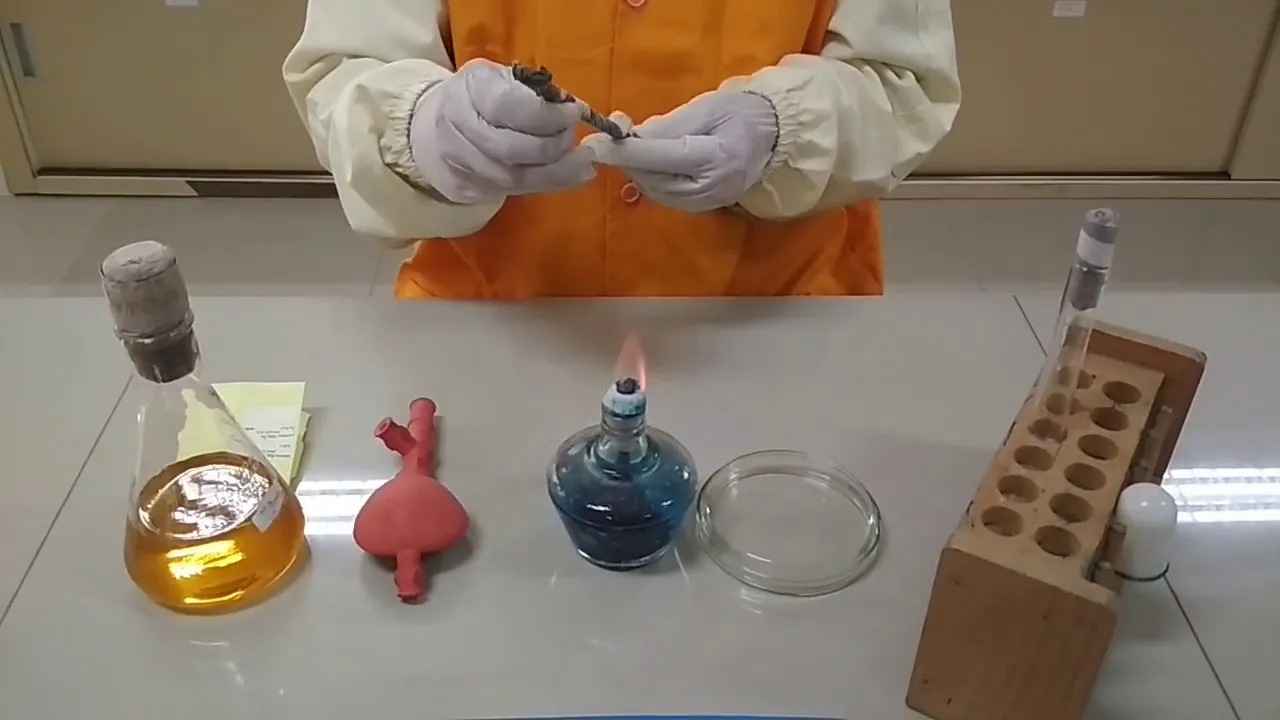
Video tutorial teknik aseptik
20.8K
Aseptic technique is a fundamental laboratory method used to prevent contamination during microbiological analysis, involving proper work area sanitization with 70% alcohol, wearing appropriate personal protective equipment (gloves and masks), sterilizing equipment by passing through flame, and maintaining sterile conditions throughout all procedures including handling test tubes, Petri dishes, pipettes, and media preparation.
Click to watch →

ANTIBACTERIAL EFFECT OF PLANT EXTRACTS
24K
Aseptic techniques are procedures used to maintain sterile conditions and prevent contamination during microbiological work. Key techniques include: wiping work surfaces with 70% ethanol or bleach before use; holding bottle caps between fingers rather than placing them on tables; flaming the neck of bottles with a Bunsen burner flame to create hot air drafts that prevent airborne contamination; opening lids minimally and quickly; and working near the flame source. These practices ensure only the desired bacteria grow in the culture.
Click to watch →
Deep Dive
The principles and operation of micropipettes for accurate micro-volume liquid handling.
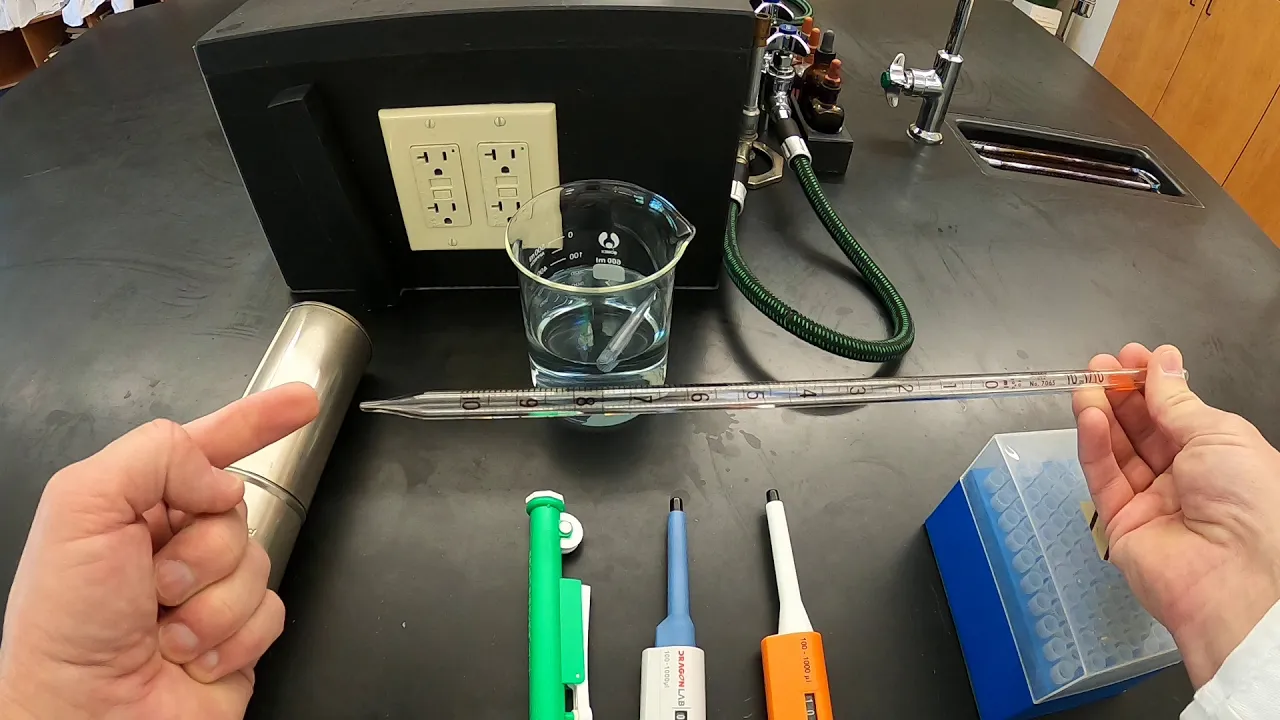
Pipette Types
18.8K
This comprehensive segment teaches micropipette operation for precise liquid handling. Micropipettes operate in the 100-1000 microliter range (equivalent to 0.1-1.0 mL). Key techniques include: (1) Always hold pipette with fingers supporting it while pressing plunger with thumb; (2) Use disposable tips kept sterile by keeping tip box lid closed; (3) The plunger has two stops—first stop for liquid aspiration, second stop for complete ejection; (4) To aspirate: press to first stop, insert tip, slowly release plunger; (5) To eject: press to first stop then second stop multiple times to remove residual liquid; (6) Never set volume outside manufacturer's specified minimum or maximum range. Proper technique ensures accurate measurements and prevents pipette damage.
Click to watch →
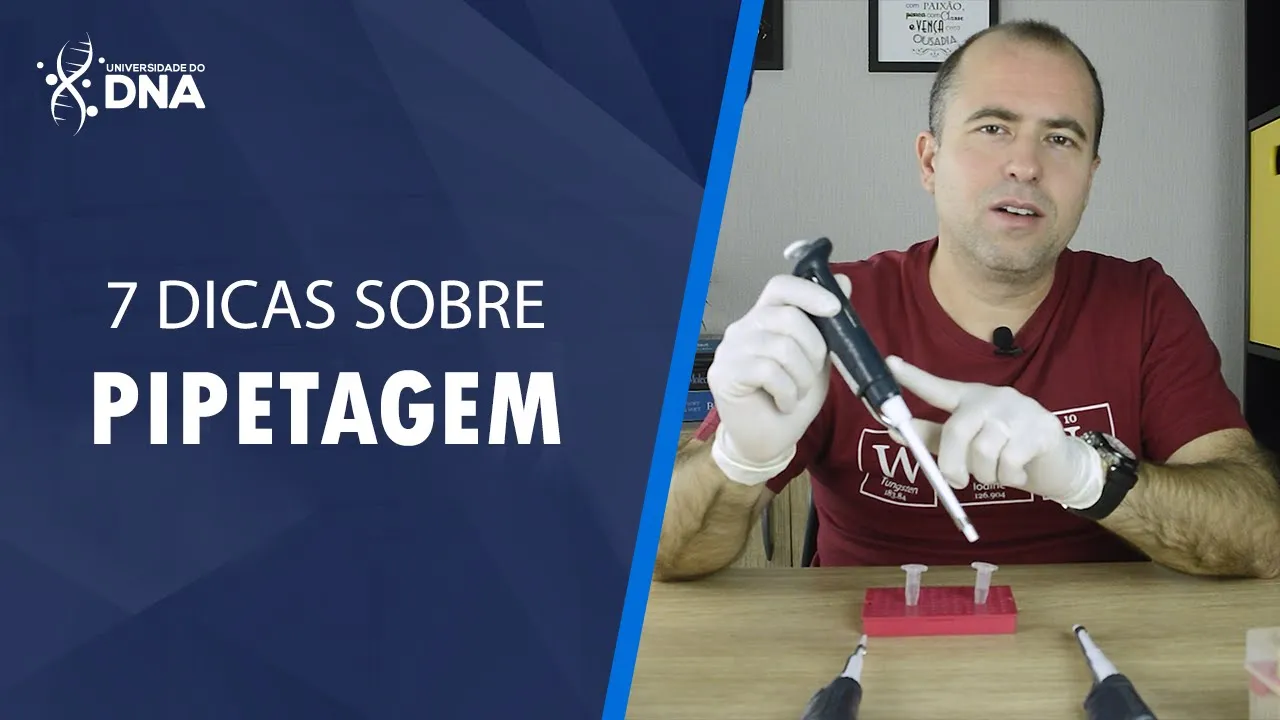
Aprenda a usar micropipetas do jeito certo!
44.1K
This video presents 7 essential tips for accurate micropipette use in molecular biology laboratories: (1) Select the micropipette with the smallest range that accommodates your required volume to minimize internal stress and maximize precision; (2) Use the first piston stage for aspiration and second stage for dispensing, controlling speed carefully to prevent liquid splashing or inaccurate volumes; (3) Maintain proper tip depth by touching the liquid surface without submerging, especially important for viscous reagents like enzymes; (4) Always visually verify liquid delivery by removing tubes from racks to ensure reagents reach the bottom of reaction tubes; (5) Hold the micropipette using the thumb on the piston for better control and ergonomics; (6) Add water first when preparing reactions, followed by other components in order; (7) Homogenize reactions by performing multiple aspiration-dispensing cycles with a pipette set to a volume slightly smaller than the total reaction volume.
Click to watch →

事前学習 マイクロピペット
9.8K
A micropipette is a precision instrument for measuring and dispensing small liquid volumes (microliters), featuring a two-stop system where the first stop aspirates the set volume and the second stop completely expels the liquid; proper technique involves pushing the plunger to the first stop, inserting the tip into the liquid, slowly releasing to aspirate, then pushing to the first stop to dispense most liquid and finally to the second stop to expel all remaining liquid, while avoiding common errors like aspirating to the second stop (which draws excess liquid) or allowing liquid to enter the pipette body.
Click to watch →
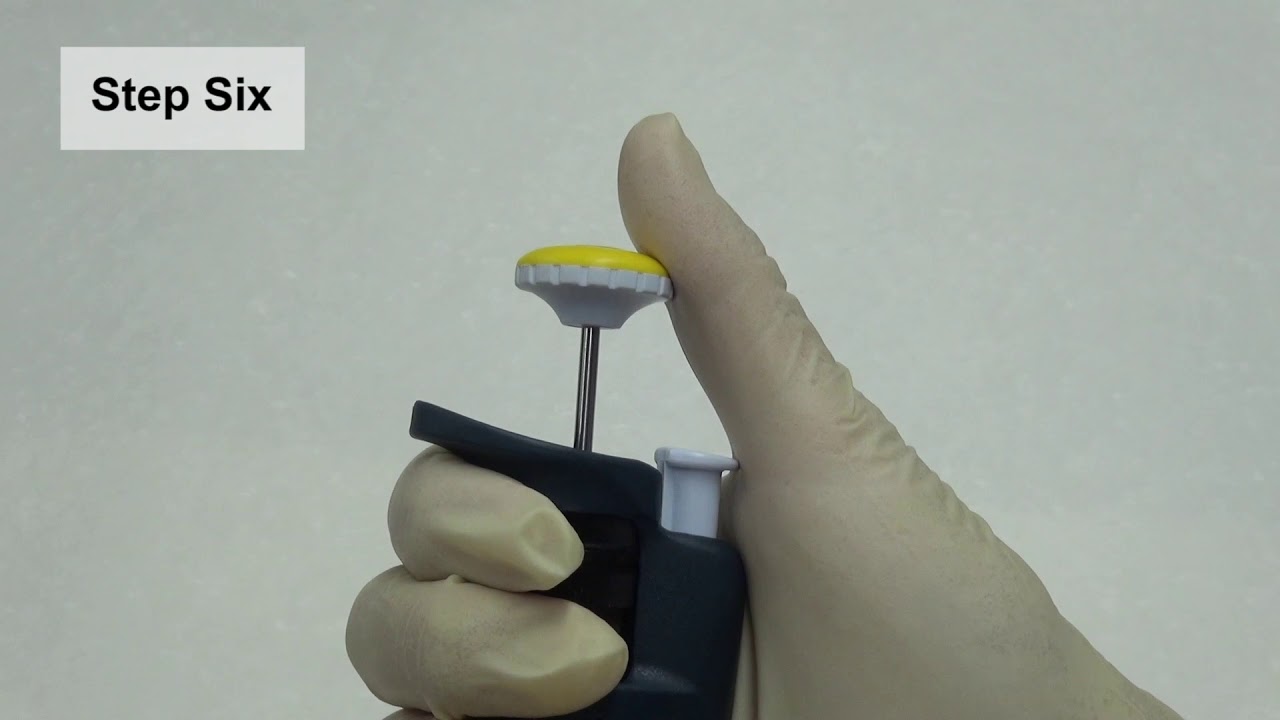
(8-1) Operation of micropipette
253
A micropipette is an essential laboratory tool for handling liquids at the microliter scale in biochemistry experiments, consisting of a main operating button (which also adjusts volume), a tip ejector button, and a digital volume indicator; proper operation requires selecting the appropriate pipette type based on volume range (P10: 0.5-10 μL, P50: 5-50 μL, P200: 50-200 μL, P1000: 200-1000 μL), following a systematic technique that includes aspirating to the first stop, dispensing to the second stop, and sliding the tip along container walls to ensure accuracy and prevent contamination.
Click to watch →
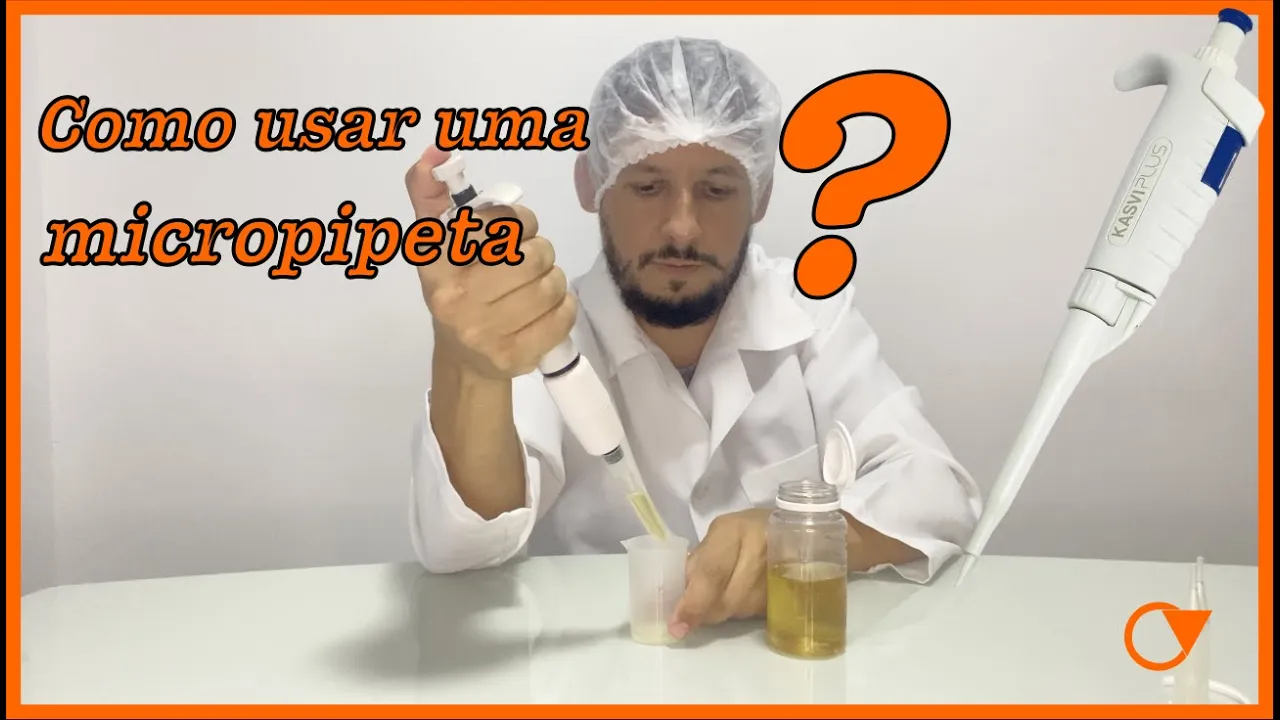
Como usar uma micropipeta?
3.5K
To use a micropipette correctly, first set the desired volume by rotating the dial, then press the plunger to the first stop before inserting the tip into the liquid; slowly release the plunger to draw the liquid, then dispense by pressing to the first stop against the container wall at a 45-degree angle, releasing the plunger, and finally pressing to the second stop to dispense the remaining liquid while keeping the pipette upright to prevent contamination.
Click to watch →
Deep Dive
The concept and preparation of a bacterial lawn or host overlay on agar plates.

Inoculating an agar plate to produce a bacterial lawn
6K
To produce a bacterial lawn on an agar plate for antibiotic susceptibility testing, first label the plate with the date, bacteria type, and student's name on the agar surface, then prepare a bacterial suspension by inoculating water with single colonies from a master plate until it reaches McFarland standard turbidity (approximately 1×10^8 CFU/mL), transfer a few drops of this suspension to the plate using a sterile transfer pipette, and spread it evenly across the entire plate using a hockey stick or T-shaped spreader, allowing it to dry briefly before placing antibiotic discs and incubating for 48 hours to measure zones of inhibition.
Click to watch →
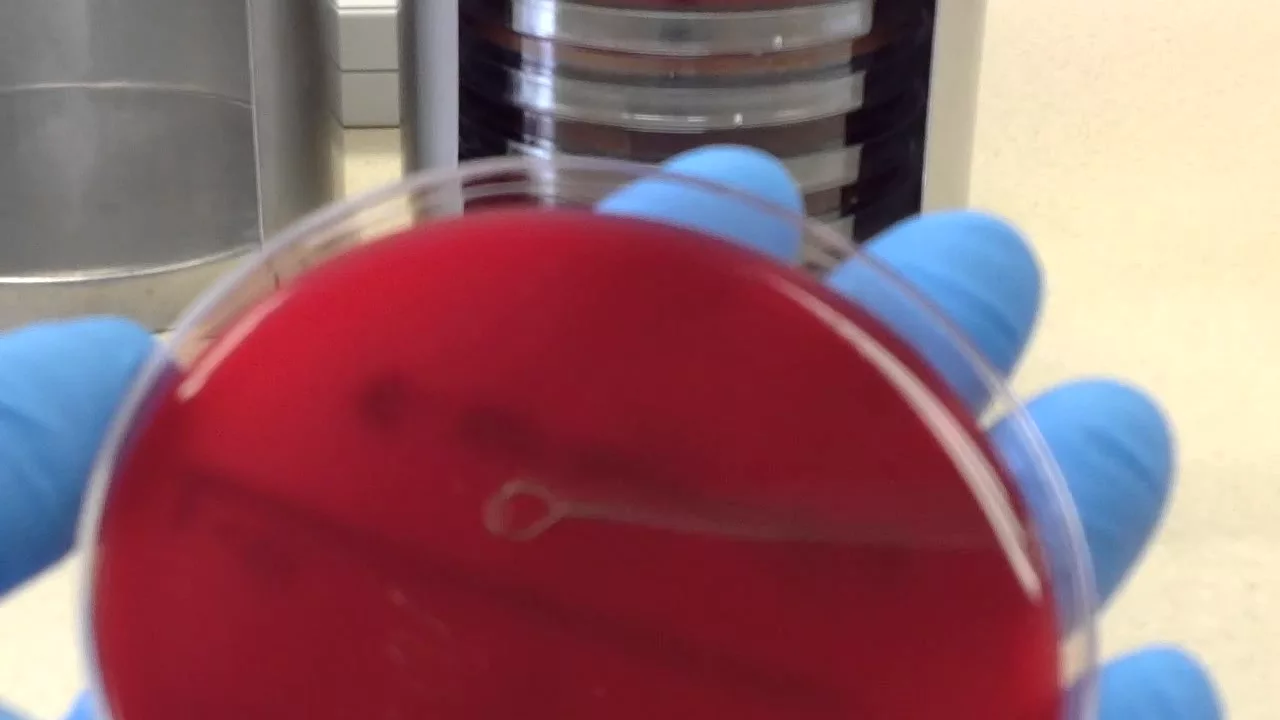
Microbiology - Lawn
30.3K
To create a bacterial lawn for antimicrobial susceptibility testing, evenly distribute the organism (such as Staphylococcus species) across a Mueller-Hinton agar plate using either direct streaking or a sterile swab, then place antibiotic discs (like novobiocin) directly onto the lawn and incubate at 37°C for 24 hours to observe zones of inhibition that indicate resistance or susceptibility patterns.
Click to watch →

Busqueda de antibioticos
1.4K
This segment explains the agar overlay technique for detecting antimicrobial substances. A 0.8% agar overlay is poured over bacterial lawns to allow diffusion of antimicrobial substances. Indicator bacteria (fecal strains from intestinal tract) are used to test sensitivity to antimicrobial substances produced by lactic acid bacteria. The indicator bacteria are standardized using McFarland 0.3 standard to ensure consistent concentration. After incubation at 37°C for 24+ hours, halos of inhibition around colonies indicate antimicrobial production. Colonies showing inhibition are purified and cultured in liquid medium for further analysis.
Click to watch →

How to Prepare the PERFECT Bacterial Lawn Culture | Microbiology Made Easy!
453
A bacterial lawn culture is a confluent bacterial growth spread evenly across an agar plate, essential for antibiotic sensitivity testing, enzyme assays, and UV radiation studies. To prepare a perfect lawn, use a bacterial suspension at 0.5 McFarland standard density and swab the agar surface in all four directions (latitudinal, longitudinal, and two diagonal directions) to ensure uniform coverage without patches or gaps. The swabbing should be performed near the Bunsen burner to maintain sterile conditions, and a final swab along the plate rim ensures complete coverage before incubation.
Click to watch →

The whole of AQA B1 in only 45 minutes. GCSE Core science and biology revision
249.5K
To grow bacteria on agar plates: (1) Sterilize the inoculating loop by flaming it, (2) Pick up bacteria and spread it on the agar, (3) Close the lid quickly to prevent airborne bacteria contamination, (4) Store at 25°C (school) or 37°C (lab) to prevent dangerous bacteria growth. For antibiotic resistance testing, place antibiotic-soaked discs on plates; clear zones indicate effective antibiotics.
Click to watch →
Prerequisite Knowledge
- Concept 01Basic bacteriophage biology, including the lytic cycle and host-virus specificity.
- Concept 02Fundamental aseptic techniques for maintaining sterile working environments in a microbiology lab.
- Concept 03The principles and operation of micropipettes for accurate micro-volume liquid handling.
- Concept 04The concept and preparation of a bacterial lawn or host overlay on agar plates.
Subsequent Learning
- Step 01Phage titer determination using serial dilutions and plaque assays (PFU/mL calculations).
- Step 02Plaque purification techniques to isolate a genetically homogenous, clonal phage line.
- Step 03High-titer lysate preparation and downstream genomic DNA extraction of the isolated phage.
- Step 04Characterization of phage morphology using Transmission Electron Microscopy (TEM).
- Step 05Practical applications of isolated phages, such as phage therapy development or food safety biocontrol.
Spot Test Basics
Spotting Technique
Reading Results
Spot Test Basics
0:14Playing Section
- 1
Spot test confirms presence of phage in filtrate.
- 2
A clear spot on the plate indicates positive result.
- 3
Essential step before proceeding to further assays.
Limitations of Spot Testing: Lysis from Without and False Positives
While spot testing is a rapid and convenient screening method for detecting bacteriophages, it has significant limitations compared to quantitative plaque assays like the double-agar overlay. A major criticism of the spot test is its susceptibility to false positives caused by 'lysis from without' or chemical toxicity. This phenomenon occurs when high concentrations of non-replicating phages, bacteriocins, or residual enzymes (such as endolysins) in the filtrate kill the host bacteria, creating a clear zone that mimics viral replication. Consequently, a positive spot test does not definitively prove the presence of viable, replicating phages. To confirm true phage infection and quantify viral particles, researchers argue that the spot test must always be followed by a serial dilution plaque assay, which ensures that individual plaques arise from the replication of single progenitor phages rather than localized toxicity.
Deep Dive
Phage titer determination using serial dilutions and plaque assays (PFU/mL calculations).

Phage titer calculation
61.7K
To calculate phage titer, count plaques on a countable plate (30-300 plaques), then use the formula: titer = (number of plaques) / (infection volume in mL × dilution factor), expressing the result as plaque-forming units (PFU) per milliliter; for example, 39 plaques counted from a 10-microliter infection at a 1×10⁻⁹ dilution yields 3.9×10¹² PFU/mL.
Click to watch →

Module 35 Determination of Phage Titre T4 by Plating Method Using E coli
145
The plaque assay is a fundamental microbiological technique used to determine the concentration of bacteriophages (such as T4) in a sample by counting clear zones (plaques) formed when phages infect and lyse bacterial cells (E. coli K12 or strain B) on agar plates; each plaque represents one or more phage particles that infected a single host cell, and the titre is calculated by dividing the number of plaques by the dilution factor and volume of sample used, expressed as plaque forming units per milliliter (PFU/mL).
Click to watch →

Lab 6-5: Plaque Assay
12.5K
A plaque assay determines viral titer by serially diluting a phage stock, mixing each dilution with E. coli host cells, and plating onto agar to form plaques (clear zones where viruses lyse bacterial cells); the titer is calculated as plaque-forming units (PFU) divided by the final dilution factor, with reliable counts obtained from plates containing 30-300 plaques.
Click to watch →
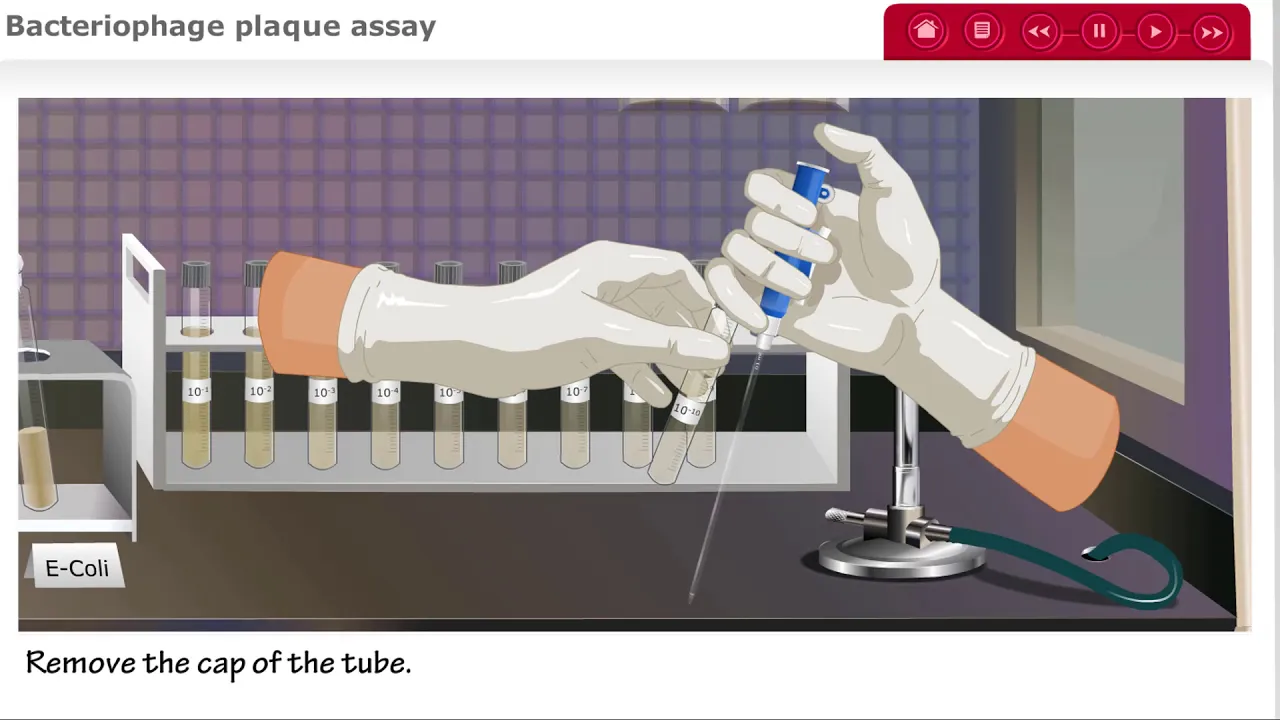
Bacteriophage Plaque Assay for Phage Titer UPDATED
49.7K
The bacteriophage plaque assay is a laboratory technique used to determine the concentration (titer) of bacteriophages in a sample by serially diluting the phage stock, mixing each dilution with a bacterial culture (E. coli) in soft agar, pouring onto petri plates, and incubating; the number of clear plaques formed indicates the original phage concentration, with more dilute samples yielding fewer plaques.
Click to watch →

Plaque Assay (for Bacteriophages)
27.5K
The plaque assay is a laboratory technique used to quantify bacteriophages by counting clear spots (plaques) formed on agar plates after incubation, where each plaque represents one infectious viral particle; the virus concentration is calculated by multiplying the plaque count by the dilution factor and dividing by the inoculum volume, expressed as plaque forming units per milliliter (PFU/mL).
Click to watch →
Deep Dive
Plaque purification techniques to isolate a genetically homogenous, clonal phage line.

Foro de Investigación Subgraduado | Departamento de Ciencias y Tecnología - Inter Investiga
111
Bacteriophage isolation involves collecting environmental samples (such as soil from Isabela, Puerto Rico), mixing with liquid solution, incubating in a shaker, and centrifuging. The supernatant is filtered through a 0.22-micrometer filter to isolate bacteriophages from other particles. Two methods exist: direct isolation (immediate plaque assay) and enriched isolation (incubation with host bacteria to increase concentration). Multiple rounds of purification yield clonal populations (genetically identical phages) confirmed by consistent plaque morphology. The purified phage is then named (e.g., 'Cyro') and prepared for genomic analysis.
Click to watch →
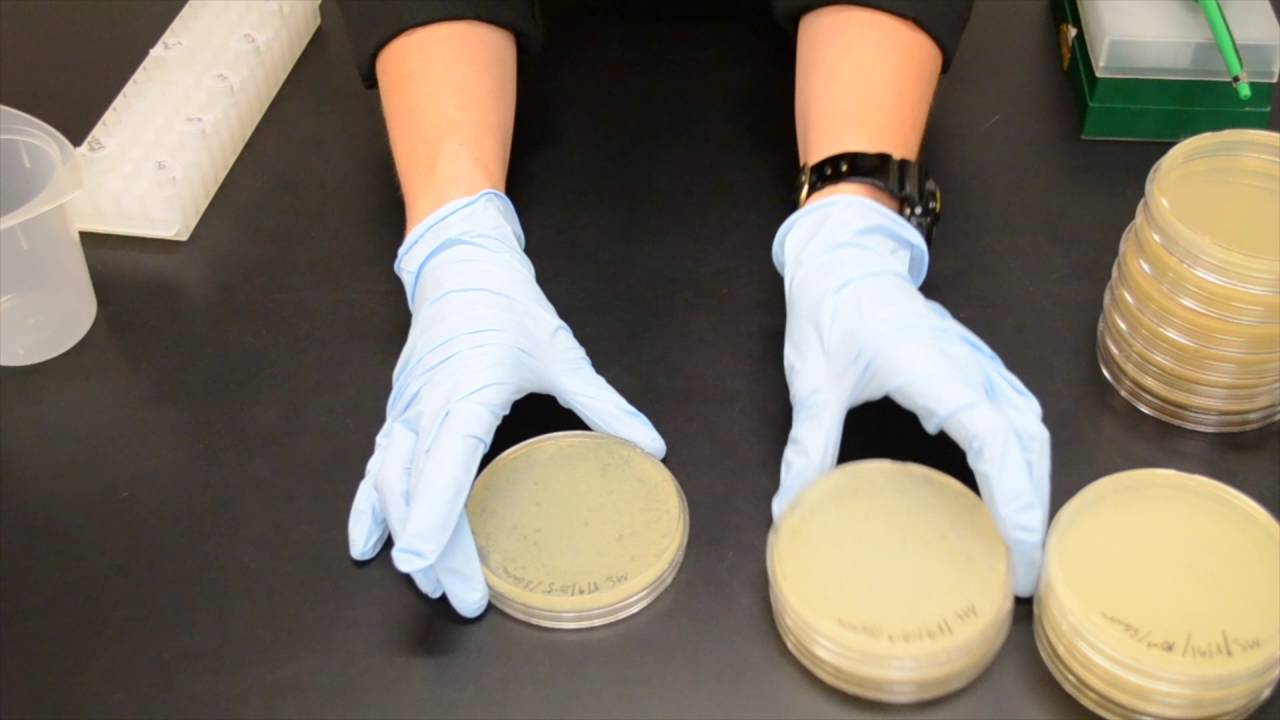
Bacteriophage Plaque Picking Protocol | SEA PHAGES Lab Demo
24K
To pick a bacteriophage plaque, gently touch a micropipette tip to the clear zone of the plaque without breaking through the agar, then transfer the sample to phage buffer and perform serial dilutions to isolate and purify a single phage type for further study.
Click to watch →

Streak Protocol - Week 1
282
The three-phase streak protocol is a laboratory technique used to purify a single species of bacteriophage from a mixed sample by repeatedly diluting the phage across three sections of an agar plate over three weeks, ensuring that only one species remains for characterization. The process involves selecting a well-isolated plaque (at least 0.5 cm from others), using a fresh sterile wooden stick for each streak, and progressively widening the streaks from section 1 to section 3 to achieve dilution. Top agar containing host bacteria is then poured into the most dilute section to grow plaques, allowing researchers to isolate a clonal phage population for further study.
Click to watch →
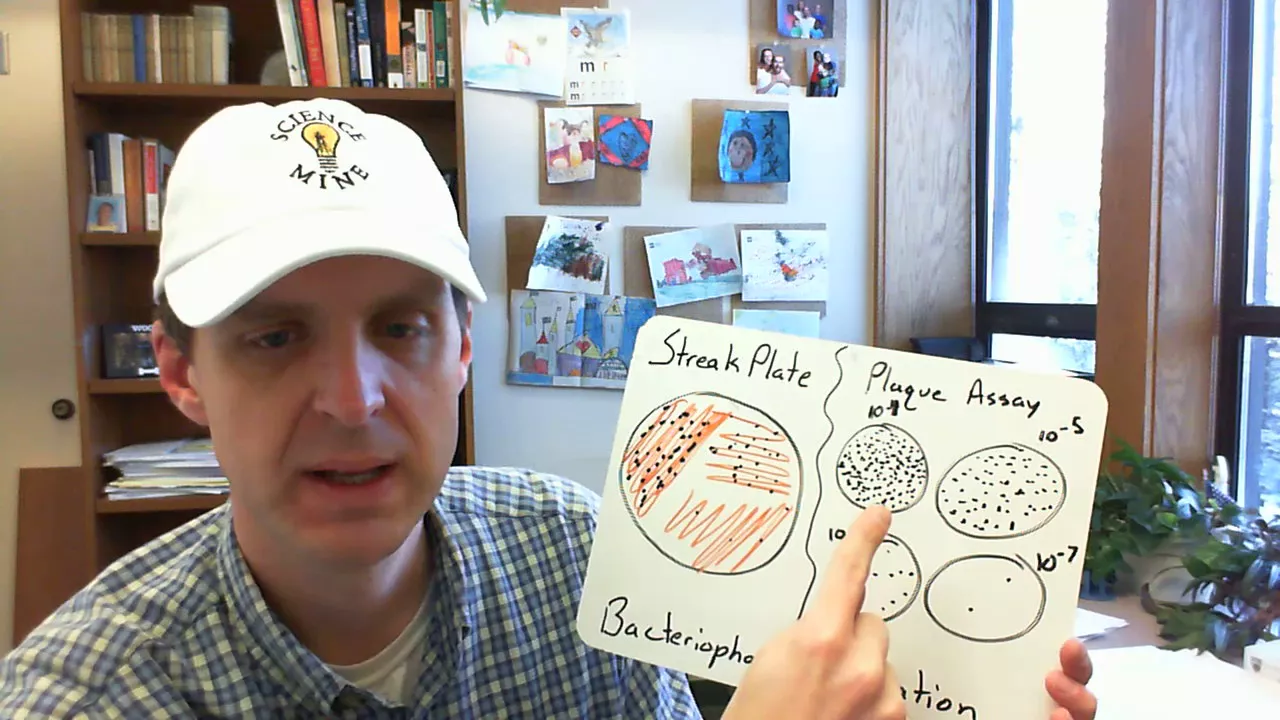
Bacteriophage Purification: Streak Plate vs Plaque Assay
5.2K
This video explains two methods for purifying bacteriophages: the streak plate method, which uses serial dilution and dragging a pipette tip across an agar plate to progressively isolate single viruses, and the plaque assay method, which uses multiple plates with serial dilutions (typically 10^-4 to 10^-7) to identify plates with well-isolated plaques. The streak plate method is simpler and faster but provides less confidence in obtaining a completely clonal population, while the plaque assay method, though more labor-intensive, offers higher confidence that each plaque originated from a single bacteriophage particle, making it preferable for downstream genetic analysis.
Click to watch →

Bacteriophage Purification Technique | How to purify phages | Step-by-Step Guide
658
Bacteriophage purification involves isolating individual plaques from infected bacterial cultures through repeated rounds of plaque picking, filtration, and serial dilution to obtain a pure phage lysate suitable for titer determination; the process includes dissolving isolated plaques in LB broth, filtering the suspension through a 22-micron syringe filter, preparing serial dilutions (5-7 dilutions), mixing with host bacterial suspension, and pouring onto LB agar plates for overnight incubation at 37°C to visualize clear plaques, with the procedure repeated 4-5 times to achieve high-purity phage preparation.
Click to watch →
Deep Dive
High-titer lysate preparation and downstream genomic DNA extraction of the isolated phage.
Bacteriophage Purification Technique | How to purify phages | Step-by-Step Guide
658
Bacteriophage purification involves isolating individual plaques from infected bacterial cultures through repeated rounds of plaque picking, filtration, and serial dilution to obtain a pure phage lysate suitable for titer determination; the process includes dissolving isolated plaques in LB broth, filtering the suspension through a 22-micron syringe filter, preparing serial dilutions (5-7 dilutions), mixing with host bacterial suspension, and pouring onto LB agar plates for overnight incubation at 37°C to visualize clear plaques, with the procedure repeated 4-5 times to achieve high-purity phage preparation.
Click to watch →
Bacteriophage Purification via Cesium Chloride Gradient
14.2K
This comprehensive workflow covers the initial stages of phage purification. First, prepare plate lysate by mixing 100 microliters of target bacteria with phage lysate on top agar, then add to bottom agar. The next day, scrape the top agar layer containing phage particles. For purification, grow bacteria to OD600 of 0.1, infect at MOI 1-5, and incubate until clear. Repeat infection for higher yield. Add 30g/L sodium chloride and 7.5% PEG to precipitate phage overnight in a cold room. Centrifuge to pellet phage, resuspend in buffer, and add chloroform before final centrifugation to remove debris.
Click to watch →
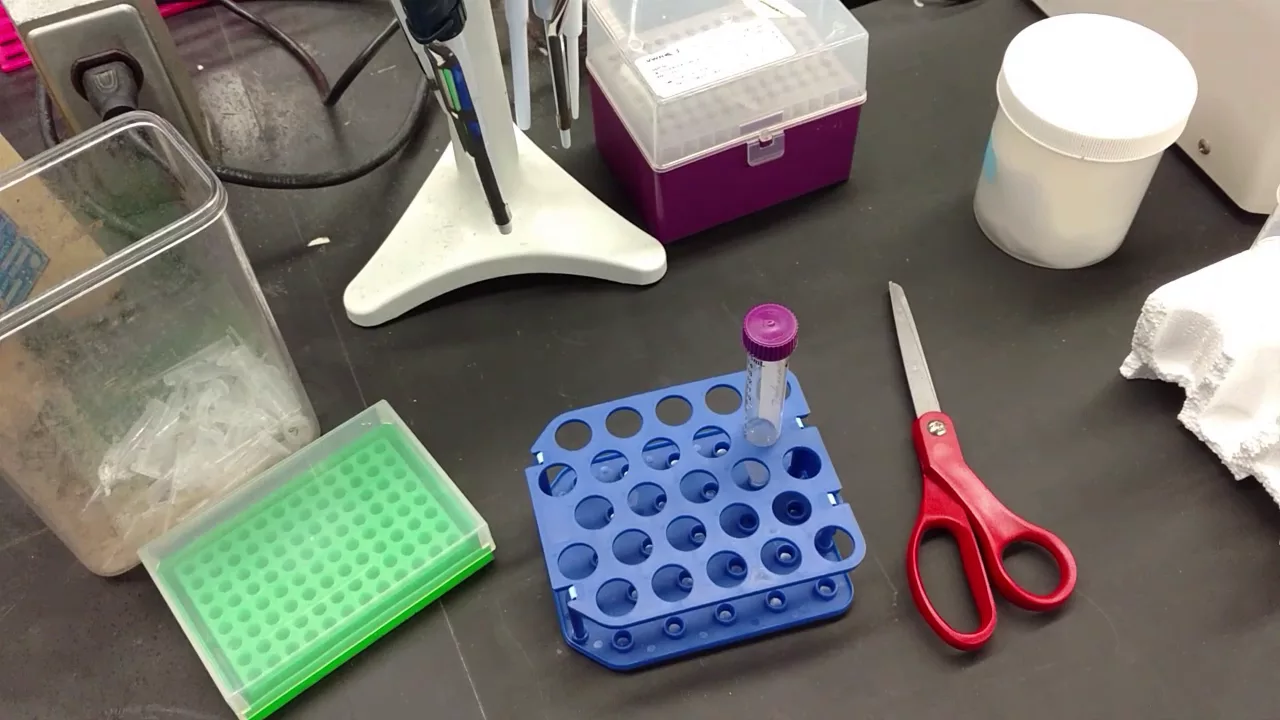
DNA Isolation From Phage Lysate
6K
This video demonstrates a DNA isolation procedure for phage hunters that involves treating phage lysate with nuclease to degrade bacterial nucleic acids, followed by DNA cleanup resin treatment to break open phage capsids and remove contaminating enzymes, then performing multiple isopropanol washes to purify the DNA, and finally eluting the purified phage DNA using a column-based method with heat-treated water.
Click to watch →

Phage DNA extraction
2K
This video demonstrates a column-based DNA extraction method for isolating phage genomic DNA using the Promega Wizard DNA Clean-up kit, which employs ion exchange chromatography instead of traditional phenol-chloroform extraction. The protocol involves four main steps: (1) concentration of phage particles using polyethylene glycol (PEG) to reduce sample volume from 10-20 mL to ~500 μL, (2) purification where guanidine thiocyanate denatures proteins and releases DNA, followed by binding to a resin column, (3) washing with isopropyl alcohol to remove proteins while retaining DNA, and (4) elution using hot water (80°C) to release purified DNA. The final DNA yield is quantified using spectrophotometry to assess purity and concentration.
Click to watch →
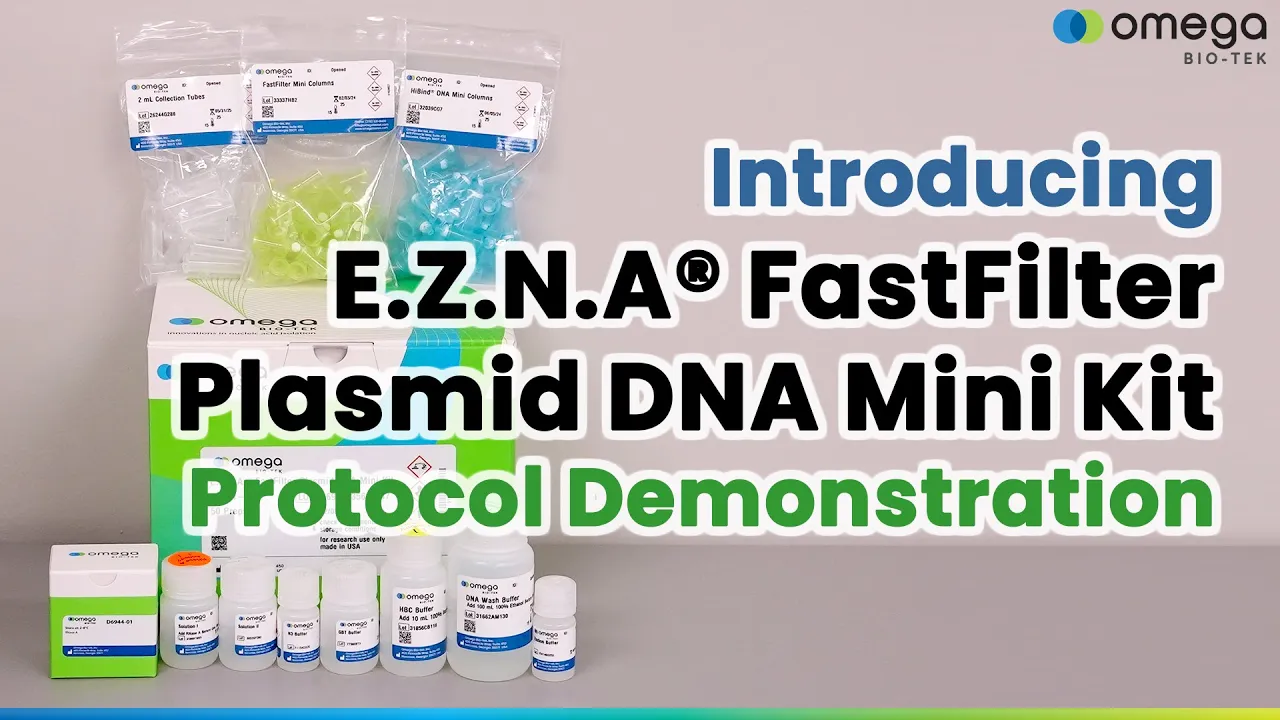
E.Z.N.A.® FastFilter Plasmid DNA Mini Kit Protocol Demonstration | DNA Extraction Bacterial Plasmid
1.6K
This comprehensive phase covers the complete preparation of bacterial lysate for plasmid DNA extraction. It begins with resuspending a bacterial pellet in Solution One (175 μL), mixing until homogeneous, then adding Solution Two (175 μL) without pipetting and inverting 10 times. The mixture sits for 3 minutes before adding N3 buffer (85 μL) with 10 inversions, followed by GBT buffer (100 μL) with 10 more inversions. White flocculent particulates form during this process. The lysate is then loaded onto a nested column system consisting of a 2ml collection tube containing a High Bind mini column with a Fast Filter mini column inside. The uncleared lysate (cloudy and chunky) is directly pipetted into the Fast Filter tube and centrifuged at 13,000 g for 1 minute, separating clear liquid from captured particulate material.
Click to watch →
Deep Dive
Characterization of phage morphology using Transmission Electron Microscopy (TEM).
Foro de Investigación Subgraduado | Departamento de Ciencias y Tecnología - Inter Investiga
111
Transmission electron microscopy (TEM) is the primary method for visualizing bacteriophages. The process involves preparing samples on metal grids, washing with water and stain, and imaging using electron beams. TEM produces high-resolution images revealing phage morphology including capsid (head) and tail structures.
Click to watch →

VIP Webinar Series (13th)- Phage Isolation, Culture, and Characterization
1.2K
Pulse Field Gel Electrophoresis (PFGE) extends DNA sizing beyond standard electrophoresis (0.2-50 kb to 200 bp-12 Mb). Procedure: mix phage suspension with low melting agarose, create plugs, release DNA by overnight shaking at 55°C, wash plugs, perform restriction digestion if needed, load plugs in agarose gel, run at appropriate voltage, stain with ethidium bromide. Transmission Electron Microscopy uses negative staining with uranyl acetate on carbon-coated grids. ~96% of examined phages are tailed phages with characteristic components: head, tail tube, sheath, base plate, spikes, and tail fibers. Different families have distinct morphologies: T4 phages have contractile tails, lambda phages have different tail structures, filamentous phages have long flexible tails. Modern sequencing technologies include Sanger (first generation, ~1000 bp reads), Illumina (next generation, ~300-400 bp fragments requiring assembly), and Nanopore (single-molecule real-time sequencing). Workflow: template preparation, fragmentation, barcoding, PCR amplification, sequencing, and bioinformatics assembly. Coverage of at least 9x ensures reliable reconstruction. Bioinformatics identifies open reading frames (ORFs) coding for structural proteins (capsid/head/tail assembly), enzymes (DNA synthesis), and other functions. Comparative genomics enables species identification and evolutionary analysis.
Click to watch →

Nano Technology (Applied Physics) | Revision Series for University Examination | ACE Engg. Academy
12.6K
TEM provides high-magnification images showing topographical and morphological information (shape, size, defects, orientation). Components: electron gun, condenser lenses, condenser aperture, objective lens, intermediate lenses, projector lens, and screen. Resolution is very high. Specimens must be electron-transparent. Images appear as bright/dark spots indicating varying thickness. Advantages: powerful microscope with high magnification, provides topographical/morphological information, easy to operate with proper training. Disadvantages: only produces black-and-white 2D images, specimens must be electron-transparent.
Click to watch →
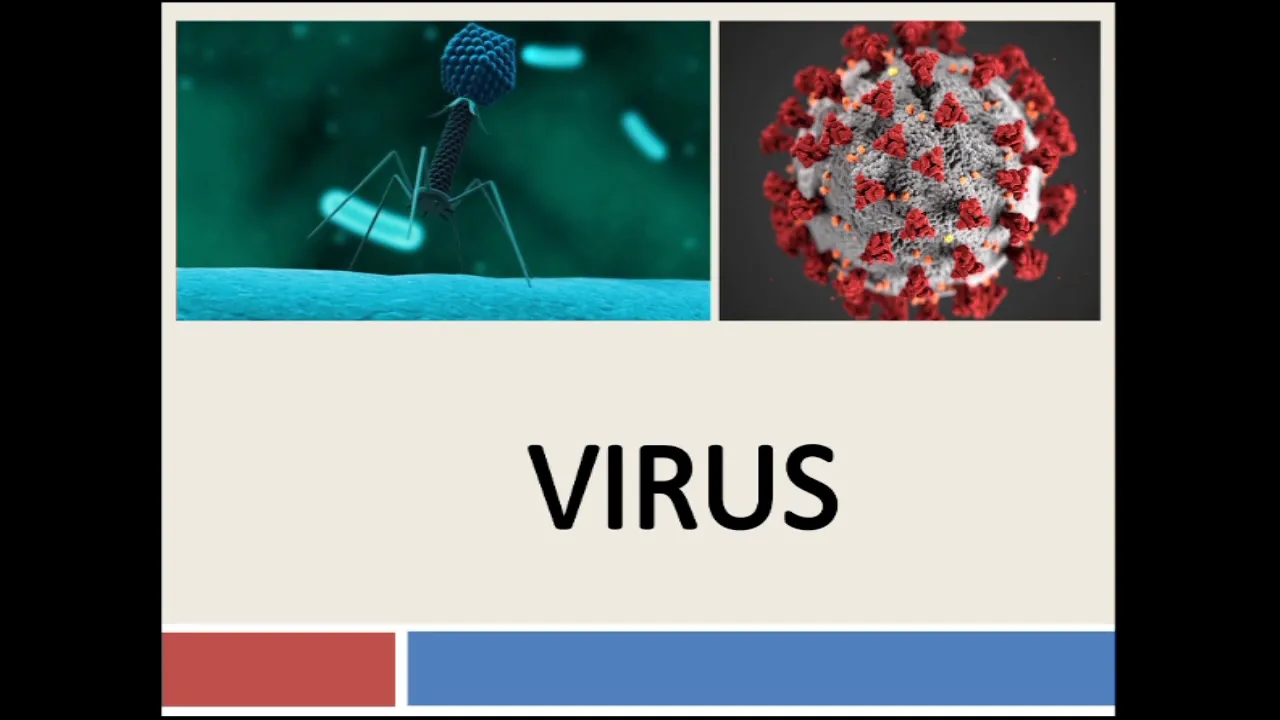
Microbiology of VIRUS Part 1: Properties, Morphology, Symmetry, Bacteriophages, Classification
1.4K
Under electron microscopy, most bacteriophages resemble tadpoles with a well-defined head and tail portion. The head contains the nucleic acid core (single or double-stranded DNA or RNA, but not both) surrounded by a protein coat. There are three basic morphological forms: icosahedral head with tail, filamentous bacteriophages, and complex structures. The tail may be flexible or rigid, very short or up to four times the length of the head. T2 phage of E. coli has a sheath composed of protein subunits and a complex base plate with one to six tail fibers.
Click to watch →
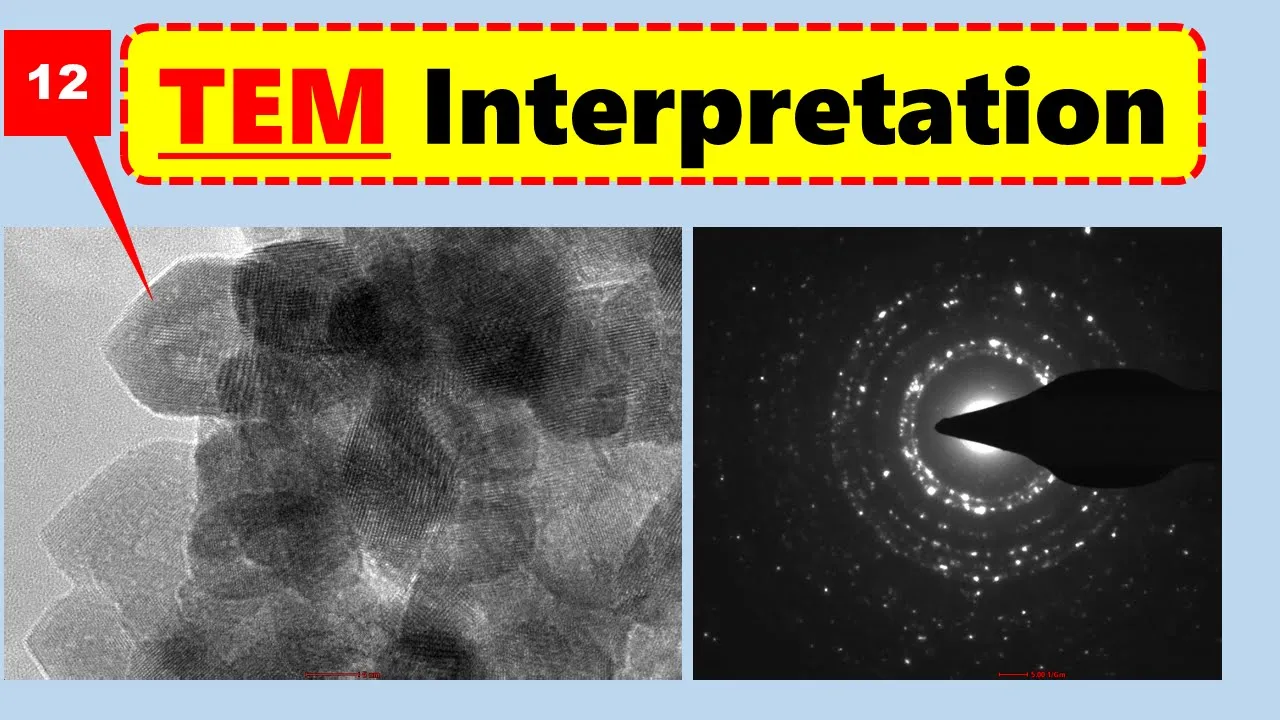
TEM Micro-graphs Interpretation? Transmission Electron Microscopy Characterization Tool
49.7K
Transmission Electron Microscopy (TEM) is a nanoscale characterization tool that provides detailed information about material morphology, including particle size, grain size, crystallite size, dislocation defects, and crystal structure; TEM images reveal whether materials are polycrystalline (showing concentric diffraction circles) or single-crystalline (showing discrete diffraction spots), while high-resolution TEM (HRTEM) can visualize atomic planes and lattice fringes to determine crystallographic orientations and d-spacing values.
Click to watch →
Deep Dive
Practical applications of isolated phages, such as phage therapy development or food safety biocontrol.

Bacteriophage therapy and phage biocontrol
143
Bacteriophages (viruses that infect bacteria) were discovered around World War I and used therapeutically for approximately 25 years before being largely abandoned in the 1940s when antibiotics became commercially viable; however, phage therapy and biocontrol have experienced a resurgence in recent decades, particularly for controlling foodborne pathogens and spoilage bacteria in the agri-food supply chain, with the FDA approving commercial phage preparations in the mid-2000s, offering promising solutions to antibiotic resistance challenges.
Click to watch →

Bacteriophages Diversity And Lytic, Lysogenic Phages (Lambda and P1 Phage) #biodiversity
1.1K
Bacteriophages serve diverse practical applications beyond basic biology. As natural bacterial predators, they form the basis of phage therapy for treating bacterial infections, particularly valuable when antibiotic resistance develops. Combined with antibiotics, phage therapy shows promising future potential. In biotechnology, phages enable bacterial transduction for genetic engineering and serve as cloning vectors for transferring recombinant genes between bacteria. In agriculture and food safety, phages function as biocontrol agents, mediating targeted killing of pathogenic bacterial populations while sparing beneficial microbes.
Click to watch →
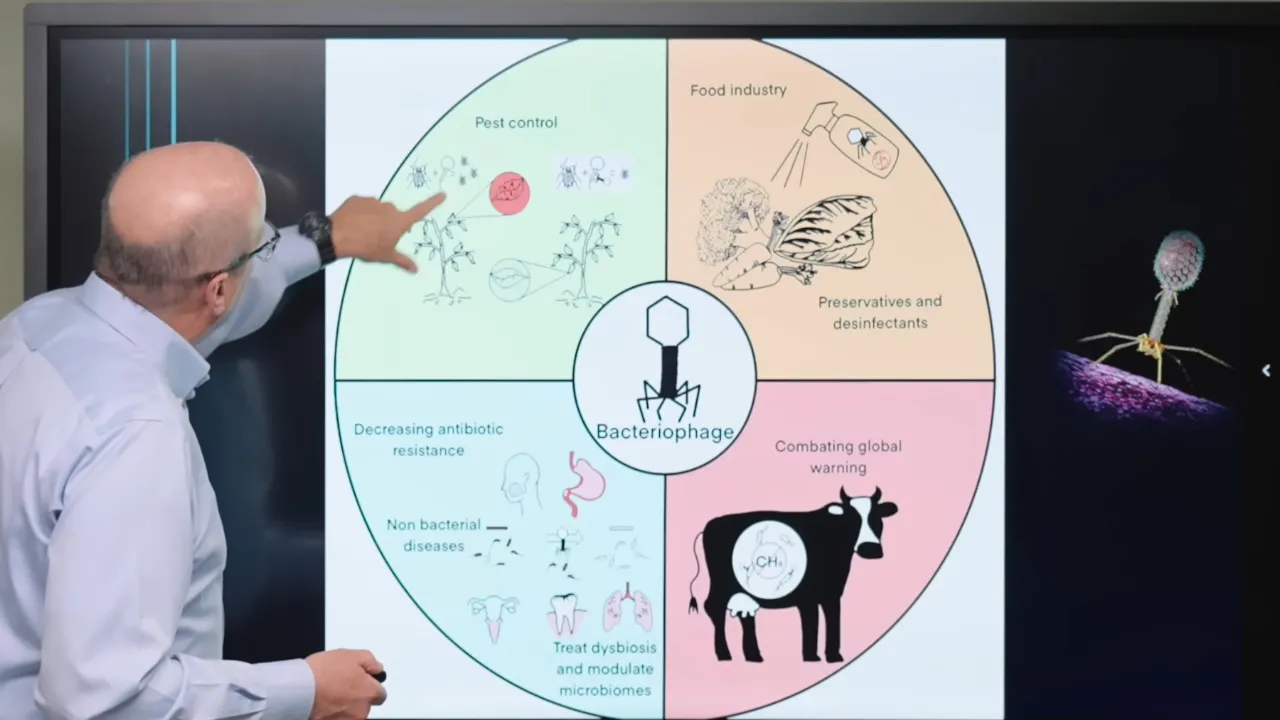
This New Theory Could Change Microbiology Forever - Dr. Joe Francis
7.1K
Bacteriophages have diverse practical applications: controlling insect pests by disrupting their bacterial symbionts, treating food to eliminate pathogenic bacteria, treating dysbiosis by removing harmful bacteria, and reducing methane emissions from cattle by targeting methane-producing bacteria. Within mammalian hosts, phages serve dual protective functions: population control by destroying pathogenic bacteria, and host protection by shielding beneficial bacteria from immune destruction. Esther Lederberg discovered that bacteriophages create visible plaques on bacterial lawns, demonstrating their ability to systematically destroy bacterial populations. Phages employ two infection cycles: the lytic cycle where phages inject DNA, replicate, and lyse the host cell within minutes; and the lysogenic cycle where phage DNA integrates into bacterial chromosomes and remains dormant for extended periods.
Click to watch →

Biopreservation | Wikipedia audio article
191
Bacteriophages (phages) are viruses that specifically infect bacteria, with double-stranded DNA genomes and diverse structural classifications including Podoviridae, Myoviridae, and Siphoviridae families. They outnumber bacterial hosts by a factor of 10, representing Earth's most abundant self-replicating entities. Phage therapy emerged shortly after discovery but declined with antibiotic development in the 1950s. Modern revival stems from antibiotic-resistant bacterial threats. Phages received GRAS status due to safety profiles. Commercial applications include ListShield (reducing L. monocytogenes 10-1000x), Salma Fresh (targeting salmonella), and products from Georgia's Bacteriophage Institute. Phages can be sprayed, dipped, or immobilized onto foods without altering sensory properties.
Click to watch →

Virology Live #25: Therapeutic Viruses
6.6K
Phage therapy uses lytic bacteriophages to kill pathogenic bacteria. Discovered in 1915 by d'Herelle, it was pursued at the Eliava Institute in Georgia. During WWII, phages were used in soldier kits. Widespread antibiotic discovery in the 1930s reduced enthusiasm, though research continued at Eliava. Renewed interest emerged due to antimicrobial resistance. Approved applications include Agrophage (EPA-approved for tomato canker) and ListShield (FDA-approved for food safety). Clinical successes include treating aortic graft infections, drug-resistant Mycobacterium abscesses, and disseminated Acinetobacter infections, demonstrating potential for personalized antibacterial therapy.
Click to watch →
Spot Test Basics
Spotting Technique
Reading Results
Spot Test Basics
0:14- 1
Spot test confirms presence of phage in filtrate.
- 2
A clear spot on the plate indicates positive result.
- 3
Essential step before proceeding to further assays.
Limitations of Spot Testing: Lysis from Without and False Positives
While spot testing is a rapid and convenient screening method for detecting bacteriophages, it has significant limitations compared to quantitative plaque assays like the double-agar overlay. A major criticism of the spot test is its susceptibility to false positives caused by 'lysis from without' or chemical toxicity. This phenomenon occurs when high concentrations of non-replicating phages, bacteriocins, or residual enzymes (such as endolysins) in the filtrate kill the host bacteria, creating a clear zone that mimics viral replication. Consequently, a positive spot test does not definitively prove the presence of viable, replicating phages. To confirm true phage infection and quantify viral particles, researchers argue that the spot test must always be followed by a serial dilution plaque assay, which ensures that individual plaques arise from the replication of single progenitor phages rather than localized toxicity.
Basic bacteriophage biology, including the lytic cycle and host-virus specificity.
Fundamental aseptic techniques for maintaining sterile working environments in a microbiology lab.
The principles and operation of micropipettes for accurate micro-volume liquid handling.
The concept and preparation of a bacterial lawn or host overlay on agar plates.
Phage titer determination using serial dilutions and plaque assays (PFU/mL calculations).
Plaque purification techniques to isolate a genetically homogenous, clonal phage line.
High-titer lysate preparation and downstream genomic DNA extraction of the isolated phage.
Characterization of phage morphology using Transmission Electron Microscopy (TEM).
Practical applications of isolated phages, such as phage therapy development or food safety biocontrol.
18.8K views96likes4:45@melodyscrudatoOriginal Release: 2016-08-10
so once you've done your direct isolation and you have your filtrate you are going to want to do a spot test the spot test come in handy pretty much throughout this whole semester a spot test really just will tell you if you have a page what you would see is just a literally a spot on your lawn of your plate and it would just really just let you know that you could go ahead and take that filtrate or that sample further to create a whole series of podcasts a so that you can look at them and perhaps create a web plate that would be done in the future so anyways what we're going to do is take our filtrate and we're just going to take a micro pipettor that would be already clean and remember since we're in the lab your tables been cleaned you wear gloves parents put back your lab coat on closed toed shoes and you are keeping your mouth closed in the zone of silence and your plate is labeled so first ba plate you would want to label for example since I am spotting soap to lift up my dilutions from earlier you would I have my dilution his label that I have a little wine to show me where that spot would be once I'm going to check this plate tomorrow and I have - one two three four five six I have soil written because I'm going to be doing a soil spot and my name the date and my that's it spotlight you know what it is you've labeled it so as I said we took our micro pipettor we took three microliters and placed a spot right where I labeled soil and I'm just going to quickly finish my spot late so again I have my container under garbage I'm gonna take to the minus one three microliters barely lift up the lid wasted infected and notice that most of these verticals is all about repetition so what you may be nervous about when you begin my time you've done two serial dilutions you might feel really grateful to material delusions or plate assays or spot plates or even learning to not talk while you're doing your work personally for me that's been the hardest when someone's talking to you to know you can't talk or else you will mess up what you're doing or risk contaminating your work and having to begin completely from the beginning and you will also need a negative control with the phage buffer and with the phage buffer will do is you know nothing should grow with the phage buffer so it can also help you know if you've a contamination or just to really let you know hey nothing grew on my plate or something did grow if you see a little change in the media since you're plating it on a Mycobacterium long so with the spot plate we have taken our filtrate quick put a three micro liter spot right onto the micro bacterium log so how you'll know if you have phage is if you see a spot literally where you placed that dot and how you'll know where you place that dot is by properly labeling that plate and having a little line delineating where you place that spot and then we just set it aside and we let it grow overnight
Up Next

19:54
Phage Titering Methods: Spot and Whole Plate Assays
@centerforphagetechnologyat5812
13.2K views•2021-04-30

50:12
Bacterial Communication: Quorum Sensing and Biofilm Formation Explained
@JHUAAP
12.6K views•2011-06-28

7:24
Direct Isolation of Phages from Soil | Protocol 5.2 Demo
@melodyscrudato
14.8K views•2016-08-09

7:08
Bacteriophages: Earth's Deadliest Killers and Future Antibiotics
@kurzgesagt
34.6M views•2018-05-13
Related Study Plans & Knowledge Roadmaps
Structured learning paths in Biology
biology
RNAi: Biogenesis, RISC & Gene Silencing
01Molecular Biology Foundations: DNA to Protein
02Introduction to RNA Interference (RNAi)
03Molecular Biogenesis of miRNA and siRNA
+ 2 more learning modules
10h5 modules
Explore Roadmap
biology
Mycorrhizae: Signaling, Biophysics & Ecology
01Foundations of Mycorrhizal Symbiosis
02Molecular Signaling and Root Colonization
03Biophysics and Bioenergetics of Nutrient Exchange
+ 1 more learning modules
11h4 modules
Explore Roadmap
biology
Circadian Clocks: TTFL, SCN & Periphery
01Foundations of Molecular Biology & Gene Expression
02Introduction to Chronobiology and Actograms
03The Core TTFL: Molecular Architecture of the Clock
+ 3 more learning modules
14h6 modules
Explore Roadmap
biology
Population Genetics: Math, Drift & Selection
01Genetic & Probability Foundations
02The Hardy-Weinberg Principle and Baseline Models
03Mathematical Modeling of Natural Selection
+ 3 more learning modules
18h6 modules
Explore Roadmap