


















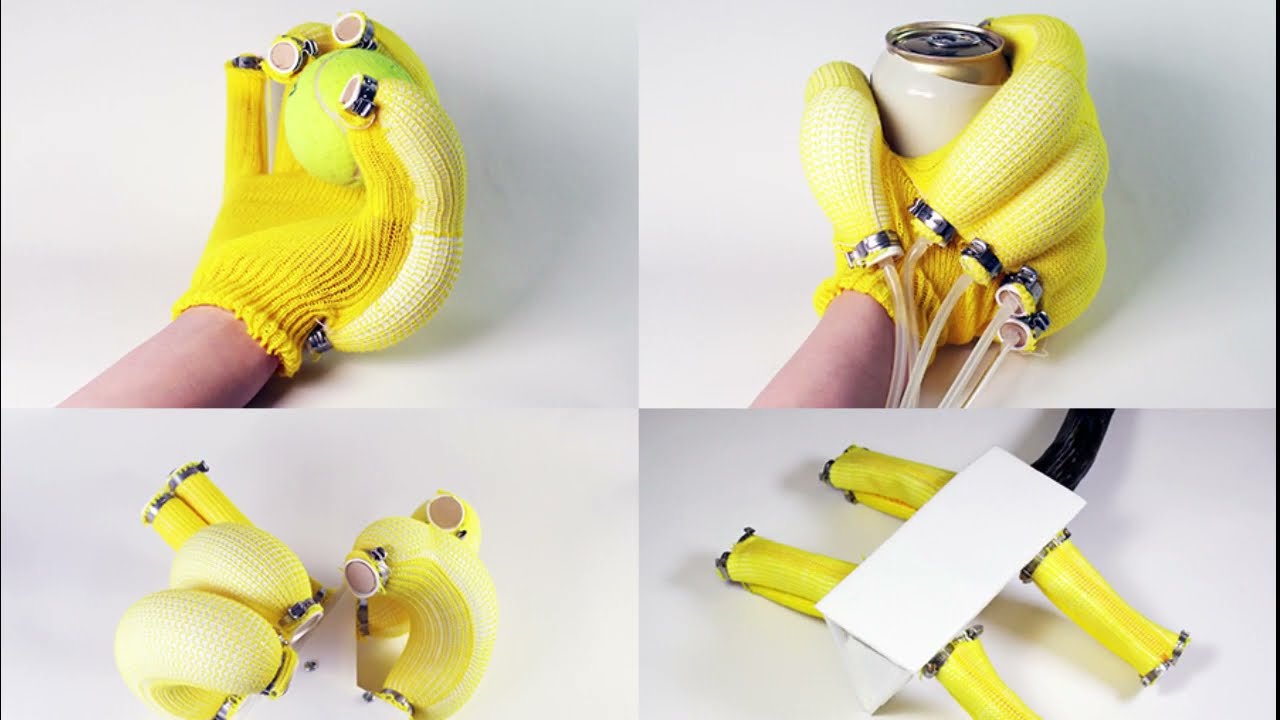


PneuFlex actuators are soft, compliant continuum actuators made from silicone rubber and polyester fibers that can be manufactured using accessible materials and equipment including a 3D printer, vacuum pump, and basic tools; the production process involves creating a mold from 3D-printed parts, mixing and degassing two-part silicone rubber, pouring it into the mold under vacuum to eliminate air bubbles, curing the rubber, attaching a reinforcement helix made of polyester thread, and bonding a passive layer of silicone with embedded fabric to create a functional actuator capable of bending, twisting, and compression without breaking.
DIY PneuFlex Actuator Production: Step-by-Step Silicone Fabrication Guide
Added:Fundamentals of soft robotics, specifically the working principles of fluidic elastomer actuators (FEAs).
Basic polymer chemistry, including silicone mixing ratios, curing times, Shore hardness, and viscosity.
The physical principles of vacuum degassing and how negative pressure removes entrapped air bubbles from viscous liquids.
Basic concepts of structural mechanics, particularly how fiber reinforcement constrains material expansion to guide motion.
Design and implementation of pneumatic control boards utilizing microcontrollers, solenoid valves, and pressure sensors.
Finite Element Analysis (FEA) using simulation software to model elastomer deformation and optimize actuator geometry.
Characterization methodologies to measure the actuator's force output, bending angle, and cyclic fatigue life.
Integration of PneuFlex actuators into complex systems, such as soft robotic grippers or bio-inspired locomotion robots.
51.9K views946likes13:51Original Release: 2013-03-04
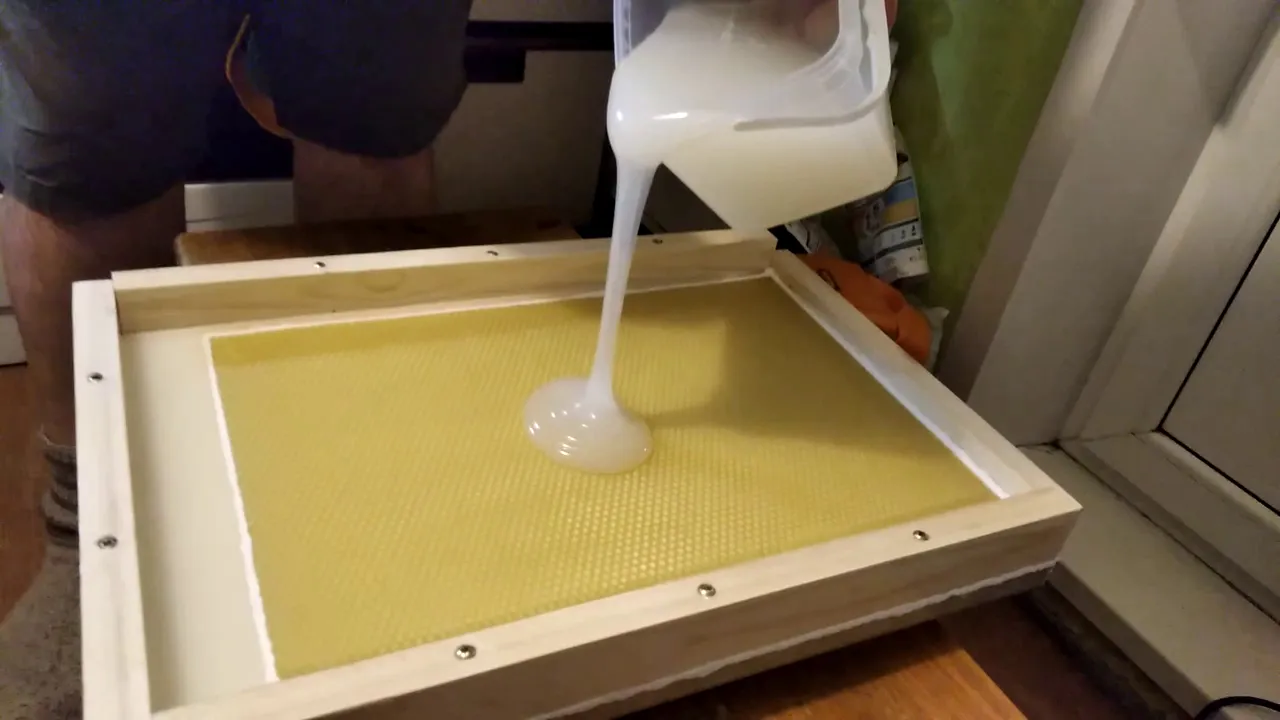
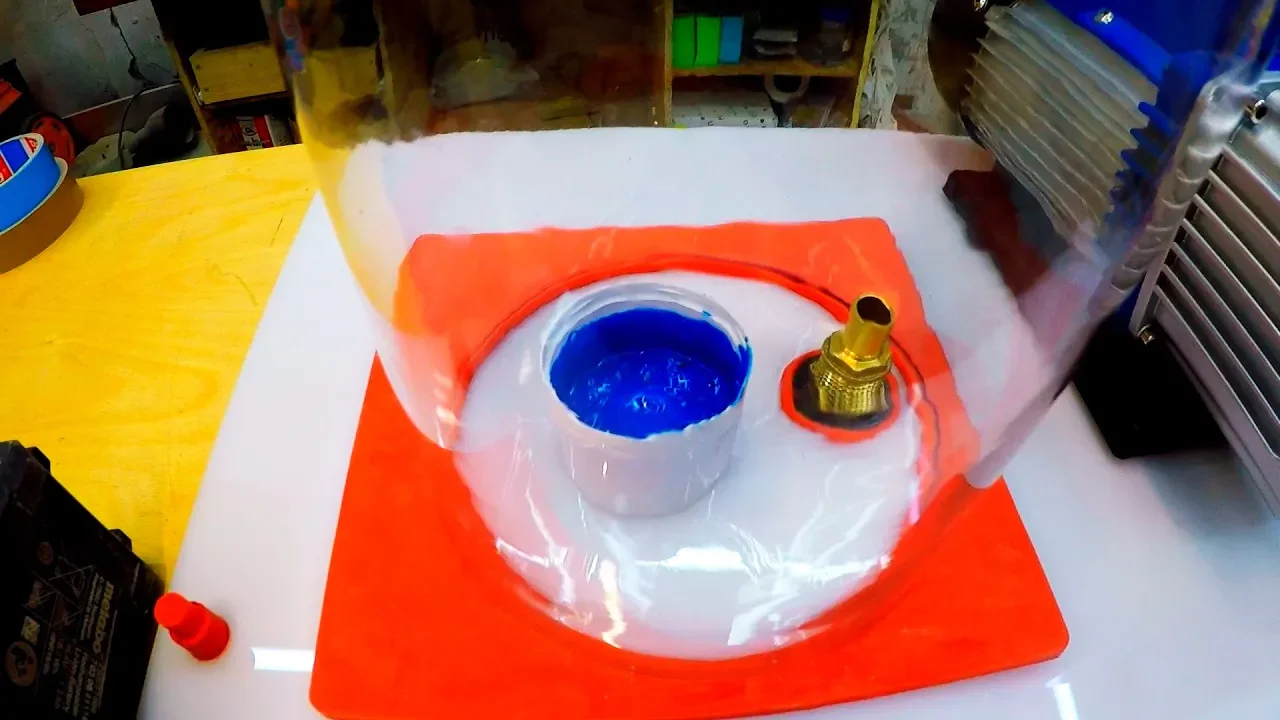
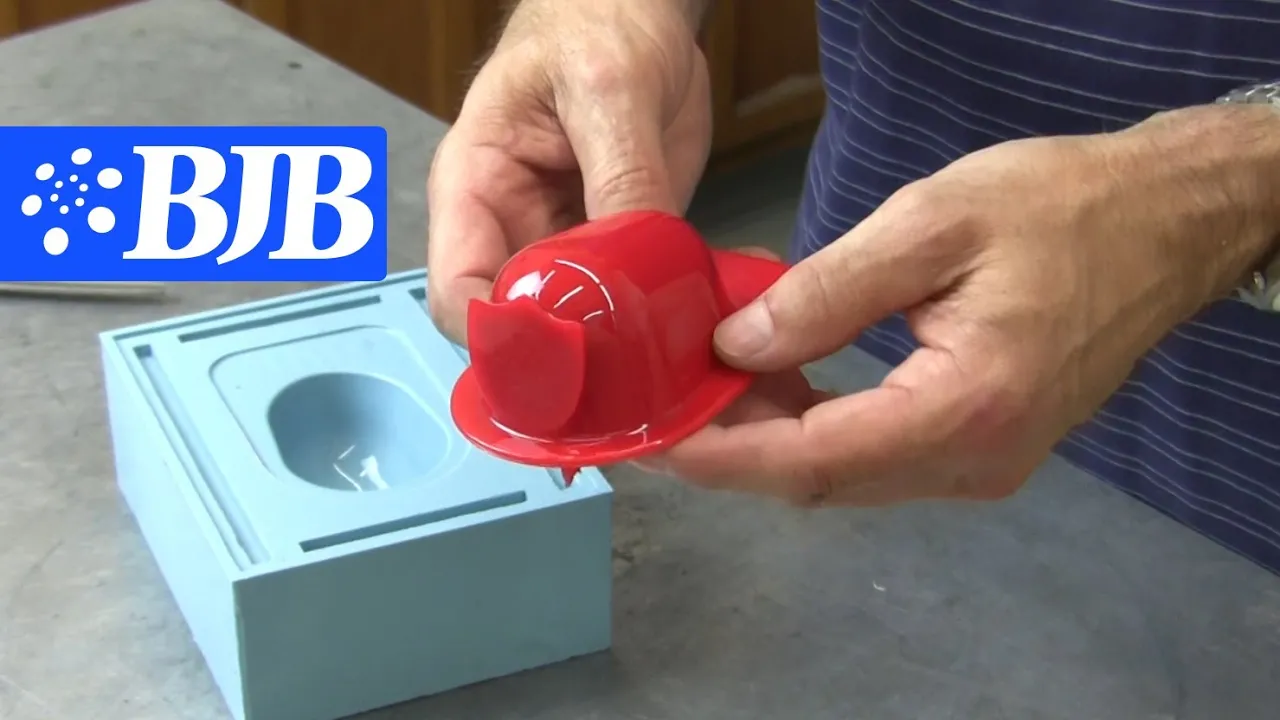
hello everybody and welcome to my video tutorial about newlex actuators here is such an actuator it's made out of silicone and you can bend it you can twist it you can squish it and it's not going to break on the inside there's a small air chamber and when we inflate it the whole stick P the stiffness and the necessary pressure depends on the materials and the geometry of the actuator itself you can even hit it with a hammer and it's not going to break but the best thing is it's very cheap and needed to build so the only thing you actually need on special equipment are vacuum chamber a vacuum pump of course and it's very good to have a 3D printer handy or a 3D shop where you can go print stuff so let's go on to the materials we actually use for building this actrade the main ingredient is rubber so here we have a two-part silicone rubber of a platinum cure type we use the spon Pham brand it's a very soft and very elastic silicone additionally we need seing thread made out of polyester and also a fabric called monop and polyester screen which is usually used in silk screen printing so basically that's it the whole act just consists of silicone Rubber and polyester fibers of course we need some techniques to actually assemble those materials uh but they are quite easy to learn first you need a 3D printer for for printing moles second you need a decent vacuum pump and vacuum Cher silicone is very viscous when mixed and it traps a lot of air bubbles you want to get out to not weaken the Rubber and also we can use it to flow the Silicon into intricate molds without any other special equipment to create the main rubber part of a newlex actuator we use a simple mod it consists of two 3D printed parts and is open on the top if your mold has a very rough surface or is of porous material it's a good advice to use a sealing agent such as uh this here uh to seal the surface of the mold if you then still have problems extracting the cast from the mold you can additionally use a release agent before each casting simply cover all of your mold with the release agent then you need to assemble the mold parts put them together and make sure they're fixed well you also need to mount the funnel on top of the assemble because we need to pour the silicone there then take your assembly to the vacuum chamber and check that it actually still fits in there yep it fits perfect when we finished preparing the mold we can start mixing the silicone first start with measuring Part B if you want to have a colored silicone you can now add pigments to it as a last step we add the second component by equal weight now comes the crucial part we have to mix the silicone very well so start mixing rigorously and don't forget to scrape off the sides and the bottom of the mixing cup and then we put the silic come into the vacum chamber for de gassing to speed things up we use styrofoam parts to reduce the volume of the chamber this is a 10 times speed that shows you how the Silicon Foams up during evacuation and then suddenly collapse this is when most of the air has gone and we can extract it from the vacuum chamber now the batch of silicon is ready to be used when we have the Silicon ready for pouring we take the mold we prepared before and place it into the vacuum chamber and fill the silicone into the funnel then we again start to evacuate so to get the air out of the mold and the silicone to be able to flow into it on its own weight If you experience problems with trapped air bubbles even if you evacuate it often helps to cycle between evacuation and uh re-inflating the air chamber sever times during the pot life of the silicone finally we can take the mold out of the vacuum chamber and place it somewhere else for the Silicon to cure fully uh this takes about a day uh you can speed this up by putting it into an oven at 60° for 2 hours when the Silicon is fully cured we can start to extract it from the mold Um this can be sometimes quite tricky so you have to find your own experiences uh it helps to start to loosen it at the open end and it also helps to use a cutter to open up the lids a little bit and then to wiggle around to get all the things loose in there once the lid is loose we can take it off and finally see the result of a casting and hopefully there are not tra air bubbles in there now I'm going to show you how to attach the reinforcement helix first we insert a stiff piece of plastic into the rubber part to make it more handable then we fix the start of the thread with a few turns and start winding along the actuator by adding pumps to the rubber pod we can make winding much easier as you can see when we reach the end of the actuator we keep on winding but reverse the direction the threads cross at the sides when you again reach the other side of the activator you can stop winding and make a knot with the beginning of the thread after that cut off the surplus of course the support material is still sticking in the rubber part and we need to extract it now here is how it's done probably some of the threads mve during the handling of the rubber part so now you can use a pincer or a needle to move them back to where they belong the upper part of the actuator or what we call the active layer is now finished uh we can now go on to produce the lower part or what we call the passive layer the passive layer is a sheet of silicon with an embedded fabric so it's flexible but not elastic anymore production is pretty simple you start with a pan place a fabric in it and pour D gas silicon on top we use a broad spatula to distribute the Silicon the Silicon should be about 2 mm high this assembly also goes into the vacuum chamber for de gassing again [Applause] before the Silicon cures we put the active layer on the passive layer to glue them together we then let it cure overnight again basically the ACTA is now finished but the hel thread on the top is still living lose so we use a little bit of silicone to fixate it there by brushing it on top when the Silicon is cured once again we can start to cut out your actuator and now we only need to attach the supply tubing we do this by taking aspiration canula which is a very thick needle and penetrate the wall of the actuator then we feed the small silicon pipe through the canula and retract the canel finally we seal the cut with some glue and there you have it you just finished your first newlex actuator on your own for
Up Next

9:48
DIY Soft Robotic Gripper: EcoFlex Mold & Casting | Purdue STEM
@stemsoftrobotics6210
115.8K views•2016-08-02

12:54
Triumph of Orthodoxy Icon: Byzantine Art & History Explained
@BenCallan
2.1K views•2024-08-06

9:49
FastAPI vs Flask vs Django: Choosing the Right Python Web Framework
@TechWithTim
302.5K views•2024-05-26

1:42
Game of Thrones Opening Credits: A Cinematic Analysis
@gameofthrones
46.3M views•2011-04-18
Related Study Plans & Knowledge Roadmaps
Structured learning paths in General & Interdisciplinary Studies
general-studies
Elevator Engineering: History, Physics & Cities
01From Hoists to Safety Brakes: The Dawn of Vertical Lift
02Hydraulic vs. Traction: The Engineering Physics of Elevators
03Modern Speed, Safety, and Algorithms
+ 2 more learning modules
12h5 modules
Explore Roadmap
general-studies
Rubber: Material Science, History & Geopolitics
01Origins of Natural Rubber & Mesoamerican History
02The Chemistry of Natural Rubber & Vulcanization
03The Geopolitics of the Rubber Boom & Colonization
+ 2 more learning modules
12h5 modules
Explore Roadmap
general-studies
Containerization: Evolution, Logistics & Trade
01Ancient Trade & Bulk Cargo: Amphorae to Barrels
02The Industrial Revolution & Cardboard Packaging
03The Containerization Revolution: Malcom McLean
+ 2 more learning modules
12h5 modules
Explore Roadmap
general-studies
Textile Tech: Evolution, Labor & Global Impact
01Pre-Industrial Textiles: Handloom & Cottage Industry
02Mechanization: The Spinning Jenny to the Power Loom
03The Factory System & Global Labor Transformation
+ 2 more learning modules
10h5 modules
Explore Roadmap