






![[Flutter/iOS]App Store Connectに載せるスクリーンショット作成時の注意点ー初心者向けiOS/Androidスマホアプリプログラミング講座-みんプロ式](https://i.ytimg.com/vi/js5N3ZoOuTg/maxresdefault.jpg)



![Hierarchy | Basic Principles of Graphic Design [Ep. 01]](https://i.ytimg.com/vi_webp/zwXNLDmh47k/maxresdefault.webp)







This tutorial demonstrates how to create professional app screenshots for App Store and Play Store publication using Figma, covering the complete workflow: setting up artboards with correct device dimensions from store specifications, importing mobile device mockups from libraries like Angle, applying actual app screenshots to mockups using plugins, adding decorative elements and visual enhancements like shadows and connecting lines, and organizing the final design with proper naming conventions for each screen.
How to Create App Store Screenshots with Figma: A Step-by-Step Guide
Added:Basic proficiency with Figma's interface, including frames, layers, typography tools, and components.
An understanding of App Store Optimization (ASO) fundamentals and how visual assets impact conversion rates.
Knowledge of standard mobile screen dimensions, aspect ratios, and official Apple App Store submission guidelines.
Basic principles of graphic design, such as visual hierarchy, color theory, and layout composition.
Implementing advanced Figma features like Auto Layout and Variables to quickly localize and scale screenshots for multiple device sizes.
A/B testing methodologies for app store creative assets using Google Play Console Experiments or App Store Connect Product Page Optimization.
Designing animated App Previews and promo videos using Figma timeline plugins or motion graphics software like Adobe After Effects.
Analyzing post-launch conversion rate metrics and user acquisition data to iteratively optimize visual designs.
27K views357likes41:46Original Release: 2020-03-15
into this new video in this video I will share with you how you can create your own screenshots when your app is ready to polish to App Store or plaister as some times ago I published my first app and I didn't know how to do this kind of screenshots so after I did a lot of research I really want to share this useful content Kundu and I hope this could be useful and if this is useful please subscribe to my youtube channel and in let's get a start so here is the screenshot we are going to try to duplicate so there are four screenshots it's from where it's in this is the tools we are going to need to work on listen in this tutorial so the first thing we need is a software we will use to create our airports I will choose figma but you can use sketch or Adobe XD or Photoshop or illustration I will choose Sigma because Sigma is free filter is available for Mac OS or Windows and it has web version with cloud support for me that is amazing you can check it out I will put the link in the description below and let's do it so I have installer Sigma M this is the software and think we are going to do is go to our stores in specification for example you are going to publish your app to Play Store you need to go to the specifications Play Store provides for the juicers here is the description about Android apps and here is the information about iOS apps so you see here when you are going to publish your app there are different this positive will apply will be available to use your app so for example in this case this is if your in your app is available for iPhone 11 Pro and all kinds of this mobiles these positives so in this example we are going to work with these specification so this is important because here is the details about why site what sizes you need to to use for your screenshots so we are going to use this one we go back to figma and the first thing we are going to do is create a new airport for this quick go to this this optional here aim we are going to create our first app or you go to the right section here we have the sizes in pixels so we go back and we are going to copy this for the width we are going to paste it yeah and we're going to copy this and we are going to paste this will be the width in the head well this is this is or our port we need to put oil all over content in the first step is done now as I mentioned before we are going to try to duplicate this so lets going to use this background color so for this I select my artboard in go I will go to the field I will go to select pick color and then I go to pick the color from this pattern okay this is the curve you can have the info about X cold color this is in perfect we go to power up series okay let's going to replicate this I'm going to press off and I'm going to draw my airports okay if you are reducing another software for simple sketch or a dog x3 the commands are the same you press out and then drag okay this is we are going to rename it is short so one yes let's copy this and let's go let's rename it we are what three it's important you have altered upwards organizer because then when you need to create for a Play Store or with another specifications you will you will have author are four separate separated correctly so this is so now it's the time to go to our demo screenshots perfect and we are going to do this for this we need to go to the second step this is the mock-ups we are going to need our mock-ups for iPhone or for Android Samsung or whatever the world is positive you want to use so for this we are going to use a library color angle angle I have here is a tool that provide thousands of mobile dispositive let's see here for example this is the demo cups you can use in different perspectives and it's available for sketch for XD and for figma him here is all the mock-ups you can use 3000 they have a free version in this regression I will be choosing so you only need to to go to this site I will put in the description below and then you need to don't sample you only will need to provide your email password and ready you will see the download here I will cancel this because pie I already download this don't let this file I have on my desktop Flores the library here you will see the libraries for filling my first catcher for that of xt in this case we are going to use my angle 3 library 3.5 this is for finger I just need to drag in into my fing up I will put this and ready I did this before so I have the library here I have the free mock-ups they will they give they gave me and let's use it so I just need to copy this we'll go back to our project here is let's paste it here you need to select first this and ready that's it we're going to scale this mock-up this is important we are going to try to replicate it to this that's awesome okay perfect okay this is perfect so to apply our a screenshot to this mock-up we need to install one polling that which is available for a sketch in adult x3 as well so we go to blockings manage plugins in there we are going to browse [Music] angle this is angle mock-ups so I have I need to install this already okay if we go to our top left meaning we are going to see all our available plugins in this case here is our angle mock-ups so before to apply the mock-up we need to have this is important we need to have over screenshots from our app so I did this before I just I just I just took a screenshot from my my phone and very I have this one here I just need to import my screenshots the fema it's pretty simple I have these ones here doughnuts this is you just need to drag and drop this what's easy well we're going to use this it's important to assign to an airport this image so I will select frame selection I have this here and let's go into apply over plume to remember we are in the second the second step first the software second one is the mock-ups in we are in the third step this is get an hour a screenshot from or up so I have my screen just here ready and let's go in to apply I will select this and then we go to my plugins we are going to click on it I have one problem here I need to be I need to use my I need to apply on the only the screen no not in the entire makeup because the screenshot will be applied over the screen of the mock-up so this is important let's hide in here I need to select what will be on my screenshot this is important so I select frame three I'm going to apply let's see what happened it's loading as I mentioned before it's important Jew king named give a correct name for altar astringent for example here I put frame three it was difficult for me to remember what was the basis for in so I will change to home screen for example him it would be easy to remember what a screenshot and need to apply so this is it looks right so we have our first screenshot almost appear okay ii think it's put over this our description here so let's go into us on text it's going to change now the sides I'm going to put 15 rows lock arrest okay this is love perfect we need where is this there the phone size and we're going to Playa a ball I think I can do this bigger okay perfect who sing this this is perfect okay absolutely really need to to play with with different combinations about where you want to put your elements I was forgetting one important thing for for for this and we are going to will go to our tools the last thing we are going to need for this exercise is a your creativity deal is important if you see your the screen shows we are trying to duplicate there are some elements that but I really love it because this give beautiful touch for the final so for example this this rice this this fool here I really love it so your creativity is important to to play with different combinations so I have some assets here you will need to to looking for different elements if your app is for another time of solution for example if this is social media what you will need to you need to to looking for different elements but I was looking for some assets for example these foods yeah we'll try to apply it let's go here but that's going to use the first one is the pizza I'm going to route your frame and then we're going to resize it so here I like that it looks great for example here there's perfect and you see this will be our first word first now the screenshot is completed that is also and I think we have this this part a little blank space so what I will do is to show more of my mock-up I will move my my my letters and I will put this here I prefer this I think this is okay right so let's repeat the step this is the time to complete our second screen let's go this is stopped order and pay to their page okay perfect let's go into nice another mock-up if we go here we are going to paste it here it's ready okay it's important to scale and you won't lost the proportionalities of the elements this is important as well here is we're going to do this Peter Principle here awesome do more okay perfect I really love it let's apply this to our second screenshot I will use this let's convert this image to frame let's rename it I'm going to put pay screen or order screen better is better okay let's go to our mock-up remember you need to find the path and then go to our plug-in and then apply makeup then you will need to select the frame apply apply makeup believe to wait a little and it would be very tedious perfect this is where it's awesome I need to put this row below you see here we have Beauty element I really like this because this give me a touch that how can continues continuously and this is a great and real feature you can use with your designs to to keep expectation to the to the user this is really good [Music] perfect so let's go into a start with this for this we are going to use some basic elements for example red rectangle we are going to delete the field we're going to a line stroke select five is perfect we are going to other radius I like it when soon in let's go into use 75 75 for me it's okay oh it has to be bigger okay [Music] 51st fret we go to see the detail I think it doesn't have radius okay I like it to select the correct color that's going to pick the color I need to zoom in let's see if that is the correct or I think you know what this is because the line it's a little small but we are going to use this because it's similar to go here and let pick the color and [Music] awesome this is what do you think perfect I love it so let's going to hiding to put together our screenshots and then we're going to have a line going to show me from here to [Music] that's going to repeat step 9 angle zero perfect that's going to pick the color again awesome and it's going to change the width of the stroke perfect that's going to copy this color just going to use the same for both this is let's need to Center this okay I like it this thing I need to put these bigger same awesome I love it okay with me to centered this yes okay okay perfect I like it so let's go to our third screen [Music] it's going to go to our angle library repeat the process it's going to copy they're the same sizes for this example awesome I love it kill rate rate it's going to move a little this perfect like I like let's go to scale this little smaller I like it well we need to go to our third screenshot it is about the map but I have that's going to use the checkout remember from selection it's going to put checked out screen perfect that's going to apply or mock-up you say left over path then go to our plugin and apply with the left or check code checkout screen let's click a little perfect I like it let's go in to put some text here that's going to copy days let's go to paste is that X here this is tracking real time but here we are going to change the text you want to put check out with one tap [Music] awesome perfect I like it let's try to put this [Music] let's try a scale in our fridge you I like it well maybe here we can add some additional it's just for our consideration at this time let's go into put only the texture but you can add more elements here for example going to put these on in this place perfect in we need to copy the line and paste it need to perfect let's go to send to the two but it's important we need to put together the airports to unlined the lines perfect I like it in let's do the last let's go in to copy your text come and see come on be wait it's important to have all the same margins and 164 here 133 so let's go to to do it 133 that's perfect for example for example here what we have okay [Music] now okay so the the last thing it's if you see they don't use I'm a cop for the final screenshot and for me that is awesome as well as part of his creativity and I really love it I have one asset here for this I have this element let's copy it let's paste it okay perfect let's scale I like it this will need to be bigger something like this I sorry [Music] okay perfect I'm going to [Music] to rotate a little I like it that's going to see perfect - Putin - okay perfect and then we need to add shadow how I did the shadow shadow you need to draw ellipse possible here and then you will need to rotate so for example here the same orientation that the elements we will need to add an effect the blue for the shadow you for the field we are going to prove change the opacity to same for example that's going to change the boar something like that and that's going to put it back for example but in this case I choose something like that okay let's go in to copy this just going to paste it okay [Music] that's going to scale the shadow I like it when just care of the shadow you will see or the proper properties will change look at the bluer perfect I'm going to do it figure and then we're going to send to the back look at this [Music] with your demo okay perfect okay think the shadow is on the row here and I like it that's going to hide and let's go in to change the color to black sorry that's going to change the color of name of the sheriff suppressant it's too much for example I like this and then we're going to show too much it's perfect so this is almost completed and the last fluke we are going to do is complete the line copy common C paste it and our assumption that's going to rescale the [Music] here perfect or if you see the demo okay perfect so let's go into do this bigger here - perfect - perfect [Music] it's important to have the same stroke with the stroke in the final thing we're going to add the circle for this we're going to copy this come and see come on beep we Center this and we're going to too much radius also I really like it in the guys I think we're finish our screen shots let's go into separate a little rock samples here perfect and these will be over fine now [Music] and threw it away okay these filters you want to to move em ready this is the final result guys let's go into all this here mmm this would be so I hope this could be useful for you as I mentioned before you can use another software the process would be almost the same if this content is due for useful for you please subscribe to my youtube channel I will try to give you more content like this that could be useful for your apps further projects for improved your UI UI designs and all the content and all the knowledge had K I can share with you I will be happy to to give you so thanks for watching and we see you in the next time
Up Next
12:31
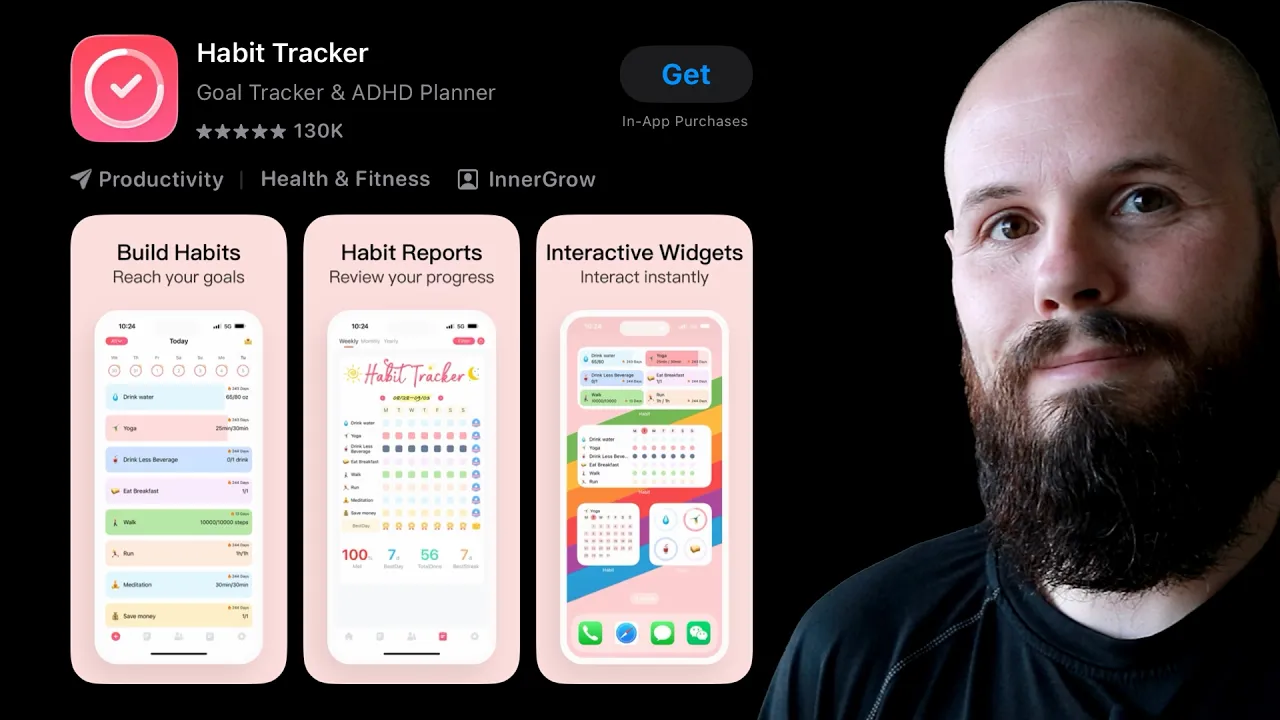
A Practical Guide to Creating App Store Screenshots Efficiently
@seanallen
21.3K views•2025-12-19

12:54
Triumph of Orthodoxy Icon: Byzantine Art & History Explained
@BenCallan
2.1K views•2024-08-06

9:49
FastAPI vs Flask vs Django: Choosing the Right Python Web Framework
@TechWithTim
302.5K views•2024-05-26

1:42
Game of Thrones Opening Credits: A Cinematic Analysis
@gameofthrones
46.3M views•2011-04-18
Related Study Plans & Knowledge Roadmaps
Structured learning paths in General & Interdisciplinary Studies
general-studies
Elevator Engineering: History, Physics & Cities
01From Hoists to Safety Brakes: The Dawn of Vertical Lift
02Hydraulic vs. Traction: The Engineering Physics of Elevators
03Modern Speed, Safety, and Algorithms
+ 2 more learning modules
12h5 modules
Explore Roadmap
general-studies
Rubber: Material Science, History & Geopolitics
01Origins of Natural Rubber & Mesoamerican History
02The Chemistry of Natural Rubber & Vulcanization
03The Geopolitics of the Rubber Boom & Colonization
+ 2 more learning modules
12h5 modules
Explore Roadmap
general-studies
Containerization: Evolution, Logistics & Trade
01Ancient Trade & Bulk Cargo: Amphorae to Barrels
02The Industrial Revolution & Cardboard Packaging
03The Containerization Revolution: Malcom McLean
+ 2 more learning modules
12h5 modules
Explore Roadmap
general-studies
Textile Tech: Evolution, Labor & Global Impact
01Pre-Industrial Textiles: Handloom & Cottage Industry
02Mechanization: The Spinning Jenny to the Power Loom
03The Factory System & Global Labor Transformation
+ 2 more learning modules
10h5 modules
Explore Roadmap