





![CAP #4 ►💻Cómo instalar ARDUINO [Drivers, IDE, Descargar programa] [Curso Arduino Español desde cero]](https://i.ytimg.com/vi_webp/RaEfpLnAxh8/maxresdefault.webp)
















![[맨처음 아두이노 기초 총정리] : [[전반부- 최소한의 이론]] - 센서와 엑츄에이터의 동작원리, 컴퓨터와 연결, 아두이노란?](https://i.ytimg.com/vi/USjDqqnqCMs/maxresdefault.jpg)
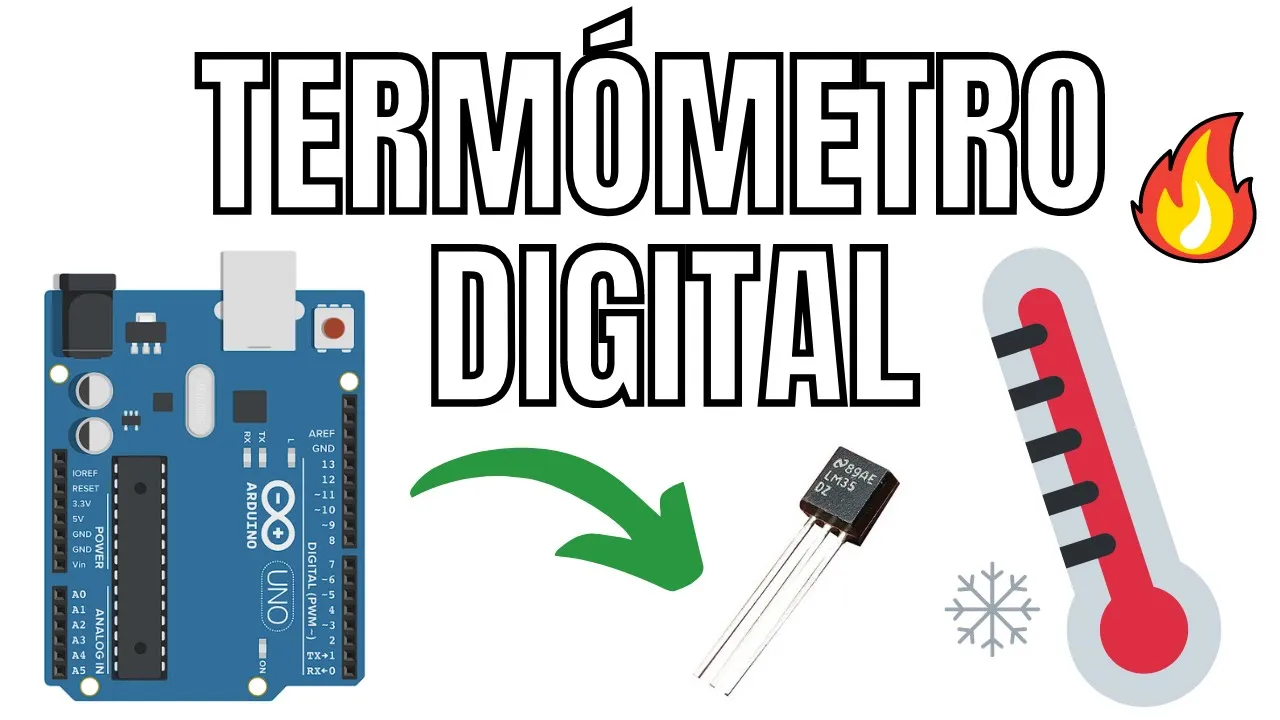
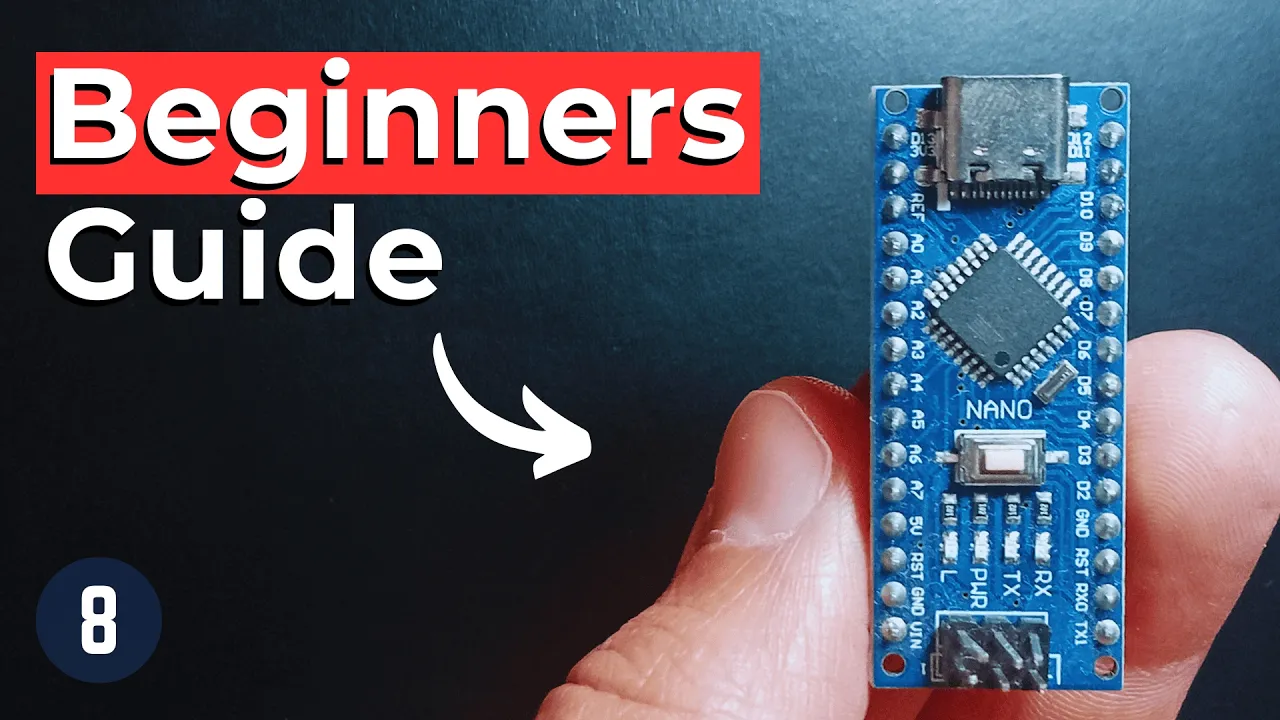


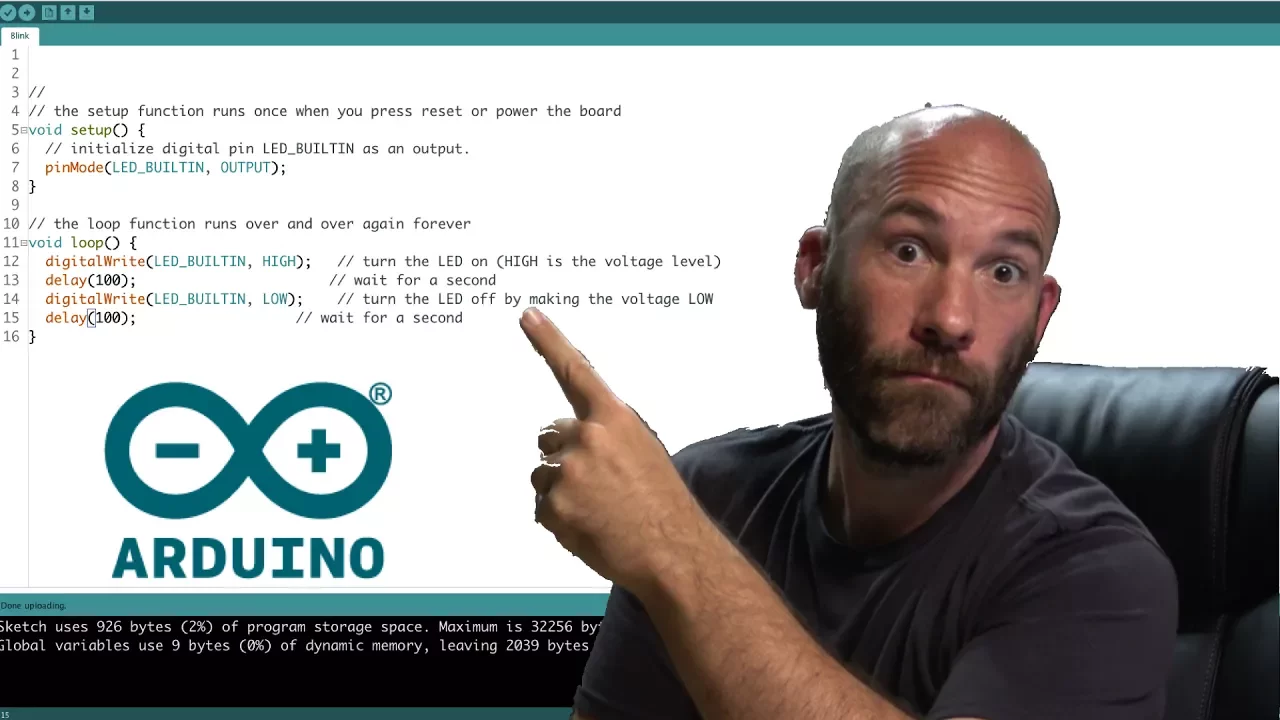
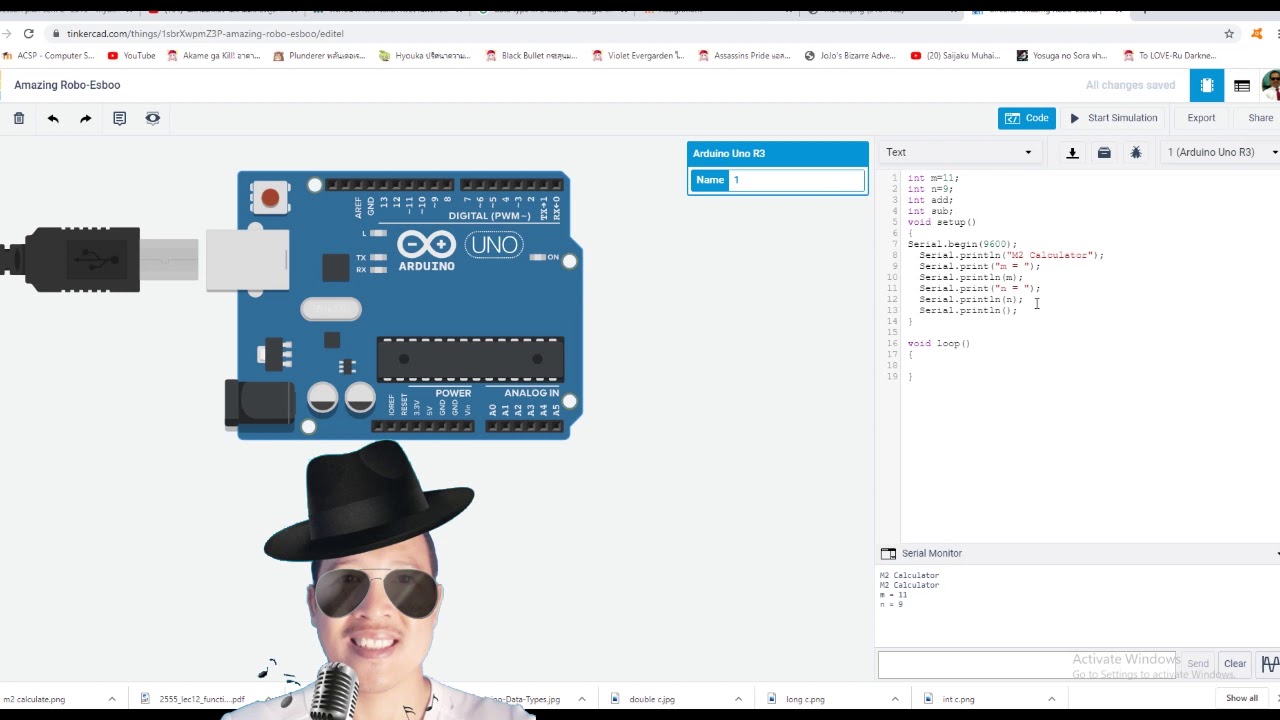


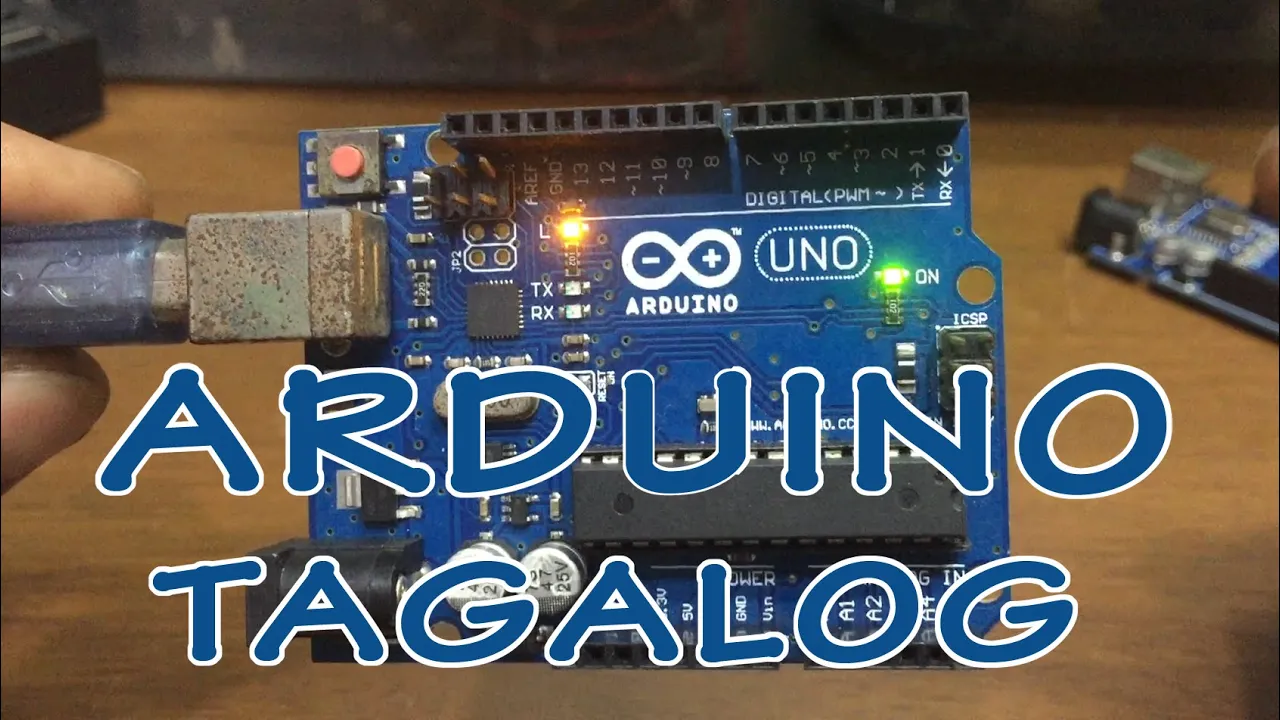
The Arduino UNO is a credit-card-sized microcontroller board designed for beginners to learn electronics and programming, featuring a Mega 328P microcontroller (8-bit chip with 32KB flash, 2KB RAM, and 1KB EEPROM), USB-to-serial converter (ATmega 16U2), voltage regulator, reset button, power jack, 14 digital I/O pins (0-13), 6 analog input pins (A0-A5), 16 MHz crystal oscillator, built-in LED, and TX/RX communication LEDs; it is controlled using the Arduino IDE (Integrated Development Environment), which allows users to write, compile, and upload code to the board with features like serial monitor for real-time data display and example code libraries.
Arduino UNO Tutorial for Beginners: Complete Guide (Part 1)
Added:Basic concepts of electricity, including voltage, current, resistance, and how a simple closed circuit operates.
Fundamental computer literacy, specifically how to download, install, and run software applications like the Arduino IDE on an operating system.
A conceptual understanding of hardware versus software, and how code is used to control physical components.
Elementary programming logic, such as the concepts of instructions executing sequentially, variables, and conditional statements.
Prototyping physical circuits using a solderless breadboard, jumper wires, resistors, and LEDs.
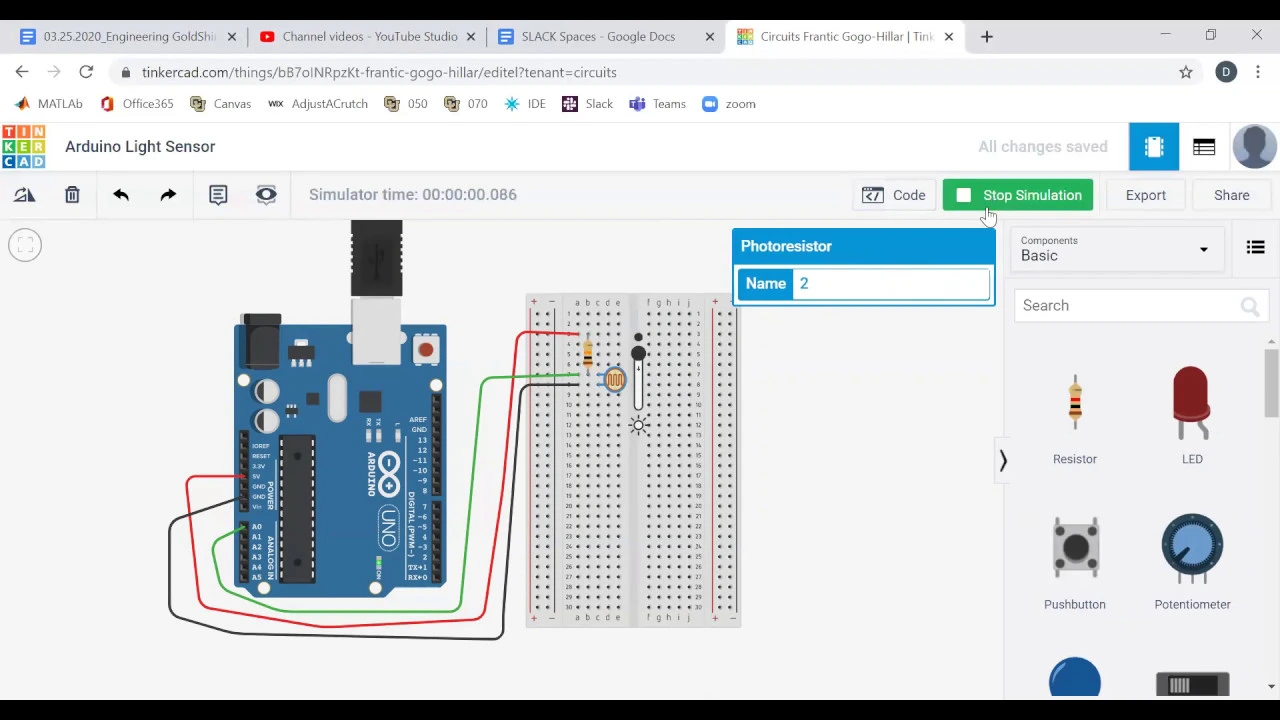
Reading analog and digital input signals from basic sensors, such as photoresistors, temperature sensors, or pushbuttons.
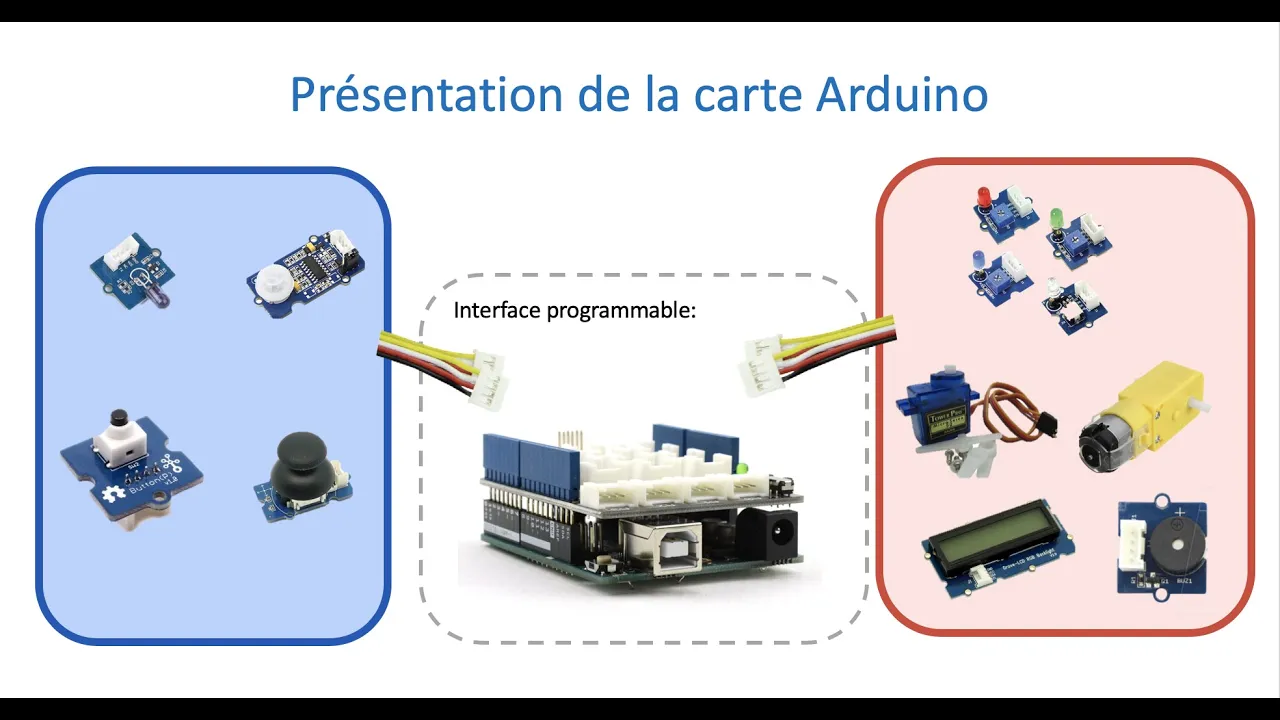
Controlling various actuators and output devices, including servo motors, buzzers, and liquid crystal displays (LCDs).
Utilizing the Arduino Serial Monitor for debugging code and visualizing real-time sensor data.
Mastering intermediate Arduino C++ programming concepts, such as functions, control loops (for/while), and library integration.
254 views11likes13:54Original Release: 2025-06-18
[Applause] [Music] [Applause] [Music] Have you ever wondered how state works turns on their light at night or in robot know when to stop before hitting a wall? If I told you you could create this kind of technology at your home.
Thanks for this board.
This is Ordino board. This can change the world how you see forever.
In this one have a ordino full course.
You will go from beginners to making projects with LED, motors and sensors, LCD and many things.
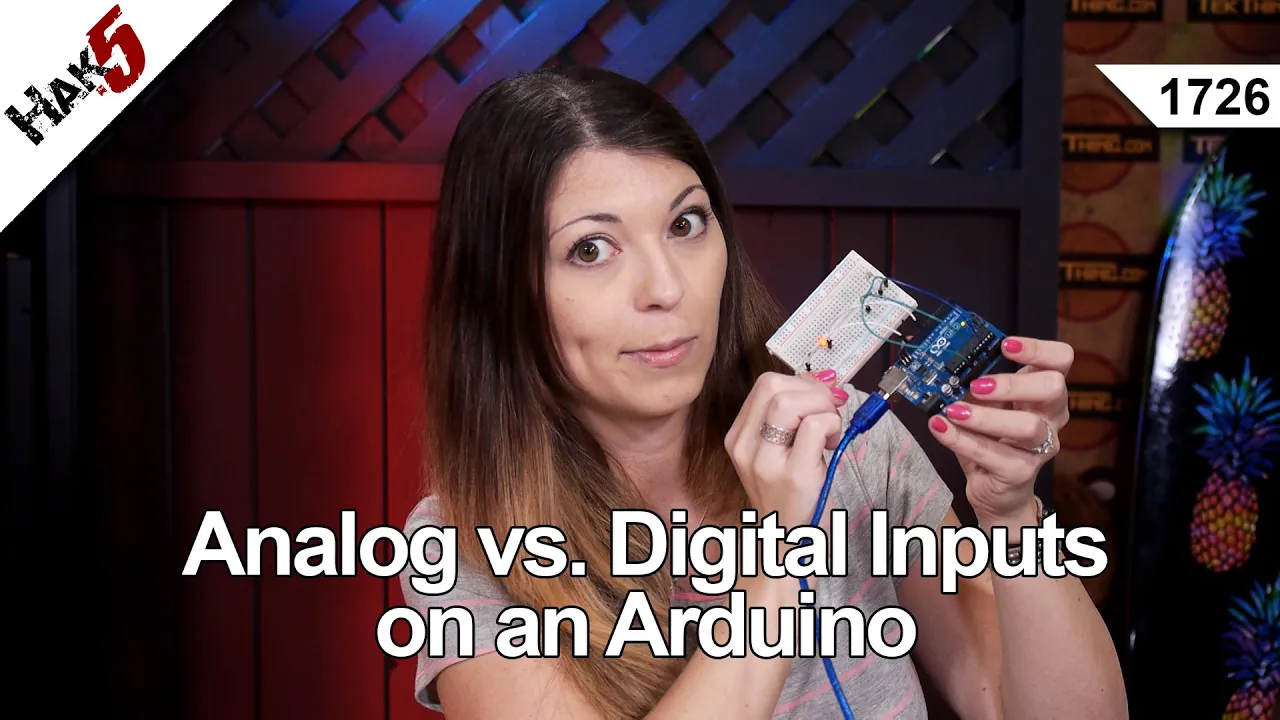
Now what is Arduino? An Arduino is a mini computer in a credit card size and it cannot perform computer size tasks because it has a low bit of processing power.
But it's specifically designed to control LCD, seven segment display, motor, game motor and every pro every electronic components like turning on lights on and off, playing music in speakers, moving motors, reading sensas.
You can think of is at the brain of your projects.
You tell it what to do and it keeps doing it forever just like loopy.
Best part. The best part is Ardino is built for beginners.
You don't need to be a coding expert or a connection expert to make projects within ordino. You with just a little practice you can create smart projects with this Arduino Uno like controlling servos, sensors and many and you can build your own radar system with this.
It's completely opensource and free. You can use it, improve it and share your project to the world. That's why the ordino company has the most commodities which makes you to do projects easily.
Okay. Now we have met the hardware and what about software to control the ordino we need to write the code and for that we will use ordino IDE IDE stands for integrated development environment it's just a fancy way to tell write code and upload code you download it in your computer and you open it and now you can customize your Ardino IDE. With the Ordino IDE, you can write and create codes with just one click to the Arduino.
Take real time data from the sensors that gives to the Ordino Uno in the serial monitor. Use tons of example and ready code to make your projects easier.
Even if you have never programmed or if you have zero IQ from programming, Ardino IDE makes it easier to code.
And let's see how to install the Arduino IDE into your computer. In your computer, go to Google, search Ardino IDE.
Then it will show you this website.
Click here and you can see the download options here. Windows, Windows, Windows, MS, MS II installer, zip file, and also Linux and Mac OS. Mine is Windows. So now I'm clicking this. Then it will ask you for donation for the ordin to support the company. If you if you want it for free, click just download.
Just download for the now it it has been downloading.
You can see it's downloading. It may take a few minutes to download it.
Now as you can see it has been downloaded. So click that and it will show me do you want to run this file?
Click okay. It's safe. Run.
Then it will ask you for license agreement. If you need to see the license agreement, you can read this. If you want to click agree, click agree.
Next. You can choose for all user or only for me. I'm just choosing anyone who is this this computer. Click next.
Then it will ask you to a license agreement install and it will take a few minutes to done the ordino IDE and it have been installed.
After it got installed, it will show me completing Ardino ID setup. Arino ID has installed on your computer. So click click finish to set up and it if you want to run Arino ID, you can click it will do like this. If you don't want click it and it will not run. So in this case I want to run it run a ID and finish and after that it will take you to the main ordino unit.
Now as you can see it puts me to this menu where the main ordino IDE is there.
And now after we download the Ardino IDE now let's look at the software hardware which is I'm taking ordino you know this is simple and easy the ordino you know may look like a small blue sized color a credit card sized with halves with a chip and some pins me there are lot of powerful things in it.
Now let's to look a closer look at the Arduino Uno. Now let's look at the Arduino Uno.
So first a microcontroller mega 328P.
This is the heart of your Ardino Uno.
Mega 328P microcontroller. is an 8 bit chip that runs your code, stores your logic, reads input and control output.
Think of it as the brain of your robot, sensor system or smart device. It has built-in memory, timers, serial communication support and what makes Arduino well Arduino.
The next one is flash, RAM and EROM.
Inside the microcontroller inside at mega 3 to8p you have three types of memory size which is 32 kilob stores your uploader code. RAM 2 KB 2 kilobyt handles variables when the program runs.
EROM 1 kilob saves value even after powers off. You don't see them but they are the reason Ardino remembers and run.
Next one is USB to serial converter AT mega 16 U2.
Right next to the USB port is another chip the ATmega 16 U2. The chip is responsible for convert converting USB signal from your computer into serial signals. That's the ATMA 328P understands without it code from the ordinal ID would be impossible.
The next one is voltage regulator. This teeny tiny component near the power jack is the voltage regulator.
X 7 to 12 volts from your adapter or battery that outputs a safe 5 volts for the boot. It's your power guardian. Keep components from burning up. Reset button. This little black button is the reset button. It can be black or red.
When you press it, it temporarily disconnects from the microcontroller and restarts your code from the main. It's perfect for testing or when you program your stuff.
Next is the power jack, barrel jack.
This is where you plug in an external power source, usually a 9 watt battery or a DC adapter. It fits into the voltage regulator to power the board when USB isn't connected.
USB typeB port. This big silver rectangle in your USB programming board, it serves two jobs. Powering the board during programming and transferring your code to the microcontroller. You use it almost every time you code it with a power supply bits. Create the analog pins. You will find this imported power.
GD loud 5 W supplies 5 W 3.3 W supplies 3.3 W with input wtage from the bar jack these are what you use to power external sensors models and breadboard circuit next is the digital IO pins 0 to 13 of pins labelled 0 to 13 are digital IO pins you You can use them that bricks on or off like LEDs, buzzers or motors.
Pins zero and board also serve as ser or X for communication.
So try not to use them unless needed. X is the analog bits. There are six bits in or your analog input. They used to read data from sensors that give values between 0,23 like temperature sensor or potentiometer.
You can ask digital also gives that but it gives only zero per watt. Meanwhile analog input gives from 0,23.
Next one is the crystal oscillator 16 MHz. This silver component is the crystal oscillator. It keeps the microcontroller kick exactly 60 billion cycles per second. Without this your timing would be aware of like in LEDs delay or reading sensors. The next one is the built-in LED. This TD LED is connected to digital quick 13. It's great for testing your code. No need to wire anything. We will use this a lot in our first few projects. TX and RX communication LEDs. Next to the USB port, you also see two TD LEDs labeled TX or X. The break when data is being transmitted which is TX or receives which is RX through the USB or serial monitor how you know your audio is talking to the computer. ICCP heads headers these are circute serial programming bits.
They used to burn the boot loader or program the the Arido directly using an external programmer. We won't use them much as bigger but they are handy for advanced users and these are all the bop credit cards.
So those are the main guys in the ordino univer [Music] [Applause]
Up Next

9:01
Arduino LDR Voltage Divider for Light Sensing: LED Control Tutorial
@elexhub
170 views•2023-04-28

12:54
Triumph of Orthodoxy Icon: Byzantine Art & History Explained
@BenCallan
2.1K views•2024-08-06

9:49
FastAPI vs Flask vs Django: Choosing the Right Python Web Framework
@TechWithTim
302.5K views•2024-05-26

1:42
Game of Thrones Opening Credits: A Cinematic Analysis
@gameofthrones
46.3M views•2011-04-18
Related Study Plans & Knowledge Roadmaps
Structured learning paths in General & Interdisciplinary Studies
general-studies
Elevator Engineering: History, Physics & Cities
01From Hoists to Safety Brakes: The Dawn of Vertical Lift
02Hydraulic vs. Traction: The Engineering Physics of Elevators
03Modern Speed, Safety, and Algorithms
+ 2 more learning modules
12h5 modules
Explore Roadmap
general-studies
Rubber: Material Science, History & Geopolitics
01Origins of Natural Rubber & Mesoamerican History
02The Chemistry of Natural Rubber & Vulcanization
03The Geopolitics of the Rubber Boom & Colonization
+ 2 more learning modules
12h5 modules
Explore Roadmap
general-studies
Containerization: Evolution, Logistics & Trade
01Ancient Trade & Bulk Cargo: Amphorae to Barrels
02The Industrial Revolution & Cardboard Packaging
03The Containerization Revolution: Malcom McLean
+ 2 more learning modules
12h5 modules
Explore Roadmap
general-studies
Textile Tech: Evolution, Labor & Global Impact
01Pre-Industrial Textiles: Handloom & Cottage Industry
02Mechanization: The Spinning Jenny to the Power Loom
03The Factory System & Global Labor Transformation
+ 2 more learning modules
10h5 modules
Explore Roadmap