


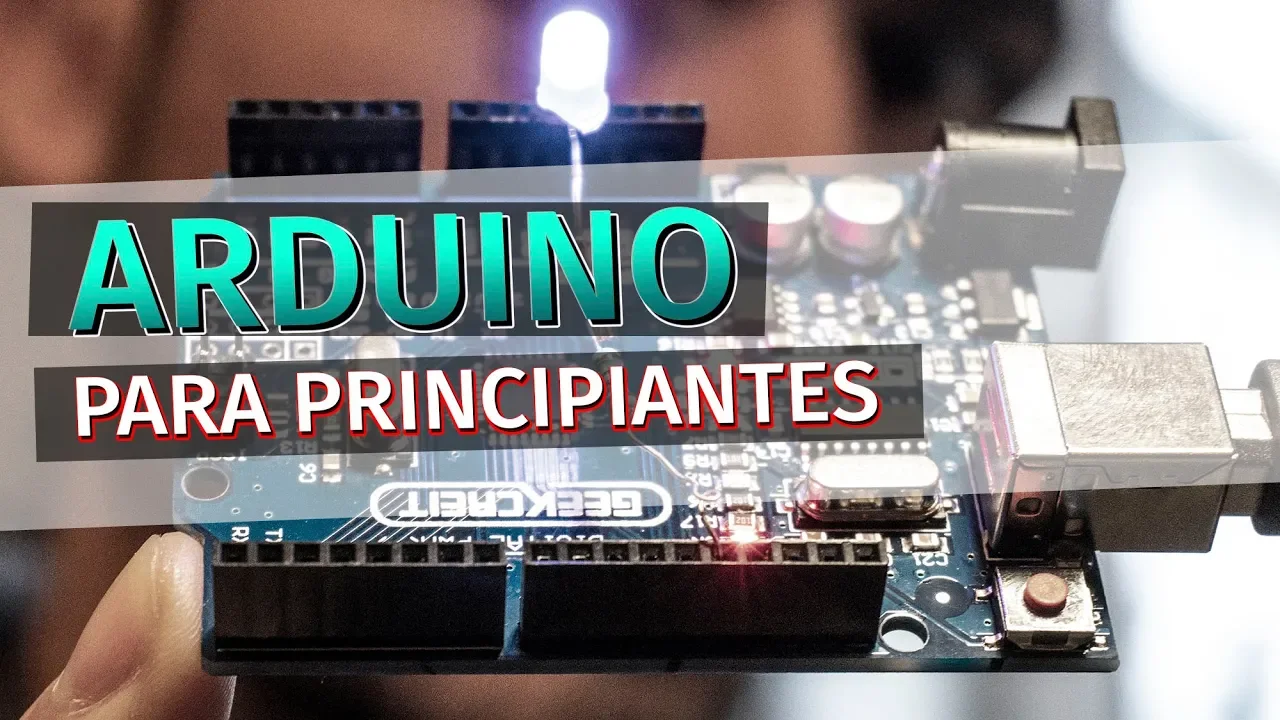























This video explains two methods to control 12V devices from Arduino: using a relay (an electromechanical switch that isolates the high-voltage circuit and can handle high currents but is slower and has mechanical wear) or an N-channel MOSFET transistor (an electronic switch that offers faster switching, no mechanical wear, and can also support PWM for dimming, but requires careful voltage handling). Both methods require an external 12V power supply and connect to Arduino through a signal pin, with the choice depending on whether the application needs isolation, speed, or dimming capability.
Arduino Relay vs MOSFET: Controlling 12V Devices
Added:Basic understanding of DC circuit fundamentals, including voltage differences (such as 5V microcontroller logic vs. a 12V external power supply), current, and common ground.
Familiarity with the Arduino platform, including basic IDE usage, configuring digital input/output pins, and writing simple code structures.
The fundamental concept of electronic switching—how a small control signal can open or close a higher-power circuit path.
A foundational grasp of Pulse Width Modulation (PWM) and how it is used to control power delivery by rapidly cycling a signal.
Using flyback diodes (freewheeling diodes) to protect transistors and microcontrollers from high-voltage spikes caused by inductive loads like motors and solenoids.
Implementing optocouplers (opto-isolators) to achieve complete electrical isolation between high-power load circuits and sensitive logic circuits.
Thermal management principles, including calculating power dissipation in MOSFETs based on internal resistance (R_DS_on) and selecting appropriate heatsinks.
H-bridge circuit configurations to enable bi-directional control of DC motors, moving beyond simple on/off or single-direction control.
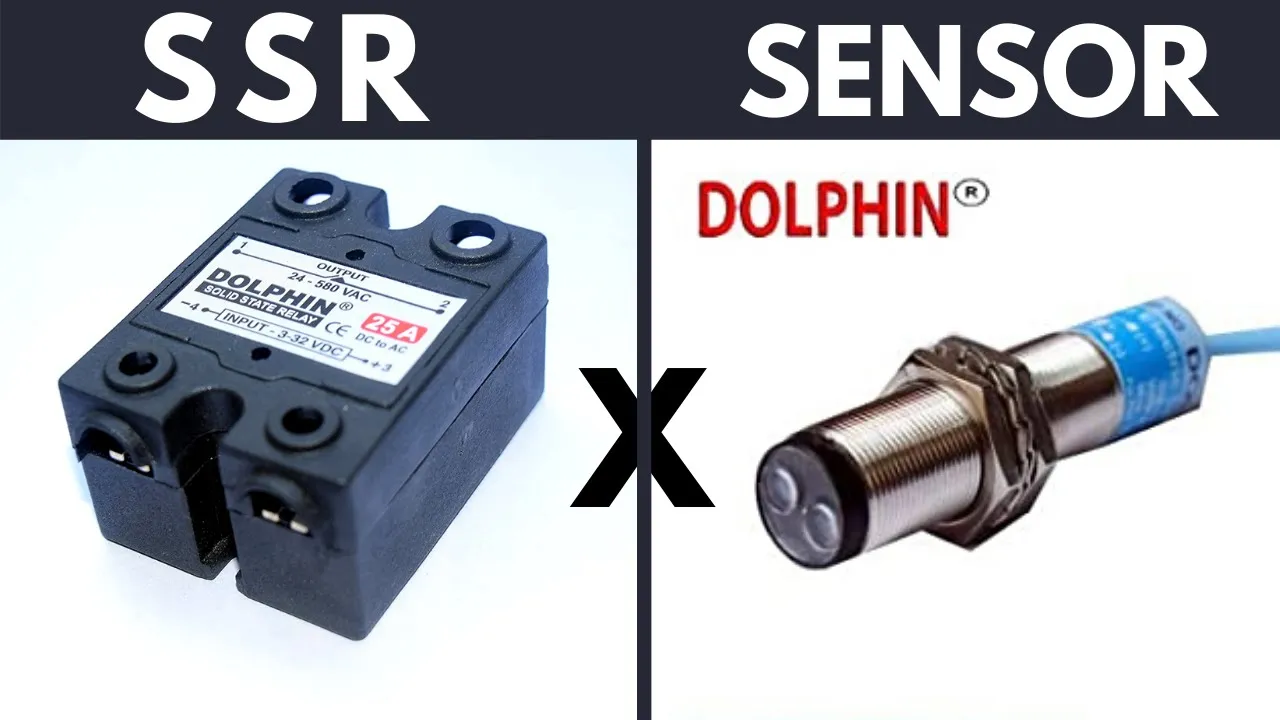
An introduction to Solid State Relays (SSRs) as a modern, wear-free alternative for switching high-voltage AC and DC loads.
176.4K views3.9Klikes12:56Original Release: 2021-01-15
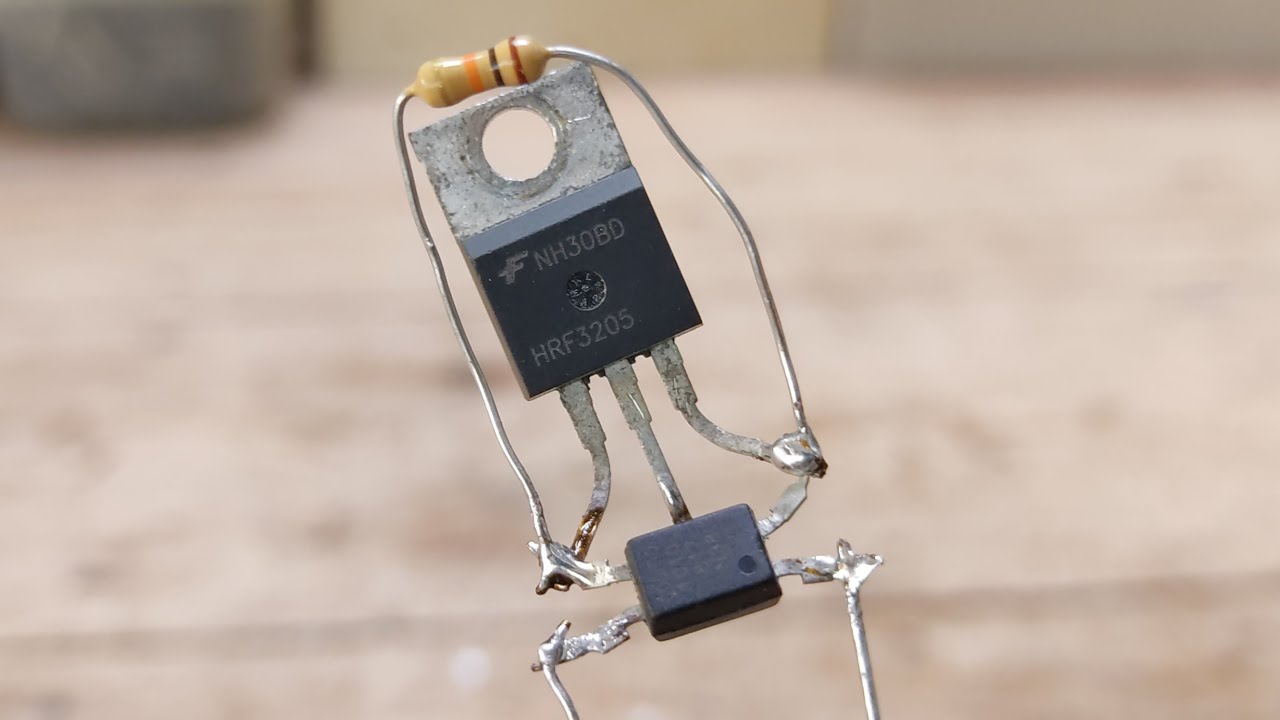
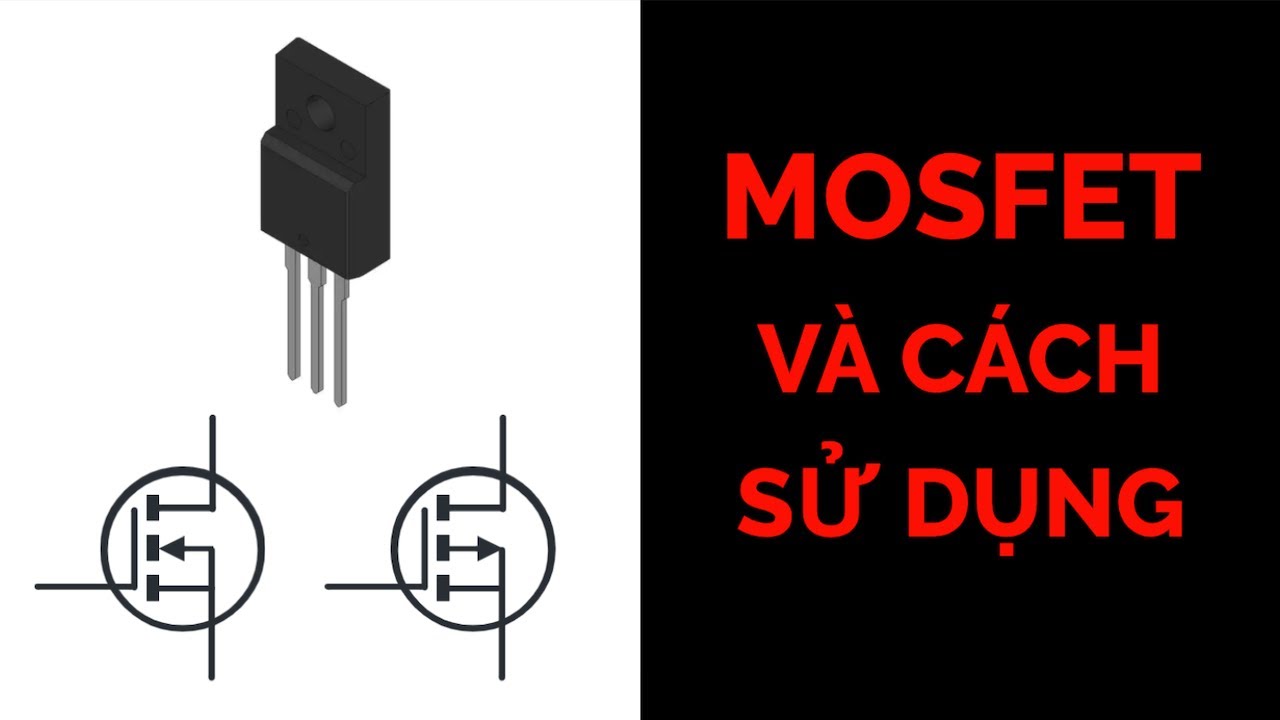
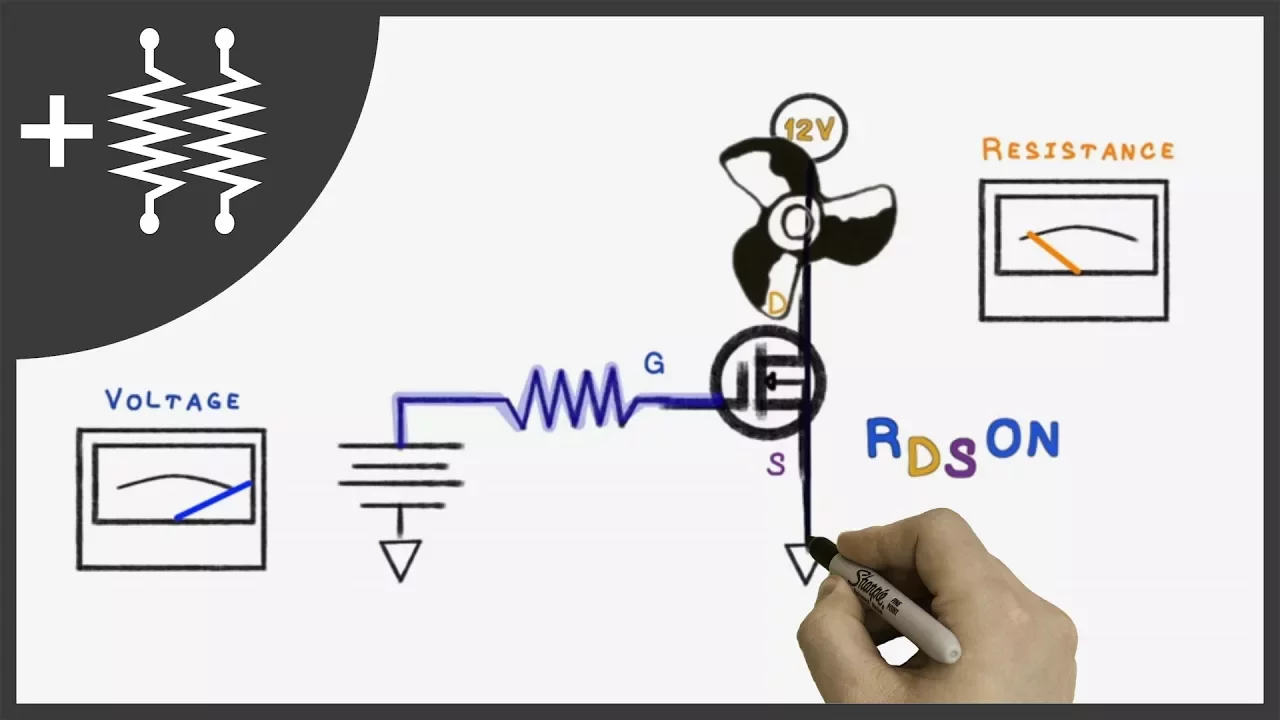
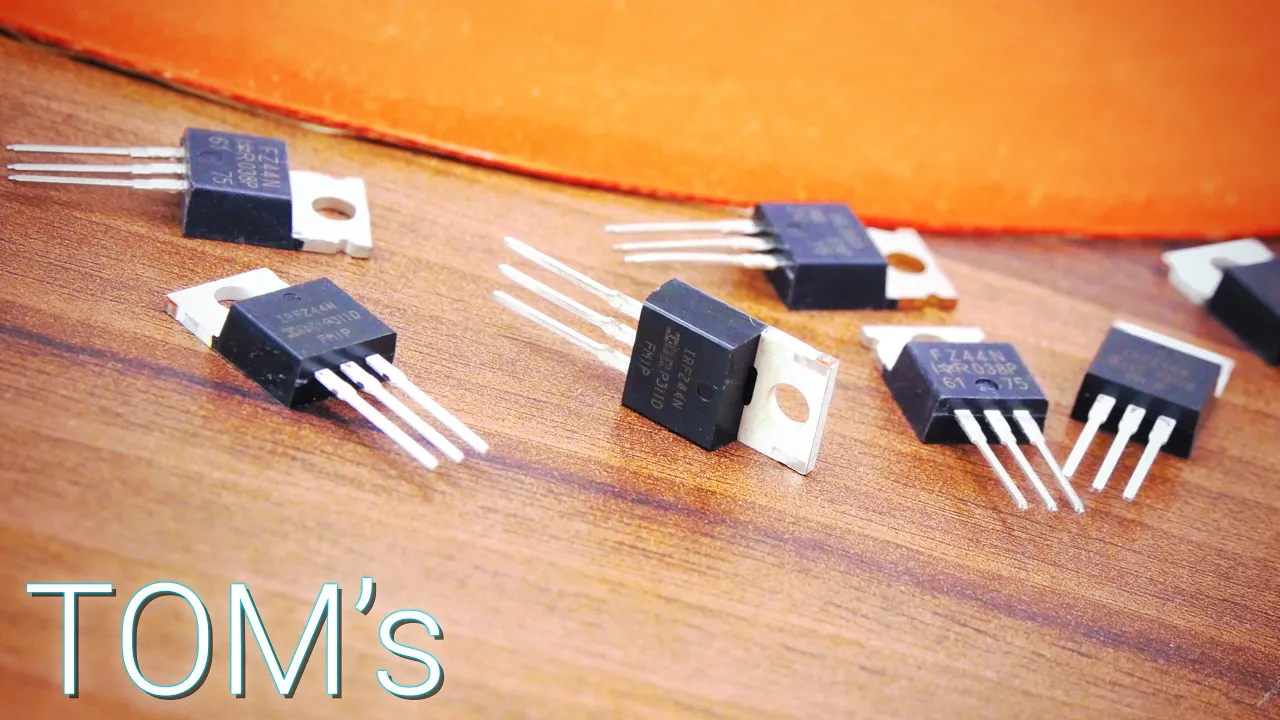
in most videos i posted in this channel i control various types of devices majority of them have one thing in common they have five volt devices but what do we have a device that requires higher voltage eg this type of led bulbs i bought recently as we can see they require 12 volts to operate in this video i will show you two different ways you can control such devices with arduino let's dive in [Music] here is any 12 volt device if we want to control it we cannot do it directly from arduino as it can only supply 5 volts also some devices may require more than 40 milliamps of current and this is the max you can get out of arduino pins one of the ways to control 12 volt devices is to use a relay a relay is an electromechanical device that can be used to make or break an electrical connection in this relay you have three screw terminals that you connect your 12 volt circuit to on the other side you have three pens that you connect to arduino apart from our device arduino and the relay we need external 12v power supply to connect relay to arduino you have vcc and ground pins and the signal pin that would be used to close or open 12 volt circuit going back to scroll terminals you have a common one that is always used then you have normally open one no which connects the circuit when the relay is activated that means when we send 5 volts to the relay signal pin from arduino the circuit is disconnected when the relay is inactive the third screw terminal is normally closed nc it disconnects the circuit when the relay is activated the circuit is connected when the relay is inactive let's say your device is 12 volt led here is the simplest sketch which would blink this led in a way so it is on for half a second in two seconds intervals as i said the relay is a mechanical switch so we hear distant click where the relay is activated in many projects you connect or disconnect the circuits based on the input from the various type of sensors that can be connected to arduino you can think of dozens of possible projects eg controlling led with the reading from a photoresistor or motion sensor or controlling magnetic lock with the push of the button or opening solenoid valve when we get the right input from the moisture sensor let's look at controlling 12v led with a photoresistor when the light intensity goes below a certain threshold the led should turn on the code is also quite straightforward we introduce variable light intensity which would store the readings from the photoresistor then we specify the pin for photoresistor and the pin connected to the signal pin on the relay which would control the led and declare the first one as output and the second one as input in main loop we read the value of auto resistor pin the range i worked with was from around 100 for daylight in my living room to 400 for complete darkness i chose the threshold of 290 to activate the relay so with this simple if statement we check the light intensity and we either send high or low signal to the led pin the other way to control high voltage devices is using the transistor in this example i would use n channel mosfet transistor as this type of transistor does not heat up like bjt transistors do and is easier to use mosfet transistor has three legs first one is the source and should be connected to ground second is a drain and should be connected to the positive side of the external 12 volt power supply we place our load the 12 volt device we want to control in between positive side of power source and the drain the last leg is the gate if we apply 5 volts to it the electricity would flow from drain to source if there is no voltage applied the circuit remains disconnected we also have to add pull down resistor to the gate to avoid closing the circuits just by touching the gate wire to control the 12 volt circuit we connect gate to arduino pin and from the arduino sketch we can control the type of signal that is sent to the gate at any given time here we can have on off logic sending either high signal 5 volts or low signal 0 volts we also have a possibility of using pwm pulse width modulation the pin we connect the relay signal to is arduino digital pin 3 5 6 9 10 or 11.
in this case we pass value to the pin with the analog write command the value from 0 to 255 in case of 255 we request a hundred percent duty cycle always on for example for 127 value passed it would be a 50 duty cycle on for half of the time and so on zero is the zero duty cycle always off this way we can not only turn led on or off but also we can dim the led we would have an example for it later in this video now in the diagram you see that we are supplying 5 volts to the gate and we can see the electricity flowing through the circuit when we send low signal to the gate the circuit is again disconnected so now let's replace the relay with a transistor and see how the connectivity would look like we connect positive of the 12 volt power supply to led anode we connect the source leg of the transistor to ground and the drain leg to led cathode then we connect the gate leg to arduino pin and also through pull down 10k resistor to ground finally we connect grounds of arduino and 5v power supply we can use the same code we had for the relay to blink the led we can also add a sensor in the same way to the setup let's try motion sensor this time here we define variable which would store the current state of the motion sensor in setup we wait 60 seconds for motion sensor to calibrate in the main loop we read the motion sensor state to a variable and again with a simple if condition depending whether the motion sensor is detected or not we send the appropriate signal to gate of the transistor now let's go over the promise example where we will try to dim led using pwm pulse width modulation we connect led to arduino via n-channel mosfet transistor we connect linear potentiometer to one of the analog pins now we map potentiometer readings which vary from 0 to 1023 to the pwm value we want to pass to the arduino pin the gate is connected to pwm values vary from 0 to 255. we start with the zero duty cycle where led is off and then with the potentiometer reading increasing the pwm value is increasing as well making the led brighter when we reach potentiometer value 1023 the led is fully on in the code we have a variable which would store values ranging from 0 to 255 which would be pass with the analog write to gate of the transistor then we declare both pins in the main loop we read the value from the potentiometer and map it to the pwm range 0 to 255 and then pass it to the pin connected to the transistor's gate it works we are able to dim the led so now the final comparison of relays and transistors relays are on off devices while transistors can change voltage drop in a circuit relays are a mechanical devices using electromagnetic field to close and open the circuit transistors are electronic devices and as such they are much faster than relays 10 times faster to be exact relays isolate the controlled circuit from the microcontroller transistors can be isolated from a control side as well but they do not have to be relays consume a lot of current in an on state transistors don't i think all in all relays are easier to use but not practical when the switching is too frequent also they have limited lifetime 50 to 100 000 operations on average this is the end of this video while i was working on it i reached next major milestone for my channel 500 subscribers i would like to use this opportunity to thank all my viewers for visiting my channel i am working on new projects so hopefully i will see you soon [Applause] [Music]
Up Next

0:57
The Power Loom: A Revolution in Textile Manufacturing
@patrickreed1967
21.5K views•2016-12-17

30:32
Ultrasonic Transducers: Resonant Frequency Measurement and Horn Design
@imajeenyus42
229.9K views•2017-02-22

54:16
Polymer Environmental Degradation: Mechanisms & Stabilization
@iit
1.8K views•2012-07-10

33:39
How a Student's Question Saved a NYC Skyscraper from Collapse
@veritasium
22.8M views•2025-04-26
Related Study Plans & Knowledge Roadmaps
Structured learning paths in Engineering
engineering
Building Acoustic Levitators: Physics & Arduino
01The Physics of Sound and Standing Waves
02Piezoelectric Transducers and H-Bridge Drivers
03Arduino Programming: Generating 40 kHz Signals
+ 2 more learning modules
14h5 modules
Explore Roadmap
engineering
Building Peltier Cloud Chambers: Particle Tracks
01Cosmic Rays & Cloud Chamber Physics
02Thermoelectric Cooling (TEC) Fundamentals
03Custom Liquid-Cooling Loop Design
+ 2 more learning modules
18h5 modules
Explore Roadmap
engineering
Yagi-Uda Antennas: Modeling, Build & VNA Test
01Introduction to RF and Antenna Fundamentals
02Yagi-Uda Antenna Design Principles
03Antenna Modeling and Simulation in 4NEC2
+ 2 more learning modules
18h5 modules
Explore Roadmap
engineering
ECG Monitor Design: Op-Amps, Filters & Noise
01Electronics & Breadboard Basics
02Op-Amps and Instrumentation Amplifiers
03Bioelectricity and ECG Fundamentals
+ 2 more learning modules
18h5 modules
Explore Roadmap