





![[사진수업] 초보개념 길라잡이, 한방에 끝내는 디지털 사진의 기본 용어 정리, 색공간, 색역, 계조, 대비, 다이나믹레인지](https://i.ytimg.com/vi_webp/4XcrnclIybY/maxresdefault.webp)

![A Small, Cheap Micro-Spectrometer - Review [Pt 1]](https://i.ytimg.com/vi/MOXryggwr_Q/maxresdefault.jpg)
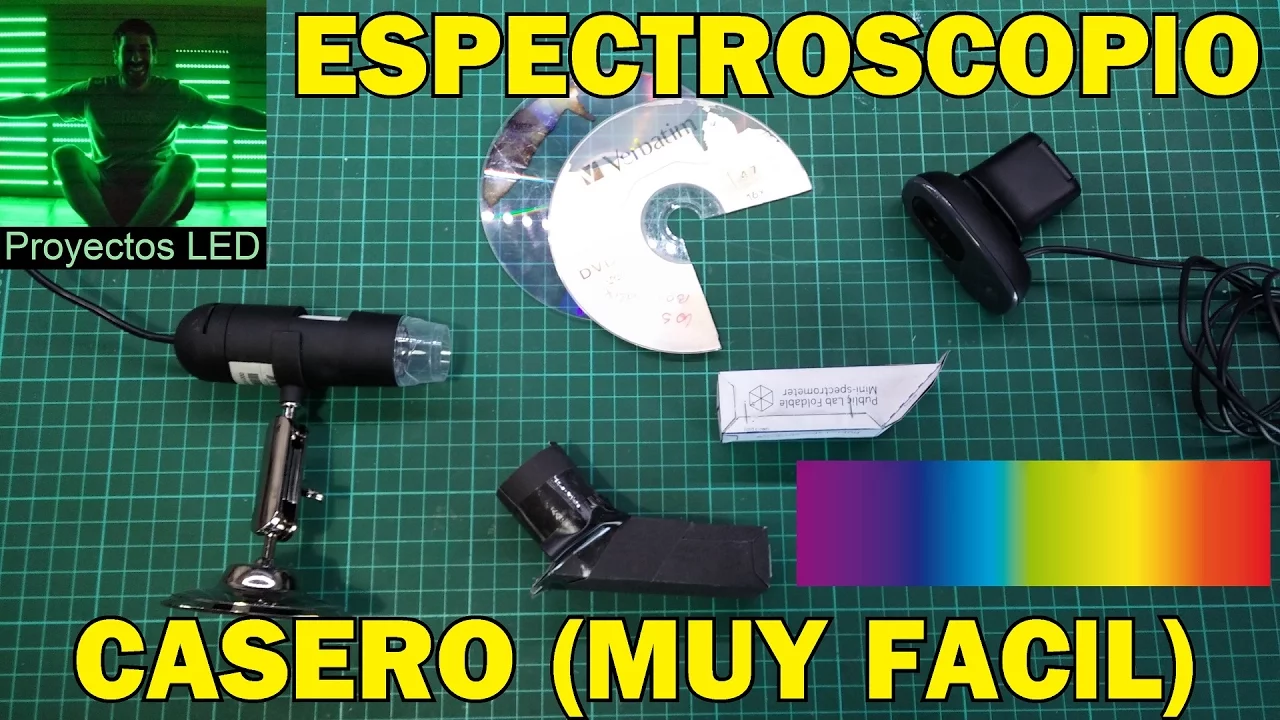







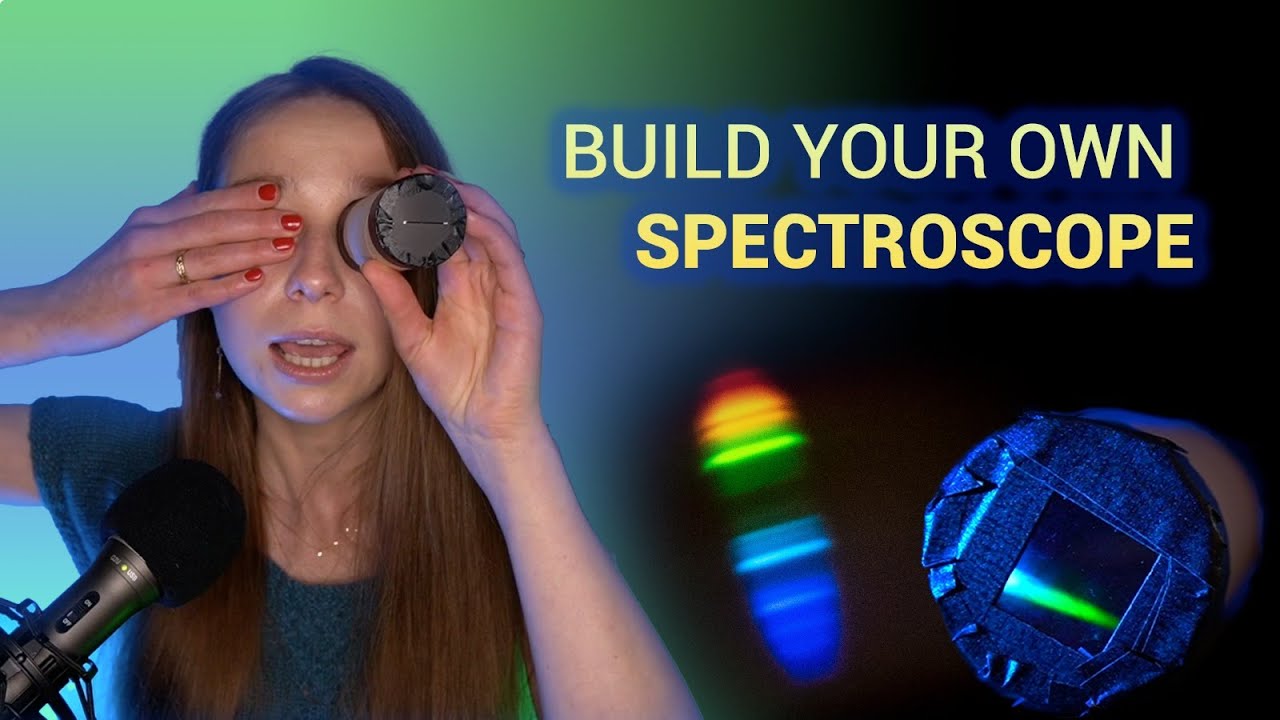





This tutorial introduces Public Lab's Spectral Workbench 2 software for capturing and analyzing spectra using DIY spectrometers. Key concepts include: (1) Setting up the spectrometer by connecting it via USB and granting webcam permissions; (2) Capturing spectra by pointing the device at broad light sources like windows or cloudy skies, and positioning the cross-section line correctly to extract brightness values; (3) Avoiding overexposure by keeping color channel peaks below 90-100% to preserve spectral data integrity; (4) Saving spectra with optional calibration, and later applying saved calibrations to convert pixel data into wavelength-labeled results for accurate analysis.
Spectral Workbench 2 Tutorial: Capturing and Analyzing Light Spectra
Added:Basic physics of light, including the electromagnetic spectrum, wavelengths, and the principles of diffraction and refraction.
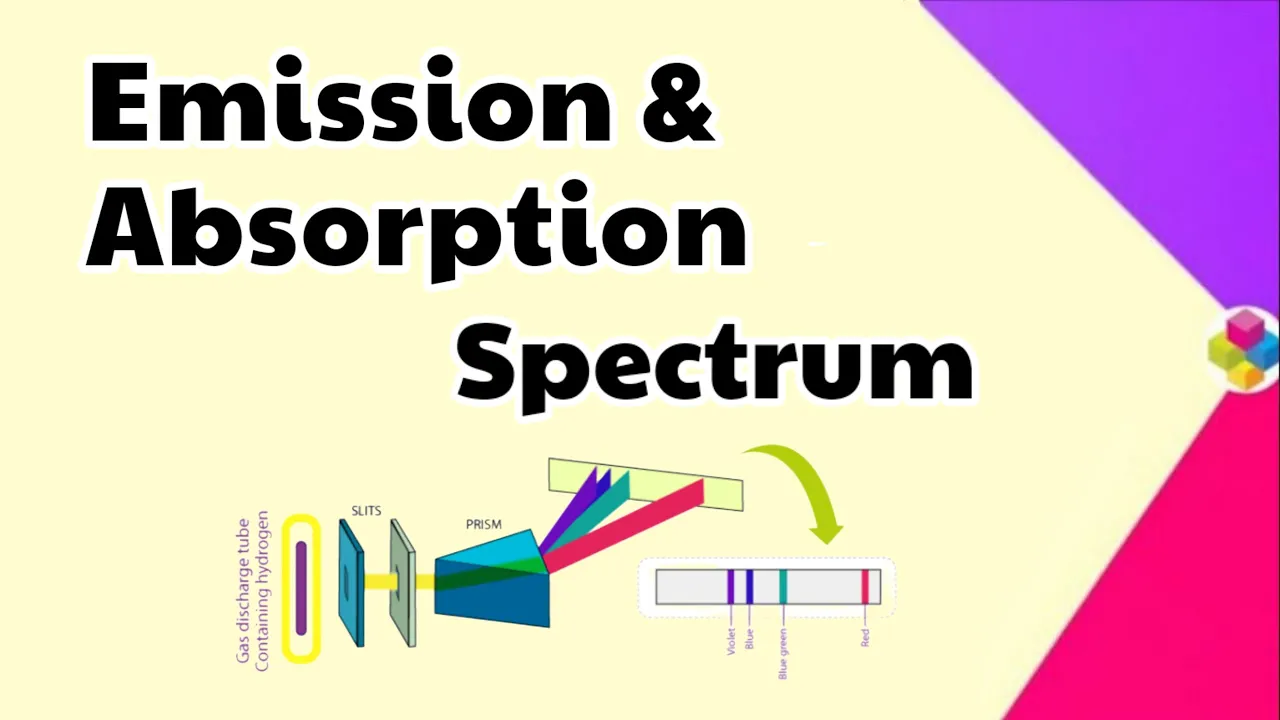
Fundamental concepts of spectroscopy, specifically the difference between emission, absorption, and transmission spectra.
Elementary digital photography concepts, such as sensor exposure, pixel saturation, and how digital cameras capture color channels (RGB).
The scientific purpose of calibration, specifically using known reference points (like mercury emission lines in fluorescent lights) to establish a baseline.
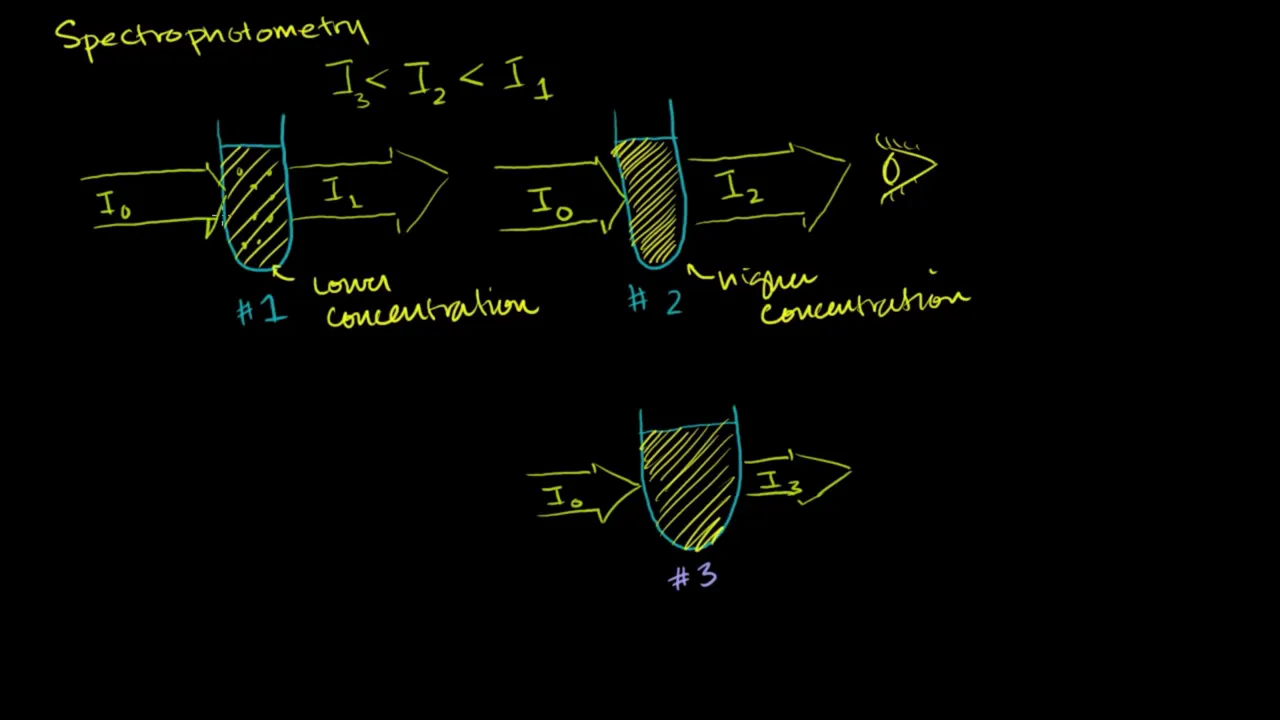
Applying Beer-Lambert Law to perform quantitative chemical analysis and determine concentrations of substances in a solution.
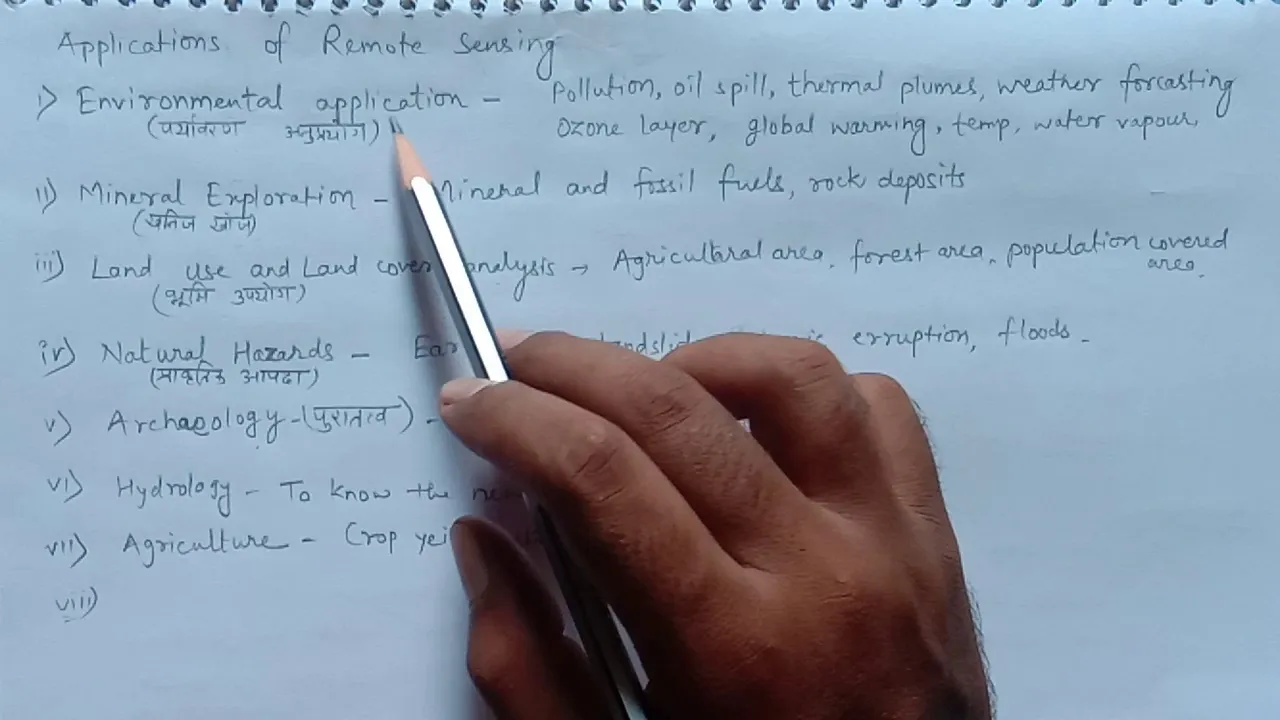
Environmental sensing applications, such as identifying pollutants, oil spills, or water contaminants using spectral signatures.
Advanced hardware customization, including optimizing physical diffraction gratings and slit widths for DIY spectrometers to improve resolution.
Collaborative data analysis, utilizing open-source databases and citizen science platforms to compare and validate environmental spectral data globally.
18.2K views43likes8:00Original Release: 2018-11-30
hello this is Jeff Warren and this is an introduction to special workbench 2 we're assuming today that you have logged in and created an account at public lab and you're on your dashboard as I am and also that you've built and plugged in a spectrometer based on what the public lab DIY spectrometer designs or one of the public lab kits and then that's plugged in my USB cable to your computer so the spectral workbench is a place to to collect your data and analyze it but also to share your data and to you know be part of this online community you can see some of the recent research here which is great and gives links to share your own as well as to post questions or join different discussions and I encourage you to do so there's also a listing of recent spectra down here you can look at your own but these are just ones that folks have uploaded in the past few minutes some of them are mine and some of them are others but what do you'll be doing most the time you know it is clicking up here capture spectra and on most modern browsers that can access your webcam it'll connect to your spectrometer which actually has a webcam inside it and the first time it will pop up a menu asking you for permission and you'll say allow and you know if it gets the wrong webcam you can click here this is in Chrome but Firefox has a similar sort of interface and you can choose the webcam you want and then you'll have to refresh the page to get that it'll ask your permission only once but you know this this icon for the camera will always be here okay so you can see there's actually a spectrum already here I've pointed my spectrometer towards a window you could point it at a lamp or something else but you want to get sort of an easy broad spectrum here it helps to point it at something big and lit up not something not like a tiny light because that's hard to line up so point out the window at a cloudy sky point out a white that's well eliminated and you'll see the spectrum you want this line to intersect the spectrum so if you click here I won't do it but if you click here you can move that line up and down and that line is the cross-section line the cross-section for the video determines where it's going to pull the numbers out the brightness values out of that image so you'll want to choose a good one that's right down the middle mine is a little below but there's still light there and I'll tell you in a moment why it's a little bit lower than this you can see I'll cover my spectrometer up and you won't see the light anymore and and I can move it around for example and and once you set this you don't really want to change it and if you change it you may have to recalibrate notice that some spectra are slightly curved this has to do with the lens and the in the webcam and the the DVD fragment we're using and different things like this so if you if that line moves up the the position of all the peaks of all these bands may change left to the left or right so once you choose one you want to stick with it and also note that the blue is sort of on the is on the left side and the red is on the right side which is the standard for special workbench we'll talk a little bit about overexposure in a moment but before I press begin I want you to notice I'm using a calibration reference that means that I've already actually calibrated this spectrometer you may not have done that and it may it may not have one here but I'll show you that that doesn't matter at the moment you can save even without a calibration and later associate your calibration with each each spectrum you capture but because I've done it when I click OK you'll see that actually my wavelengths are all labeled and once you have a calibration you'll be able to do that to this line here I'm going to cover it up for a moment and you'll see it's actually a waterfall graph or a waterfall display of the past 20 seconds or so of data whereas the graphs here show current data and you can always get back to your settings page with the button up here just by clicking this little preview window now okay I mentioned overexposure this is pretty important so I'm going to move the camera a little bit or the webcam the the spectrometer a little bit and you notice it's warning me that there's clipping that the light source is too strong now this is pretty bad what happens is if it's too bright like you can see in the preview here some of the channels register greater than 100% or they top out at a hundred percent and and if you do that too much it's actually smooshing the shape of the curve and you don't want that that'll actually destroy information that you'll need in your analysis so what you can do is if you're using a lamp or something that can be dimmed just dim it until these Peaks are a bit lower you want like lower than ninety percent or lower than eighty percent likewise you don't want them to be too low because there's a lot of noise in the signal and then you want them to rise above the noise so what I have what I have here is actually pretty good I mean it's like right smack in the middle and this white line is the average of the colors that's the line you'll actually be using for analysis but you always want to make sure that your three color channels are aren't clipped or overexposed so we're doing pretty well here I'm ready to save and you'll see what I mean about calibration here so it's asking us to fill out you know a title we'll say sunlight which is actually what I'm scanning right now we can add some tags I could describe it and then it's prompting me to use the calibration I have associated here but I can actually just press Save and calibrate later and so it doesn't really matter all right so we're going into the spectrum page for the spectrum we just captured it opens in a new tab that's so you don't have to keep resetting your you know your webcam and so forth but we're not going to be capturing again so I'm gonna I'm going to close that so okay we have this window open and it's processing the data it's gonna load in a moment here and what we'll do is I'm gonna use that calibration that I have already saved and it's actually available on this other tab I have open I'm gonna use this to calibrate the first one and I'll show you how we do that calibration itself is going to be covered in a different video but but we'll just show you what you'll be doing most of the time which is using an existing calibration looks good and notice this is uncalibrated pixels which is right I'm gonna copy calibration and this shows recent calibrations it's not actually showing that most recent one which I made about an hour ago here it is I searched for it and I'm gonna apply and what it's doing is - it knows that the device is the same device or I know that because I did it myself an hour ago and it's copying over the pixel positions from the calibration into into this spectrum and you can see now that we have a fully labeled and wavelength calibrated set of results so that's I'm gonna stop there for this tutorial well in other video tutorials we'll cover topics like actually doing a calibration we'll do some comparisons and we'll learn how to use some of these tools down here but thank you very much and I hope you enjoy special workbench
Up Next

8:35
MATLAB Spectrometer Spectrum Generation Tutorial | Engineering Lab
@AndrewPaluch
319 views•2024-10-24

12:54
Triumph of Orthodoxy Icon: Byzantine Art & History Explained
@BenCallan
2.1K views•2024-08-06

9:49
FastAPI vs Flask vs Django: Choosing the Right Python Web Framework
@TechWithTim
302.5K views•2024-05-26

1:42
Game of Thrones Opening Credits: A Cinematic Analysis
@gameofthrones
46.3M views•2011-04-18
Related Study Plans & Knowledge Roadmaps
Structured learning paths in General & Interdisciplinary Studies
general-studies
Elevator Engineering: History, Physics & Cities
01From Hoists to Safety Brakes: The Dawn of Vertical Lift
02Hydraulic vs. Traction: The Engineering Physics of Elevators
03Modern Speed, Safety, and Algorithms
+ 2 more learning modules
12h5 modules
Explore Roadmap
general-studies
Rubber: Material Science, History & Geopolitics
01Origins of Natural Rubber & Mesoamerican History
02The Chemistry of Natural Rubber & Vulcanization
03The Geopolitics of the Rubber Boom & Colonization
+ 2 more learning modules
12h5 modules
Explore Roadmap
general-studies
Containerization: Evolution, Logistics & Trade
01Ancient Trade & Bulk Cargo: Amphorae to Barrels
02The Industrial Revolution & Cardboard Packaging
03The Containerization Revolution: Malcom McLean
+ 2 more learning modules
12h5 modules
Explore Roadmap
general-studies
Textile Tech: Evolution, Labor & Global Impact
01Pre-Industrial Textiles: Handloom & Cottage Industry
02Mechanization: The Spinning Jenny to the Power Loom
03The Factory System & Global Labor Transformation
+ 2 more learning modules
10h5 modules
Explore Roadmap