








![Einführung [01 | AVR - Mikrocontroller C] by Fusel](https://i.ytimg.com/vi/hDWnkXiXMVQ/maxresdefault.jpg)


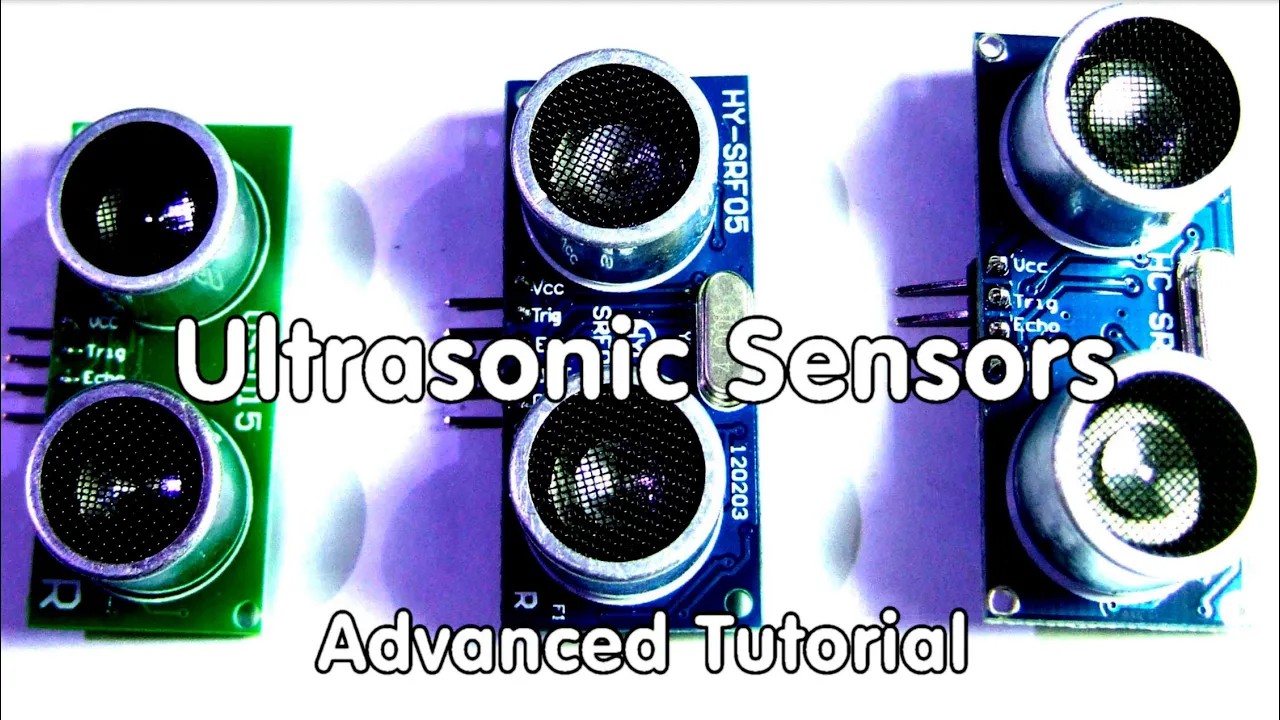

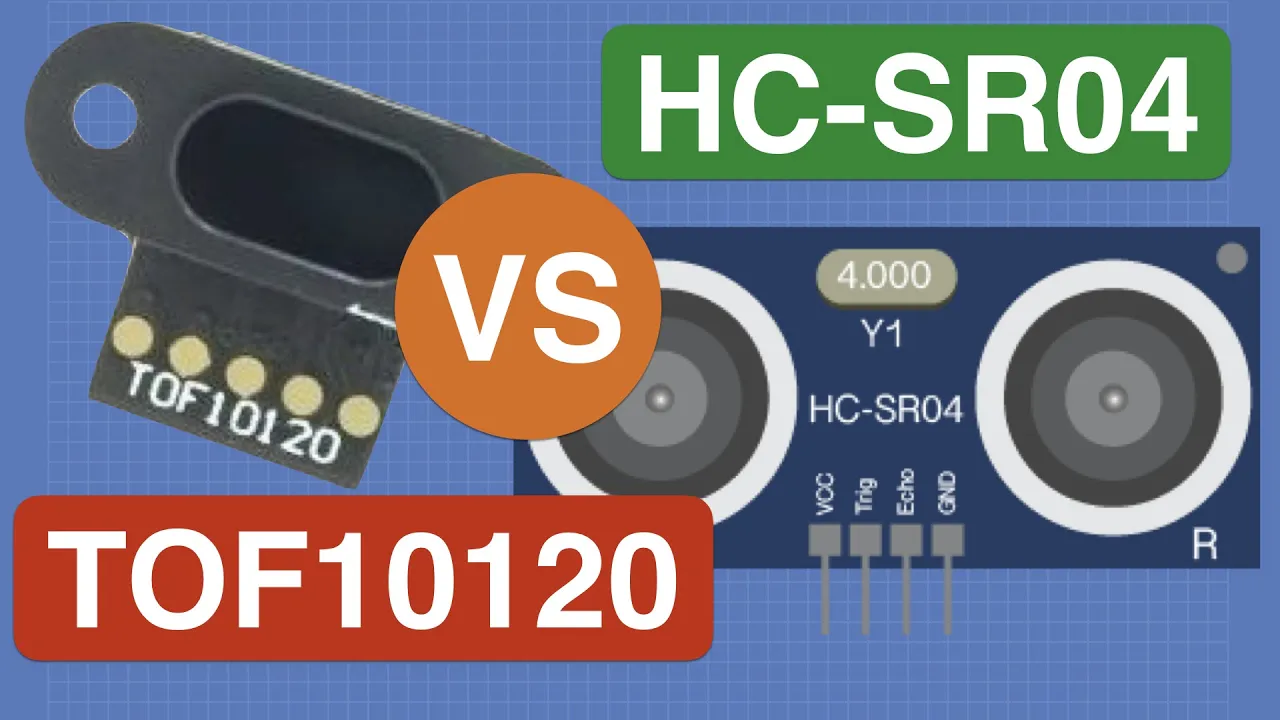

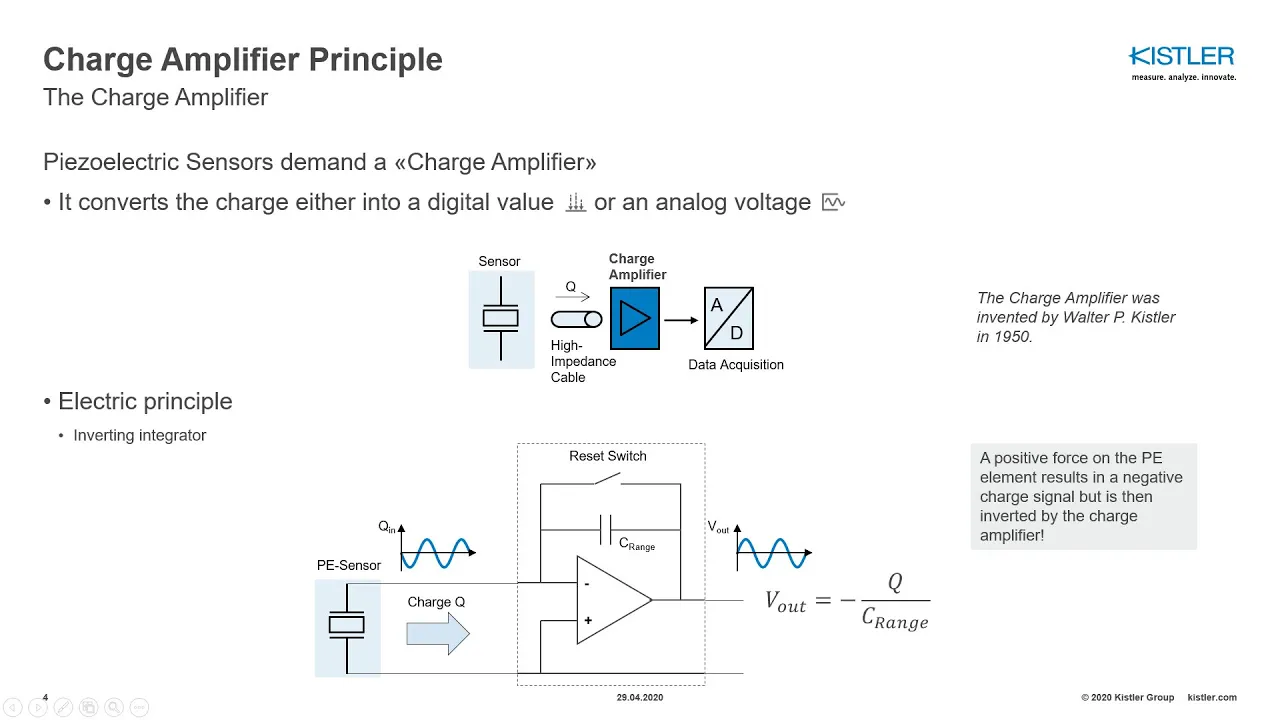


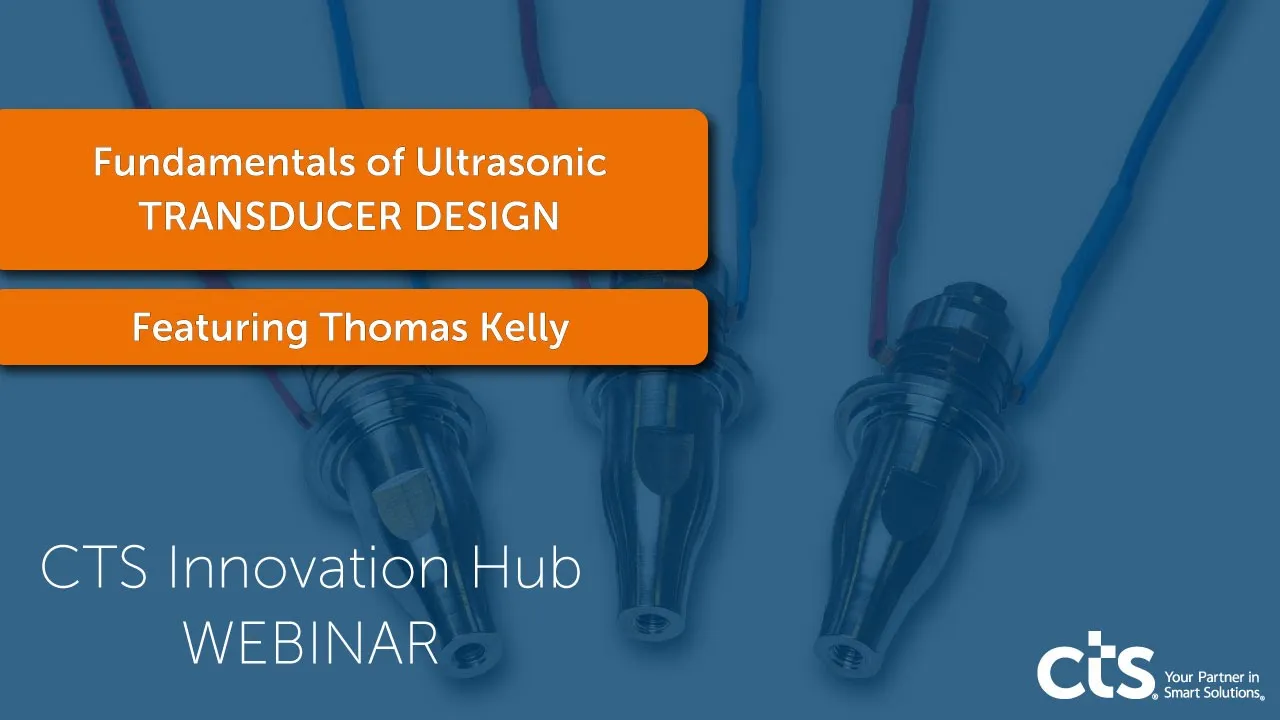




This video explains how to mount inexpensive ultrasonic transducers for level and fluid identification measurements using a simple multi-step process: first roughen the container surface with sandpaper and degrease it with alcohol, then apply cyanoacrylate glue (with latex additive for flexibility) to ensure maximum acoustic energy transfer between the transducer and container wall; larger transducers provide better sensitivity and power but cost more, while waterproof versions are needed for harsh environments. The pulse-echo method uses a single transducer to transmit and receive signals, with the TDC 1000 measuring time-of-flight to calculate fluid level or determine fluid properties by measuring the speed of sound in the medium.
Using Low-Cost Transducers for Ultrasonic Sensing Applications
Added:Basic principles of acoustic wave propagation, including speed of sound, attenuation, and acoustic impedance matching.
Fundamentals of piezoelectricity and how ultrasonic transducers convert electrical signals to mechanical vibrations and vice versa.
The concept of Time-of-Flight (ToF) measurement and how it is used to calculate distances or detect material boundaries.
Introduction to microcontrollers and analog front-ends (AFEs), specifically register configuration and serial communication interfaces like SPI.
Implementing temperature compensation algorithms to maintain measurement accuracy, as the speed of sound is highly temperature-dependent.
Advanced signal conditioning and filtering techniques to handle noise and weak echo signals in challenging environments.
Designing custom PCBs with proper impedance matching and shielding for optimal transducer performance and minimal electromagnetic interference.
Exploring industrial applications of fluid identification, such as concentration sensing (e.g., fuel quality, chemical concentration) and non-invasive flow metering.
72.8K views1.1Klikes16:00Original Release: 2015-06-18
[Music] hi I'm Matt manasse applications engineer for the integrated signal chain at Texas Instruments today I'm going to talk to you about ultrasonic transducers and ultrasound overview we're going to step over here where we're going to work with transducers but first we're going to talk a little bit about how ultrasound works ultrasound is any sound greater than human hearing in the range of 30 khz to 10 mahz looking at this diagram ultrasound operates by having a pazo el electric transducer create an electromagnetic pulse into a medium that's created from electrical pulse exciting that transducer that pulse then moves through the medium until it reaches an acoustic boundary an acoustic boundary is determined by a difference in two medium with two different speeds of sounds at that boundary some energy will pass through the boundary and some energy will not the energy that doesn't pass through is reflected back towards the transducer the transducer then detects that Echo and turns it back into an electrical signal the TDC 1000 will then detect that signal and turn it into a pulse that a microprocessor can detect talking a little bit more about transducers how do transducers work transducers are ceramic crystals that when you apply a voltage to them they contract once that voltage is removed that contraction stops and the expansion creates a pressure wave in the material that it's connected to and this diagram here we can see as the voltage is applied the crystal contracts when there's a voltage present that pressure wave then moves through the material to the boundary using a TDC 1000 I can detect those Echoes In Those pressure Waves by being connected to a transducer in this diagram the tdc100 is excited by a trigger signal from a microprocessor the TDC 1000 then produces two separate signals that indicate the beginning the start and the stop when the echo is received this diagram on the lower left gives an overall view of the whole process the processor's trigger the start signal the transducer excitation the actual Echo and then the digitization of that Echo it's important to note here that what maximizes that return Echo is a great difference between those two speeds of sounds of those two media now in this diagram we're talking about a single transducer method this is called pulse Echo where a single transducer is both the speaker and the microphone the TDC 1000 has the capability to use two transducers there are some applications where you want to have one transducer as a transmitter and the other as a receiver as is Illustrated in this slide here this transducer is the transmitter the energy is transmitted through the medium and received by the second transducer the tdc100 from its perspective it's no difference it it gets a trigger signal that starts the process it creates a start signal it excites this first transducer receives the Echo and turns that Echo into stop pulses let's talk a little bit about the applications for this a pulse Echo application is best Illustrated for level in this case I've got a non-invasive transducer mounted outside my container that's inducing energy into my medium and at that Medium air interface I'm getting a returning Echo the TDC 1000 connected to an MSP 430 or some other microprocessor can then convert that into a time of flight calculation with that time of flight information and the speed of sound of my medium I can then determine the level or the height of that fluid in that container the other application we can handle right now with pulse Echo is fluid identification fluid identification is the same topology as a level the only differen is I've moved my transducer from the bottom to the side by doing that I now have a fixed distance that my echo is going to transfer over looking at this equation here the TDC 1000 will allow you to measure that time of flight and if I know my distance which in this case is this distance here I can then calculate the speed of sound for the medium I'm in this is useful for applications where I need to noninvasively determine what's in my container this is helpful for some situations where materials are costic or I don't have access to them now let's talk a little bit about the transducers themselves we did an overall view of the transducers now let's look at some examples here on my bench I have several examples of different types of ultrasonic transducers what's important about the transducer for your application will be what is its key resonant frequency for every transducer there's two different types of resonances in this slide here for the frequency response of the transducer I just picked up it actually has two key resonances every transducer that's shaped like a disc has two modes of resonance a radial mode and an axial mode radial resonance is in the radial Direction and not useful for this application our application here needs resonance in the axial mode this is also referred to as the thickness mode on some specifications going back to our trans transducer selection transducers come in different sizes the size of the transducer will determine a few things about your application for the demo today we're going to use this 1 mahz transducer looking closely at this transducer there's two parameters that we're really going to be interested in the radial width is going to determine the radial frequency the thickness of the transducer determines its axial resonance in this case this transducer's axial frequency is 1 MHz a few of these other transducers we have here have much larger radial sizes and some are smaller why would one transducer work better than another the radius of the transducer is equivalent to its sensitivity and its power in a nut shell the larger the transducer the more power it can send into your material and the more sensitive it is to those Echoes a medium-sized transducer mediumsized sensitivity larger transducer much more sensitive the last problem you have to solve for your application is which size is going to work best for you for that cost a larger transducer is going to cost more money lastly speaking of transducers depending on your application if you needed a fully waterproof system you'd buy a transducer like this one you might want to use this type of transducer if it's exposed to water or other chemicals the downside to this is it's much more expensive because of the housing the acoustic dampening and the attached cable what we're going to talk about in this demo is how to utilize these inexpensive transducers to measure level and fluid identification for cost sensitive applications we're going to go through the process of how to mount this transducer directly to your container with a simple multi-step process let's go through that now first let's start with our container this is an acrylic container in general acrylic is not very easy to adhere things to the key to making your transducers stick to this is preparation it's a two-step process and what we need to do here first is roughen up the surface it's plastic luckily so I can take some simple 800 grit sandpaper and rough up the area that's just as big as my transducer next I need to degrease that any kind of oils will reduce the glue's ability to keep that transducer on that flexible surface I'm going to do that now with a couple of drops of alcohol I'm then going to use air to dry the surface now I have a clean degreased surface that's ready for adhesion let's talk a little bit about glue what does this glue need to do the purpose of this glue is to maximize the connection between this transducer and the wall of my container I can't afford to have an elastic glue because an elastic glue acts like an acoustic resistor it dampens down any energy going into the Container or being the echo received so I need a glue that's stiff but too stiff would be a problem as this is a flexible material so to attack that problem I'm using canano acrylate most people know it as crazy glue this is a specific form of crazy glue because it has the latex added to it which allows it to be slightly flexible so as the container flexes the glue doesn't Shear off the other thing that's really useful about crazy glue is it starts out as a liquid and when it cures it becomes a crystal so it's the best of all worlds because it's incompressible and all of that ultrasonic energy makes it through the glue into the wall and into your medium let's glue this transducer on right now you only want to apply just enough to cover the transducer next you want to make sure your position of your wires or your transducer is appropriate to your application and applying a small amount of pressure so I maximize my contact to The Container now let's use one of the other benefits of crazy glue Crazy Glue being a liquid to a crystal that curing process can be accelerated with accelerant apply the accelerant to the glue to cure it just wait a few seconds where what normally would take about 10 or 20 minutes I can speed up your assembly process while still maintaining pressure blow off the excess lastly we'll need to clean with a few drops of alcohol again using air to blow it off now I've got a transducer mounted to this container and ready to sense in this case fluid identification applications it's an important note to make sure that you actually glue it onto the container we've had some folks that have tried less effective methods taping Etc or using rubber glues they'll just take away from the energy that gets put into the container and you won't be able to receive your Echo glue is the key some other things you can do depending on how good your transducer is acoustic dampening on the back of the transducer for this example I didn't need to because this transducer is very efficient It's a larger transducer in the case of trying to detect a signal very close to my transducer every one of my transducers when I excite it they ring this in your transducer specification is called ringdown by applying an absorptive adhesive to the back of the transducer I can minimize that ring down which adhus of you use is a function of what you have time for in this case I was in a hurry so I just used hot glue hot glue is very sticky and it takes no time to adhere the other alternatives are RTV they could take up to 24 hours to cure but are going to give you the maximum dampening capability so far we've talked about how to put together a fluid identification system we can turn this fluid identification application in instead into a level application by merely putting the transducer on the bottom of the container well that's it for this video so far please go to the following web addresses for more information and thanks for [Music] watching
Up Next

9:05
Arduino Timer Interrupts: Timer Registers Explained
@homelabs4390
1.9K views•2022-05-15

30:32
Ultrasonic Transducers: Resonant Frequency Measurement and Horn Design
@imajeenyus42
229.9K views•2017-02-22

53:43
Field Oriented Control of Permanent Magnet Motors
@TexasInstruments
366.6K views•2012-08-29

33:39
How a Student's Question Saved a NYC Skyscraper from Collapse
@veritasium
22.8M views•2025-04-26
Related Study Plans & Knowledge Roadmaps
Structured learning paths in Engineering
engineering
Building Acoustic Levitators: Physics & Arduino
01The Physics of Sound and Standing Waves
02Piezoelectric Transducers and H-Bridge Drivers
03Arduino Programming: Generating 40 kHz Signals
+ 2 more learning modules
14h5 modules
Explore Roadmap
engineering
Building Peltier Cloud Chambers: Particle Tracks
01Cosmic Rays & Cloud Chamber Physics
02Thermoelectric Cooling (TEC) Fundamentals
03Custom Liquid-Cooling Loop Design
+ 2 more learning modules
18h5 modules
Explore Roadmap
engineering
Yagi-Uda Antennas: Modeling, Build & VNA Test
01Introduction to RF and Antenna Fundamentals
02Yagi-Uda Antenna Design Principles
03Antenna Modeling and Simulation in 4NEC2
+ 2 more learning modules
18h5 modules
Explore Roadmap
engineering
ECG Monitor Design: Op-Amps, Filters & Noise
01Electronics & Breadboard Basics
02Op-Amps and Instrumentation Amplifiers
03Bioelectricity and ECG Fundamentals
+ 2 more learning modules
18h5 modules
Explore Roadmap