












![How to Tie Surgical Knots: One-Handed, Two-Handed Suture Tying, Instrument Ties [1/4]](https://i.ytimg.com/vi_webp/AKhDa5fcGgI/maxresdefault.webp)
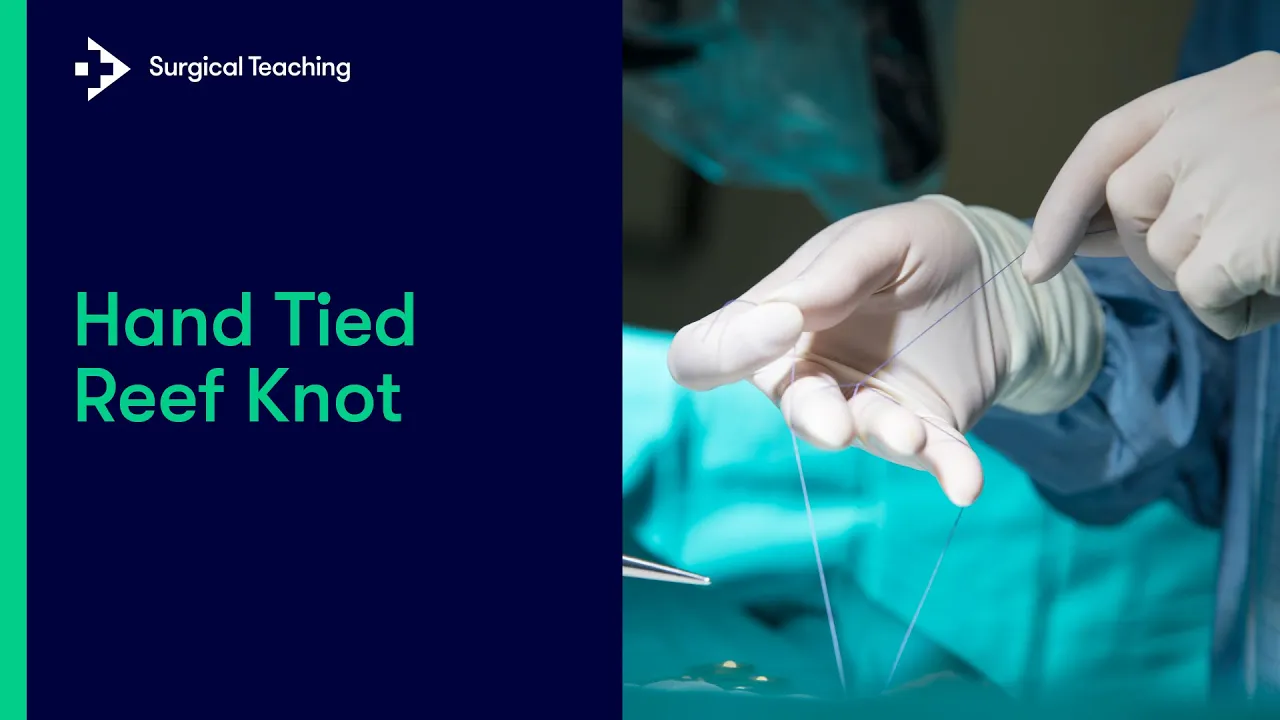





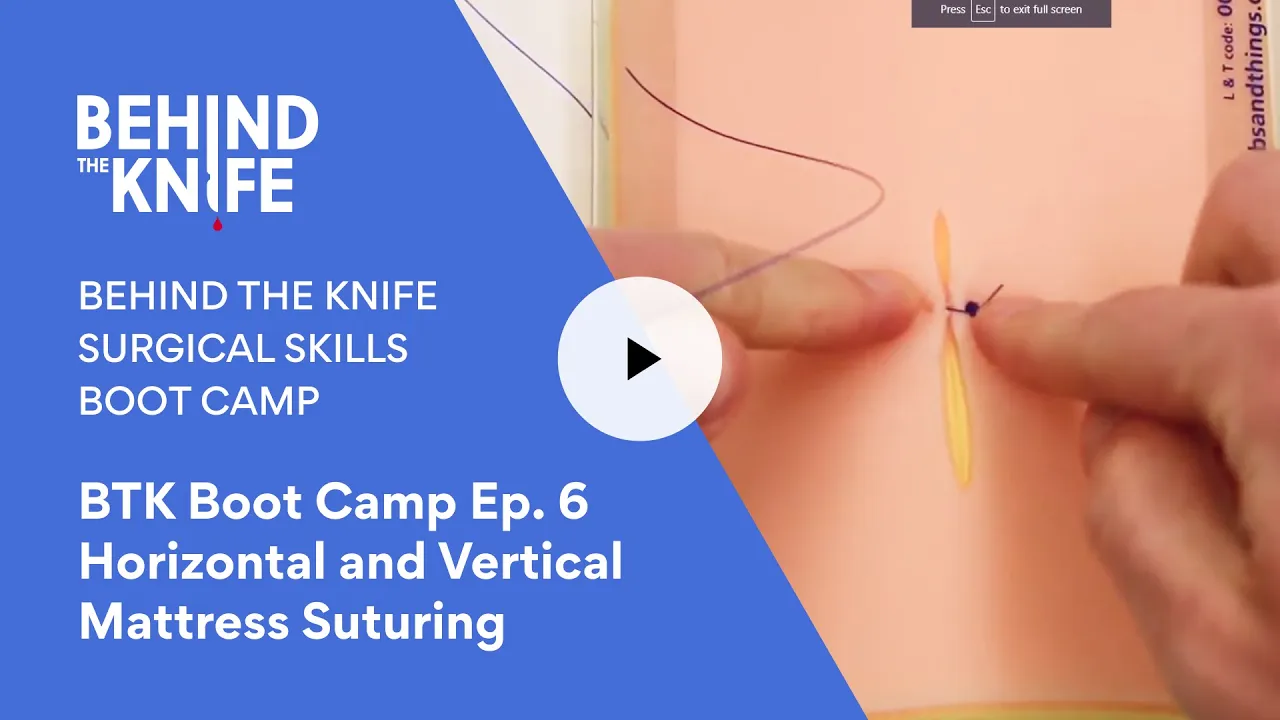


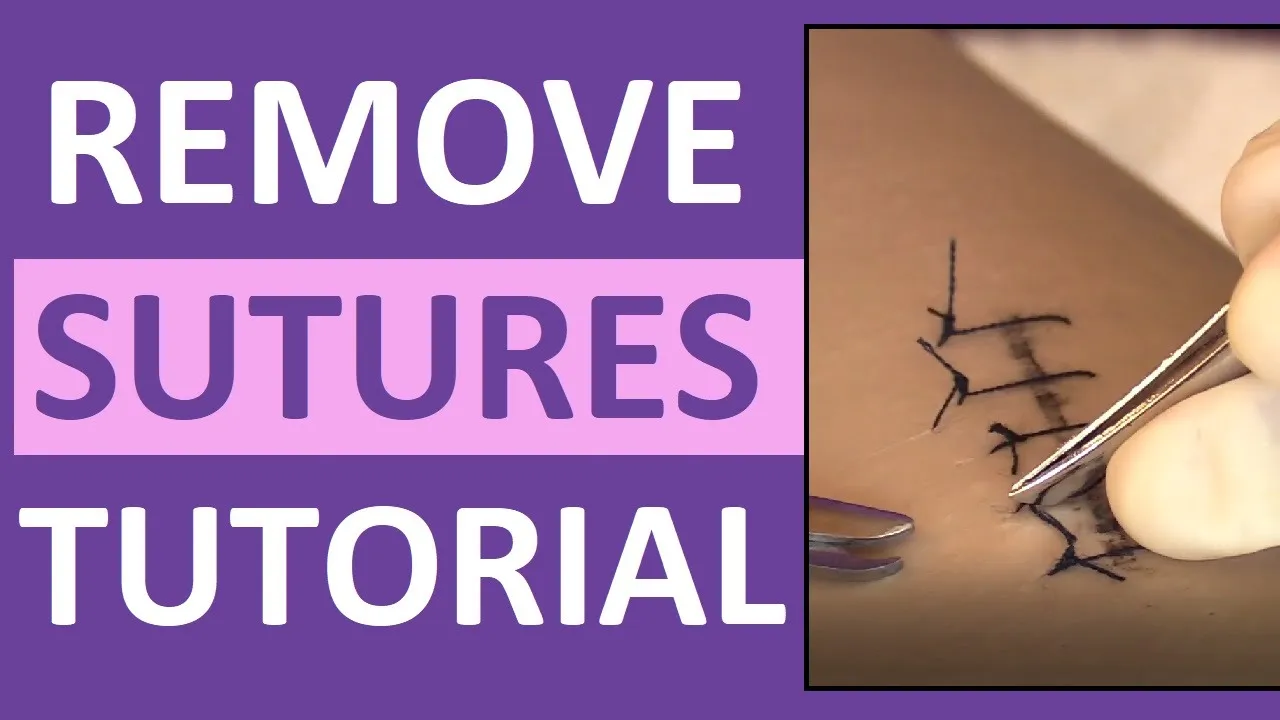




To properly load and pass a suture needle, grasp the needle at 1/4 to 1/3 of its circumference (avoiding the swedged end), load it so the needle sits approximately 1mm below the needle driver tip, hold it by the box lock with the needle at the top, and pass it by snapping it into the surgeon's hand at a 45° angle to trigger their grip reflex while controlling the suture thread to prevent contamination; for left-handed passing, twist the needle 180° while maintaining tension before releasing the lock.
Surgical Suturing: How to Load and Pass a Needle Driver Safely
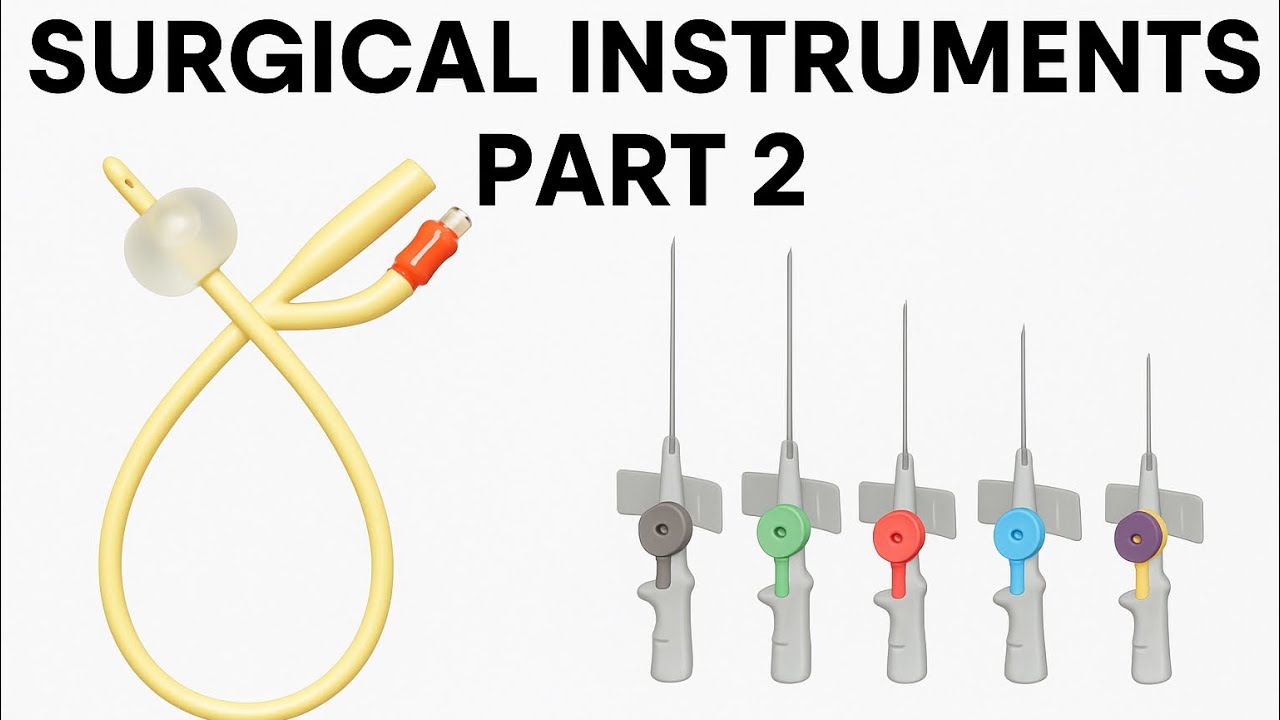
Added:Identification and classification of basic surgical instruments, specifically distinguishing needle drivers from hemostatic forceps.
Anatomy of a surgical needle, including the point, body, and swage (attachment end), as well as basic suture material types.
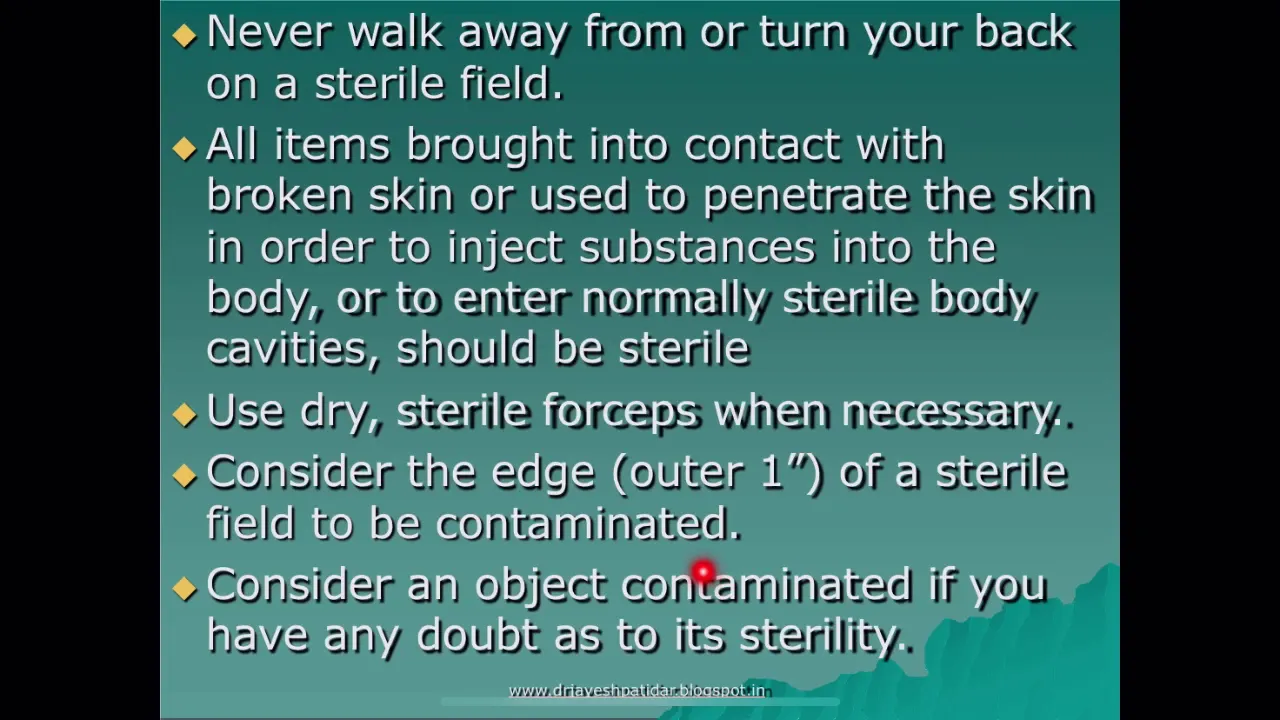
Principles of maintaining a sterile field and aseptic technique in an operating room environment.
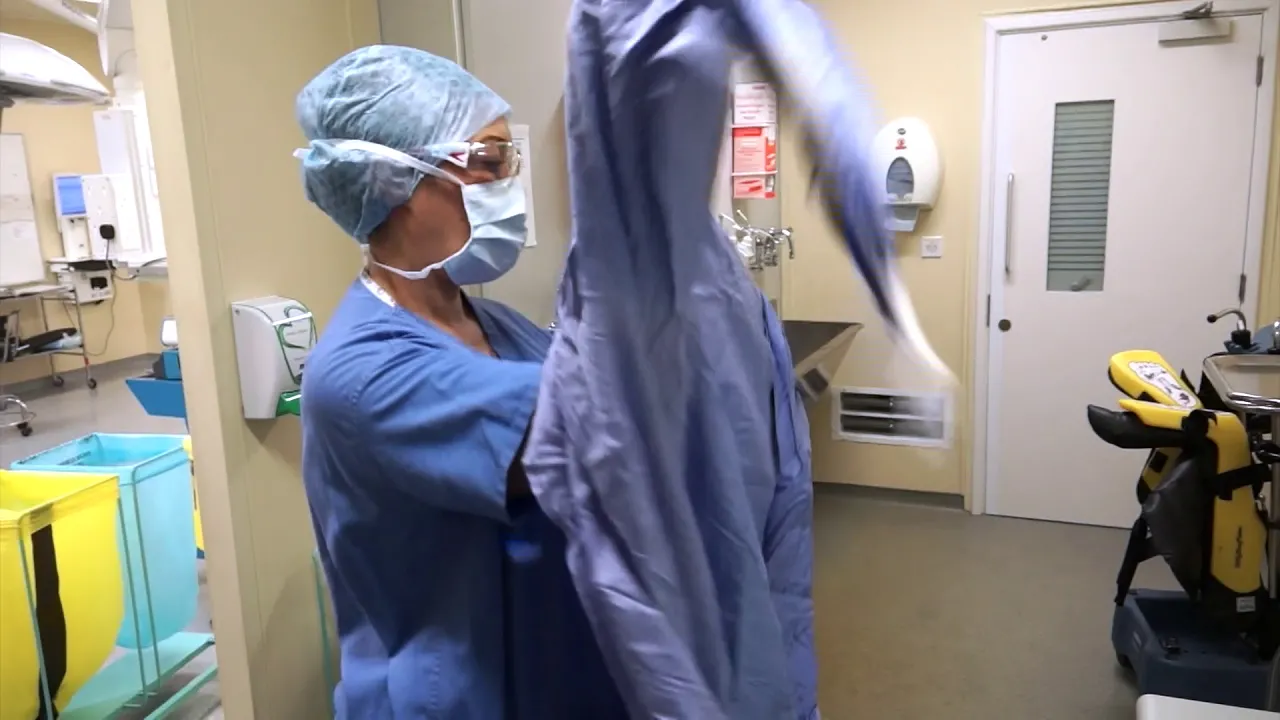
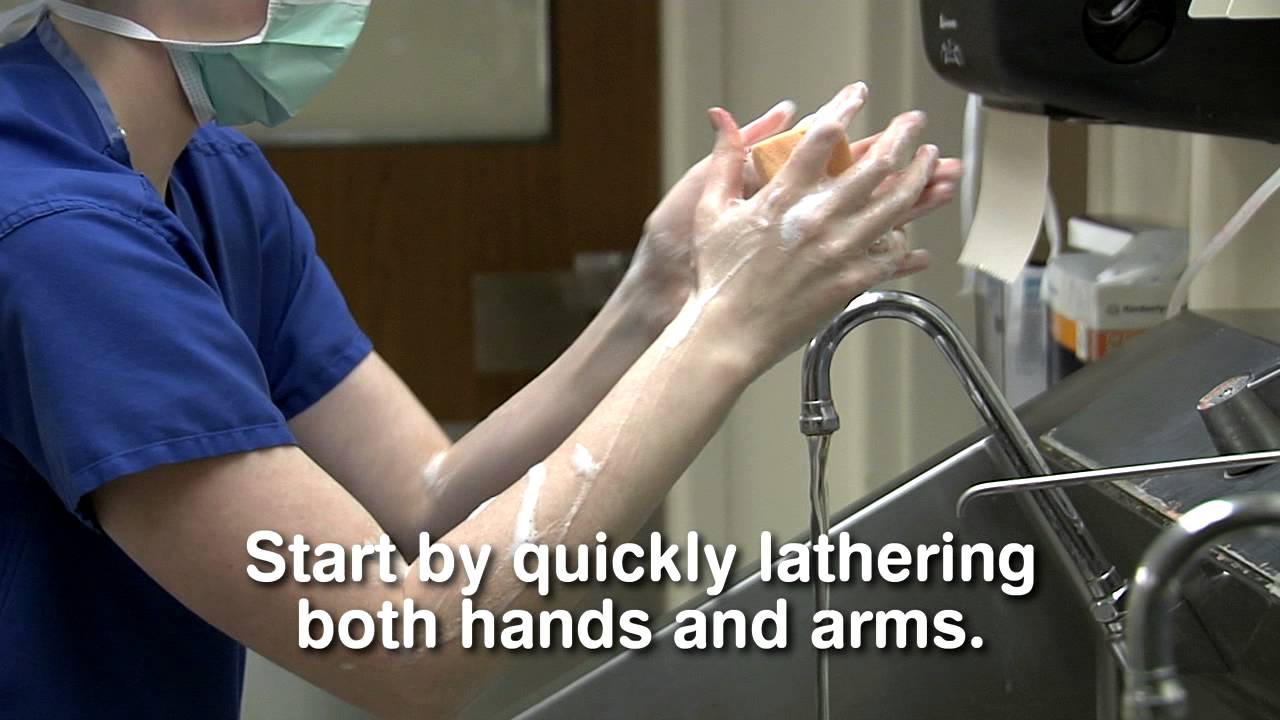
Proper surgical hand scrubbing, gowning, and gloving procedures to prevent contamination.
Techniques for performing basic suture patterns, such as simple interrupted and simple continuous sutures.
Methods for safe and secure surgical knot tying, including instrument ties and hand ties (one-handed and two-handed).
Principles of proper tissue handling, tension management, and wound edge approximation to promote optimal healing.
Advanced suturing patterns, such as horizontal/vertical mattress sutures and subcuticular closures.
Suture removal protocols, wound assessment, and post-operative care procedures.
78.8K views1.4Klikes6:19Original Release: 2023-01-23
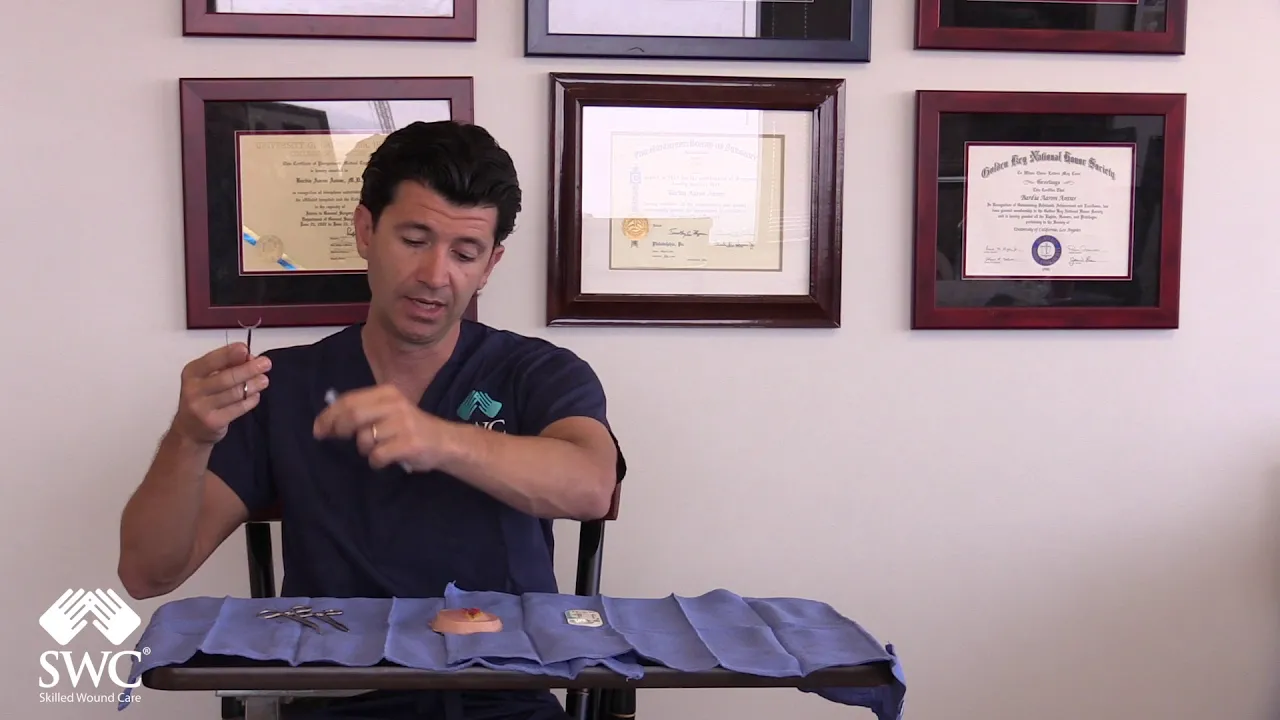
So, this is my method for loading and passing a suture needle.
Now the suture itself... let's go over a few points on this.
The suture itself, comes in a pack, maybe looks something like this.
When it does, half of the needle is exposed, and half the needle is actually protected under the cardboard and the paper here.
Coming out of the back end of the needle, is the suture itself.
That's the thread that comes out of the back end of the needle.
In the back end of the needle there's actually a little hole, where the manufacturer has taken the thread... the suture itself... pushed it into that hole, and then clamp down on the metal around that, so it grabs onto the suture and holds it tight in place.
So that back edge that's called a 'swedge' or a 'swedged end' of the suture needle.
That's the area we want to avoid, because we don't want to mess up with that swedge... that clamping down... that holding on of the suture itself.
So, we want to stay away from that when we grab the suture needle.
So, we're going to grab the needle at about 1/4 to 1/3 of the way around that needle.
Now how do we find 1/4 to 1/3 of the way around?
Well, again, half of the needle is visible, half of it is hidden under the paper.
So, this right here would be the halfway point.
So, 1/4 would be about halfway through that.
So, it be right about there.
So, anywhere in this area is a good place to grab the needle with the needle driver... the needle holders.
So, if the packet is on the table, I'm going to come straight down at it... Grabbing at again that quarter to a third of the way around the needle... and clamping on at that point.
If I'm holding the packet into my hand, again I'm going to come in at a 90° angle from that packet... come straight in, and clamp onto the needle.
From there, I can twist and pull the rest of the needle out of the packet, and pull the suture out of the packet.
A well-loaded needle is not going to be right at the tip of the needle carrier... the needle drivers.
It's actually going to be loaded just about a millimeter or so below the tip of the needle driver.
So, there's going to be just about a millimeter of the needle driver sticking up above the needle itself.
When you latch it, you're going to latch it to the first ratchet on the needle driver.
You're not going to clamp way down, because then the surgeon is going to have trouble getting it off of there.
So, you're just going to latch it to that first latch... that first ratchet point.
And then to pass the needle, you're going to have to turn it around... and you're going to hold it this way.
You're going to hold it by the 'box lock' of the needle driver.
Now the 'box lock' is the area where the two sides of the needle driver come together in this nice little box here.
So that's where I'm going to put my thumb and my index finger right... on the box lock itself.
So, when I'm holding this by the box lock, the needle is at the top, and the rings are at the bottom.
So, with the rings dangling down to the bottom this is the safe way of holding the needle, because the needle is at the top, and it is always visible.
It's not hidden by my hand in any way.
And when I go to pass it, I'm going to take it, and tilt it slightly, maybe at about a 45° angle, and it's that angle that I'm going to use to snap it into the surgeon's hand.
So, when it comes time to pass the suture to your surgeon, again, you're holding it at the box lock, tilting the ring slightly towards the surgeon, and you're going to place it in her hand.
But you're going to snap it into her hand, and you're going to do so like this.
So, you're going... instead of bringing it and swinging it into her hand... you're going to hold it here, and then you're going to snap.
And what that does... that actually triggers a grip reflex in her hand.
So that she's going to immediately want to grip on to those rings.
So that's the reason for that snap.
It triggers that reflex, and she immediately wants to grab it.
Now notice, I didn't swing in like this, because the needle's now moving a whole lot.
But if I just snap it, that needle hasn't moved very much and we're able to keep an eye on it.
And that's a much safer way of doing that.
While you're passing that to her... once I have it in her hand... I'm going to control the thread... control the suture itself... and make sure it goes over the back of her hand.
Controlling the suture is very important, because it's very easy for the suture to fall down over the edge of the table and then become contaminated.
So, you really want to make sure you're controlling that suture as you pass it over the back of her hand.
Now, to make sure I've oriented the needle properly when I put it in her hand, the needle is pointed at her heart.
Notice how it's pointed inward and upward towards her heart.
It's not pointed away towards her shoulder.
That's the way I know that the needle is oriented properly.
Now if I had to pass it to her left hand, I would then grab the needle on the longer side.
I'm going to release that one lock, but I'm not going to release tension on the needle.
I'm still going to put tension on there, so it's still holding the needle in place.
And with that tension on there, I'm going to twist the needle over 180°.
I'm still holding... putting that tension on there.
I'm still holding that needle.
I haven't released the needle in any way.
I'm going to now ratchet to that first lock again... just one click... and I'm ready to hand to her left hand.
Now, in this case, I can do it with one hand, because I'm controlling the thread... controlling the suture... on the back of this hand... And go in snap it into her hand, and drape the suture over the back of her hand.
With the needle flipped over, but in her left hand, the needle is now still pointed at her heart, not at her shoulder.
Now, as soon as you receive the needle back from the surgeon, assuming the surgeon is not going to use this particular needle again, and that's very rare that that would happen, you're going to take the needle, and you're going to place it into your needle book, into one of the numbered spots on the foam.
These numbers are going to help you count your needles at the end of the case.
Up Next
9:55
How to Set Up a Sterile Field: Nursing Skills & Sterile Technique
@nursingartsaccparklandcamp9845
35.6K views•2020-04-23

12:54
Triumph of Orthodoxy Icon: Byzantine Art & History Explained
@BenCallan
2.1K views•2024-08-06

29:42
Basic Surgical Instruments | Surgical Technology Study Guide
@SurgicalCounts
796.3K views•2023-03-18

1:42
Game of Thrones Opening Credits: A Cinematic Analysis
@gameofthrones
46.3M views•2011-04-18
Related Study Plans & Knowledge Roadmaps
Structured learning paths in General & Interdisciplinary Studies
general-studies
Elevator Engineering: History, Physics & Cities
01From Hoists to Safety Brakes: The Dawn of Vertical Lift
02Hydraulic vs. Traction: The Engineering Physics of Elevators
03Modern Speed, Safety, and Algorithms
+ 2 more learning modules
12h5 modules
Explore Roadmap
general-studies
Rubber: Material Science, History & Geopolitics
01Origins of Natural Rubber & Mesoamerican History
02The Chemistry of Natural Rubber & Vulcanization
03The Geopolitics of the Rubber Boom & Colonization
+ 2 more learning modules
12h5 modules
Explore Roadmap
general-studies
Containerization: Evolution, Logistics & Trade
01Ancient Trade & Bulk Cargo: Amphorae to Barrels
02The Industrial Revolution & Cardboard Packaging
03The Containerization Revolution: Malcom McLean
+ 2 more learning modules
12h5 modules
Explore Roadmap
general-studies
Textile Tech: Evolution, Labor & Global Impact
01Pre-Industrial Textiles: Handloom & Cottage Industry
02Mechanization: The Spinning Jenny to the Power Loom
03The Factory System & Global Labor Transformation
+ 2 more learning modules
10h5 modules
Explore Roadmap