


![Diody LED | #4 [Podstawy]](https://i.ytimg.com/vi/LkdkVUZNorI/maxresdefault.jpg)



![[TIN HỌC 10 - CÁNH DIỀU - CHỦ ĐỀ F] Bài 10: Chương trình con và thư viện chương trình con](https://i.ytimg.com/vi/sxM8wM8nXQE/sddefault.jpg?v=63d92894)




![[D-STAR]dmonitor環境構築(OS導入)](https://i.ytimg.com/vi/WWJJRKDlvQ0/maxresdefault.jpg)

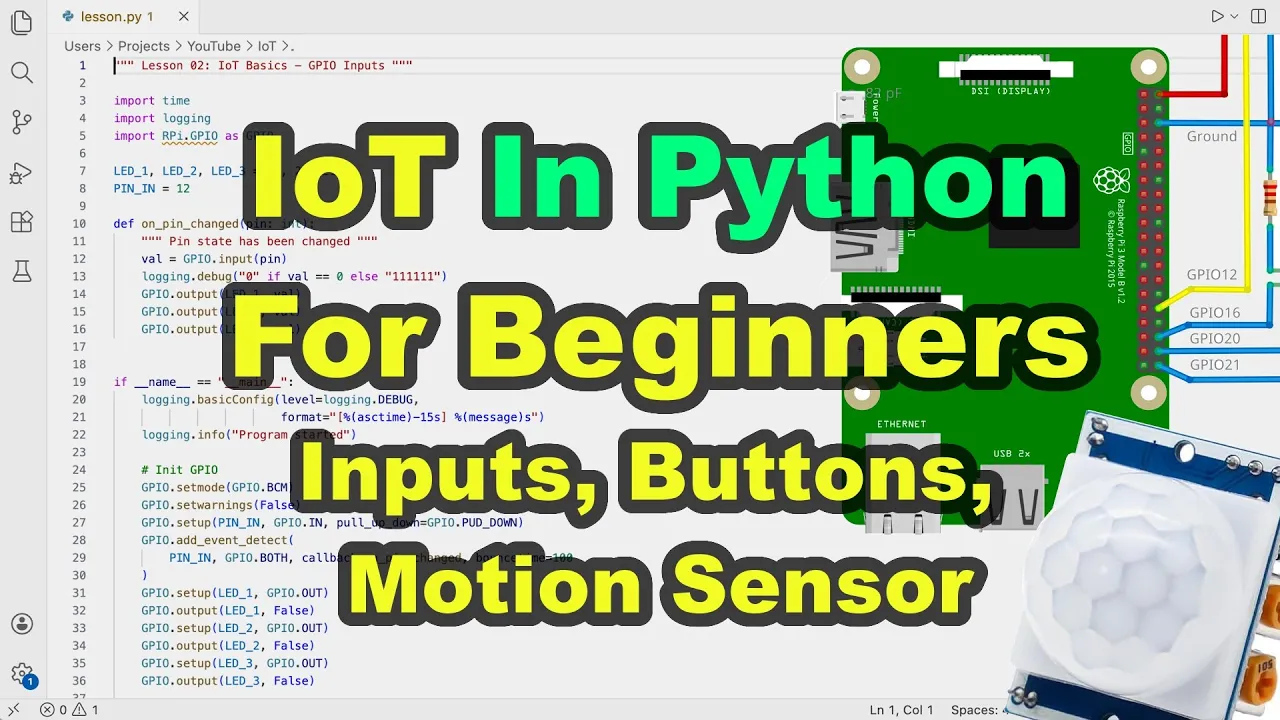










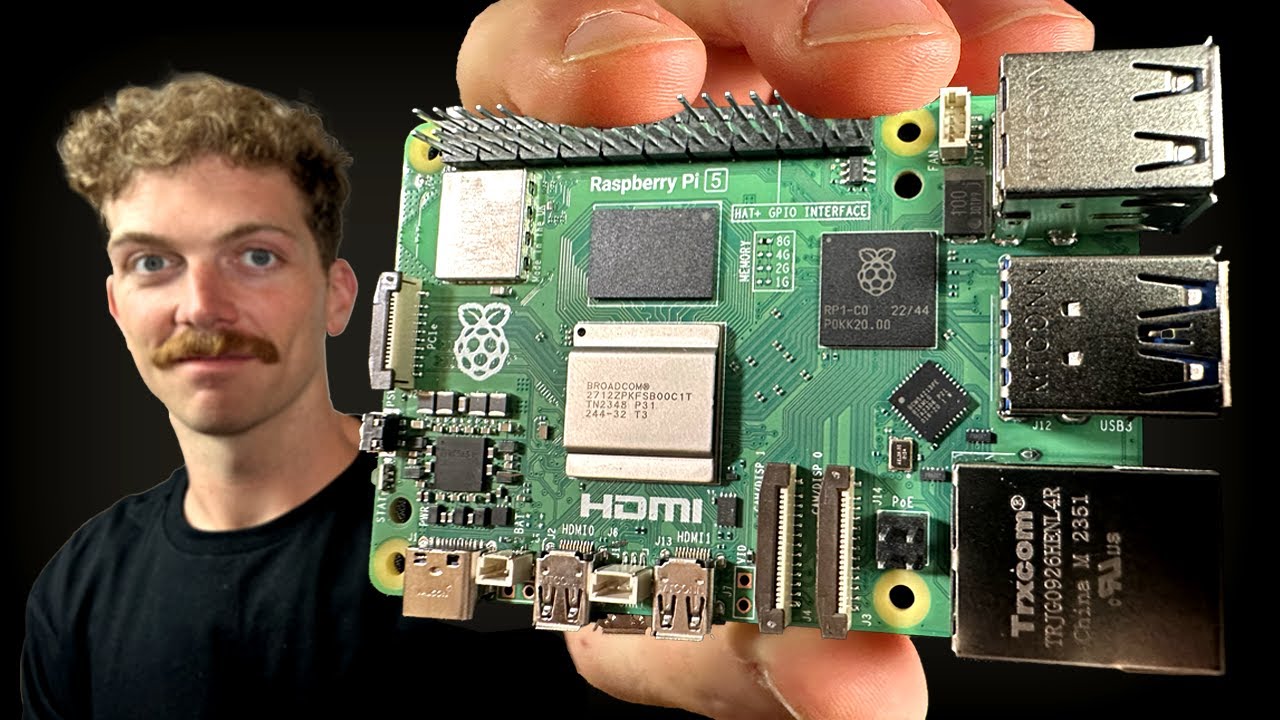


The Raspberry Pi is a credit-card-sized computer created in 2006 to teach programming, featuring a full Linux operating system that can be installed on an SD card. To get started, you need a Model B Pi, an SD card with Raspbian OS, power adapter (700mA+), HDMI display, keyboard, mouse, and basic electronics (breadboard, LED, 100 ohm resistor, jumper wires). After installing the OS and configuring settings like file system expansion and keyboard layout, you can control GPIO pins using Python. The GPIO pins (such as pin 22) can be programmed to control electronic components like LEDs by setting them as outputs and toggling voltage levels (3.3V for on, 0V for off) within a loop, enabling basic embedded system projects.
Getting Started with Raspberry Pi: Setup and LED Blinking
Added:Basic understanding of electrical circuits, including voltage, current, and the polarity of Light Emitting Diodes (LEDs).
Fundamental concepts of Python programming, such as importing libraries, using while loops, and calling functions.
An understanding of Ohm's Law and why current-limiting resistors are necessary to protect electronic components.
Familiarity with computer hardware basics, specifically how operating systems are written to and run from SD cards.
Interfacing with input devices such as pushbuttons, motion sensors, and temperature sensors using GPIO pins.
Understanding Pulse Width Modulation (PWM) to control LED brightness, fade effects, or servo motor positions.
Configuring the Raspberry Pi for 'headless' operation using SSH and VNC to control the board remotely over a network.
Utilizing advanced Python libraries like 'gpiozero' for cleaner, object-oriented hardware programming.
Exploring Internet of Things (IoT) protocols to control Raspberry Pi hardware via web interfaces or mobile apps.
181.3K views1.1Klikes12:45Original Release: 2014-05-22
[Music] hi I'm Sean with Sparkfun and this is the first part of a three-part series where I'm gonna get you started with the Raspberry Pi we're gonna be building towards a final project but I don't want to spoil the surprise quite yet on today's episode I'm just gonna blink an LED for you and show you how it's done we're gonna build up a Linux image on an SD card get the PI up and running and configured and build some quick electronics in order to blink an LED if you view something like the Arduino before you might be thinking that the Raspberry Pi is a bit of an overkill for what we're trying to do and you'd be absolutely correct however the Raspberry Pi is actually a full blown computer which means that it has some things in it that allows us to do some quick scripting and has a ready-made internet connection which we'll be using in the later episodes but for now let's get started I want to first tell you a little bit about the Raspberry Pi in 2006 a group of people in England got together and they wanted to create a computer that was cheap small easy to use in order to teach young students how to program six years later on February 29th 2012 the first Raspberry Pi was released and it sold out in minutes everybody wanted it hobbyists students teachers everybody seemed to love this thing as of today there are two different versions there's the Model A which is the slightly cheaper version and the model B which is a little bit more expensive and has things like two USB ports as well as an Ethernet connection so if you're following along make sure you have the model B with you right now so the first thing we want to do is take a look at our materials what we're gonna need for today obviously a Raspberry Pi an SD card that's gonna hold our operating system we're gonna need some way to power it and that's gonna be using a micro USB cable you can use an actual USB port say from another computer generally that's not enough power to power the full Raspberry Pi and all the peripherals that we want to add on later so I definitely recommend getting a wall adapter that can supply at least seven hundred milliamps of current in addition to that we need to connect some peripherals as this is a full computer so we're going to monitor an HDMI cable or you can use a composite cable if you see fit additionally we need a mouse in a keyboard I actually recommend using a integrated mouse and keyboard such as this one because that only takes up one USB port and finally we're going to need our electronics that we're actually going to be building into the raspberry PI's GPIO ports a bread an LED a 100 ohm resistor and two male two female jumper wires by the way we sell all of these parts on the smartphone website just check the link below in order to get started we need to install an operating system for the Raspberry Pi this is much like installing Windows or Mac OS X on your own computer we're going to be storing an on an SD card which is a piece of non-volatile memory what that means is that even when you lose power the data is still on the card this might be familiar to you if you've ever taken apart your computer and you've seen something like a hard drive this is a little bit too big for what we're trying to do so we're just gonna use the smaller SD card keep in mind that once again this is great for storing documents and anything else you want to keep around even when you lose power to start make sure you have your SD card plugged into your computer open up a browser and navigate to wwr asbury pi org slash downloads scroll down to where you see the image for raspbian right click on the image and select Save Link As this will start downloading the raspbian image for you you'll also want to scroll up to where you see the description for raspbian and click on the link for the win32diskimager this will take you to SourceForge where you can click on the link to download the win32diskimager program go ahead and close out of your browser and open up a Windows Explorer navigate to your downloads folder where you will see the two zip files go ahead and extract the win32diskimager and that's just gonna extract into a folder right in place the next thing you want to do is extract the raspbian image and once again just select to extract that in place wait a few seconds for that one to finish extracting now that you have both programs extracted navigate to the wind' 32 disk imager folder right click on the program and select run as administrator you need to do this because you need bit access to the SD card otherwise this won't work once the program opens click on the folder icon and select the weazy raspbian image you'll see that because it ends in a dot IMG then under device make sure that is the correct Drive letter for the SD card you don't want to be accidentally writing to your hard drive you can verify that by looking in the windows explorer on the left side pane you'll see where the SD card is listed and in this case it's the e Drive go ahead and click right and if you get a warning saying that you're about to do something really bad to your SD card click yes you do want to do something really bad to your SD card now that we have everything downloaded we want to hook up the Raspberry Pi so the first thing we want to do is flip the browser berry PI over you'll see a SD card holder here plug the SD card in like so then we want to connect an HDMI cable which is connected to a monitor that is on this side and plug that in that's gonna allow us to see what's going on next plug in your keyboard and mouse this is a wireless receiver for both a keyboard and a mouse so I'm just gonna put that in one of the USB ports make sure your monitor is plugged in and on before you plug in power otherwise you might not see anything on your monitor plug your USB cable into your power adapter and then plug in power to the microUSB cable and you'll see the power come on and light start to glow so once the Raspberry Pi goes through its boot up sequence you're gonna be presented with a configuration tool I highly recommend expanding the file system so all you have to do is hit enter on this one and it's gonna run through a sequence where it actually fills up the entire SD card with the operating system otherwise if for example you're using an 8 gigabyte card initially it only takes up 1 gigabyte so there are seven gigabytes that you can't use on the card however once you run this tool it's gonna fill up the operating system to take up all eight gigabytes so then you have that entire 8 gigabytes available for your use I do recommend changing the user password keep in mind that the default username is pi PI and the default password is raspberry both of those are lowercase all one word the next thing is enable boot to desktop and go ahead and leave that ads booting the console and I'll show you how to get into the desktop from that then there's internationalization options you can set up your time zone set up a local time as you please however I'm just gonna go ahead and show you what you need to do to change the keyboard layout keep in mind that because the raspberry pi is created from the United Kingdom that is how the keyboard is set up as GB or Great Britain we're gonna want to set that to us so keep your generic 105 key hit enter go to other you notice how they all say UK and I'm assuming in this case if you're watching this you are in the United States if not set it to the keyboard language that you so desire and at English us hit enter and leave it at default hit enter again no compose key enter hit no to accept the defaults you can go through and enable any of the other options that you want such as a camera you can put your pie on the internet you can overclock it as you see fit and anything else that you want but we've hit the most important things so just use the right arrow key select finish and hit enter go ahead and say yes to reboot so once it's rebooted we're presented with a login for the default it's PI P I and the password is raspberry our ASP BER ry hit enter Linux is gonna log you in and present you with a console or command prompt just type start X all one word hit enter and you'll be into the desktop let's build our circuit the very first thing you want to make sure is we unplug the Raspberry Pi so we're gonna be building an LED circuit and blinking that LED it's kind of like the hello world of embedded systems so go ahead and put an LED down notice that the flat edge is facing away or towards me then we're gonna take our hundred ohm resistor find where the rounded edge of the LED is and plug in the resistor into the breadboard notice that because of the flat edges here we're gonna have current flowing through the resistor through the LED and then back to ground so we actually want to take one of our jumper wires plug it into one of the sides of the resistor and we want to find pin 22 so if you're looking at the Raspberry Pi we actually want to count with pin 1 starting right here so that pin 1 2 3 4 5 6 7 8 9 10 11 12 13 14 15 16 17 18 19 20 21 22 we want to attach the positive side of our circuit to pin 22 next we want to attach ground so we want to find the same rail as the minus side of the LED put another jumper wire in and we want to go to pin 6 so 1 2 3 4 5 6 and that's it for our circuit let's make our first program to do this we're gonna use Python Python was a language that was created in the early 90s by a Dutch programmer who's name was guido van rossum he actually did this as a hobby and he named it after Monty Python's Flying Circus which was a British sketch comedy that between 1969 and 1974 it's a high-level language and it has a great community backing in addition to that it has support on every major operating system which is good for us so we're just going to do a quick hello world to see how it works go ahead and open up the file manager which is this icon down here notice you are brought in to your home directory right click in the file manager say create new blank file call it blinky pipe once that creates right click on that and say leafpad that'll bring it up in our text editor first thing we want to do is import time and this imports the time module which lets us do things like delay the processor and keep track of certain timing elements that are important for us the next thing we want to do is import our Pi GPIO as GPIO the good thing about the Raspberry Pi specifically the raspbian build for it comes with GPIO module already installed so all we have to do is just import the module for Python and it allows us to communicate with the GPIO pins we're calling as GPIO as that just shortens the name for us so when we use that module we can just use GPIO rather than our PI GPIO then we want to assign the pin number to a variable in this case we're just gonna assigned 22 meaning the pin number 22 to the variable LED in this line we're calling GPIO set mode GPIO board this is setting the mode on the board to allow us to refer to any of the GPIO pins by their pin number rather than their GPIO number for example GPIO number 25 is actually located on pin 22 so we want to be able to call it by pin 22 next we want to set up the led pin or pin 22 as an output so we just call GPIO dot setup LED GPIO out whenever we set up a pin like this we always want to set it to an initial State so in this case we're just gonna set LED too low so we're just calling GPIO data output LED which is the pin number and GPIO dot low that brings the voltage of pin 22 down to zero volts which in turn turns off the LED next we're gonna do a while loop and in this case we're gonna do while true which means run forever if you've used any other types of programming languages before you might be used to seeing something like curly braces enclose your while loop pythons a little bit different it uses indents and set races in this case everything indented underneath while true is actually considered part of that while statement we want to set the LED to high so we're gonna call the same GPIO output statement and instead use the constant GPIO dot hi in order to set that pin to 3.3 volts then we want to sleep the processor for 500 milliseconds or half of a second and then we're gonna turn off the LED finally sleep the processor again for another 500 milliseconds and call it good and those will continue forever within that while loop now file save exit out of leafpad and bring up another terminal we should still be in that same home working directory and you should see blinky pi note that when we're dealing with GPIO pins we have to do everything as an administrator so make sure you include sudo first then python and followed by the file name so in this case blinky PI hit enter and you should see your LED blinking on and off and that's it in order to exit this program just hit ctrl C and it forces the program to stop and exit out of that while loop we've got our LED up and running and I know it might be exciting but on the next episode I'm gonna show you how to get Wi-Fi up and running to connect to the internet and even post something on Twitter stay tuned and thanks for watching [Music]
Up Next
7:25
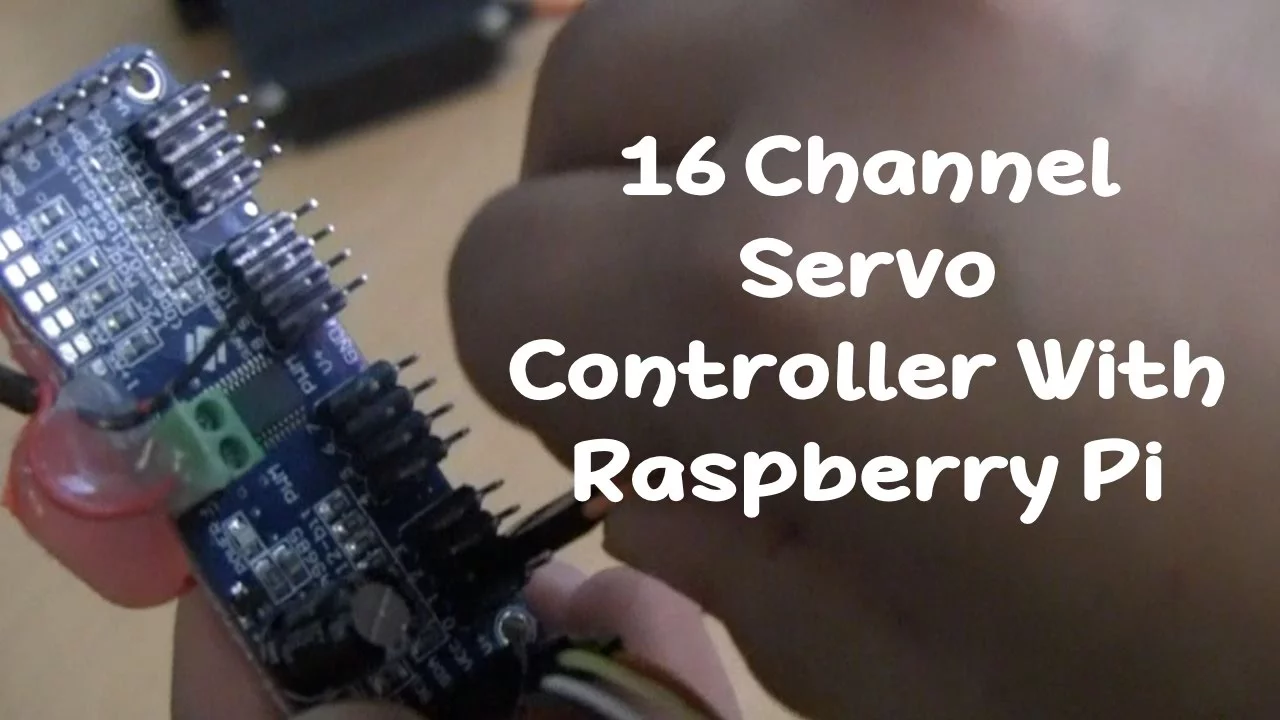
Raspberry Pi 16-Channel PWM/Servo Controller Setup and Control Guide
@SrivishnuTech
20.5K views•2017-04-27

30:32
Ultrasonic Transducers: Resonant Frequency Measurement and Horn Design
@imajeenyus42
229.9K views•2017-02-22

10:33
Multimeter Fundamentals: Voltage, Current, Resistance
@sparkfun
571.9K views•2017-01-09

33:39
How a Student's Question Saved a NYC Skyscraper from Collapse
@veritasium
22.8M views•2025-04-26
Related Study Plans & Knowledge Roadmaps
Structured learning paths in Engineering
engineering
Building Acoustic Levitators: Physics & Arduino
01The Physics of Sound and Standing Waves
02Piezoelectric Transducers and H-Bridge Drivers
03Arduino Programming: Generating 40 kHz Signals
+ 2 more learning modules
14h5 modules
Explore Roadmap
engineering
Building Peltier Cloud Chambers: Particle Tracks
01Cosmic Rays & Cloud Chamber Physics
02Thermoelectric Cooling (TEC) Fundamentals
03Custom Liquid-Cooling Loop Design
+ 2 more learning modules
18h5 modules
Explore Roadmap
engineering
Yagi-Uda Antennas: Modeling, Build & VNA Test
01Introduction to RF and Antenna Fundamentals
02Yagi-Uda Antenna Design Principles
03Antenna Modeling and Simulation in 4NEC2
+ 2 more learning modules
18h5 modules
Explore Roadmap
engineering
ECG Monitor Design: Op-Amps, Filters & Noise
01Electronics & Breadboard Basics
02Op-Amps and Instrumentation Amplifiers
03Bioelectricity and ECG Fundamentals
+ 2 more learning modules
18h5 modules
Explore Roadmap