











![[RELAY] 7 FORMAS de ARRUINAR tus DISEÑOS](https://i.ytimg.com/vi/IlfEYTcdfHE/maxresdefault.jpg)

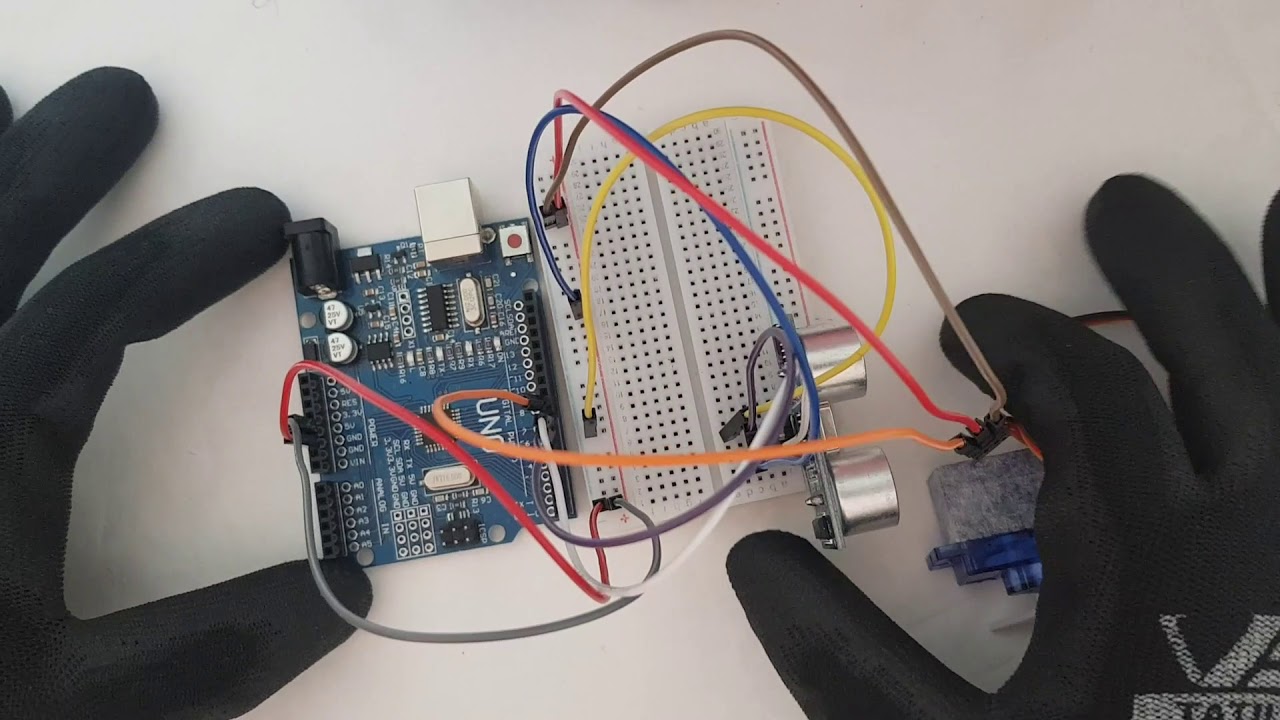
This video demonstrates how to connect and control a 16-channel PWM/servo controller (PCA9685) with a Raspberry Pi by wiring VCC, SDA, SEL, and GND pins, installing Python and I2C tools, enabling I2C interface, cloning the Adafruit Python PCA9685 library, and running a simple test to verify servo movement on channel 0.
Raspberry Pi 16-Channel PWM/Servo Controller Setup and Control Guide
Added:Understanding of basic Raspberry Pi operations, including terminal navigation, GPIO pinout layouts, and configuring Raspberry Pi OS settings.
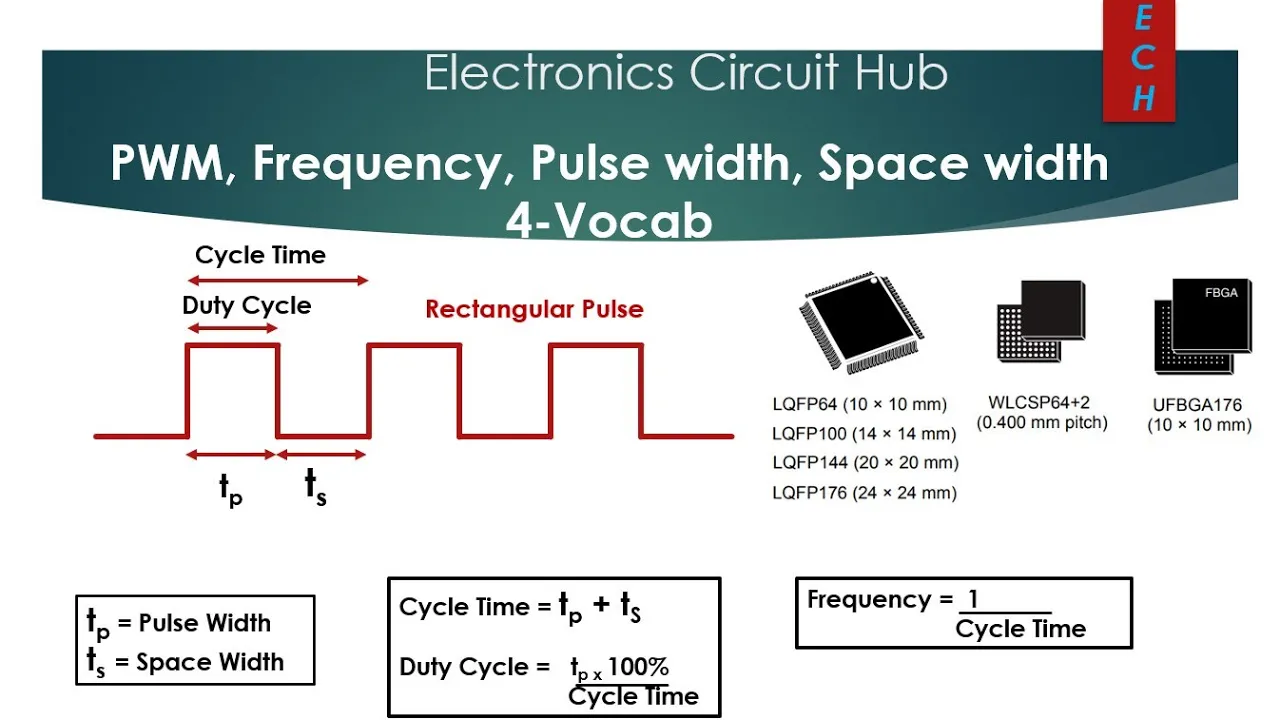
The fundamental concepts of Pulse Width Modulation (PWM) and how duty cycle and frequency dictate servo motor positioning.
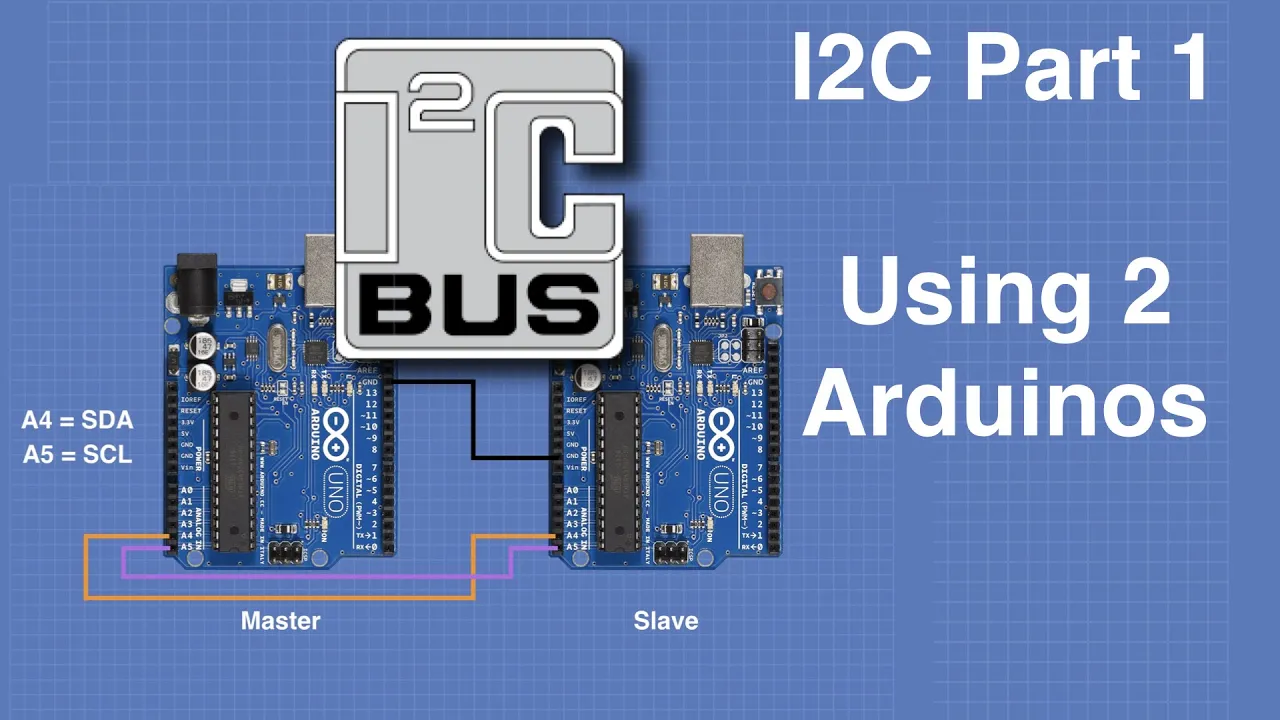
Basic knowledge of the I2C (Inter-Integrated Circuit) communication protocol, specifically addressing, and the roles of SDA and SCL lines.
Fundamental electronics safety, including the importance of common ground and why high-current devices like servos require external power supplies rather than drawing directly from the Raspberry Pi.
Developing coordinated movement algorithms for complex robotic projects, such as robotic arms, hexapod walkers, or pan-tilt camera gimbals.
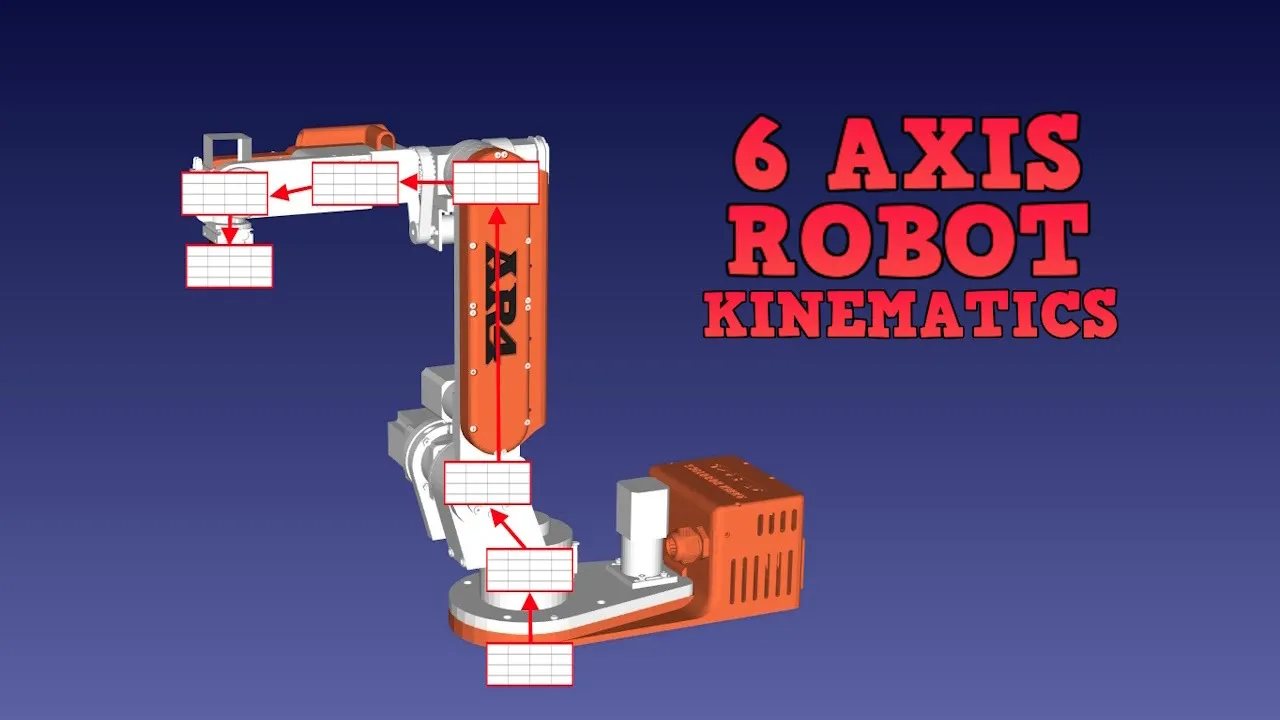
Implementing Inverse Kinematics (IK) in Python to mathematically calculate and automate joint angles for multi-axis systems.
Advanced power distribution design, including calculating maximum current draw, integrating buck converters, and using optoisolators to protect control circuitry.
Integrating sensor feedback loops (using IMUs, ultrasonic sensors, or camera modules) to adjust servo positions dynamically based on real-world data.
20.5K views338likes7:25Original Release: 2017-04-27
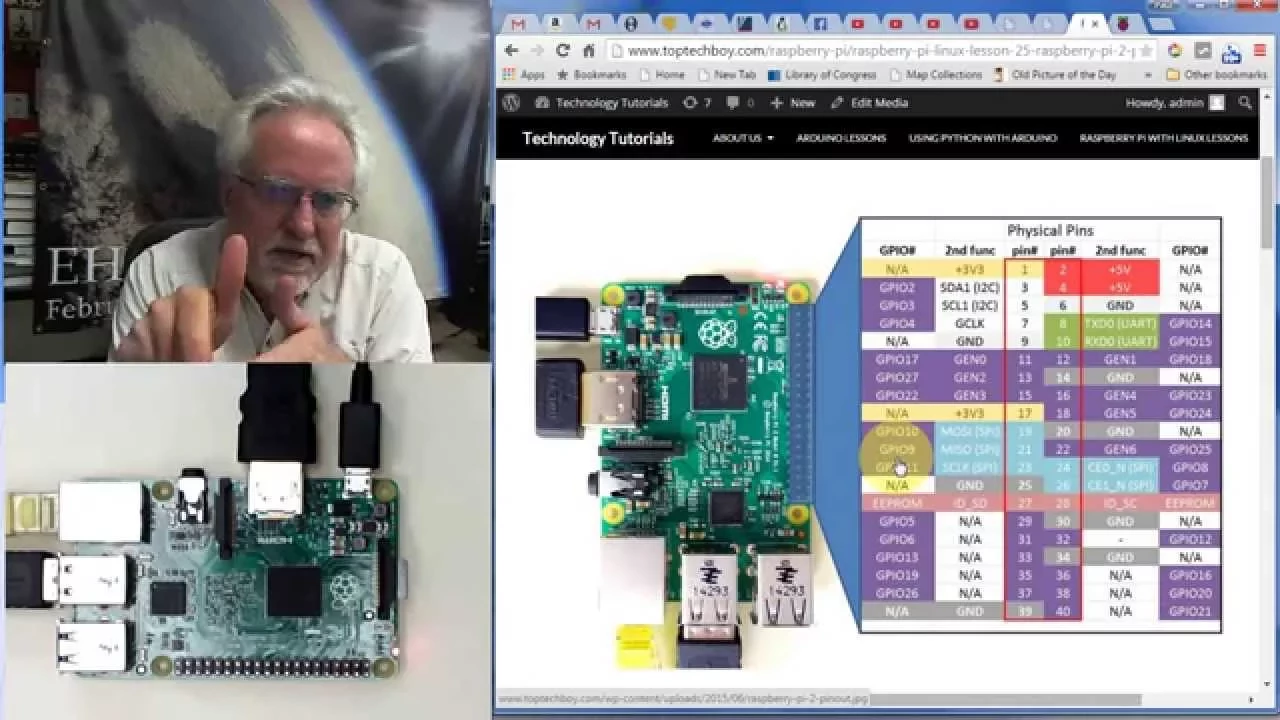
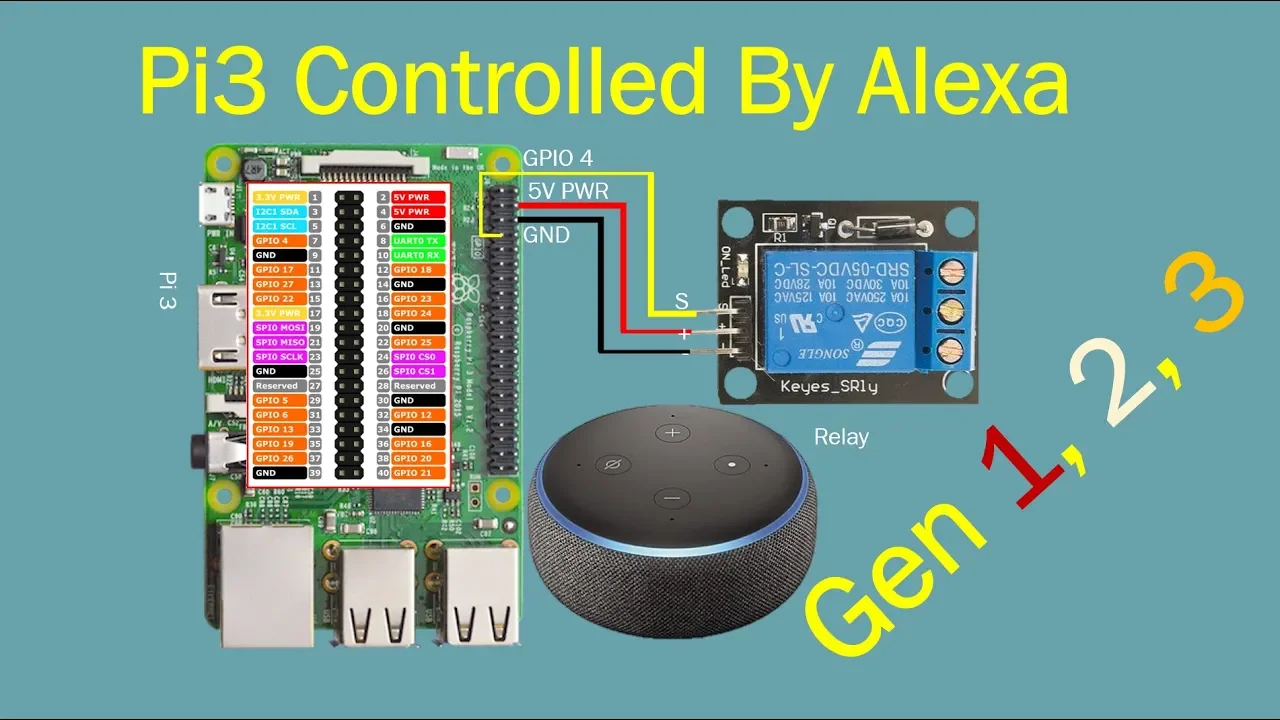
hey what's up guys your in tech here and this video I'm going to be showing you how to use a 16 channel server controller with a Raspberry Pi let's get right into this video so currently I just have a Raspberry Pi 0 and it's hooked up to the Adafruit clone and this was a better one I think and it cost less in house capacitor on board whatever so I just powered off a 5 volt USB power supply I just took off the wires from the end of a microUSB cable and put that in I kept it fully wired to the PI so the wires I connected where a VCC ground SVA and SEL I wired up to the corresponding pins on the PI if you have anyone in your PI's including the PI 0 PI Z or W PI 2 pi 3 or PI B version 2 you can just say you see since so the VCC is a top left the one under that is SDA I'm pretty sure yeah yeah the one under that is SDA the one under that is SEL and the third one down on the right side is ground so once you have that all wired up just take a random server that you have I'm working on a dog project right now and just plug it in to port 0 with the PWM part facing up and now just make the PI image this is pretty easy everyone's probably done it until just make the PI image flash on the card just set up Rasband Romel and i'll leakages of the steps right now so now we are here on VNC it's on the Raspberry Pi you could just use SSH but people who are using general apply desktop interface just going to show how to use it so you're going to be want to using Wi-Fi connection for this you want to want to be on desktop Wi-Fi you could be on any part you want it to be but this is just on a PI 0 what I'm using right now but it will also work on any PI the first command be sudo you can go along the tour I'm not going to read anything up see the sudo apt to get install Python and just going to be SN bus on most pies they should ought to be pre-installed so there's going to install anything yeah tell you next thing is you're going to want to install a another package called ICT ice I to see tools I see two is interfaced they're gonna be using again it's already it's already pre-installed on most pies with the newest version but I'm just going to this anyway yeah if you have the news version of raspbian Jesse or whatever that thing is now it all be pre-installed so now the next thing we're going to do is add a file to plushy GC / cons so we're going to do is a sudo nano /et c / mod probe dot d / rasp tee blaq this dot sorry for our so space right here okay so just add this and comment out this thing that's all you're going to do here come in XK then this is your one do is use sudo i2c I too sweet bit text - why oh and if it's not if it's not found that means you don't have the original PI so it will still work now so just do a pseudo i2c detect one use only if the first one doesn't work but both them aren't working oh it's just one word but I for everyone out there you should use sudo IC to detect - y1 because like a real one for most prized and you'll get this is normal this is what you're supposed to get it's just PWM things so after we finish doing that let's learn how to use the Adafruit library so the first thing you want to do is type in so long one um the pill page for install instructions will be linked in the description so you guys can check out their su sudo apt-get install get the build and send shell paesan div again most these are ought to be pre-installed it might be very few they need we installed yeah all there aren't pre-installed if you have the newest fiber version it'll be probably be pre-installed so you just do that go to home directory I don't like care so get next to be we're going to get cloning the Adafruit repository for using the 16 trail and Driver server now you could write your own code for all this but I just find a lot easier just use a stay the first library first could you a TPS blah blah github.com /a de fruit /a down fruit underscore Python underscore PC a 9 6 8 5 brings really slow as you guys can follow along docked gift so select clone into and it's done so it finished cloning so now we're going to need to go to that place so the first thing we're going to do is just navigating said rectory so we're going to CD a yep let's just tab button and now we just do a sudo python then tab and then we're just going to put install we'll just let it run install a Cinelli finish installing and now we just go now it's halfway done so now we finished installing the Adafruit library to control our servos so if you want to test so now that we've set up all the commands on our computer all this new is navigate to the Adafruit Python PC a the address that we need the folder that installed in so now we just do CD examples and here what we do is just do sudo python simple test op UI and if you want a simple test the so go on channel zero starts moving that's it guys thank you for watching this video if you liked it then please subscribe and if you loved it and share with your friends I'd like the video to thank you for watching and my name is Trisha Brella and I'm gone
Up Next

5:58
The Science of Shatterproof Glass: Tempered, Laminated & Beyond
@SciShow
175.6K views•2024-02-15

30:32
Ultrasonic Transducers: Resonant Frequency Measurement and Horn Design
@imajeenyus42
229.9K views•2017-02-22

54:16
Polymer Environmental Degradation: Mechanisms & Stabilization
@iit
1.8K views•2012-07-10

33:39
How a Student's Question Saved a NYC Skyscraper from Collapse
@veritasium
22.8M views•2025-04-26
Related Study Plans & Knowledge Roadmaps
Structured learning paths in Engineering
engineering
Building Acoustic Levitators: Physics & Arduino
01The Physics of Sound and Standing Waves
02Piezoelectric Transducers and H-Bridge Drivers
03Arduino Programming: Generating 40 kHz Signals
+ 2 more learning modules
14h5 modules
Explore Roadmap
engineering
Building Peltier Cloud Chambers: Particle Tracks
01Cosmic Rays & Cloud Chamber Physics
02Thermoelectric Cooling (TEC) Fundamentals
03Custom Liquid-Cooling Loop Design
+ 2 more learning modules
18h5 modules
Explore Roadmap
engineering
Yagi-Uda Antennas: Modeling, Build & VNA Test
01Introduction to RF and Antenna Fundamentals
02Yagi-Uda Antenna Design Principles
03Antenna Modeling and Simulation in 4NEC2
+ 2 more learning modules
18h5 modules
Explore Roadmap
engineering
ECG Monitor Design: Op-Amps, Filters & Noise
01Electronics & Breadboard Basics
02Op-Amps and Instrumentation Amplifiers
03Bioelectricity and ECG Fundamentals
+ 2 more learning modules
18h5 modules
Explore Roadmap