![[Cours Github] Apprendre Github de zéro : versionner son travail (1/2)](https://i.ytimg.com/vi/eXF0epLeCgo/maxresdefault.jpg)








![Lecture 10 - Text to Speech (TTS) [Andrew Senior]](https://i.ytimg.com/vi/1Mb-KHQNdcM/maxresdefault.jpg)















This tutorial demonstrates how to clone a voice using Coqui TTS on Microsoft Windows by installing Python 3.8, eSpeak-ng, Microsoft Build Tools, and PyTorch with CUDA support, then using training recipes to configure and train a voice model locally without internet or cloud services.
Clone Your Voice with Coqui TTS on Windows: A Step-by-Step Guide
Added:Basic Command-Line Navigation: Familiarity with utilizing the Windows Command Prompt or PowerShell to execute scripts and manage directory paths.
Python Environment Management: Understanding how to set up virtual environments (e.g., using venv or Anaconda) and manage package dependencies using pip.
Fundamental Concepts of Text-to-Speech (TTS): A basic grasp of how machines convert text to audio, including concepts like acoustic models, vocoders, and mel-spectrograms.
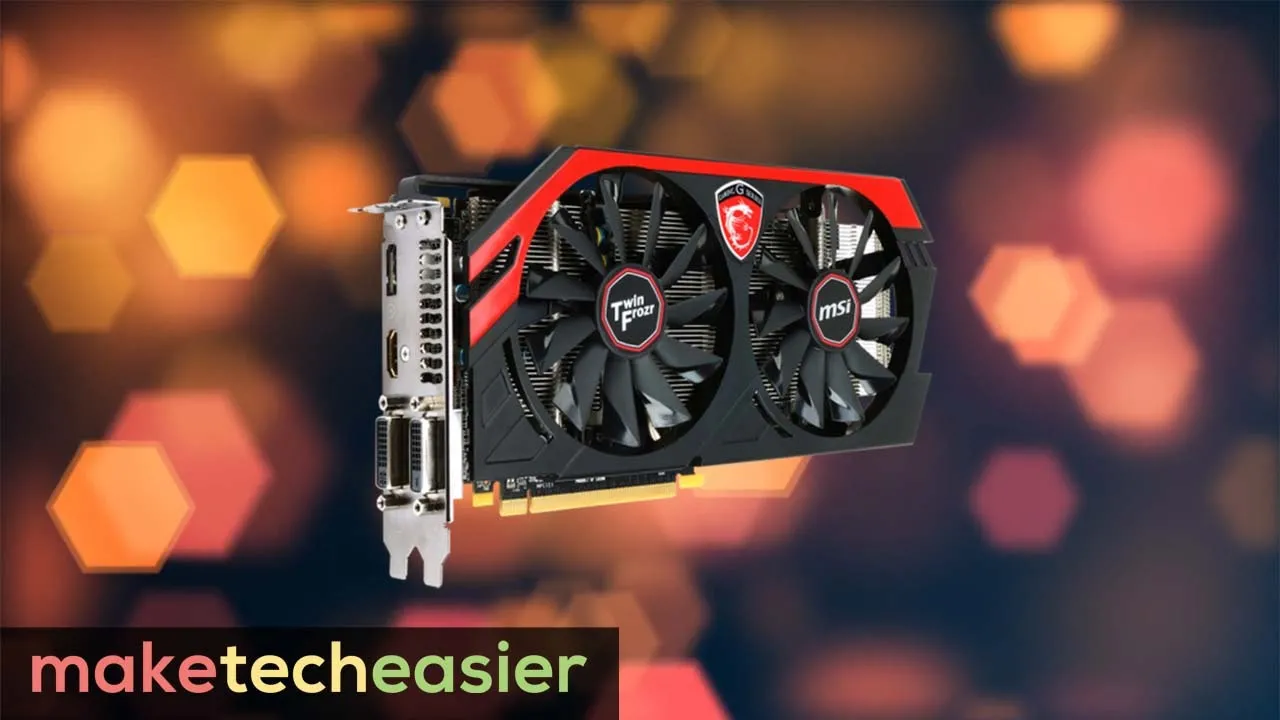
Introduction to Hardware Acceleration: Conceptual understanding of how GPUs and NVIDIA CUDA libraries accelerate the training and inference of deep learning models.
Advanced Audio Preprocessing and Dataset Curation: Learning how to record, clean, segment, and transcribe custom audio data to achieve higher fidelity in voice cloning.
Hyperparameter Optimization for TTS: Exploring how to fine-tune learning rates, batch sizes, and training epochs to improve model convergence and prevent overfitting.
Application Integration (APIs & SDKs): Deploying the cloned voice model into real-world applications such as video game engines, interactive voice response (IVR) systems, or accessibility software.
Ethics and Security in Synthetic Media: Analyzing the ethical implications of voice cloning, including licensing, consent, and the deployment of voice watermarking and deepfake detection technologies.
49K views1.4Klikes29:00Original Release: 2023-03-09
good this video topic has been voted by my great YouTube Community thank you today's topic is how you can clone your own voice to an artificial Text-to-Speech voice model on Microsoft Windows with koki text-to-speech as coqtts is officially not supported to run on Microsoft Windows creating this video for you took lots of time for research and to try an error and try an error and try and error if you would like to support my work please subscribe to my channel and as you can see by the statistics around 90 people watching and hopefully enjoying my videos have not yet subscribed to my channel so if you are part of this group please subscribe to my channel hitting the notification Bell give this video a thumb up and let me know in the comment box below what do you think on this video this would really help me and this channel a lot so thank you for that one of the first things to do is satisfying some required dependencies such as visual build tools for C plus plus development or python I'm going to use Python 3.8 in my case or espec or 10 support after the short introduction I will show you everything that is required step by step and now let's go [Music] nerd stuff open white enthusiast open Voice open Future let's start by satisfying some required dependencies in this case I'm using my desktop computer with Windows 10 and a GPU graphic card an Nvidia GeForce GTX 1050 TI with a 4 gigabyte of GPU memory the process I'm going to show you in this video should work the same way in a CPU Based training let's start by satisfying our python requirements coqtts supports python 3.7 up to 3.10 and I'm using 3.8.10 and there are two ways to install it on the one side you can simply use a Microsoft's App Store open it search search for python and you can choose between Python 311 which is not supported yet and three seven so you can use Python 3 8 and simply install it by hitting that install button or you can install it by using the direct package download by python webpage which I personally prefer so you can hop on to python Org the download section windows and version 3810 and I'll put links to all of the web pages I'm calling in the next minutes in the description box below so scroll down a little bit and in my case I'm using the windows installer MSI package for 64-bit downloading it and just run it as I've installed it already click modify I've installed I've checked all options click next click next python installation successful let's close it then let's install espeak NG so let's open espec NG releases on GitHub latest version zero no latest version 1.51 and again let's download the MSI package for 64-bit run it okay change pretty simple installer so installation successful and we need the Microsoft build tools so let's click download build tools yes click modify and the important part is that you activate the checkbox desktop development with C plus plus as I've installed this already I can skip this one but please make sure you install these desktop development C plus plus libraries and we can just check that everything is installed by checking our install programs so first of all let's see python okay python is installed let's see espeak espec is installed and in my case I've installed Nvidia Cuda so let's see the Cuda version I've installed version 11.7 so let's start with the cool part and open our command line prompt and I've already created a directory I'm going to show you this one called TTS training in my user home directory containing just a simply modified Coke HDs training receipt we will go into more details on that later on and I've prepared a trust and voice data set in that well known and supported LJ speech file and directory structure so and that's all I've prepared for now now let's go back to our Command Prompt switch into that directory check our python version first so 3a10 is installed now let's create a python virtual environment so run python minus n VM Dot and as you can see in the file explorer there are some files created for directories created for that python virtual environment so to activate this and as you can see by the TTS training prefix which is basically the directory name we are in at the moment uh my python virtual environment is now active let's see which python packages are already installed by running pip list it's a pretty simple pip and setup tools I will add the wheel python package and update setup tools so let's run pip install setup tools wheel minus uppercase U for upgrade pip list again and here we are so and as I've said I train using Nvidia Cuda for performance reasons I have to install special libraries for torch torch audio so for that let's go back to our browser and open a pytorch download page and I select the latest Pi torch build 1.13.1 for Windows operating system pip package management Python language and Cuda 11.7 just copy them make sure you are still inside your python virtual environment and run the PIP 3 install command so this will download and install special python packages for cuda11.7 installation finished so let's see our our good old friend pip list and now we can see that we have three python packages called torch torch audio and torch Vision in a special version for Cuda 11.7 support but there's one more dependency that should be satisfied and this is called tensorboard this is not required but tensorboard can monitor your training process so I recommend you to install tensorboard just to keep an eye on your training progress first of all let's install Coke HDs itself and then add 10 support dependency how do we install how do we install koki TTS so let's go to koki TTS repository on GitHub latest version is version 0 11 1.
you can clone it by using git tools or you can just simply download The Code by using the browser download this is totally up to you I'm going to choose the source code to download for now let's open it in the zip file and simply save it in our TTS training base folder so now we have that TTS version folder let's go back to our Command Prompt and simply run and build and install it by running pip install minus E Dot koki TTS installation is still running downloading some dependencies and installing lots of required python packages oh looking good so far so installation is finished and again let's take our lovely pip list command to see if the TTS package is installed in our python virtual environment and this is looking great so we have TTS installed in the latest version 0 11 1 in my user home directory I would like to install tensorboard to keep an eye on training progress so for that let's run our pip install board and once this is done we have satisfied and installed everything and we are ready for trainings so now let's go back into our base directory and let's run that TTS training receipt I will give you more inside view soon but first of all let's just check if the script is running so train widths running as python script so this is looking good so far so as you can see number of gpus detected one so if you have more than one GPU available you can use a so-called distributed training but in my case I have just one GPU so this is detected correctly and First Step while running the training is to pre-compute the phonemes because I've set it to phoneme not to character based but to phoneme Based training all wav files and transcribed text from my voice data set will be converted to phonemes and now take a look to the Windows Explorer to our base folder TTS training you can see on the one side of phoneme cache directory with lots of files containing these calculated phonemes using espec NG as we've installed as the required dependency and we have a so-called output folder that's called The Run name so with Thorson voice which trust voice with the date timestamp on starting the training run so while training is running in the in the background command prompt window let's give these received a closer look for that let's open our koki TTS Repository and you can see this receipts folder before this receives by koki TTS we had just one config Json as input file containing hundreds and I I really mean hundreds of configuration key value parameters and now by using this trainer or received configuration you just adjust you just adjust you you just have to adjust uh the values you would like to differ from default values this makes configuration and starting the training process really more easy to get an overview you can take a look and for example let's take the famous LJ speech and here you can see lots of prepared receipts for TTS or voice encoder or so-called vocoder models I can recommend you starting with the width CTS model because width contains the TTS model and the vocoder model all in one so you get a really nice quality with John with just training one model so if you take a look do this folder you can see one train width file so this is one possibility to start from and adjust with your individual user settings so directory structures paths sample rates whatever type if you would like to follow the content on this video I've taken this file and made some adjustments for my trust moist data set so just let's hop on to my first Miller GitHub repository and then two of the trust invoice repo and inside the YouTube folder I've created this train width win py this is identical with the file I've started training a few seconds ago so let's just take a look and by the way okay training is still running let's keep this one a little bit in the background to see that everything is still running correctly so what do we have here this is mainly based on the default koki TTS receipts with some adjustments obviously my voice data set is in that LJ speech file directory structure because we are on Windows and backslash is an escape character please make double backslashes in the case of your path separators the rest audio configuration sample rates and here the Run name you can give each TTS training run a name and I really recommend you I've learned it the hard way do not use any special characters at least no white spaces in your run name because as I've said the Run name in this case with stars and voice will be part of your output directory and if you take a white space in that run name in the configuration and you have white spaces in your directory and this does not make any any fun at all so try to avoid special characters in your run name batch size is depending on your available Hardware configurations as I've said I'm going to use phonemes if your language or let me say useful names should be available for really lots of languages support using phonemes with espec and dream if this is not the case you can switch to useful names false and will use character Based training so setting the phoneme language code DE for my German model the path named phoneme cache as we have seen in the GTS folder this is this one here for neem cache and let's go a little bit down we have this test sentences here and this is an important section we would like or at least I would like to hear how the voice quality is improving with further training steps and further training time and using this tensor board we can listen to these phrases in multiple training steps so here you can enter phrases in your local language that you would like to listen and get an idea on how quality is improving over training time I will put a link to the koki GTS documentation because this is just a really Rush overview I have made a special video on configuration Management in koki which I will also link so please check out the video description and by the way please do not forget to give this video a like let's discuss in the comments what do you think and if you have not please subscribe really helped me and the channel a lot so thank you for that and this is basically it but because we are training on Windows and windows has some Specialties when it comes to multi-threading and how processes are being started this last lines are important so special as it's written here needed for Windows so take these lines line 91 up to 94 and at the beginning line 12 so the definition of a main function I did not figure out this myself but I will put a link to an issue of coke yes so let's open this one and if you scroll down this closed issue so aerogold has written we don't support windows currently that's true but in this train txt that's the base of this let me say of this helpful multi-processing required change feel free to take this or one of the other coqtts receipt as basis and make your personal adjustments on that so and as we can see in the background training process is still running this is this is good and let's start a new command line prompt to run our tensor board maybe we should close some windows to keep it nice and clean so let's keep this one open just because it's trading on Windows we do do not need every window open so let's close the last one let's switch in our base folder and important before running tensorboard let's again activate our python virtual environment now let's go into our output folder so training run name and the timestamp and here run tensor board minus minus lock there for directory equals Dot so let's open our localhost on Port 6006 and here we can see some alignment figures we can see lots of graphs showing training progress see here we are just at step 180 so audio quality okay it's not existing at the moment um you can see let's skip the audio tab for the moment and go to the text Tab and here we can see complete configuration Json file as I've mentioned hundreds of key value configuration parameters and that's the complete config.json so this is identical to our output folder config.json let's open this one and let's make it bigger as you can see here if I scroll down till the end we have over 215 250 lines of key value configuration so and honestly I think using this training receipt with just the relevant configuration values with less than 100 lines of code including comments is way better than using the pure config.json file so now let's go back to our tensorboard audio tap and you can see we have step 210 and we see test audios so we have a test audio zero one two three and four so five test Audios in total and let's scroll through our config Json and we have this test sentences here and we have one two three four five so this makes totally sense we have defined five test phrases and here we have five test audios so if I play these back on step 240 and I will put the headphones off because this will mainly be noise but just to give you an idea there is audio or not voice but random noise generated at step 240. foreign [Music] okay I guess now you know what I mean so you need lots of training steps until this becomes actual Voice or really high quality voice let's go back one time to our Explorer and as I've mentioned we have this config.json and we have a best model dot pth files this combination these two files a model pth and the contract Json these two files will be later on used to synthesize audio either way on the command line or by using koki's integrated TTS web server to show you the concept TTS minus server skip any parameters it will use a default English model but let's call it with help there are command line arguments like model path configuration path so let's give this one a look so we have a config path and a model path and these two files just for just for the fun let's let's run a TTS server with that model file but honestly this is just noise it's just to show you how things work I will keep up training for some hours to give you maybe a better idea but training takes time so let's run it TTS minus server minus minus config pass I'm already in my output folder and this is the config Json file and the second argument is model path so model path and this is let's take the best model best model and run this so this will start up the server process the locally running we are still always on localhost the server local process reading the best model file and the config file that has been created from the training run so let's open on Port 5002 localhost 5002 and here we are so this is the simple koki TTS web server front end and let's run thus is a test so regardless which text I'm entering at this little training process or progress this will sign sound absolutely crazy so let's synthesize the audio foreign okay as expected so I will stop this one this is not really helpful at the moment close it close this tab check our server progress or training progress let's make a pause grab yourself a tea a coffee a water whatever you like so it's nearly two hours since I've started the training process so let's give the tensor board and the audio samples a new try so let's run a new command prompt again go into our base folder activate our python virtual environment [Music] go into the output folder and run our tensorboard open localhost port 6006 and first of all let's check our text tab and here we can see the test phrases once again and after just one or two hours of training duration you will not be able to recognize the audio but what I would like to show you is that the phrase number one is the longest phrase at least so let's go to the audio tab and as you can see we have reached step 3750 which is by far not enough but at least we can see that the first audio sample with seven with seven seconds duration is the longest so seven two four three and three seconds so this seems to make sense at least so now let's play back first sentence I guess you can hear that there's plenty of room for for further improvements um you can grab this button go down to previous steps see graphs and here audio samples from previous checkpoints to get the comparison if trading is going to the right direction and as I've mentioned on the beginning of this video during this video took lots of time and efforts and research and trying error so if you would like to support my work please subscribe to my channel hit the notification Bell click thumb up give me feedback on this video or other videos on my channel in the comment box and share my videos and Channel with other voice technology enthusiasts the would really help me and this channel a lot and yes that's it for today's video I hope you like it you found it useful and if you like we might see us next time bye
Up Next

75:05
Rule of Law & Economic Development: Nadia Nedzel Lecture
@LunoEconClub
252 views•2017-05-02

12:54
Triumph of Orthodoxy Icon: Byzantine Art & History Explained
@BenCallan
2.1K views•2024-08-06

9:49
FastAPI vs Flask vs Django: Choosing the Right Python Web Framework
@TechWithTim
302.5K views•2024-05-26

1:42
Game of Thrones Opening Credits: A Cinematic Analysis
@gameofthrones
46.3M views•2011-04-18
Related Study Plans & Knowledge Roadmaps
Structured learning paths in General & Interdisciplinary Studies
general-studies
Elevator Engineering: History, Physics & Cities
01From Hoists to Safety Brakes: The Dawn of Vertical Lift
02Hydraulic vs. Traction: The Engineering Physics of Elevators
03Modern Speed, Safety, and Algorithms
+ 2 more learning modules
12h5 modules
Explore Roadmap
general-studies
Rubber: Material Science, History & Geopolitics
01Origins of Natural Rubber & Mesoamerican History
02The Chemistry of Natural Rubber & Vulcanization
03The Geopolitics of the Rubber Boom & Colonization
+ 2 more learning modules
12h5 modules
Explore Roadmap
general-studies
Containerization: Evolution, Logistics & Trade
01Ancient Trade & Bulk Cargo: Amphorae to Barrels
02The Industrial Revolution & Cardboard Packaging
03The Containerization Revolution: Malcom McLean
+ 2 more learning modules
12h5 modules
Explore Roadmap
general-studies
Textile Tech: Evolution, Labor & Global Impact
01Pre-Industrial Textiles: Handloom & Cottage Industry
02Mechanization: The Spinning Jenny to the Power Loom
03The Factory System & Global Labor Transformation
+ 2 more learning modules
10h5 modules
Explore Roadmap