


![Inventables X Carve Fräse Unboxing [DEUTSCH]](https://i.ytimg.com/vi_webp/VOFKJH-LbzU/maxresdefault.webp)


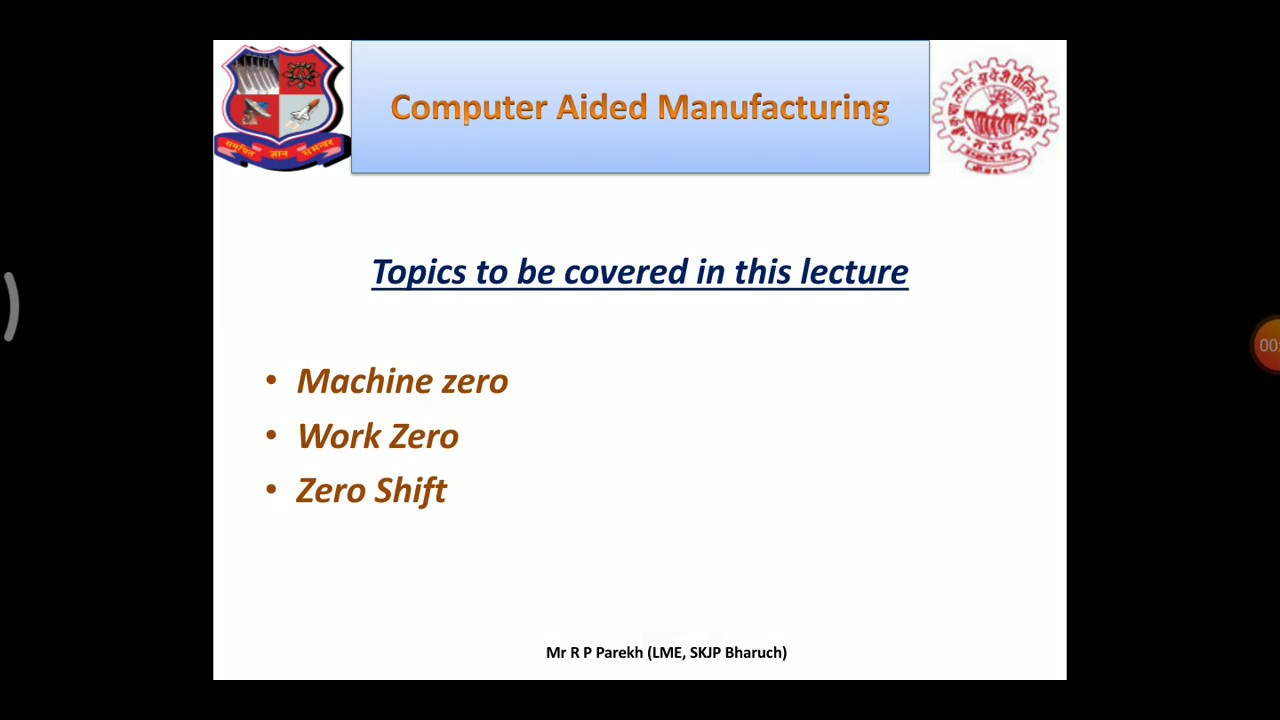


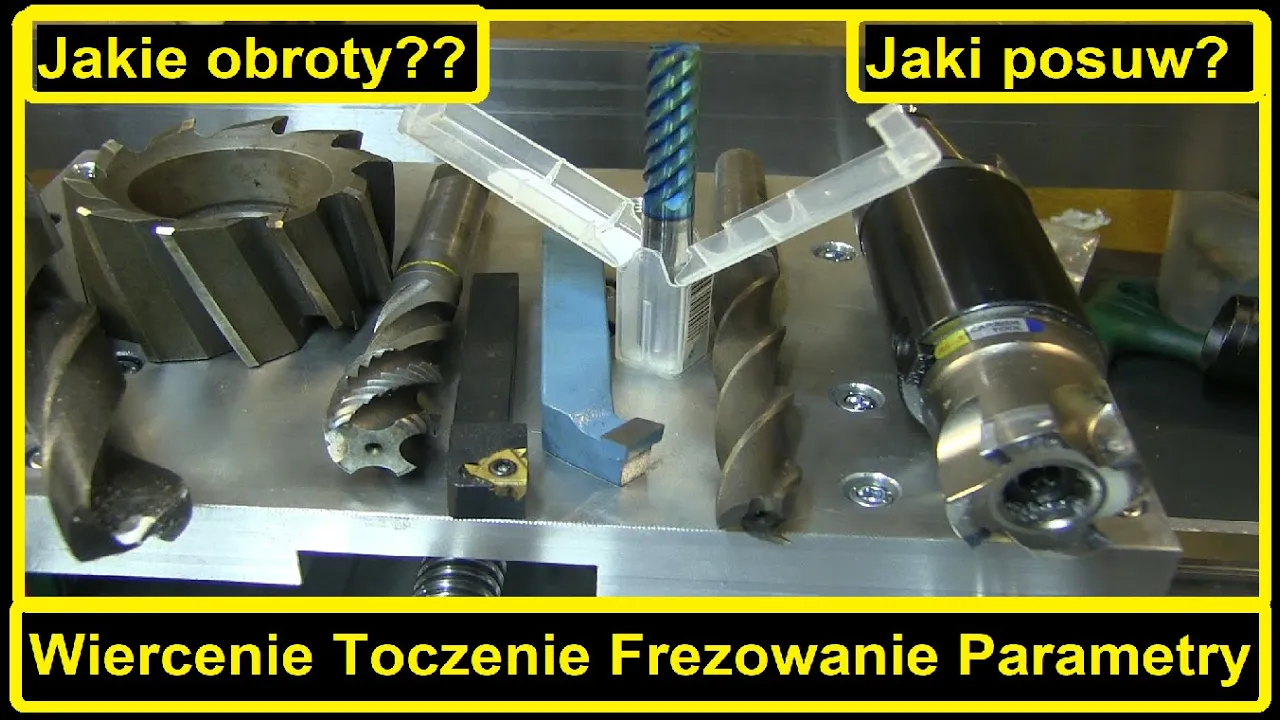
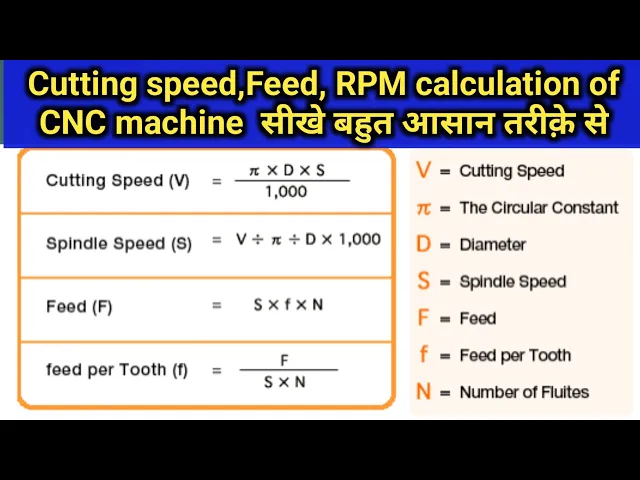




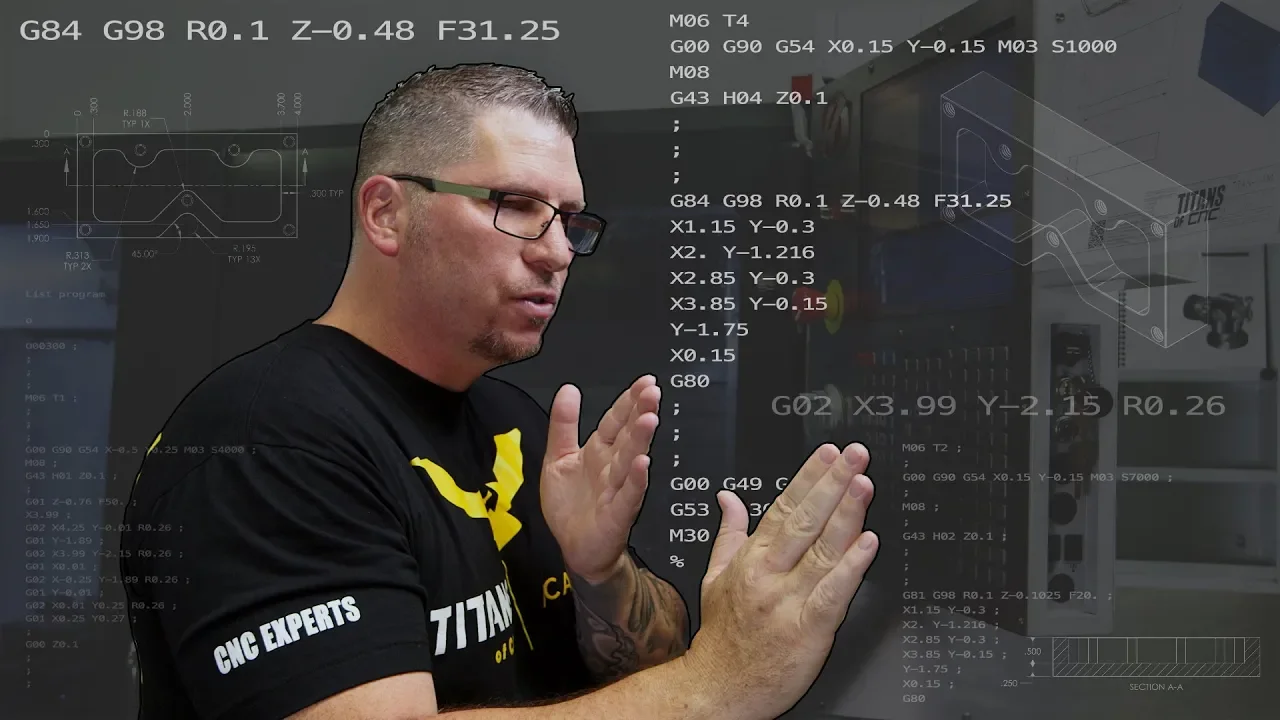




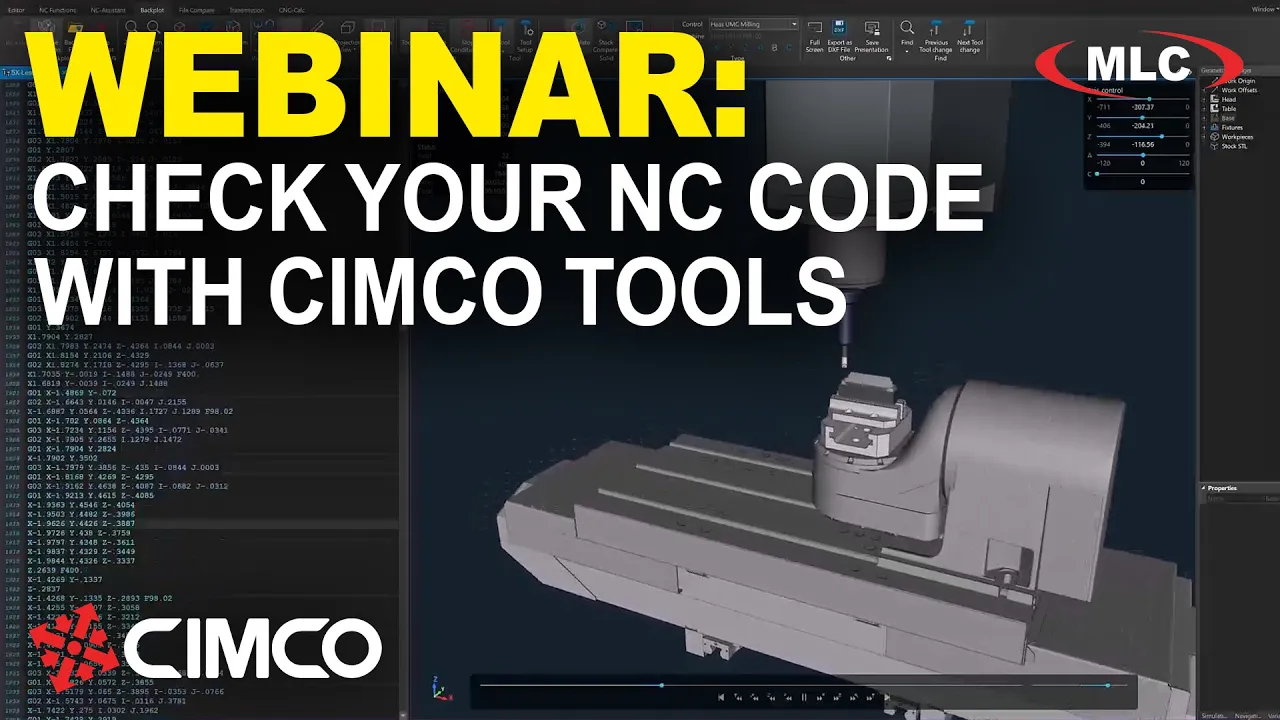
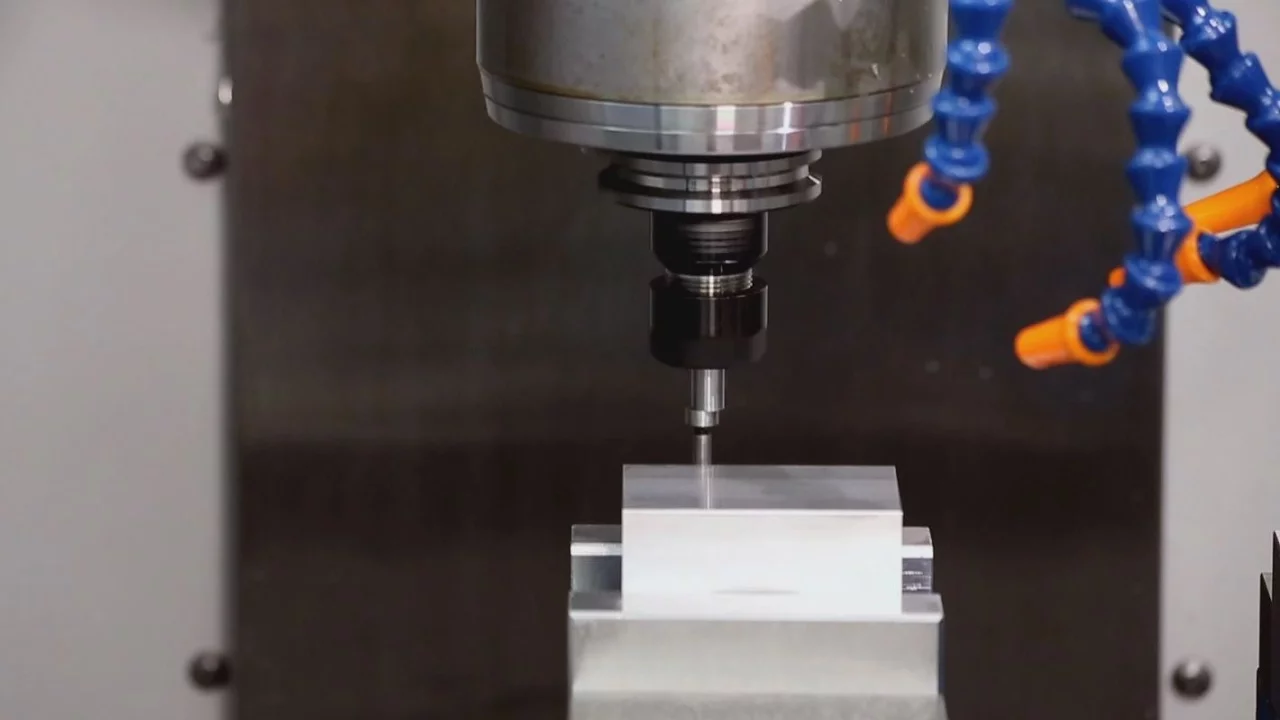

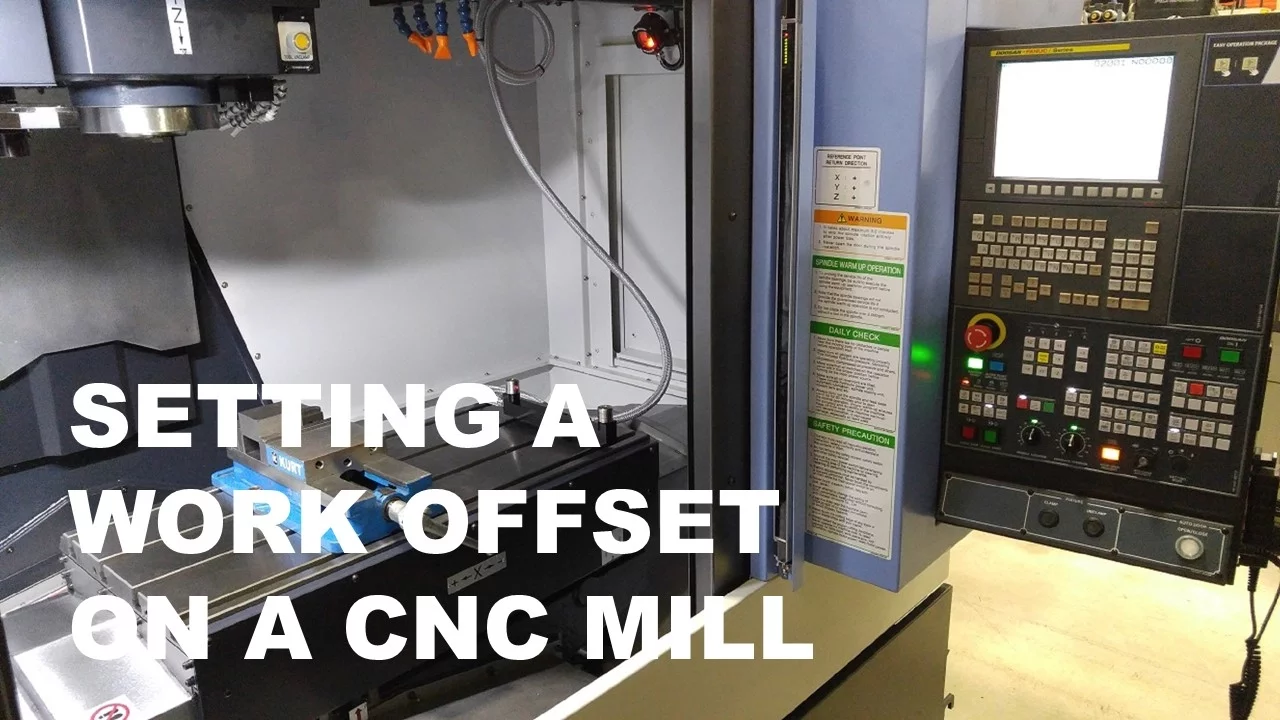


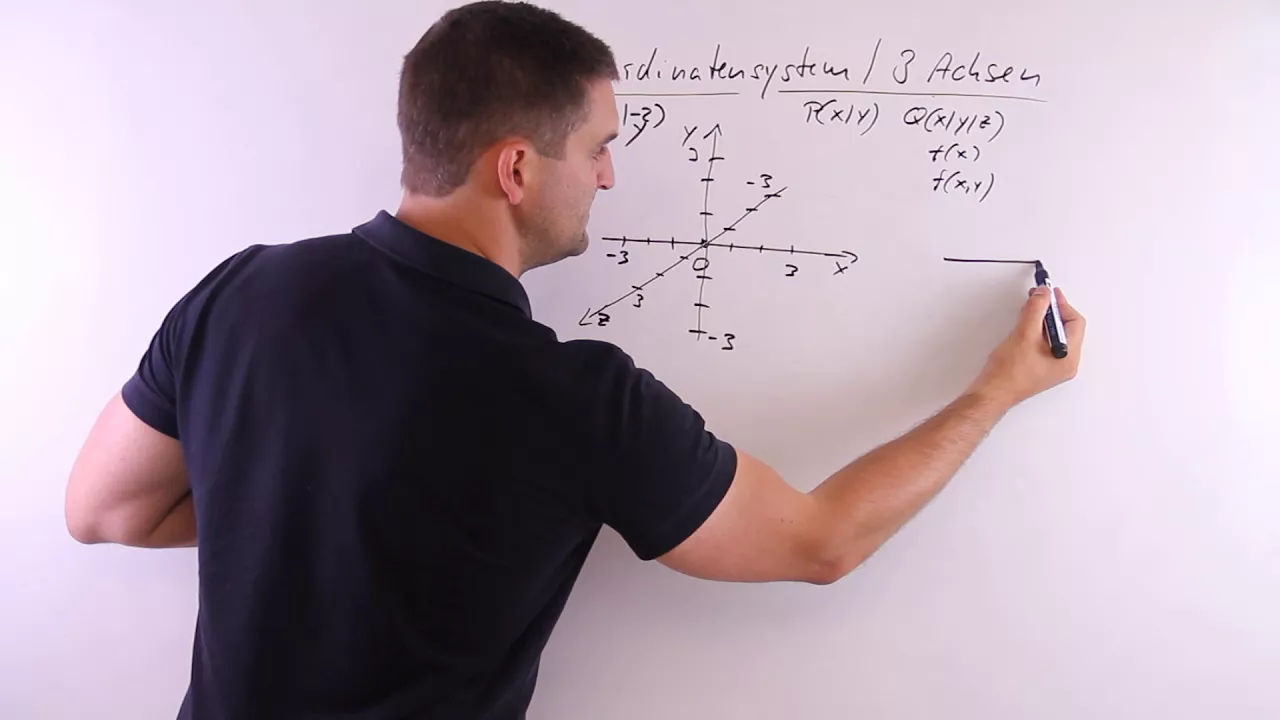
G-code is the standard programming language for CNC machines, consisting of G-codes (for machine movements and operations) and M-codes (for machine functions). The 11 essential G-codes for beginners include G0 for rapid moves (fast movement without cutting), G1 for controlled linear moves (cutting at specified feed rates), G2/G3 for clockwise/counter-clockwise circular interpolation, G20/G21 for imperial/metric mode selection, G90 for absolute positioning, G91 for incremental positioning, and G94 for feed rate in mm/min. M-codes control machine functions like spindle operation (M3/M4/M5), coolant activation (M8/M9), and program flow (M0 pause, M2/M30 end). Letter codes (F for feed rate, R for radius, S for spindle speed, X/Y/Z for axis movement, I/J for circle center offsets) combine with G-codes to create complete machining instructions. Programming involves setting up the machine in the correct mode, positioning the tool at safety height, and executing the tool path with appropriate feed rates and spindle speeds.
G-Code Basics for CNC Beginners: 11 Essential Commands
Added:so we will make a introduction to G-Code and this is absolutely for beginners what you can expect of this small training here is that you can analyze your files you can see where things are going what direction if it's a rapid move if it's a controlled move and circles all this kind of stuff you will can analyze after that you can also make small programs by yourself and activate them on your CNC it is a absolutely necessary to know g-codes today as it was in the beginning of the 80s no well I think it's fun and it's also sometimes great to to analyze the file that a program has made for you so let's get into it and we will learn about the 11 G Codes there are many more g-codes they are also differences in g-codes it can be like as an example like gerbil um operating system or another type of operating system so decode is boring but with these 11d codes here you you absolutely cover all the basics we will also look on M codes and letter codes so g0 is rapid move and this means you need to move from A to B very fast it is with the tool up and not into the material the opposite to that is g01 where you as an example a cutting in a straight line and um yeah you combine this with the feed rate in my case it is millimeters per minute then we have the g02 which is a clockwise curve and the for that again we need a radius we need a position for the X and the Y we will look a little bit closer into this uh later on before we go to the programming itself tree is a counterclockwise curve g21 means that we run in metric mode and the opposite is G20 which is in Imperial mode g90 absolute programming g91 incremental programming and we will also look specific into this before we go to the programming uh g94 is a feed rate in millimeters or inches per minutes it's depending on if you have chosen the G20 or g21 we will mention very little about g53 which is machine coordinate and the g54 which is a coordinate system it's an offset it can be many more but we will reduce it to these two only so that was the G Codes um now we will look into the M codes that we will use in this training and M codes they are controlling the machine functions uh it turns on the spindle turns on cooling water uh pulls the machine into one stops IT and the cyclists all this kind of stuff so um so let's take a look on these M coats and the first we want to log on is the pulse the m0 that pulls the machine and you will have in most of these control systems that is when you press then you press the the play button again it will resume from where it it it stops I use the m0 in my programs when I as an example want to pause for a for a tool change M2 and the program and it really ends the program it stops everything is zero out you cannot just press the start button and it will resume have you enter an M2 command well you need to start all over again M3 is starts the spindle clockwise and in this case you can combine the M3 with a letter code we will look on them later with an S which means a speed spindle 12 000 turns per minute um M4 well it's also start to spindle but counterclockwise and well I never used it um you need also to have the tools the Mills that can be working counterclockwise as an example M5 just stop the spindle nothing more to say there uh start what water cooling M80 start water cooling or activate an SAR relay as an example there are many ways to through an SSR relay to handle this I don't use water cooling or mist cooling so I use this M8 to activate a solid state relay which again will activate my recommizer so I use the M8 and the M9 that will deactivate my SSR relay for start and stop my recomizer so I can remove the Dust and m30 it's a program stop it is absolutely at the end of your G-Code and when it comes to this it could here also have been an M2 but an M2 you need to reload your program and start it in m30 it will stop the the the program and move back to the first line so this brings us to the letter codes that we will use and we have f for feed rate and R for radius which are combined with with the g02 and g03 then we have the S4 spindle speed which is turns per minute X is moving the axis X in a in positive or negative Direction the same is for the Y and the set and M is you can use if you like to use line numbers you can have n that will be your line number in the beginning of the fine and then we have I rages when create a circle and yeah it seems maybe confusing we just talked about R is radius but that's only if you have a part of a circle either clockwise or anti-clockwise so um before we go programming I want to look to Rapid moves and Rapid move is moving from one position to another position as fast as possible will you tool up in the safety height and it will at least all the system I have had it will read the the default settings in the firmware for what the faster speed is in my case I also do it in G20 on millimeter mode and the g90 in this case is absolute positioning just as we yeah we'll look on it into this later on so the controlled move has the code g01 and this means that we move in a controlled manner in X Y or set Direction and that needs some more information so you can use this g01 and one is the g94 which will tell the machine that we run in millimeters per minute and then of course we need to start the spindle and tells how many turns per minute the spindle needs to have which is an M3 and the s12000 for 12 000. turns per minute so just a little visual thing here to show you what the difference is visually and it will look like something like this you see the rapid move is already there the controlled mode is cutting it is doing an operation and it finished of course later because we only move 500 millimeters per minute in the controlled move in the rapid move in my system I'm on 6000 millimeters per minute so as a significant difference so and now it's time to talk about uh absolute distant modes and as you remember we had the g90 at the G like T1 and we will start with the g90 absolute distance mode and you see here we have the center of a region which is here if we look on all this item here and we want to move from here to there which is 80 millimeters and from here to there which is 100 millimeters so the quick thing coming set Ah that's easy it's uh g01 x 80 and then I add the gc1 X 20. well it could be if you were running in g91 but it's not here because everything the system is syncing on is that I have my 0.0 my X and Y positioning here as 0.0 and I have to move in absolute position it will be there all the time no difference it will always stay there so everything you need to do on on your item it has to be calculated from this position so when I now write uh g0 which is rapid speed and x80 it will move to this positioning and if I want to go additionally it's up to this 100 I need to say g0 x 100 and again we calculate from this position so if I want to go back to my g0x0 it will move exactly back to this origin here this is very different from for the g91 because when you start here exactly at the same position let's now enter the same code in but we change it to g91 incremental distance move so what will happen if you just change this line and not the other lines and then I can show you very easily first of all g0x80 will go over here but because we entered g91 the new center of a region is now here at the 80 millimeters mark and now the machine zero out here and it thinks that this position now is X 0 y 0.
so if we just enter the next line as we did with the g90 so we can come here with x 100 boom this will happen we will drive far too long because the machine believes this is a 100 millimeter mark so matter of fact what we should have done is that we should have set g0x20 that would be the correct line here and also here if we want to go back to x g 0 x 0 well the machine will uh just move back here and because it thinks this is the zero position so we will now program our item and for that we will use NC viewer which is a free tool to use online tool and you will find the link down in the description so let's program this item here as you can see we have all the measurements everything we need to do and for that we will enter the code into the NC viewer made by Santa Luciano he also has been so nice to make it as a freeware so you just can use it without paying anything donations accepted and you'll find the link below in the description so before we begin we will see on this item and we will program this in in incremental mode this means our center of a region will move along that it will be at the last position the machine had will always be the 0.0 then I have made a small coordinate system that will help us determine where we are going in a positive direction or negative Direction so we are going in incremental mode and we want to replaced here that's where we also will broke the machine so it is exactly in this corner and also set will be exactly at the surface of our material and before we start using the G Codes you will learn to use this semicolon if you enter a semicolon the machine will not read the line but you can enter some text here and we can call this g code training we can have something about Mercury oh six millimeter yeah and we can have as an example uh End Mill for our tool and mail which we also will have as a six millimeter so we don't have to cut so many times so there can be dates it can be whatever you want to enter here you just need a semicolon because the machine will then see aha semicolon I jump to the next line semicolon next line and next line which are bringing us to the fourth line we are still telling the machine how it needs to operate so I will make a start line here which will be g21 the g21 is millimeter mode if you will to work in inch mode it is G20 then I tell the machine at the same line to go to use g91 which tells the machine that it is incremental programming and we will have a g 94 that tells a machine that it has to run in millimeters per minute in the feed rate and it is millimeters per minute because of the g21 so the machine knows exactly that and I want just to show you want to use a semicolon again and I want to just printing a start code now the machine starts reading from line number one semicolon jump to the next jump to the next okay I will work in g21 g91 g94 ah semicolon I go to the next line that's how the machine are thinking when they see these codes here then I also want to be sure now that we have our tool at the right position and right now if I make a plot nothing is shown up because we haven't done anything yet but I want to be sure that my End Mill which has another set save g hi I think I wrong I wrote spent that from safety I don't know tell me in the description guys is um it will be 20 millimeter and what is a safety height well it's a height where we are sure not going moving into clamps or or some other material what do I know it's just a high where we can operate in rapid mode and that's exactly what we want to do now we will say G 0 0 and we go in set positive direction because we go up set positive is Plus 20.
and you can always check it here boom you see they come adopt there and we are 20 millimeters above remember this is now our center of a region in on our set axis f and now we can go G 0 0 x 0 y 0 and this is exactly at this point here and why do I not just enter that into one and the same line because I want to be on my saved set before I start move my X and Y axis so I'm not create any damages on the tool or the item itself so that's why we do it like this um let me just take it down here here so it should be good so now we are placed exactly here and we just move in Rapid move so before we can start drill down we will have to uh we will have to tell the machine how fast it needs to run um and uh let's turn on the spindle all this kind of stuff this information needs to be entered into the code um but the first we want to do now because we are sure we are on the right position so we just go g 0 0 in rapid mood rapid move set minus 19. this should position us exactly above the item and we can see that here now and we see now we are exactly here that's where we are now you see this movie if you click on that point there you will see we stand online line set minus 19. and our new San Diego region is now one millimeter above our item we will now have to start the spindle and this we do with an m 3 or you can call it zero tree it doesn't matter and we use the S command for spindle speed and that's turns per minute in this case I want to use 14 000 just to enter something and now the spindle starts move up to to a spindle speed of s 14000 then we need to drill down and we need to it's a six millimeter material it's a six millimeter tool so I want to cut with with three millimeters in the in the depth and this I do now with a G zero one because now we have a controlled move and I say sent minus four because I was one millimeter above the item so this means that I need to get down set minus four millimeters um and now I need to tell the machine because we haven't tell anybody thing about free trade so this I want to do now with an F 250 and I only use 250 which is the half of my normal speed I would do here because I want to I drill down to this tree millimeters so now we are at the depth of see here we are three millimeters down to the material which is good and the spindle is running the next is a move from here to there it is 40 millimeters so it is a g01 we go in a positive direction on the Y which is here and we don't move at all on the X so no need for Waste memory on typing something on the Y so g01 X 40.
and nothing more that's exactly what you need to type here not X sorry X Y it's YY you need to yell at me it's y40 and if I not enter any feed rate here by the letter command f it will continue in 250 reads I think it's very slow for this big tool so I want to enter it to f 800.
so now we move from here to there and remember now our new center of a region will be here so this is our x0 y0 we now need to go to this point and we need to move from here in a positive direction on the x-axis which you can see here we go there and we go also in a positive direction on the y-axis which you can see here on this coordinate system removing positive direction we know the radius is 10 we know we have x 0 y 0 here so we will then move 10 millimeters positive here on the X and 10 millimeters positive in the line so that's what we start to do now and we also know it is a clockwise curve and this tells us it is a g 0 2 command X 10 y 10 and then we have a radius because if I just if you just do like that that's just a problem here it just tells to move over here and it doesn't really know what to do because we have to enter the radius which is righteous 10.
and now we get this beautiful curve now we are here and guys what to remember absolutely correct this is our new center or for region x0 y 0.
and we know we need to go 30 millimeters to the next stop and um that is very easy because we have a straight line which is in the positive Direction on The X we don't do anything on the Y so we just continue with x 30 so g01 for control move X 30 nothing more I could if I want to change my feed rate which not make sense I could do it now but I know the last feed trade I was entering was F 800 so it will continue doing that so let's see where we are going by pushing the plot command and you'll see we get over here but now we get some challenges now we have uh anti-clockwise curve which tells me it's at least it's a g zero two curve sorry g03 curve and it also tells me that I need to go 10 out on the x-axis which is from here to there in a positive direction but also from there and down to here exactly which now is a y negative Direction so our code will then be something like g03 because we have anti-clockwise curve G 0 3 we will have a x 10 which is in a positive direction but we will have a y minus 10 because we are moving here down in the negative Direction and we will have a radius of 10.
so let's see if we're doing this correct boom it was very correct then the next is from here to there we are moving on the y-axis and not on the x-axis and we go still in the negative directions because our center of a region is exactly here and we go down here so it's quite easy it's a G yes tell me guys it's a g01 y minus uh h Point 66 millimeters that's where we go how to enter to come here let's plot it out and as you see here we are but now it starts to get funny because right now we can see that we are missing some information I know the whole item is 50 by 50 millimeters but here I have a circle cut which is anti-clockwise and I for this exercise here I absolutely need the distance from here to there and there's only one way to figure that out it's by taking a calculator let me bring it in here take a calculator I know that the distance from here to there is 50 millimeters so that's what I enter I know from here to there it is 10 millimeters because I have this information so I say minus 10 then I'm here I can say minus 8.66 minus eight point 66.
this I don't know so I subtract this it is I will say yeah but it's 19 millimeters no it's not because it's only a part of a circle so I will say minus um minus eight point one two and this gives me a value of 23 point [Music] 22. and this is exactly the distance from here to there so again we know the curve is anti-clockwise so it is a g03 I know I go in a negative Direction on the y-axis so it will be y minus and then the distance from there to here which is 23.22 millimeters in a negative Direction and I know my radius which is mentioned here and that is r 19.
this should now make us a beautiful curve and it does you can see here but if you enter your plot and we are now exactly eight point one two millimeters above this position and that's quite easy because we don't change any feed trade any nothing and now we will have a g01 which is moving us down from here to there we are still in a negative direction we are still only in the y direction but it will be y minus h 0.12 this was wrong because it's dot one two and it brings us down exactly here now it's easy we need to go from there to there to close the whole circle so let's do that we know we are going x minus Direction because we are standing here center of a region is here and we go in this direction which is negative so we know we go G 0 1 X minus 50. do we do anything on the y-axis no we only follow the x-axis so um let's do that boom and let's plot it out and here you see we have the first you have the full Contour of our item not fully but because we need to start cut out this circle inside and for that we need to use as I say another way to to calculate this and I want to bring in another picture here because we will have some new leather commands as you can see on this one here this is representing this part of the drawing and with this information we need now is the distance from here on the y-axis into exactly this point on the circle on the x-axis so I is the letter code for the x-axis here then we need to know exactly the distance on the x-axis up here to this point of the Circle on the y-axis and we also need to know that is not true what I'm saying here because I made my drawing is wrong it should have been at the center J is has to move into the center of the of the circle but not on a on the eye then K you can also have a k letter but it's only on a set axis is barely never used so sorry for the wrong drawing here it needs to go in here on the j-axis we will remember that so to find these Corners I know exactly the distance from here and to my y-axis it is 15 millimeters and I know it's a diameter of 15 so the radius would be from here to there would be 7.5 so I know exactly that the distance from here to there is 7.5 millimeters so this means we need to make a move up our first of all we need to move up yeah and that's the G 0 0 and we are in minus 3 above the surface so we will go positive direction set our safety height was 20 okay then we will go g 0 0 x x was 7.5 millimeters positive and Y would be 15 millimeters positive and that's on the on the rapid speed okay let's see where we are now we are exactly where we need to be here 7.5 in here and 15 millimeters here so this is the rapid speed to go up there we are set safe position we now need to prepare for uh for for the the drilling and we say in this case I said g zero zero set uh minus minus 19 because I'm 20 millimeter up I need to go 19 millimeters down which is in a negative Direction on the set axis and that's where we go I did not stop the spindle here because it doesn't make sense to stop the spindle we just continue let it run while we are moving in this uh high speed positions then I want to say g01 set minus four because I want to go four millimeters down three millimeters down into the material and I stopped one millimeters above before I started uh control and for that I want to use the feed rate F250 and it's now drilling down to this position it's better to see you see it here now we are three millimeters below the surface of the item and now we need to create this circle here and uh we tell the machine to go exactly because it is here and it knows the position in there and it knows here exactly so we need to tell the machine we're going in a positive direction clockwise Direction and I will tell the machine to use I seven point five which is I was here and then a radius from here which looks like that in clockwise position and that is how you make the make the circle in G-Code program so where wise man will know that we are still not in the right position here and that's absolutely correct the only thing we need to do is to copy this section right and we need to change the only one parameter so I copy this now I go here and I can right here take two with this uh the second spot I put this in here and the parameter I need to change now is um this one which I can call minus six seven minus seven and want us to sit here seven let me see S7 all the fours change to seven do I have more of them no I don't so let's plot it up ah here you see we have we have we have we have because we have a center of a region has moved so we need to move back to because the take two so we need to move back to we are here it will be x minus seven point five and we need to move back y minus 15.
so you can correct on that one yeah now we are there two times so this is the only changes it's a quickly copy paste this stuff here but uh now you see we are in these operations we are now down on minus six millimeters taken in two cups and yeah that's how you do this kind of programming I really hope it helped you and yeah let's you just enter this and start to experiment with your with the NC viewer and hope you get some nice results okay look have a nice programming and see you soon again
Up Next

Convert Images to SVG with Inkscape for Cricut Design Space
@KalansKrafting
170.8K views•2018-09-16

Triumph of Orthodoxy Icon: Byzantine Art & History Explained
@BenCallan
2.1K views•2024-08-06

FastAPI vs Flask vs Django: Choosing the Right Python Web Framework
@TechWithTim
302.5K views•2024-05-26

Game of Thrones Opening Credits: A Cinematic Analysis
@gameofthrones
46.3M views•2011-04-18
Related Study Plans & Knowledge Roadmaps
Structured learning paths in General & Interdisciplinary Studies