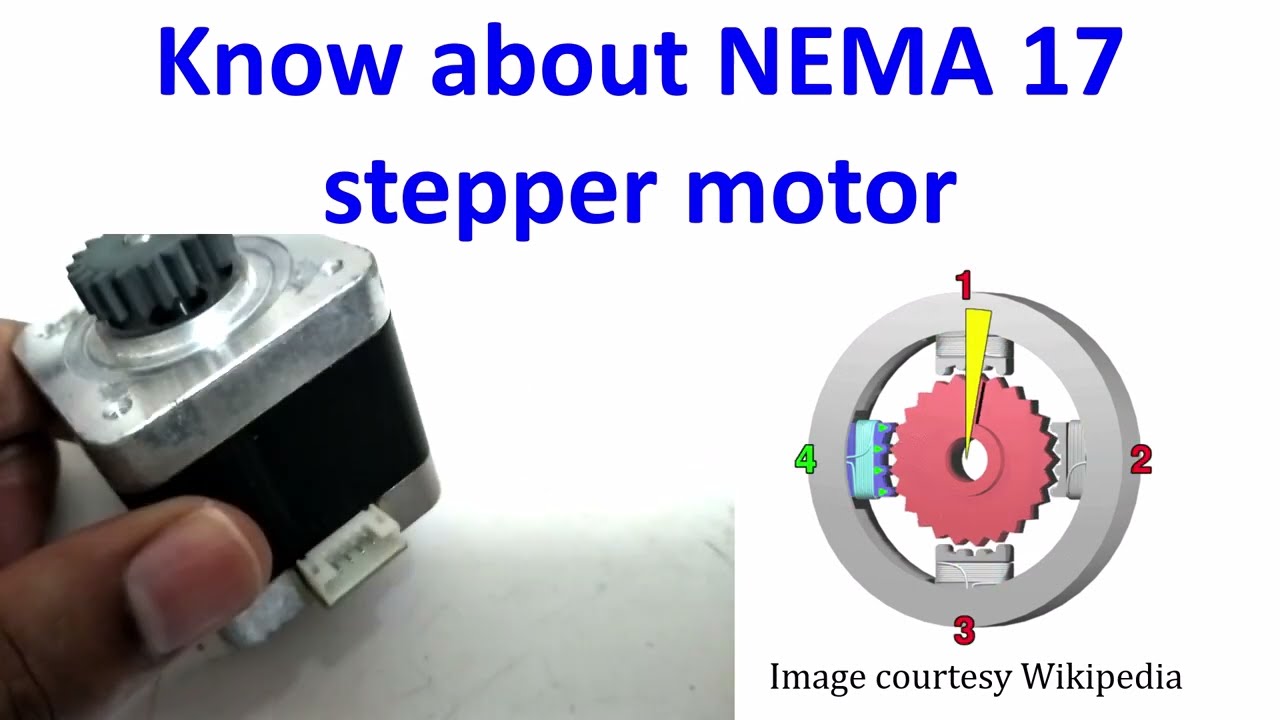
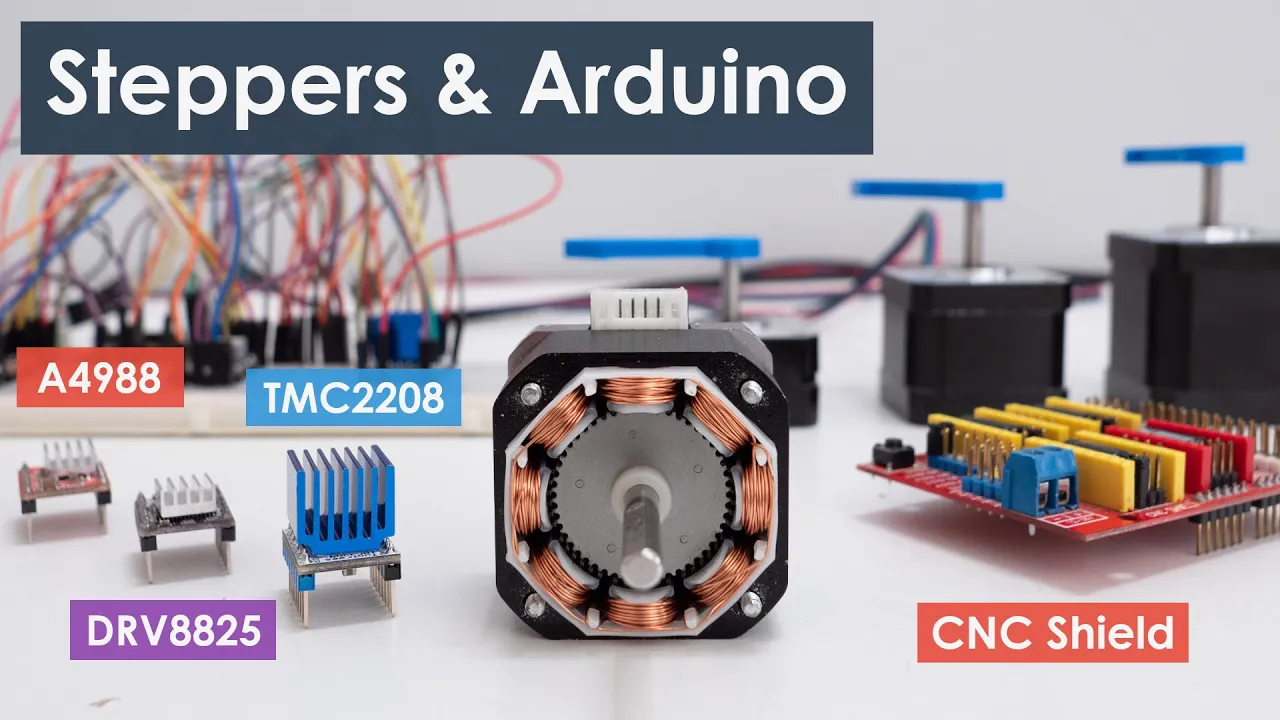














A 3D-printed NEMA 17 stepper motor gearbox can achieve precise, backlash-free operation with position feedback by integrating a Hall effect sensor that detects a neodymium magnet on the output gear, allowing the system to home to a known position every startup; this design combines the precision of stepper motors with the position awareness of servo motors while maintaining low cost and manufacturability through 3D printing.
Precision 3D-Printed Gearbox with Hall Effect Feedback for NEMA 17 Motors
Added:Understanding the working principles of stepper motors, specifically NEMA 17 specifications, step angles, and driver interfaces.
Fundamental mechanics of gear trains, specifically planetary gearbox architecture (sun, planet, and ring gears) and gear ratio calculations.
The concept of mechanical backlash, its impact on precision, and methods traditionally used to minimize it.
Basic electronics and physics of Hall effect sensors for magnetic field detection and rotational position sensing.
Implementing closed-loop control algorithms (such as PID control) using the Hall effect sensor feedback to correct motor position errors.
Integration of high-precision 3D-printed actuators into multi-axis robotic arms or CNC machinery.
Advanced material selection and tribology for 3D-printed gears (e.g., using Nylon, POM, or carbon-fiber composites to reduce wear and friction).
Calibration and linearization techniques for magnetic encoders to improve angular sensing resolution and accuracy.
245.7K views6Klikes14:21Original Release: 2020-06-09
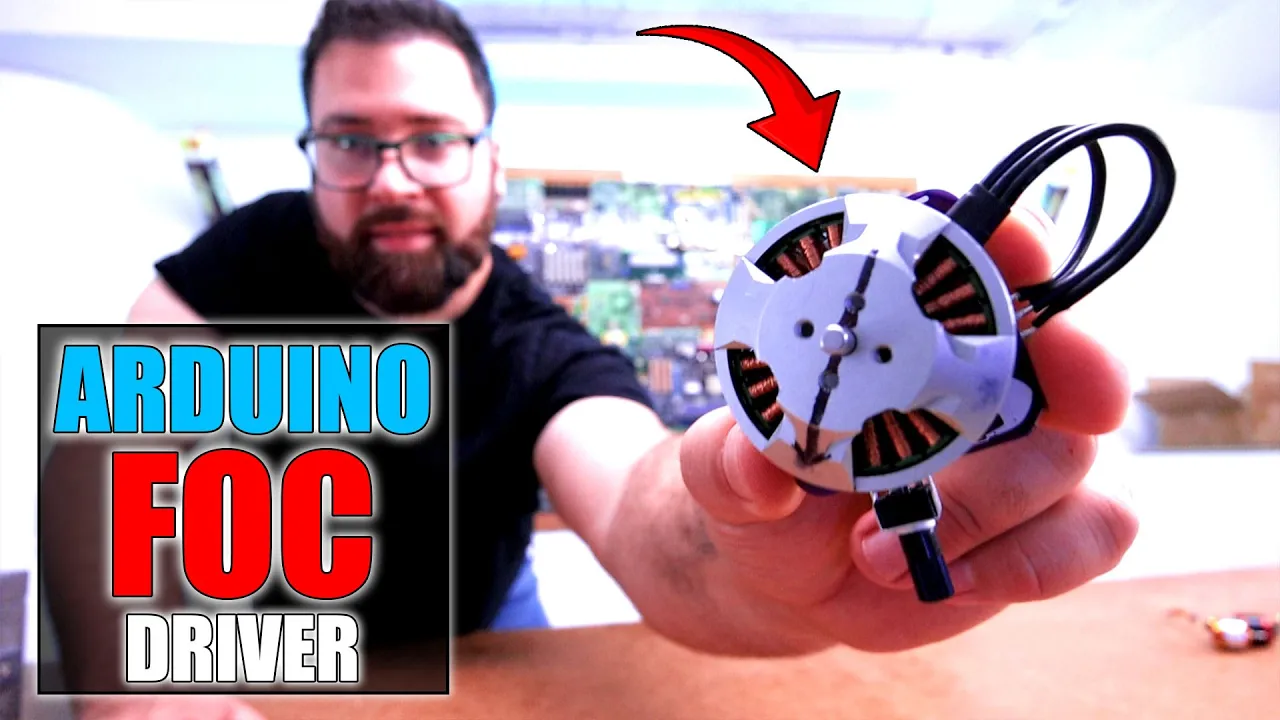
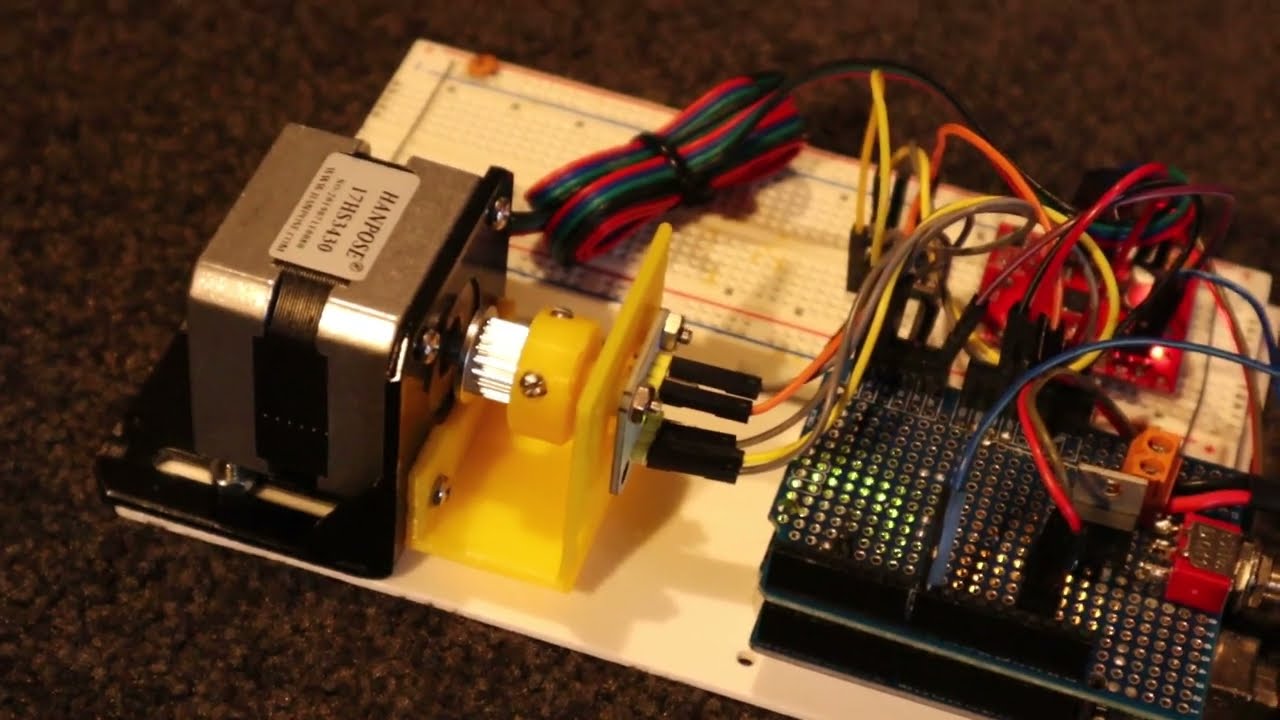
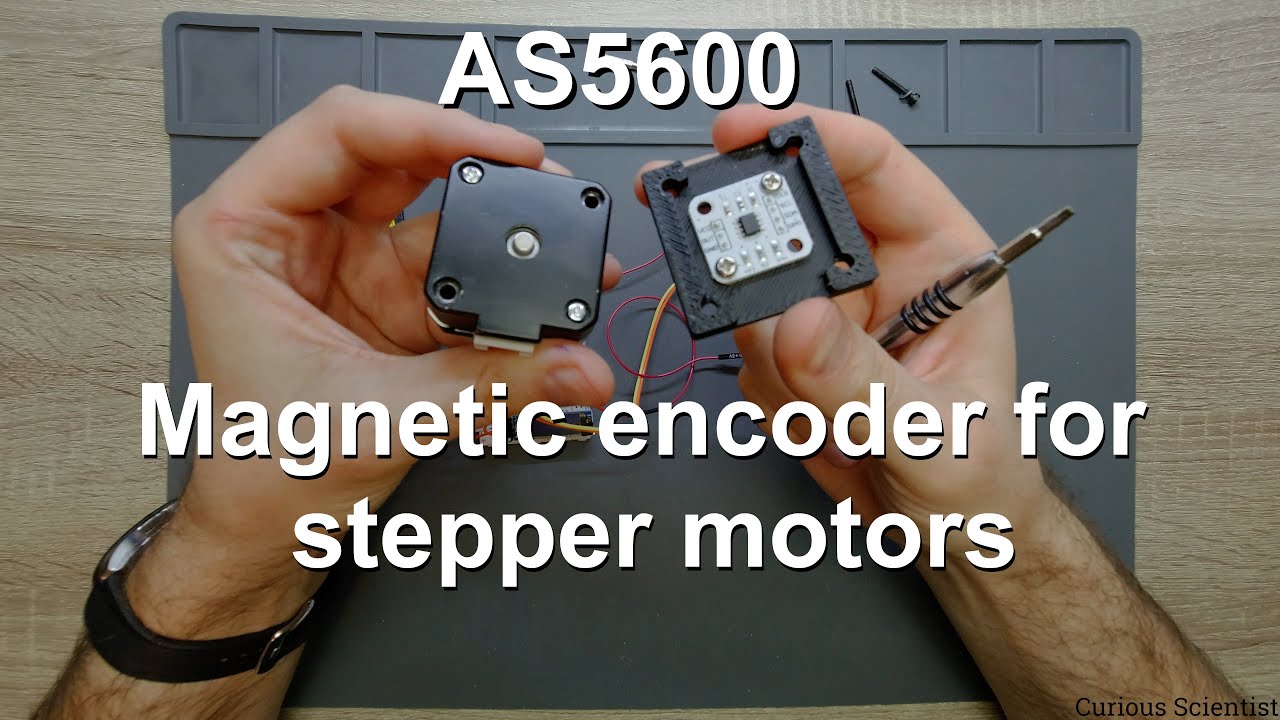
this is a stepper motor and this is a servo motor one does precise movements the other not so much but it always knows where it's at imagine if you could combine them in some way to get all those features at once well turns out you can but those guys cost a lot so then imagine getting roughly all those features plus some gear reduction that will make it strong enough to lift stuff but at a much lower cost this is basically the task I set for myself in the last video where I made the first prototype of the 3d printable gearbox it was a great success in terms of high precision and minimum backlash but overall it was not that useful since it didn't have position feedback and there was some issues with the design now I'm ready to get this right a 3d printed gearbox with position feedback that is precise and powerful and without backlash I have made a new design that hopefully satisfies all of that so let's make it [Music] so that is the base and as you can see it turned out very nice but it was this part I had the most problems with in the design I made a good decision to not drill the screws directly into the plastic but actually put some nuts in here in this way you can assemble and disassemble this many times in printing this I thought I needed to use support material to keep these holes up and I probably did it just turned out it's so hard to remove so I ended up having to force these in as you can see it's not very pretty so that's the thing to improve on in another design I'm thinking threaded inserts might be the coolest way to solve this hey it's me from the future I actually went and changed the design to feature threaded inserts like these ones here it's definitely the best and most elegant solution just thought I'd let you know back to the assembly another feature of the base of these mounting holes that we didn't have in the last version as you can see only these crappy holes to look inside but no way to mount this so if you want to use this and some kind of contraption you couldn't these inserts are much easier to make because you can see the nut all the way through spaced the holes 16 millimeters in every direction and these holes are just missing so you got 16 and then 32 and 16 again years so a regular pattern on both sides and the reason I use this distance is because I have a lot of these aluminium extrusions which happen to have that exact dimensions another feature of the base is this little thing in here and it's actually a mounting point for another piece it's this one as you can see here this is a 3d printed little piece and we have got a Hall effect sensor embedded in this one so the idea is that this just comes up here and slides like this onto this just like this in place like this so now we have a Hall effect sensor in the shell and we will use that to make it possible to zero the position of the motor every time we turn it on this is the output gear and this will go like here and it has little neodymium magnet in here that can't be detected by the Hall effect sensor so let's install the motor the next step is to get the small pulley on here the next part is to install the first sliding part that goes in here and as you can see I have been making this hole a lot bigger and that's because when we have a sliding part like this I will actually be able to use this hole to feel the tension of the belts and inspect the gearbox I thought that was a very neat solution compared to this to install this we are going to need some long and three bolts like these ones [Music] so the next part we installing is the compound gear and to keep this nice in place I have this steel axle here which will be held in place by the two ball bearings here so it and rotate freely but also is not moving around so this will go down here let's pause this assembly for a moment and move on to the top which consists of the same sliding mechanism and an indentation here for holding the ball bearing and it just pops in right here and I've printed this other piece and it pops on just like this and now we can install the other slider here we've got the output shaft and it consists of two things this is the inner part we have got 60 teeth gear les magnet and that's a ball bearing which will have fit on top of the stub motor to provide stability in these directions here and this top half here fits into the ball bearing just like this and this connects to the outside part which is this one it has got a big plate we've got 32 by 16 here for mounting please stand and size and extrusions and then we can actually move on to the next phase assembling the whole thing [Music] all right so now we've got all the nuts in place and this is actually assembled and as you can see or here it's not really working that well and then does because we haven't tensioned these belts in here the way to do this is to like work your way a little bit on each side so we don't like go all too crazy on the exil and it's fairly straightforward because we have these screws here it's beginning to feel very tight if I rotate this fast there's no belt skipping you can remove we can see in here like this this runs very smooth feels sturdy and very nice so I think this is the assembly done and we can move on to some testing yeah this will be nice alright so this is the first test setup and here we will be testing the homing function which is a piece of code that I've written this function basically strives to position this output shaft at the exact same orientation every time I've positioned this censoring room right at that point so we can see how far off we are in either direction and if this goes very well we will be right at this point every time let's see how it goes [Music] next up we are testing the backlash and we did this as well in the last video where we found close to zero backlash in the first version of the gearbox so let's see how this second version performs and I'm just going to grab the output arm here and try to move it in both directions and as you can see it it's willing to go about a half a centimeter in each direction but notice how it's not loose it's more springy so every time I let go it springs back to this position which means that we have very little backlash but some springiness in the system and this is probably caused by the belts and the gears and the whole thing being made out of plastic but what I'm very excited about is the fact that we if we drive this to this position it will actually be in that position and not like on one of the edges of the gears [Music] let's move on and see how this performs under some load the first test we'll be doing is to determine the holding torque it's basically a measurement of how much force you can apply in a certain distance from the center how much weight can we put on here before it skips some steps and in this test I'll be using an 500 gram weight which is this simple bottle let's start by putting it here cool it seems to support the weight here so let's move it further out it's definitely pulling it down but it seems to hold all right so let's go to the extreme that's quite impressive it seems to hold the 500 grams at a distance of roughly 35 centimeters from the centre that's very nice should we go further or is it oh yeah yeah that's pretty conclusive it was definitely pushing the limits so let's say that at 35 centimeters from the center we can support 500 grams that's not bad not bad at all [Music] okay so one thing was the holding torque but how much weight can we have on this while it's moving at this angle we are applying the most force to the motor so if we are able to move up and down here that should generalize to the whole way around so let's try moving it [Music] seems to work fine so let's move further out very nice let's try again okay so it looked like that we maybe maybe not missed a step here that's hard to see [Music] it's calculation time in the test we saw that the arm could support 500 grams with an arm length of 35 centimeters this gives us a holding torque of 17.5 kilogram centimeters we also tested the maximum torque on the movement and to be fair I think it was beginning to lose some steps when we went above 25 centimeters from the center using that result we get a maximum torque of 12.5 kilogram centimeters [Music] okay let's sum everything up after modifying the base to feature threaded inserts the issue with inserted nuts has now been fixed and overall the 3d printed parts as simple very smoothly and everything works fully as intended so I think this must be the file design incorporating a Hall effect sensor seems like a viable solution for homing the gearbox and the test confirms that it does this very consistently so big thumbs up here as well just like the first prototype we have achieved close to zero backlash and rigidity in all directions so this is still very good in terms of power I think the gearbox has a decent amount of torque for a lot of projects so all-in-all I am very happy with how it turned out now I have a very handy and powerful precision gearbox for all sorts of robotics projects and the like if you want to make it yourself you definitely can I have published all the STL files on Thingiverse and the link is in the description to end the video here's some fun ways to use the gearbox that really shows off how smooth it operates thanks a lot for watching consider subscribing for more cool projects I'll see you in the next one [Music]
Up Next

27:14
Poly Bridge 2 Engineering: Structural Design & Bridge Optimization
@RealCivilEngineerGaming
618.8K views•2023-01-26

12:54
Triumph of Orthodoxy Icon: Byzantine Art & History Explained
@BenCallan
2.1K views•2024-08-06

9:49
FastAPI vs Flask vs Django: Choosing the Right Python Web Framework
@TechWithTim
302.5K views•2024-05-26

1:42
Game of Thrones Opening Credits: A Cinematic Analysis
@gameofthrones
46.3M views•2011-04-18
Related Study Plans & Knowledge Roadmaps
Structured learning paths in General & Interdisciplinary Studies
general-studies
Elevator Engineering: History, Physics & Cities
01From Hoists to Safety Brakes: The Dawn of Vertical Lift
02Hydraulic vs. Traction: The Engineering Physics of Elevators
03Modern Speed, Safety, and Algorithms
+ 2 more learning modules
12h5 modules
Explore Roadmap
general-studies
Rubber: Material Science, History & Geopolitics
01Origins of Natural Rubber & Mesoamerican History
02The Chemistry of Natural Rubber & Vulcanization
03The Geopolitics of the Rubber Boom & Colonization
+ 2 more learning modules
12h5 modules
Explore Roadmap
general-studies
Containerization: Evolution, Logistics & Trade
01Ancient Trade & Bulk Cargo: Amphorae to Barrels
02The Industrial Revolution & Cardboard Packaging
03The Containerization Revolution: Malcom McLean
+ 2 more learning modules
12h5 modules
Explore Roadmap
general-studies
Textile Tech: Evolution, Labor & Global Impact
01Pre-Industrial Textiles: Handloom & Cottage Industry
02Mechanization: The Spinning Jenny to the Power Loom
03The Factory System & Global Labor Transformation
+ 2 more learning modules
10h5 modules
Explore Roadmap