











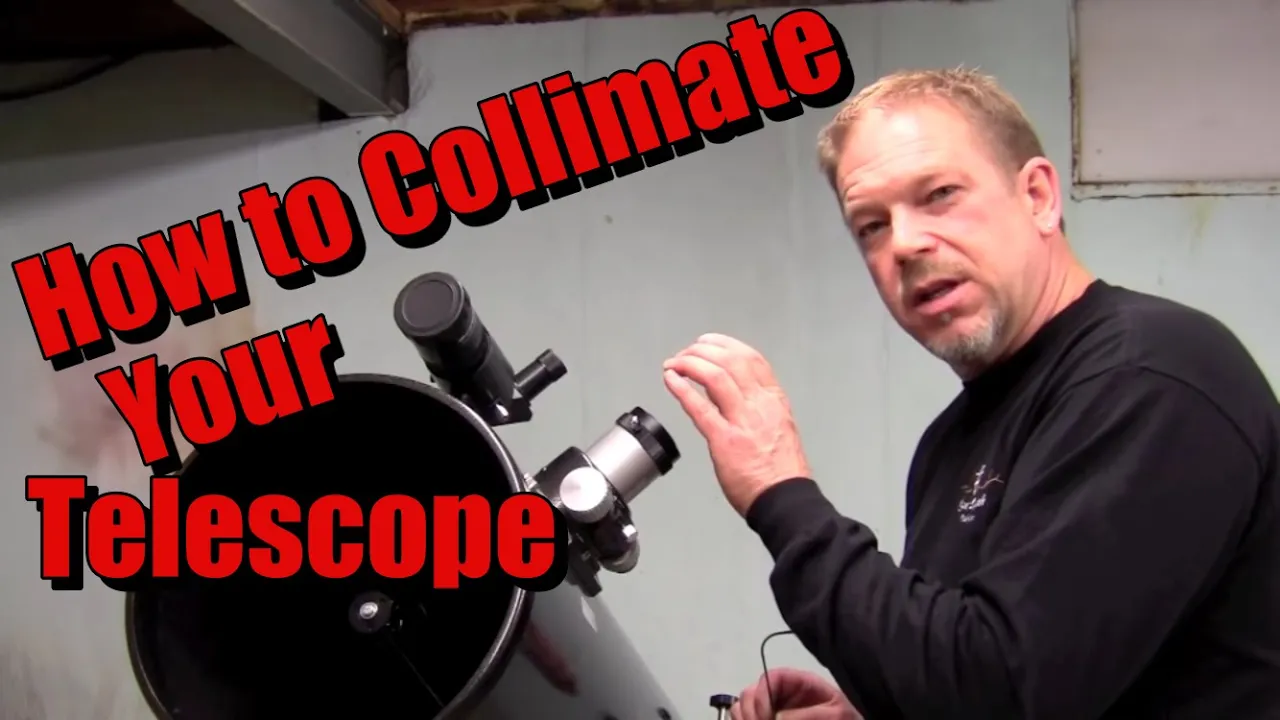

![Collimation of Newton Telescope using [SVBONY] Laser & Cheshire](https://i.ytimg.com/vi/wgIhvsxyB1Y/maxresdefault.jpg)
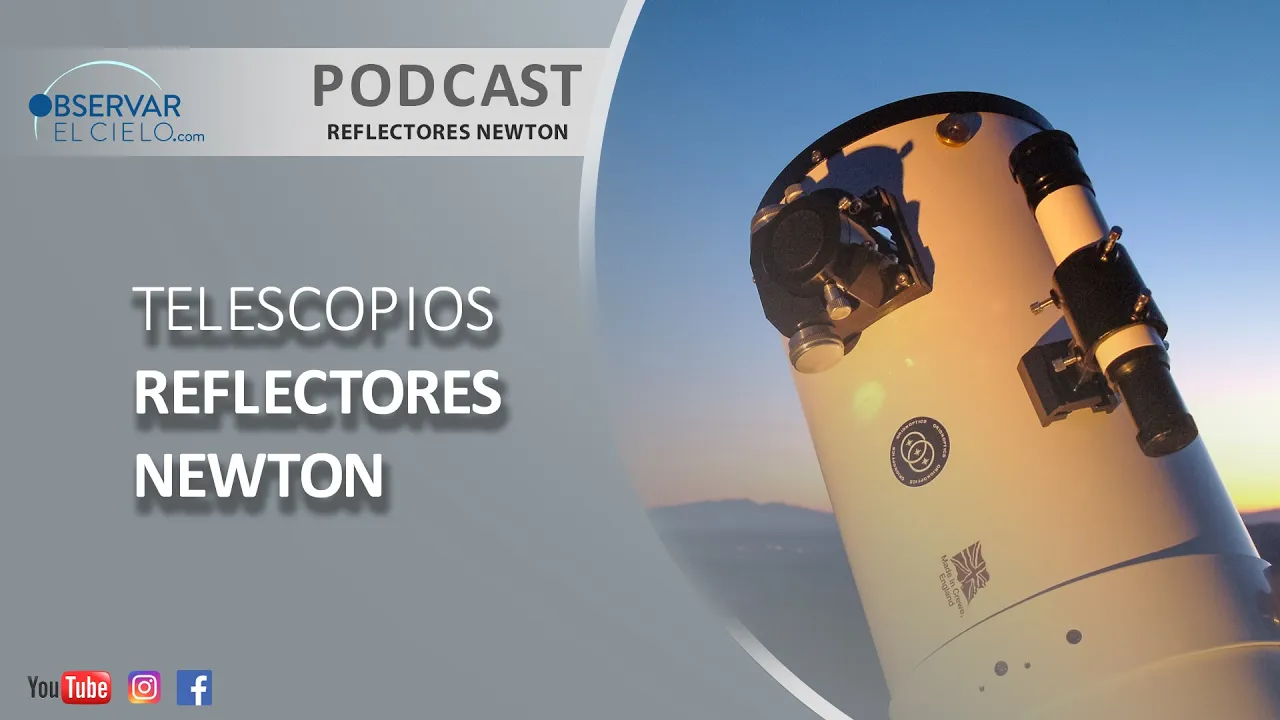




An 8-inch Newtonian reflector telescope is constructed using a parabolic primary mirror (8 inches in diameter) that gathers and focuses light to a focal point, with a secondary mirror redirecting the light out the side of the tube to an eyepiece; the telescope tube (made from a 10-inch Quikrete concrete-forming tube) must be cut to twice the focal length (measured by projecting a light source onto paper until a sharp image forms, then halving that distance), fiberglassed for strength, painted flat black on the inside to reduce reflections, and equipped with adjustable mounts for both the primary and secondary mirrors to enable proper collimation (alignment) of the optical system.
How to Build an 8-inch Newtonian Reflector Telescope Part 1
Added:Basic geometric optics, specifically how concave spherical or parabolic mirrors reflect light to a focal point.
The fundamental anatomy of a Newtonian reflector telescope, including the roles of the primary mirror, secondary diagonal mirror, and focuser.
Understanding the concept of collimation and why precise alignment of optical elements is critical for clear image formation.
Basic workshop skills and safety practices, including precise measurements, drilling, and the safe handling of delicate glass optics.
Designing and constructing a stable mount, such as a Dobsonian alt-azimuth mount, to support the telescope tube assembly.
Calculating magnification, field of view, and exit pupil values using different eyepiece focal lengths and Barlow lenses.
Advanced collimation methods using precision tools like laser collimators, Cheshire eyepieces, or autocollimators.
The fundamentals of astrophotography through a Newtonian reflector, including prime focus imaging and the use of coma correctors.
The science of mirror making (Amateur Telescope Making), including grinding, polishing, and testing glass using a Foucault or Ronchi tester.
939.2K views15.9Klikes17:00Original Release: 2016-03-22
hi its will from stormthecastle.com and here on youtube you know me as epic fantasy and this is my lady's tutorial this is how to make a telescope and this is the telescope we make wonderful wonderful project of all the subjects I love I love telescopes and astronomy the most nothing compares to a dark rich starry sky the heart of a telescope like this is the mirror so yeah this is an eight inch mirror eight inches in diameter and I'll show you how to make all of this everything this is part one the optical tube assembly in part two I will make the stand for it to go on dioramas origami catapults trebuchets telescopes terrariums bonsai trees and paper games swords and shields and real blacksmithing model rockets animation i teach the art of real creation stormthecastle.com lets make something ok i'm going to teach you how to make a telescope or reflector telescope and i'm going to show you in a way that you can make it just about any sized telescope you want you don't have to have the exact same size mirror that i have so there are 4 major components to a reflector telescope like this there's the main mirror the little mirror which is called the secondary the focus or eyepiece and some kind of a structure to hold it all together in the case of our telescope we're using a cardboard tube and we're going to fiberglass it to make it strong and this is what happens with the telescope the light comes in bounces off our primary mirror off our secondary and out the IP so we can focus it and see the image and here's the parts we have the little secondary mirror our eight-inch primary mirror which is a beautiful see how much bigger than your eye that is it dad there's a lot of light and here's the tube it's a 10-inch quikrete tube you buy it at any home improvement store it's used for like concrete forming and stuff like that it cost like five bucks I think a bucks something like that but it's bigger than the mirror so the mirror will fit in it so in order to make our telescope you got to understand a little bit about that mirror there's a flat mirror and here is a telescope mirror and there's a difference between the two with a flat mirror that they're used to like in the bathroom the light comes in bounces off the mirror and goes straight back exactly the way that came out with the telescope mirror the shape of that is a parabola and that means that the light is direction is changed and comes to a focus and see how much bigger it is than your eyeball it gathers a lot of light and that's the beauty of a telescope so now that light comes in and it bounces to a place called the focal point right there that's important we need to know that distance from the mirror to that focal point so we can make our telescope and this is what happens the light comes in bounces off that mirror it is focused it bounces off that secondary mirror and then out the side of the tube - right about here is where we want our eyepiece so we need to build the telescope to this size so this all lines up correctly right there so we measure that out and how do we measure out that focal length well it's kind of easy use a piece of cardboard of a sheet of paper or something like that and the light bulb lined up with it right on the same plane see they're parallel right next to each other and then you put your telescope mirror a distance away when the distance away doesn't yet matter we're going to adjust it so what will happen is light will bounce off that bulb and then it will focus a perfect image of the bulb on your piece of paper and that is two times our focal length that's twice the distance we need for our telescope so let's go ahead and do that and I'll show you it's kinda it's really kind of interesting see there's a focal length right there that's the number we need that distance and it's half the total distance easy to find so I've got my light bulb and my planning right like that my sheet of foam board of course I'm I have foam board and I've got my mirror and a little mount I made out of foam board yeah and then you move it back and forth until that bowl comes into sharp image it actually looks like the light bulb let's take a closer look so now this isn't the video it's actually fuzzy until it comes into a sharp focus like that and you can actually even read the letters on the bulb so now wherever the mirror is that distance is our 2x and look it works really well on these um fluorescent bulbs to see how sharp that is it's amazing so what is that distance for armor it's 58 inches from that surface to our mirror that's 58 inches right there so what do we need we need half of that it's 29 inches is a focal length right there easy enough now we can build the tube cut them cut and build the tube so it's 29 inches from here you add to that mirror and that's at 29 inches so let's start building we're going to make the tube I like this I'm going to put some holes in it we've got a fiberglass set for strength paint it and put a hole in it there for the focuser so I've done my measurements now I'm going to cut it nice and straight and then I'm going to fiberglass and now this is optional but if you want you telescope to last many years and to be nice and strong fiberglass is a good option and always wear your safety gear I'm running a respirator fiberglass is a resin and a hardener I poured the rezident now important in the hardener and there are specific directions on how much you add and now here comes the fiberglass so you met you mix it up and you've got about 10 minutes to work it so you make small batches and I was like oh I got to do fiberglass I never did it before but it's not that hard it's but it is messy and be safe with it fiberglass is a cloth of glass fibers you put it on and then you apply the resin just like that and in about two hours its hardened and you don't have to do it in one piece you can do it in sections cut a piece of fiberglass put it on cut a piece put it on but I get a nice piece here that was big enough to do the whole telescope in one piece so that's that we have done fiberglass don't be afraid of it but be safe once it dries you trim it and then sand it 80-grit and notice that pink thing I'm wearing or a purple zipping up let's flick a purple pink that is a respirator cost about 25 dollars whenever you work with fiberglass whether it be the mixing of it or the sanding of it wear a respirator it's good safety but I'm happy how it came out nice strong telescope tube the fiberglass stuff cost me about 25 bucks I think and then we know our measurements I measured and cut out a two inch hole for my focus or and then I drilled holes to mount the focuser and tested it to make sure everything fit right but this is the way it's going to go but we don't want to mount it right now because we want to paint it so go ahead and plate the inside of the tube of flat black and this is good for starlight it'll help reduce reflection and distortion or anything like that and then paint the outside of the tube any color you want white is a good option red is a great option for astronomers because it doesn't affect your light sensitivity of your eyes so now the tube is done let's make the mirror mount and the middle mount is kind of special because it's got these little spring loaded loaded screws on it so we can adjust those we want and all the optics in the telescope to be lined up nice these schools a lot screws allow us to tilt the mirror in any direction and line everything up perfectly so we're going to cut two discs of wood and this is I believe 1/2 inch plywood the first disc is the size of the tube to fit inside like this yeah and once you've got that to that disk ah kind of another hole in the center of it so you can handle it easy see how I've got my fingers in there and then drill four holes around the circumference of it four screws and this is so we can mount it in later then don't mount it in now just drill and test those holes for screw holes let's go ahead and make the rest of them our you need a second is the size of the mirror so I cut that out so that's it for the plywood work just those two disks and then we have some hardware some brass bolts for rust so they never rust some washers and some nuts and some springs and we're going to assemble together the two plywood disks with with all that hardware and on my website I have a list of the exact hardware if you want more specific instructions on all this now go to the link to my website and you'll get a lot more information if you really want to build a telescope not just learn how one's made so you know I drilled out three holes and I kind of sunk the three holes on the small disk so the bolts there would sit flush and I'll show you why they want to sit flush there's a flathead bolts and they sit flush I'll show ya so now let's assemble it together put the bolt through the hole and then you put a washer in a nut and lock it in tight then you put a spring and another washer and that's it repeat that process for the other two bolts now this causes a mechanism that you can adjust with wing nuts I'll show you that you put the large disk right on top of that feeding it through the holes and put a washer and a wingnut so now you can see with the springs you can adjust these wing nuts in any direction and it will turn that mirror in any direction you need so we can do something called collimating lining up the mirror perfectly with the rest of the telescope so the mirror goes on there and you can see now why we had the flat head counter board countersunk bolts and we need to clamp it down and and in a way that we could always take it off if we ever need to clean the mirror so I made cut these small pieces out of um steel see it like a little latch and I mounted velcro soft velcro on the inside to protect the mirror and then screw those on the edge like this and that's it this is the hardest part I guess probably the mirror mount is done so now that can go don't put it in the telescope now but that will go in the telescope and you can use those wing nuts to adjust the mirror now we're going to make this this is the secondary mirror this is how the light bounces off the big mirror and out the side of the tube into the eyepiece really really simple three lengths of threaded rod 8:32 threaded rod some nuts and a wooden dowel one inch wooden dowel because the wooden dowel it's about two inches long and one end of it is cut at a 45 degree angle and then I drill three holes in it around the the circumference of it and you'll see where those holes are just like that see the three holes so it's like that so the threaded rod can go in there now this is going to go into the tube and you have to measure where that 45 degree angle is so it is centered on the eyepiece focuser and down low enough so it's correct so light comes off the primary mirror bounces at a 90 degree angle off of that mirror and into your eyepiece so glue you second did we glue the secondary mirror onto it I'm using a five-minute epoxy and there is a right way and a wrong way to glue that mirror on it's an elliptical mirror and then we put it in and now with these threaded rods like this we are able to move that mirror around and lock it in place so it's centered it's centered nicely and it projects that image right to this through the center of that eyepiece very nice so yeah this is what we want the mirrors in there you can see everything centered the right is Center that's the mirror the black data center that's the reflection of the secondary mirror everything's nicely centered but that's a column that's something called collimation and you do that collimation by making some adjustments I'll show you so here we go here's our we column II now you can put the mirror in and lock it in place with your four screws simulate until the last minute to put the mirror in to keep it safe we don't want to be juggling and telescope around and drilling there and working on it so now these three wing nuts you adjust those and you look in the eyepiece and you can see how the mirror will tilt and then you adjust these threaded and you also adjust these threaded rods to move that secondary mirror into any position to get everything centered up nicely and see now everything is centered nicely the focus centered the mirror is centered the secondary mirror is centered everything is beautiful you tinker with this and you'll understand it and you'll get a good look at it so that's that we've built a telescope in 8 inch Newtonian reflector wonderful project I've been dying to do this project for a long time I'm so happy that I finally got the time to mentor make it part two we'll be making the mount for it that you put this telescope on thanks for watching that video I hope you enjoyed it if you're a subscriber thanks for subscribing to my channel if you're not a subscriber hit that button I always have lots of fun and interesting and very creative projects i do two new ones every week as an example here's a couple more videos you might want to watch
Up Next

87:05
Refractive Index Plasma Diagnostics: Wave Propagation & Schlieren Imaging
@mitocw
1.2K views•2024-08-20

30:32
Ultrasonic Transducers: Resonant Frequency Measurement and Horn Design
@imajeenyus42
229.9K views•2017-02-22

54:16
Polymer Environmental Degradation: Mechanisms & Stabilization
@iit
1.8K views•2012-07-10

33:39
How a Student's Question Saved a NYC Skyscraper from Collapse
@veritasium
22.8M views•2025-04-26
Related Study Plans & Knowledge Roadmaps
Structured learning paths in Engineering
engineering
Building Acoustic Levitators: Physics & Arduino
01The Physics of Sound and Standing Waves
02Piezoelectric Transducers and H-Bridge Drivers
03Arduino Programming: Generating 40 kHz Signals
+ 2 more learning modules
14h5 modules
Explore Roadmap
engineering
Building Peltier Cloud Chambers: Particle Tracks
01Cosmic Rays & Cloud Chamber Physics
02Thermoelectric Cooling (TEC) Fundamentals
03Custom Liquid-Cooling Loop Design
+ 2 more learning modules
18h5 modules
Explore Roadmap
engineering
Yagi-Uda Antennas: Modeling, Build & VNA Test
01Introduction to RF and Antenna Fundamentals
02Yagi-Uda Antenna Design Principles
03Antenna Modeling and Simulation in 4NEC2
+ 2 more learning modules
18h5 modules
Explore Roadmap
engineering
ECG Monitor Design: Op-Amps, Filters & Noise
01Electronics & Breadboard Basics
02Op-Amps and Instrumentation Amplifiers
03Bioelectricity and ECG Fundamentals
+ 2 more learning modules
18h5 modules
Explore Roadmap