




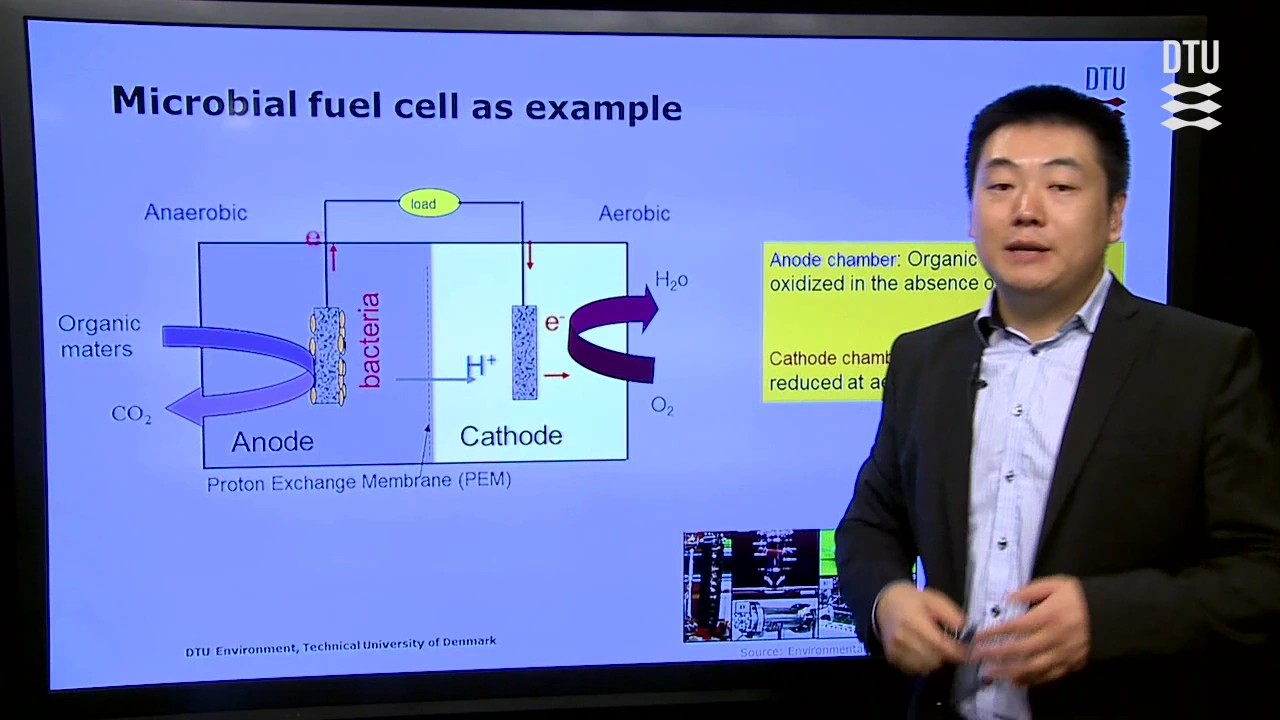
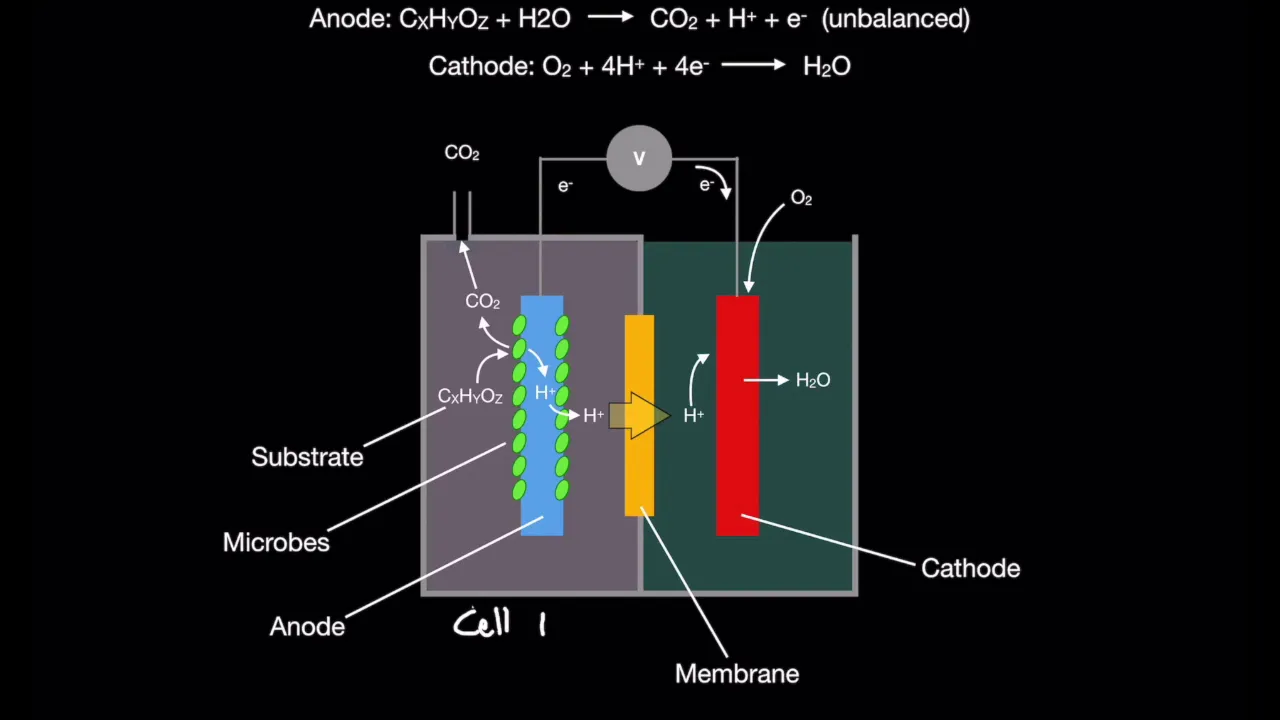














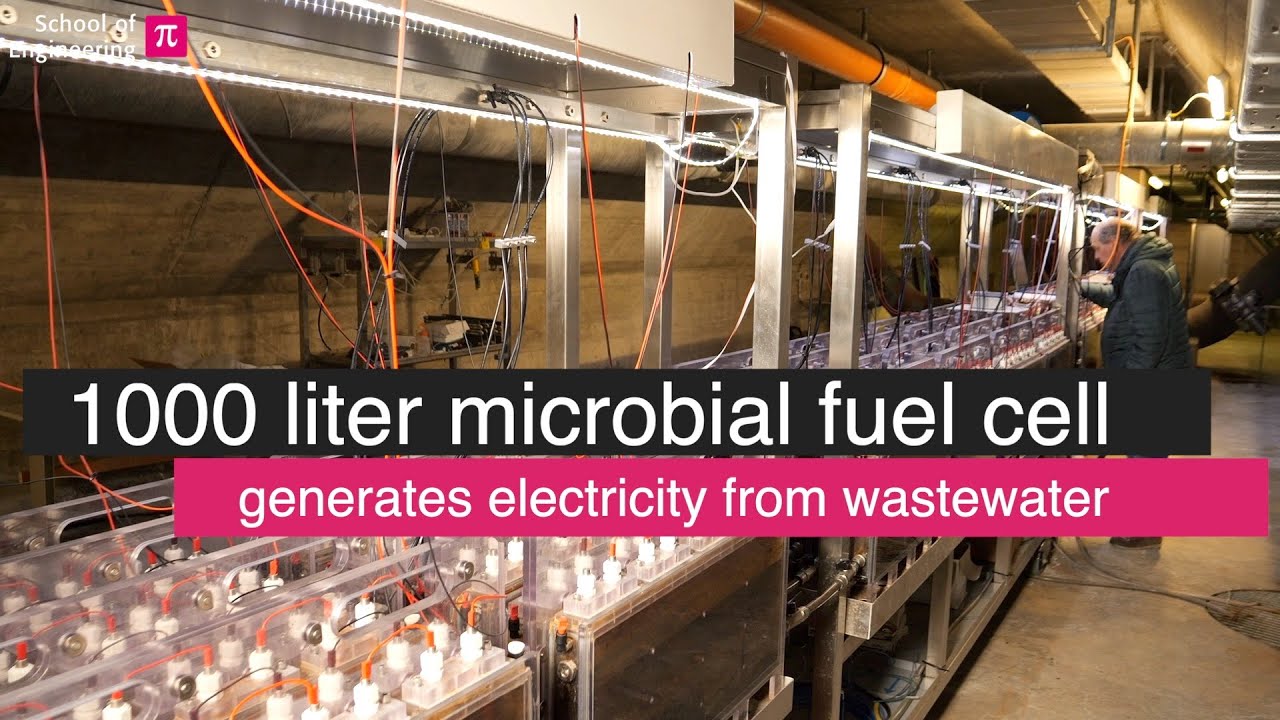







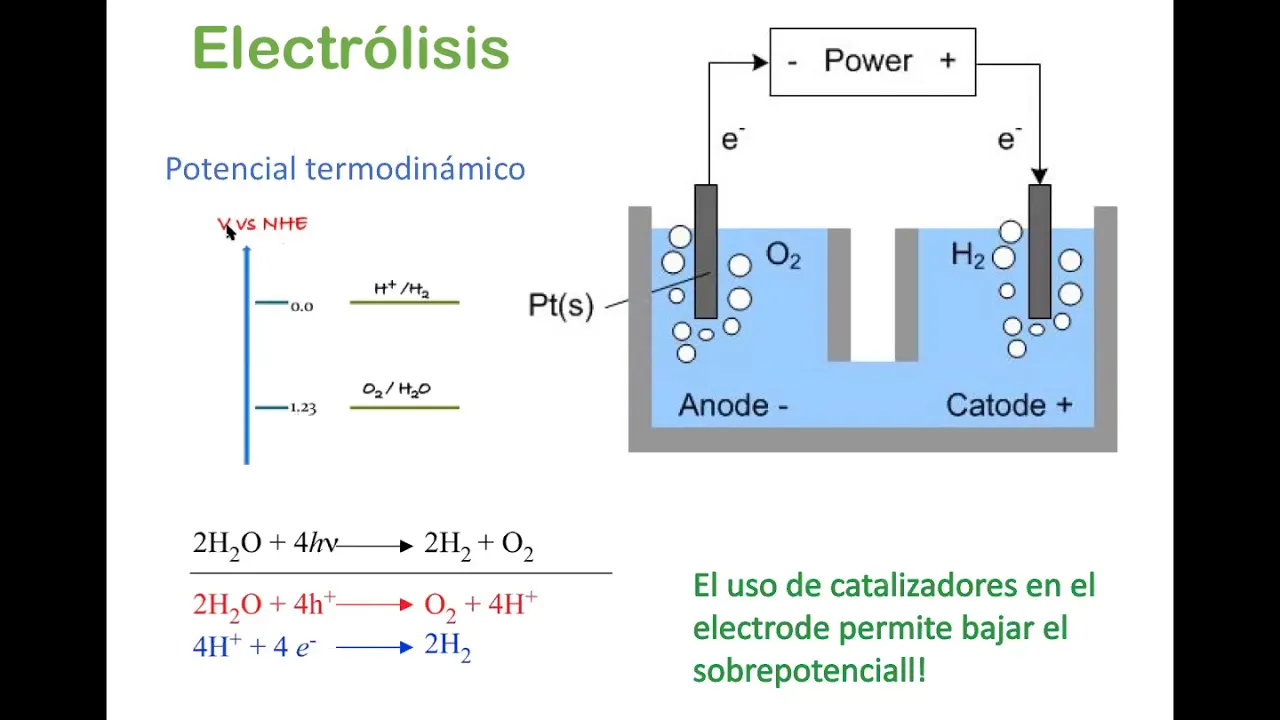
Microbial fuel cells (MFCs) are devices that generate electricity through the metabolic activity of bacteria, which oxidize organic matter and transfer electrons to an electrode; voltage output can be measured with a multimeter and increased by adding conductive materials like salt or urine, while dual-chamber designs can simultaneously treat wastewater and produce electricity.
Microbial Fuel Cells: Voltage Testing & Assembly | MFC Series
Added:Basic electrochemistry principles, including redox (reduction-oxidation) reactions, electron flow, and the functions of anodes and cathodes.
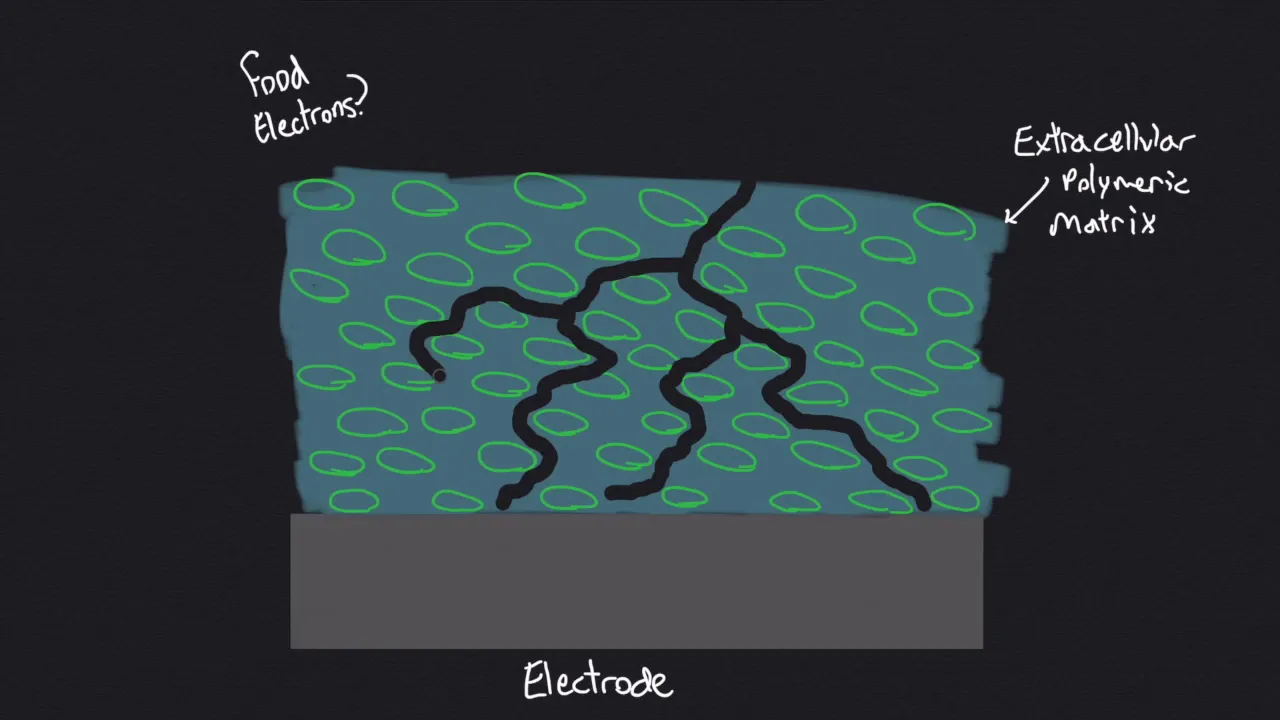
Fundamentals of microbiology, specifically the concept of electrogenic bacteria (exoelectrogens) and how they metabolize organic matter.
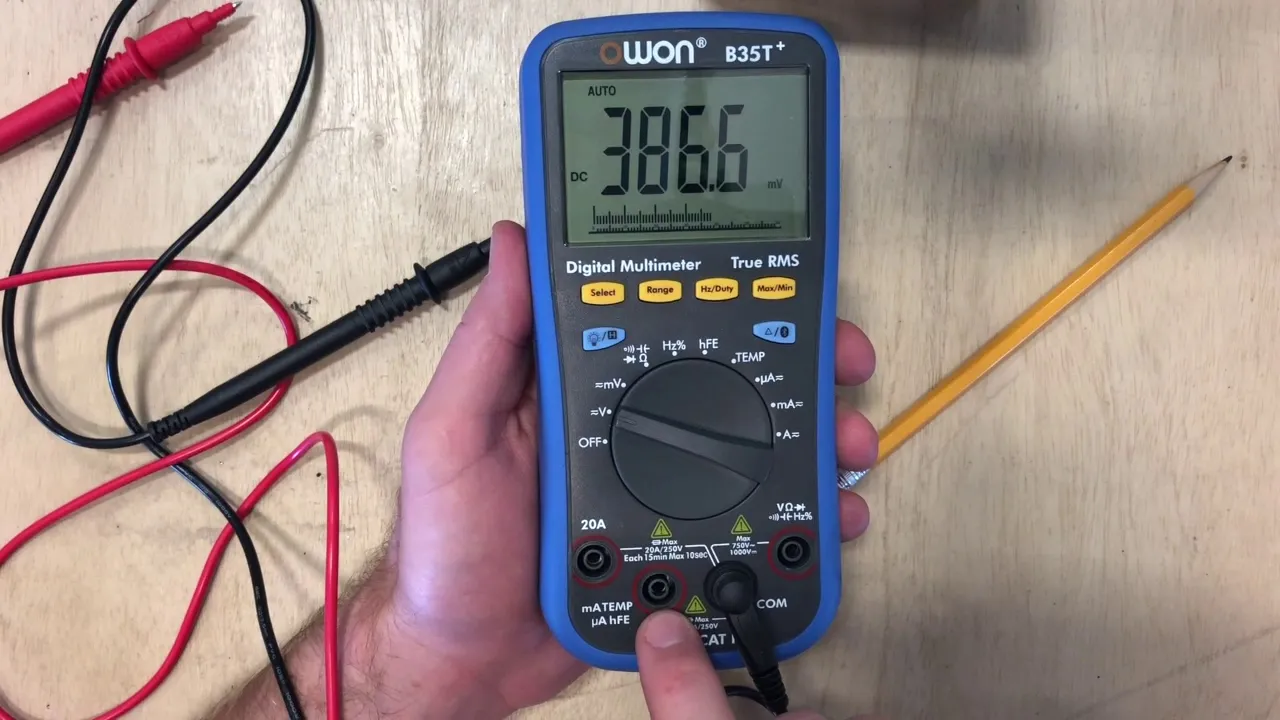
Basic electrical circuits, including how to use a multimeter to measure electrical properties like voltage, current, and resistance.
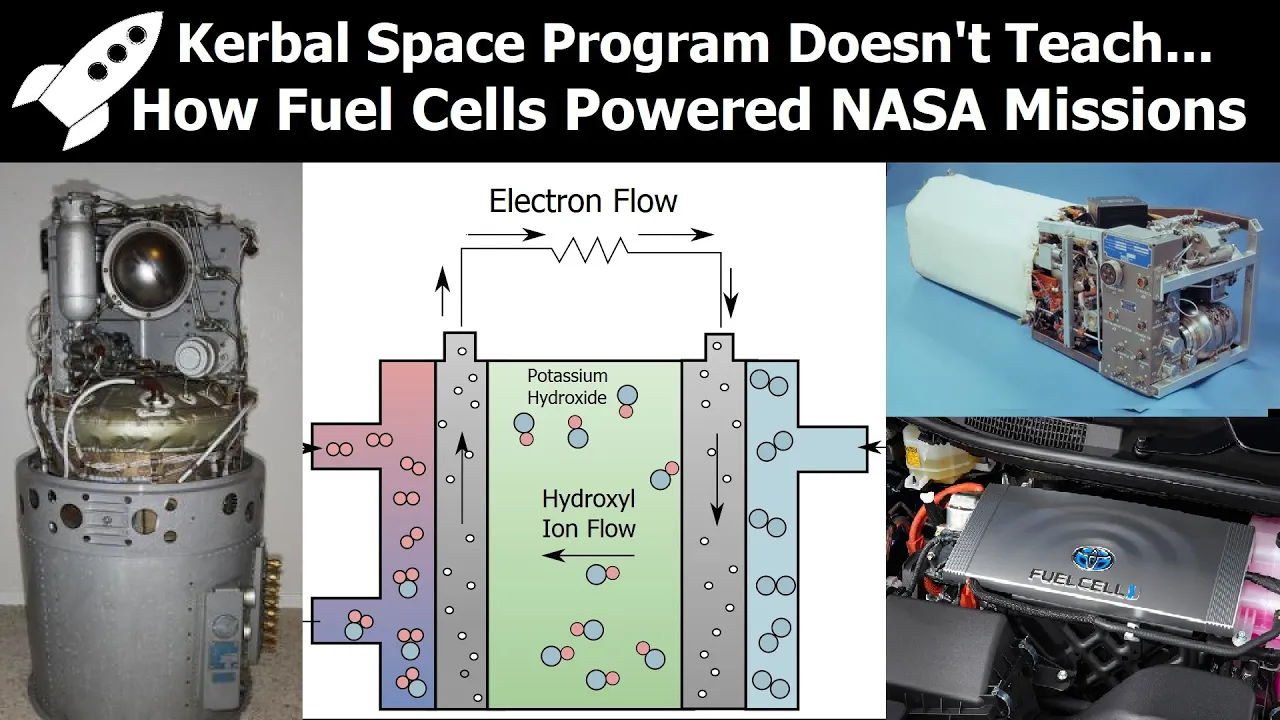
The concept of proton exchange membranes (PEM) and their role in separating chemical reactions while allowing ion transport.
Characterizing MFC performance by generating polarization curves and calculating power density and Coulombic efficiency.
Investigating advanced electrode materials (e.g., carbon nanotubes, graphene) and catalysts to minimize internal resistance and increase energy output.
Scaling up MFC systems from bench-top models to continuous-flow reactors for municipal or industrial wastewater treatment.
Exploring alternative bioelectrochemical systems, such as Microbial Electrolysis Cells (MECs) for hydrogen production or microbial desalination cells.
405 views14likes14:29Original Release: 2021-05-23
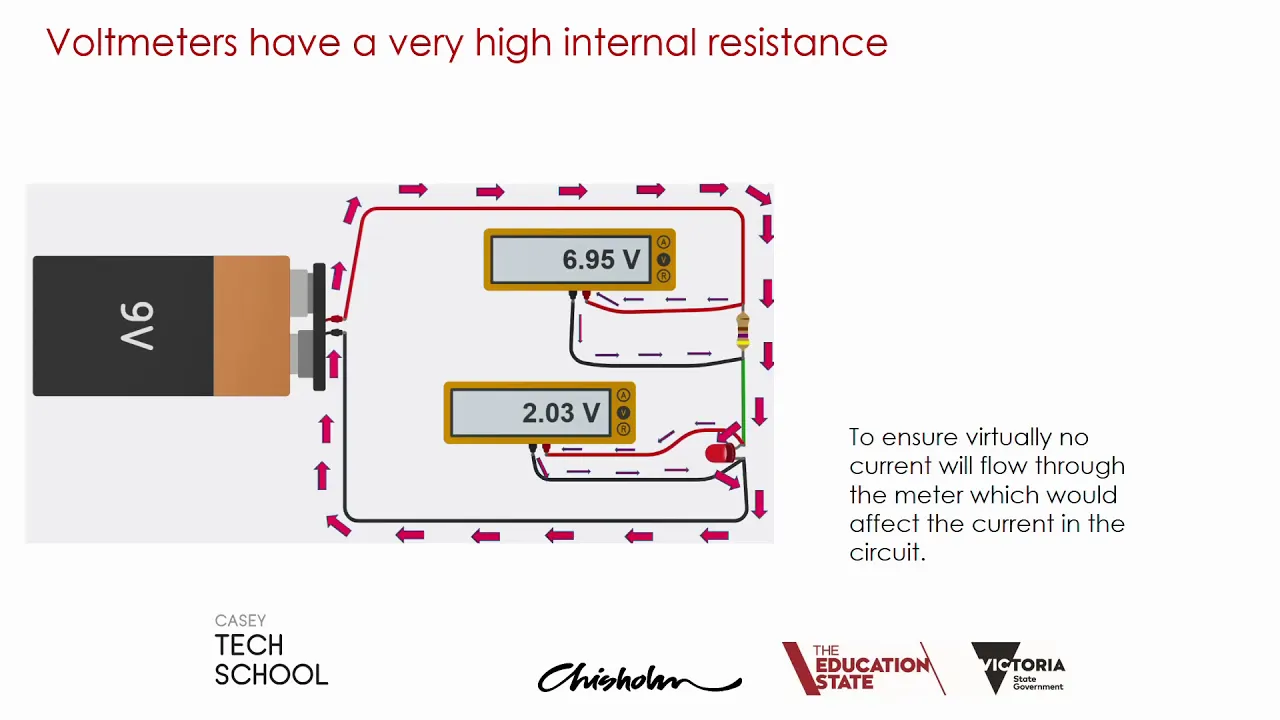
[Music] [Applause] hey friends another day another fuel cell i'm really pumped right now because a few days ago i noticed that there's voltage in my microbial fuel cell and i could tell because the led was blinking and every day since the intervals between when the led blinks has gotten faster which means that the voltage is increasing i finished some work today so i thought i'd film a vlog where i test the voltage of my first fuel cell and then we can make another fuel cell a much electricity one as well that we add either urine or salt to to see if it increases the voltage in the fuel cell and how it affects that and then we're going to design a die to electricity fuel cell [Music] unfortunately the mud is all dry so i'm going to try my garden to see if it's better there because we've been watering our garden but everywhere that i've been going like the forest it's just really really dry and i tried to dig into it it was not very successful it's really loud out here but i finally found some mud in my backyard and i'm just sitting on the porch filming on my laptop ball my phone charges and puppy is here with me the first thing that i'm going to do is set up the voltmeter so what you would do if you have one it might be different depending on the kit but what i did is you have two leads i put this black lead into the port that says com or columbus i'd it and i put the red lead right on top and i've set my voltemeter to the 200 setting i lost the footage for the last clip so i'm going to refilm how i set up to test the voltage from where i set up the voltmeter or multimeter whatever you call it with the black and red leads and the two bottom holes like so i'll also turn on my voltmeter so that it's ready to go with the fuel cell i'm going to remove the led and the capacitor that i had in there before if you didn't put them in and aren't testing your voltage just from the wires being in the haka board right now then you don't need to do that this is where i take my transistor and mine has protective pieces on the ends right now because it's new so i'm going to remove both of those [Music] and i'm going to bend my transistor so that i can put it into the pins on the hacker board and if it was already begged for you then you're ready to go again where i'm going to put this transistor is on the fifth and sixth pin on the hacker board so if you're using a mud watt like me that has the fifth and six at the bottom and my anode and cathode wires are in the positive and negative pins so now i have the transistor in there [Music] with my alligator clips i'm going to connect these to the leads connected to my voltmeter i'm going to connect this green alligator clip or jumper cable [Music] to the red lead [Music] i'm going to take one end of the red clip and attach it to the black lead then i'm going to take these other sides of [Music] the cables and i'm going to clip them to each side of the transistor now what you do is you wait around five minutes as the voltage starts to go up on the multimeter if you get a negative reading on your voltmeter what you need to do is switch the two cables that you put on the transistor to opposite sides but i have a positive reading right now and when to wait for it to go up it's been five minutes now and we've landed at about 32.1 millivolts it still fluctuates like every time like it has a number it will go like 32.2 and then go back to one thirty two point two and then eventually so i'm gonna leave this attached here for a while to see if it keeps going up and what happens with these fuel cells too is [Music] every day they can increase voltage for a certain amount of time and then they just kind of hit a level where they're at their max voltage and to also increase the voltage in your fuel cell obviously having more electric bacteria will help with that and adding other materials that can increase conductivity in your fuel cell so the type of material in your anode in your cathode adding salt adding urine things like that i put the hacker board for the mud bot in the top of the container ready it basically just pops in like that and i'm going to take my container move this down a bit put my soil into it and mix it with a bit of water until it reaches kind of a cookie dough consistency [Music] so i'm going to mix this up with my hands then add some salt inside if you were adding urine to improve the conductivity you should add approximately one to five milliliters of urine to your soil mixture if you're adding salt it would be one to five grams i'm gonna go with three grams which is about half a teaspoon so i'll be using my little measuring spoons [Music] now that our my mixture is ready i'm going to pop open this container here and start to assemble the mud to electricity fuel cell the way that this works and i had a tutorial for this the first time i built one my last vlog but it's kind of like making a sandwich that or like a little burger that you're gonna put into the chamber which in this case is the container and what's great about this one with the mud water is that it has measurements on the side like this sandwich will look like essentially is you're going to have an anode and a cathode so this is the anode and this is the cathode and think of these as like burger buns and in the middle you're going to have around four centimeters ish of mud in this case for the size of this cell that we're making this is all ready to go i'm gonna wait five minutes to let this sit and then drain out any water that's in the cell if there is any and then we'll put the lid on and set all the wires led and capacitor i removed some water from here and now it's time to put this lid on the cell so i'm going to put the green wire into one side and orange wire into the other and then i'm going to put the capacitor in pins one and two and the led into pins five and six the lid is on this wire is going to go into the positive pin and this one's going to go into the negative pin so [Music] anode is in the positive fin and the cathode wire is in the negative one and capacitor and pin one and two and led and pin five and six then as it starts to generate its voltage or the voltage is picked up and hopefully the salt helps to increase the conductivity then the led will start blinking and we can also start testing the voltage the same way that i did with the other style with the multimeter or voltmeter or whatever you call it as soon as possible so i could try tomorrow the day after but it's best to wait a few days for a significant amount of voltage to start building up it's time to start planning mfc sn3 which stands for microbial fuel cell serial number three it's the third cell that i'm making and it's different than the last two because both of those were single chambered electricity fuel cells which means that they were both one container each and the container had what is the contents with this cell it's going to be a dual chamber dye to electricity fuel cell um well it's not just diesel electricity but that's what i'm calling it for short which basically means that it's going to have two containers um one will be the anode one will be the cathode and then the single chamber the anode and the cathode were all in that one container so it has an anode and a cathode two containers and it's either attached by a salt bridge or some sort of membrane and the goal of this cell is to figure out how to remove the contaminants from waste water and the goal of my project is to remove contaminants from dye waste water and textile production so this is going to be the first cell that has two chambers and we'll be dealing with a wastewater product to clean that product and generate electricity through the process i'm going to figure out some of the details of what to order what i already have and what the procedure will look like right now i created a notion page to plan out the fuel cell so i made a little table of contents if you click on it it brings you to the different sections like materials procedure and once i actually start working on this apart for any observations and notes i want to keep at the top i just put a little diagram of essentially what a dual chamber cell would look like so on the left side you have the anode which would be filled up with the waste water or if you're also making a med one or another sludge product you put it into that chamber but for this one it could have the dye waste water in the middle you have a membrane or a salt bridge and for this one i'm planning on using the salt bridge but you can use a membrane in the middle of the two chambers like a naphin membrane on the right you have the cathode which has some water in it so clean water and an air pump that pumps in air and you have electrodes in each of these that can be made out of different materials that are conductive i think i'm going to use aluminum mesh but i could use carbon as well and then there's a little picture of some electric bacteria like geobacter i make all of my diagrams for things normally on autodesk sketchbook i just find it easy to draw things on there and it's also free so if you're looking for somewhere to draw things i recommend that for the materials i just listed out with a checklist everything that i'll need and i sorted it into like assembly for the cell um [Music] for the contents like the water the waste water and the normal water clean water and what you need to test the voltage um i have a lot of the materials already which is great but what i do need to still get is the one liter containers an air pump aluminum mesh and copper wire i might have some of those things but i need to check i'm just not totally sure so i don't want to check them off yet and i will attach this notion or a copy of it with a full list of materials if this is something that you want to try out as well without the check mark so that you can actually read everything because i think it's a little hard to read some of these things when they're crossed off already in the procedure section i inspired my procedure for the studio chamber cell by different designs that i've looked at but mainly i took a lot of these steps from an experiment i watched by paul nyland and marcia roges so i linked theirs there that i can look at for any more inspiration or if i need help with my experiment they use sludge in their experiment instead of waste water but i'll be using wastewater inside of one of my chambers so with the procedure part here i also sorted this into different parts like preparing the contents of wastewater and clean water preparing the dual chamber architecture which is the containers cell bridge electrodes and then actually assembling everything all together and then like i said at the bottom i just have a section for observations and notes that i might have once i actually start doing this so i just have a place to keep that all organized with everything else
Up Next
15:06
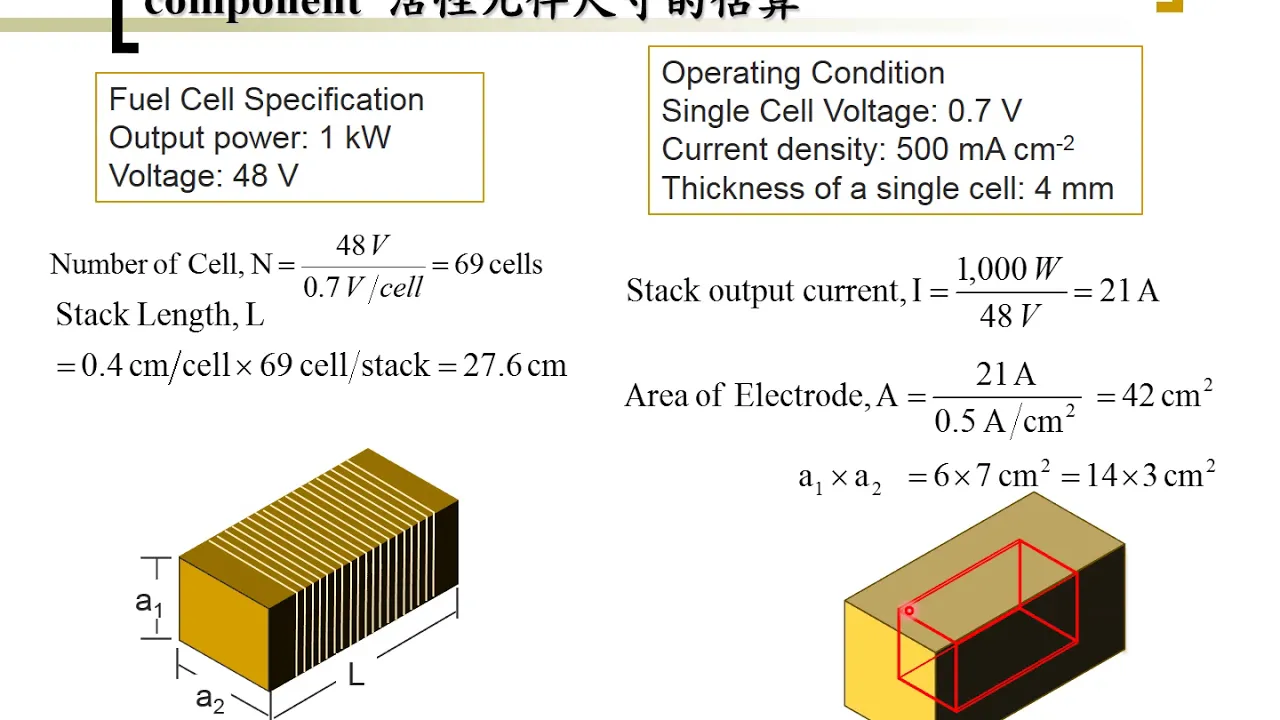
Fuel Cell Stack Power Density Explained | PEMFC Design Guide
@hsueh_kan-lin
8.9K views•2018-11-08

30:32
Ultrasonic Transducers: Resonant Frequency Measurement and Horn Design
@imajeenyus42
229.9K views•2017-02-22

54:16
Polymer Environmental Degradation: Mechanisms & Stabilization
@iit
1.8K views•2012-07-10

33:39
How a Student's Question Saved a NYC Skyscraper from Collapse
@veritasium
22.8M views•2025-04-26
Related Study Plans & Knowledge Roadmaps
Structured learning paths in Engineering
engineering
Building Acoustic Levitators: Physics & Arduino
01The Physics of Sound and Standing Waves
02Piezoelectric Transducers and H-Bridge Drivers
03Arduino Programming: Generating 40 kHz Signals
+ 2 more learning modules
14h5 modules
Explore Roadmap
engineering
Building Peltier Cloud Chambers: Particle Tracks
01Cosmic Rays & Cloud Chamber Physics
02Thermoelectric Cooling (TEC) Fundamentals
03Custom Liquid-Cooling Loop Design
+ 2 more learning modules
18h5 modules
Explore Roadmap
engineering
Yagi-Uda Antennas: Modeling, Build & VNA Test
01Introduction to RF and Antenna Fundamentals
02Yagi-Uda Antenna Design Principles
03Antenna Modeling and Simulation in 4NEC2
+ 2 more learning modules
18h5 modules
Explore Roadmap
engineering
ECG Monitor Design: Op-Amps, Filters & Noise
01Electronics & Breadboard Basics
02Op-Amps and Instrumentation Amplifiers
03Bioelectricity and ECG Fundamentals
+ 2 more learning modules
18h5 modules
Explore Roadmap