

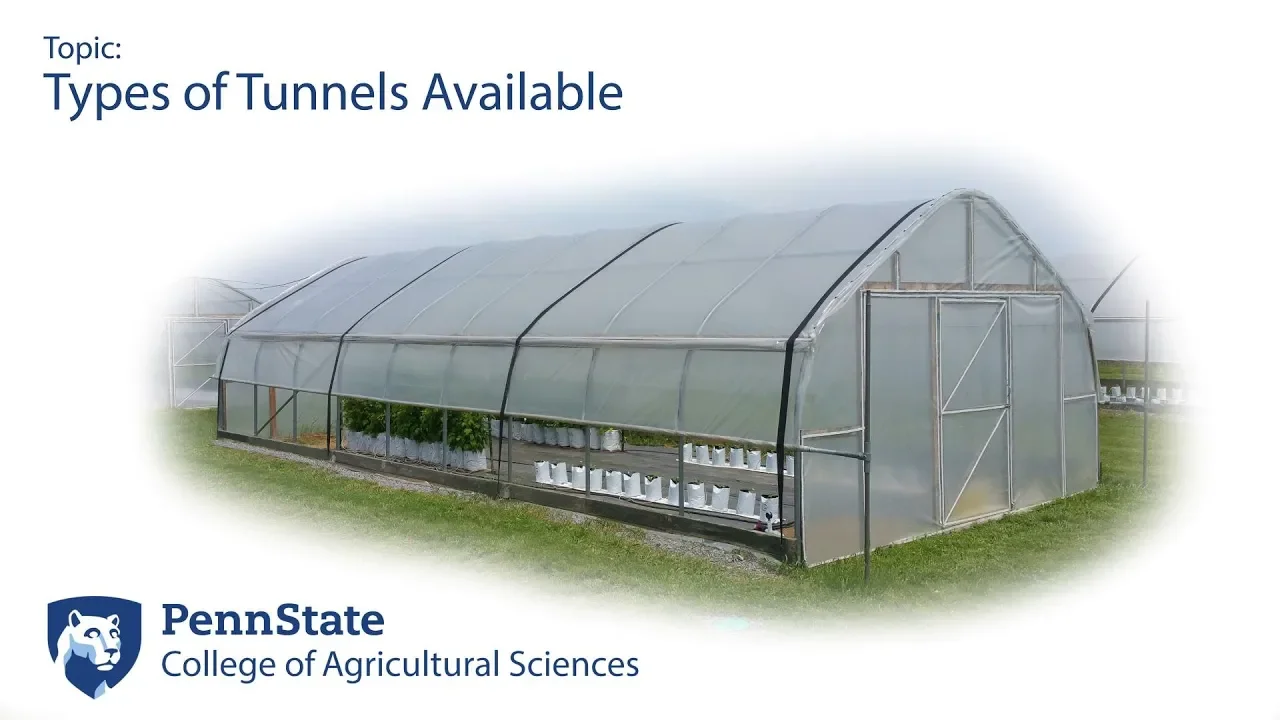










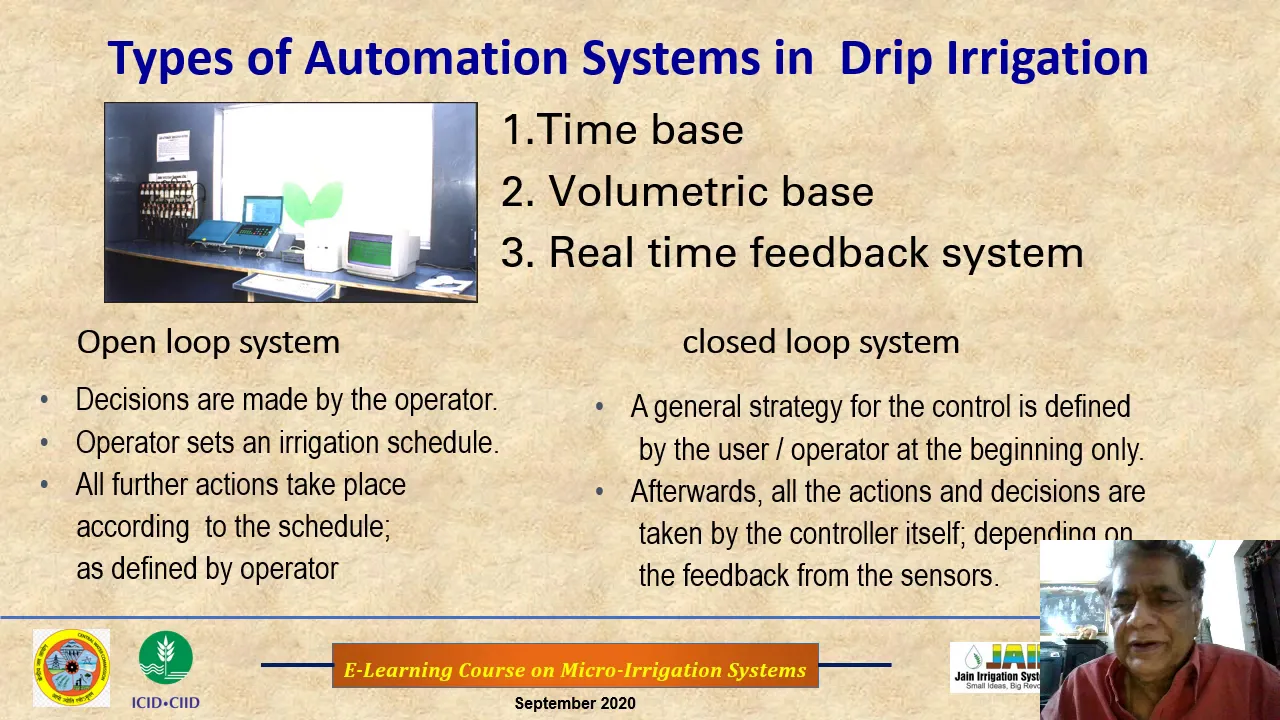
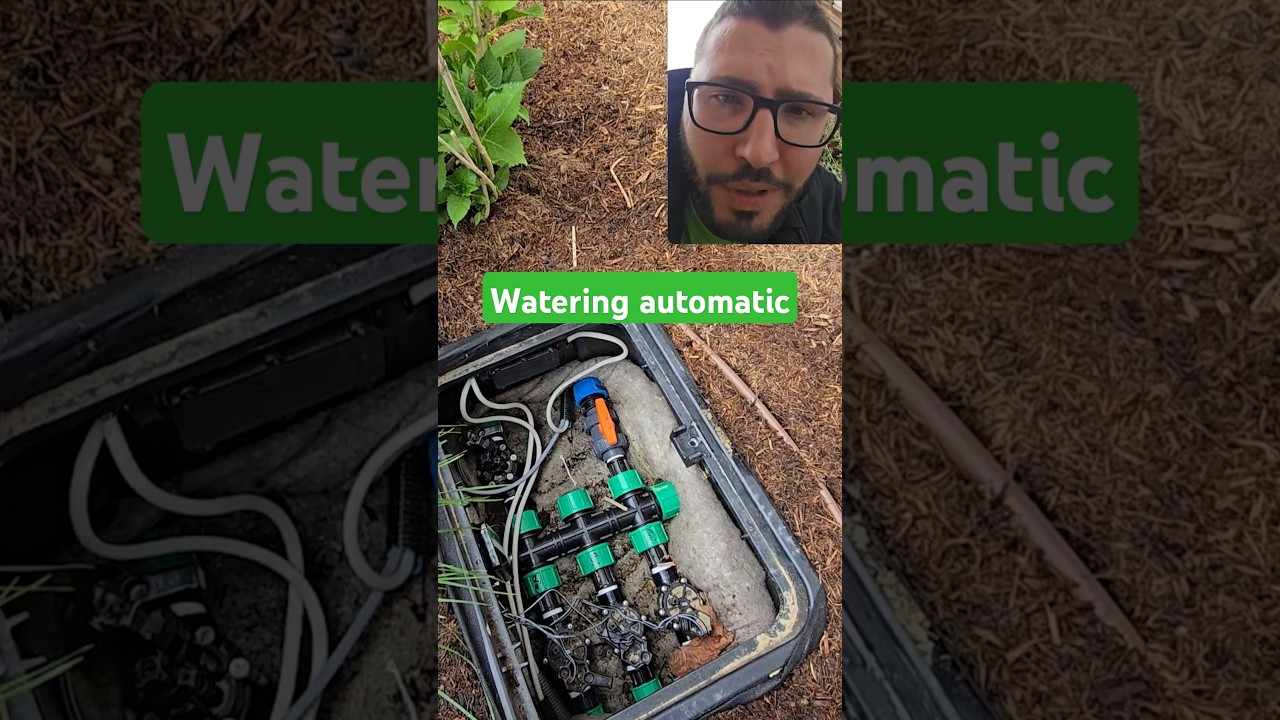






Drip irrigation systems deliver water directly to plant roots through emitters placed along flexible tubing, conserving water compared to overhead sprinklers; installation involves laying emitter tape along crop rows, connecting to a main line with pressure regulation, and using a timer for consistent watering schedules, with system effectiveness varying based on soil type and crop water needs.
Installing Drip Irrigation in a High Tunnel: A Step-by-Step Guide
Added:Basic understanding of high tunnel (hoop house) structures and how they differ from traditional open-field farming and glass greenhouses.
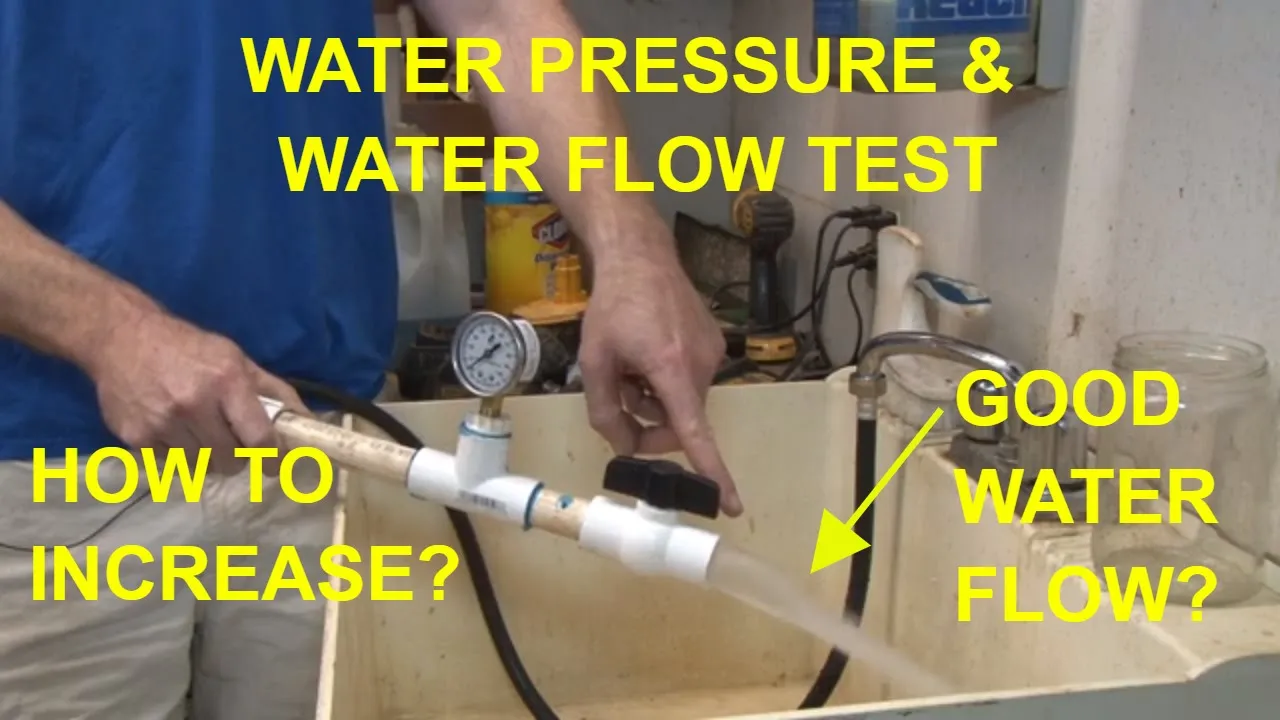
Fundamentals of hydraulics, specifically the relationship between water pressure (PSI), flow rate (GPM), and pipe sizing.
Elementary knowledge of soil-water-plant relationships, including soil capillary action and crop water requirements.
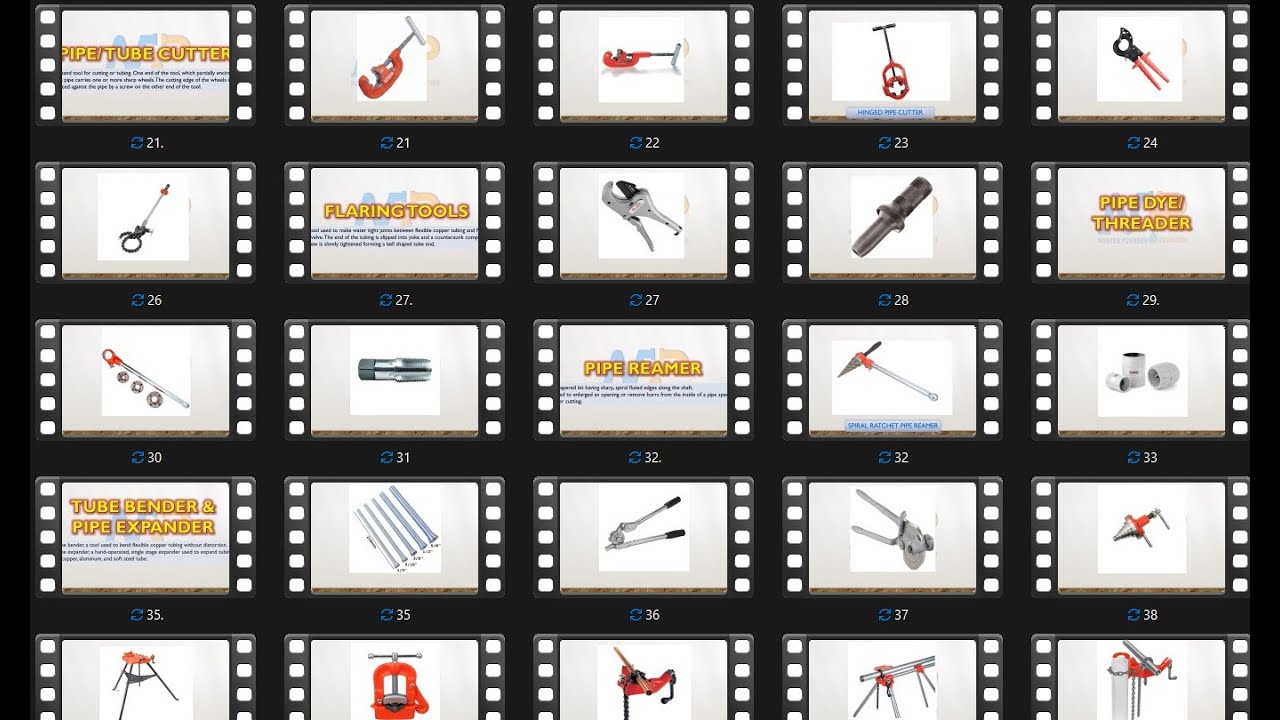
Familiarity with standard plumbing components and tools, such as backflow preventers, pressure regulators, and tubing cutters.
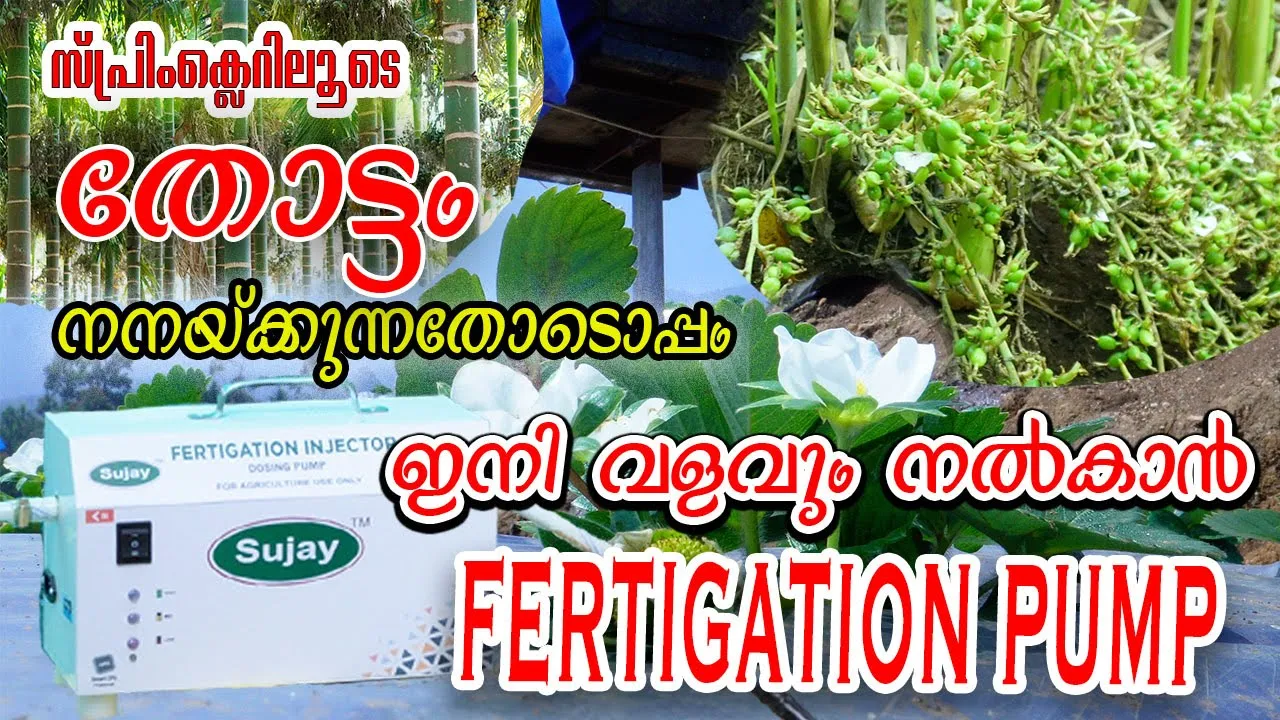
Designing and integrating fertigation systems to deliver liquid fertilizers directly to crop root zones through the drip lines.
Implementing automation, including the integration of soil moisture sensors, solenoid valves, and smart irrigation controllers.
System maintenance and troubleshooting protocols, such as winterization, acid-flushing to remove mineral deposits, and repairing physical line damage.
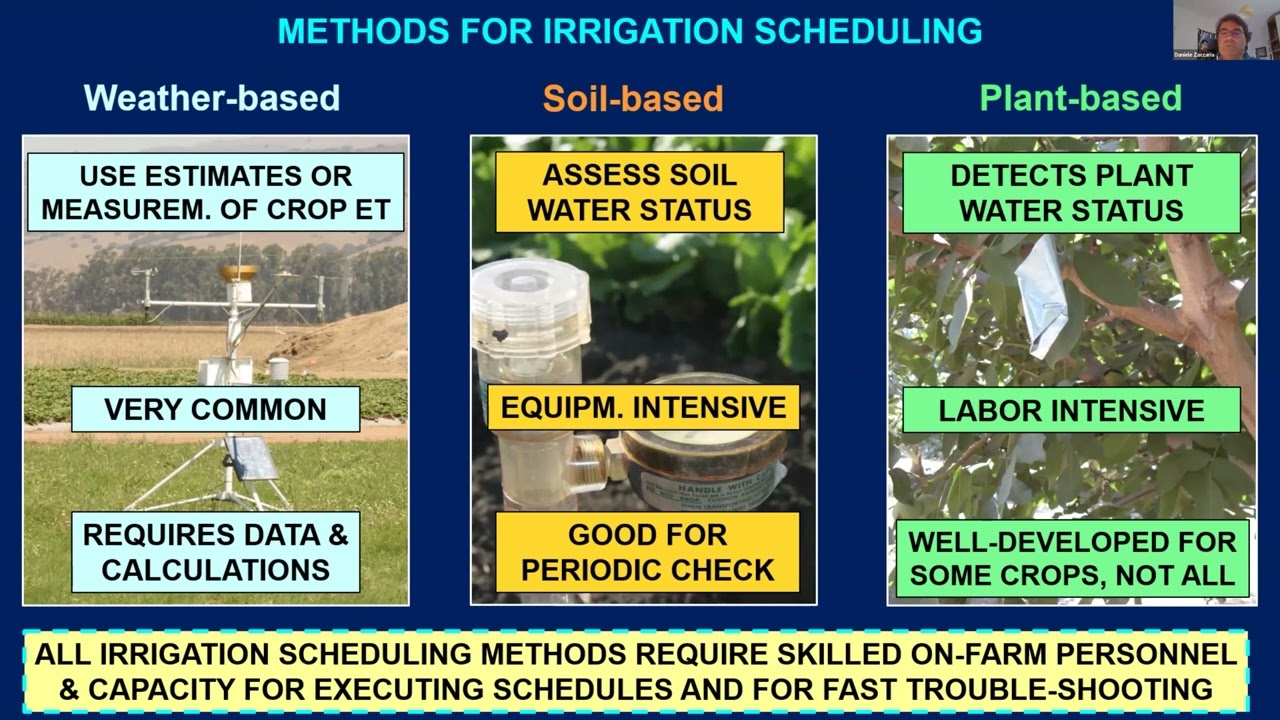
Calculating crop-specific evapotranspiration (ET) rates to create highly efficient, data-driven irrigation scheduling.
28.7K views2.9Klikes31:52Original Release: 2022-04-04
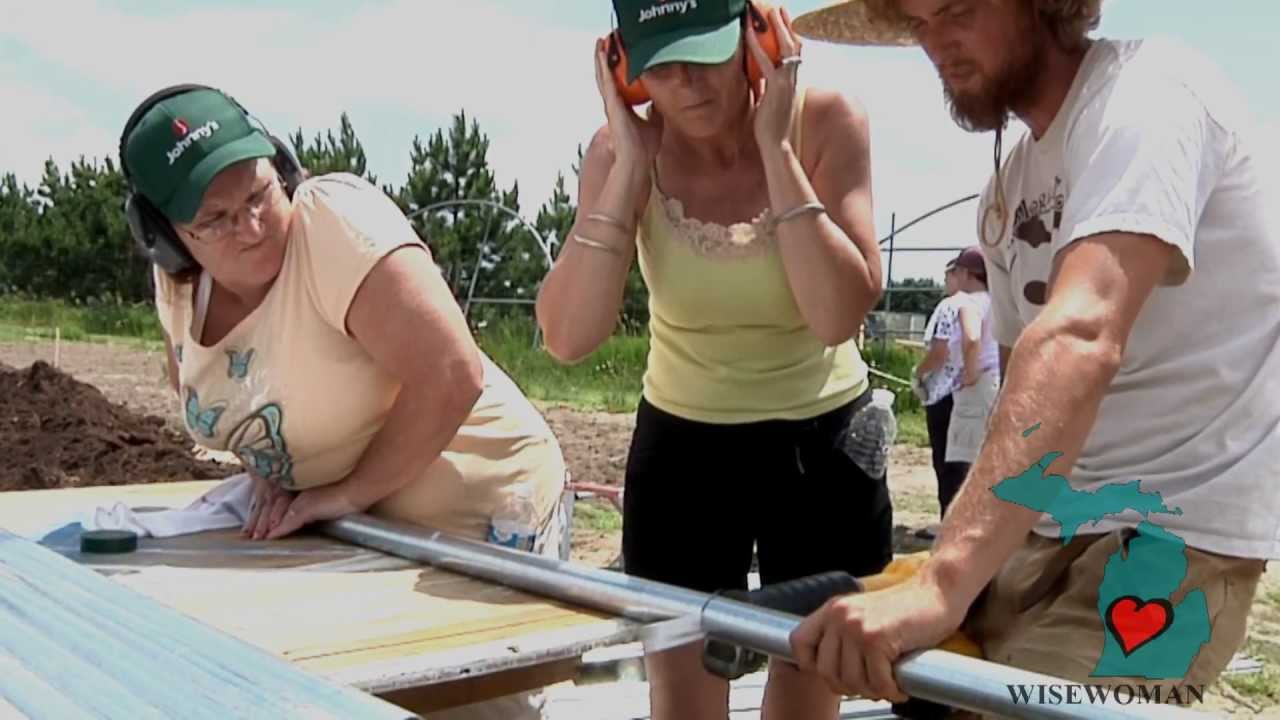
[Music] [Applause] [Music] [Applause] [Music] hey there guys welcome back to the 30 and 30 30 vlogs in 30 days my name's mike and i'm just heading in from chicken cows there's nothing going on out here no new baby calves we're still stuck at two which really isn't that bad of a thing considering that well by the numbers we technically don't start calving until april 9th so we still have a few days to wait although some cows will have their calves early some will have them late but we'll get there and we'll figure it out today we're doing something a little bit different and that is that we're gonna head over to the high tunnels and we're gonna help out aaron with installing drip irrigation which you're gonna learn all about here in just minutes what oh it's fuzzy caterpillar you want him where's he going i don't know you want to run him over you want to put him in the grass okay you're going to get a jar we'll take him inside okay the kids can have a pet caterpillar okay i don't know what kind it is it's something okay aaron found a big fuzzy caterpillar that threw us off our track here but she's gonna go get a jar and save it for the kids are you going to pick it up do you want me to pick it up yeah will i pull its hair out how does this work his hair well stick it in there here we go does anybody know what kind he is he's brown and black and now he's curled up like a little ball give him some spinach everything like spinach okay we gotta go poke holes in this all right we'll be back just a minute and we'll continue on with our little project here just hang out here for one second oh okay that was fun what kind of caterpillar a woolly bear caterpillar moth turns into yeah it's caterpillar obviously it turns into a moth very cool all right uh so sidetrack but uh where are we going what are we doing you want to get over the high tunnel and then talk about it because it's windy and stupid out here yeah all right let's go do that we're going to run over the high tunnel where we can uh it's still windy and stupid over there too but it's wyoming all right here we are inside the high tunnel uh erin it's been a while so why don't you explain to us what you've got going on here and why um so this is our spring high tunnel so we have crops like radishes lettuce spinach collard greens kale um cabbage bok choy stuff like that so this is most of this will go into my nonprofit's veggie baskets most of this will go to edible prairie project starting in may we do our spring season of veggie baskets and every tuesday we are harvesting five to six items times 25 out of here so and then stuff goes into farm store too so yeah vegetables spring vegetables and what are we doing today um so i've always done overhead watering in here which is great for like germinating seeds and um but because of the drought i want to try and conserve as much water as possible so we're gonna put in a drip system is this hard no okay we have drip systems like i just have never used a drip system on this like the asparagus is undrip tomatoes in the summertime aren't drip the winter squash is on drip we just have never done it with the spring crops so so as i look here there's obviously multiple rows does each row need its own thing a drip no so i've always done it on crops for yes single row single liner drip you know like winter squash they're spaced four feet apart so they have to have a single you know single line of drip we're gonna place stuff in between rows and hopefully i don't know how well this is gonna work in all honesty because we have super sandy soil so if you have heavier soil water will spread further with sandy soil you know it kind of goes downward more so than outward so we're gonna try it we're gonna like this is spinach that's been like this was just seeded so this may need some overhead watering over the next week or so while seeds germinate but we're going to lay the drip down on it but like the cabbage over there like it will do really well on drip so it's kind of an experiment to see like how well this stuff does on drip and like what crops can do well on drip and what we'll still need just a sprinkler on it but like here like i think we can run a row of drip between the radishes and like they should both get water all right i think we'll see you know more than i do i don't know i i don't we're gonna just see what happens the worst case scenario i i don't use the drip and i turn on yeah not like you don't have a backup yeah all right so let's talk about the components and we'll get everything laid out you can you want to lay things out and then you can show us what each part is probably would be easier we're going to run a million lines of drip tape um and we can look at that once we pull it out of the box but we'll do we'll run all of our tape down our rows and then we'll build our main line and hook it up somewhere here or something i'm glad you have a plan you've been thinking ahead on this one well we have you know okay we have stuff yeah i mean it'll go somewhere here and we'll hook up a timer could go down there too true maybe not be in the way so bad down there that's kind of what i was thinking okay let's put our main line down there okay okay what's first tape tape where's our tape what's tape this all right aaron's going to show us all about drip tape that's what it's called okay so blue line goes up it is just a it's a flexible plastic it will inflate and become a tube when you put water through it there are little emitters these actually control the flow of water it's not just a slit but um this is there's an emitter every four inches so what i typically use like in the summertime on like tomatoes and stuff like that is 12 inch spacing so i had to get different tape for these crops okay so yeah and we're just gonna pull this out to length yeah cut it and you have to plug that in you have to put yeah we have plugs so you just stick it in the hole and twist and then when you turn on the system half of these are gonna pop off and we're gonna have to put them back on and then eventually we'll get them all to stay are we doing a timer of some sort or is all this on the same no yeah we'll have different zones we'll have four zones okay all right so you want to run with the first one yeah it's heavy okay you go that way why do i have to go this way because the end is this way okay fine you're right but you're upside down upside down you're gonna flip it hey thank you yep yep there you go now we're good yeah okay where am i going to the end go backwards you don't turn yourself around you're doing great okay go this way you're gonna have to cut what i was getting a staple okay put it by the kale you can leave them just a little bit long and we'll adjust when we do mainline [Music] when your soul is lonely set in blue you got love and shoulders to lean on there's always a sunny side across the river take a ride you can swim and all your worries go away go [Music] winners [Music] [Music] so [Music] there's always the sunny side across the river take a ride to just swing my friend and paddle your guitar across the river you'll be fine go counting winners right down the line you'll be alright [Music] bye [Music] [Applause] [Music] okay can we talk really quick about why it is so damn hot in here there's no heat well it's sunny outside okay can you do something about that no she'll throw up like a cloud or something i open the side it's hot that end door's cracked it's like 90 degrees in here yeah no it's t-shirt it should like all i was in here all day and i just wore my t-shirt it's starting to cool off it is it's about time to close sights and stuff actually what's next mainline okay that's on that end well that's what you that's your plan yeah where do you want to put the timer do you remember the time where the seizures at or where no it'd be close it's better to have it closer to the hydrant we don't use that oh i guess it doesn't really matter let's put it over where the cedar is at because then i just trip over stuff over there so let's know this is why you ask me these things you already know i'm thinking out loud she's not asking she's thinking out loud okay let's move the theater over there we'll build our main line to over there okay bang bang bang why is this door banging so much because it's windy uh so my number one recommendation even if you're just a backyard home gardener [Laughter] buy a timer put your stuff on timers consistent watering is uh like just a key to success is consistent even watering i don't think that having the water would be the product but then putting it on class is probably a close second well yeah and consistently like set a timer you still have to check your timers i check timers every day especially last summer it was 110 every day i still have to check and make sure my irrigation is working but my irrigation does what it's supposed to do without me having to really worry about it so consistent watering super important it's like having a float on a stock tank yeah good idea great idea all right what do we do first did you bring batteries yes i brought batteries so i think we have to it recommends put the batteries in don't hook these up yet okay you don't want to like sit for some reason i don't know why that's what the box says good job reading instructions well i read them last year i didn't read them this year mount this somewhere anywhere i don't need that for you can we're doing great how about there sure do you want to talk about how long this osb has been here this unpainted unsealed osb um how long has this high tunnel been here 14 2014 2014 hasn't collapsed hasn't deteriorated into mush so eight years yeah yeah still alive and kicking because it's dry here i need that thing and look i even water it it's wet also it's still fine it looks wonky it's stupid i don't understand what this is well we could build a better mounting system but we're obviously not going to do that right now okay okay hose goes in there yeah uh we need a uh pressure reducer so we have this little pressure reducer it does that seven gallons per minute okay that goes this way there we go okay yeah garden hose will come we'll do that okay main line comes off of these i have six beds i have four zones so obviously some stuff has to be grouped together how many lines of drip do you have here 18. so divide that by four no no no no we can't do it that way it has to be based upon water needs because not all crops have the same water needs so let me think for just let me think for a second okay [Music] okay so we're gonna group those two beds those two beds are gonna go on the same main line because we can we've got plenty of water pressure this isn't that long of runs [Music] so i can run as many lines of drip off of one zone as i want to yep this will be separate that will be separate okay which end you want to start on marin all right okay we have to cut all this on this end what are you doing putting in an end plug just like on the other one yeah it's just goes into mainline so same thing shove it in twist it will probably leak make sure this is on it's one of those like you need 17 hands kind of things to do did you know that an octopus has two legs and six arms that would be handy everybody thinks an octopus has eight legs but it's actually six arms and two legs how do you know that i write it on the internet so it has to be true if it's on the internet it's got to be true and everyone on the internet knows what they're doing except for us high probability of this leaky you just said we know what we're doing a liar okay okay stake that down yep use a rusty staple so it stays in the ground is that is that true yeah really yeah so you just get all the rusty staples yeah cool okay so mainline one somebody could make a killing selling rusty staples [Music] okay so our main line is done four different zones this big thick line that's our main line running along it's plugged at each end and then i guess the next step is to plug the little line into the big line right how hard is this it's super easy make some holes punchy okay stick some plugs in cool stick the plugs into the mainline okay okay i'll show us how to how it's done sure let's go let's go down to that and there's less there's less junk to a knife or i have a knife [Music] i don't know how sharp this blade is not sharp at all you need a different one maybe there you go [Music] okay [Music] then you take this and you know i want my hole on this side of the main line so this is what makes your hole obviously right there okay now we have a hole on this side let me take this make sure it's in twist and then this just goes like that that's all there is to it yep cool all right you want to go in front of me and punch holes and i will cut tape [Music] [Applause] [Music] yeah lines are run missing water we're missing water yeah next step water turn it on see what's broken that's what we hear all right this is why we need plumber strap okay with the plumber strap i can make a loop so it doesn't kink so it doesn't kink we've done this a few times you kind of know what we're doing [Music] there we go all right so now we have to hook all of our things up and these are your zones yeah controllers yeah okay how much does this thing cost you um so the orbit timer this is all from drip works so i don't know if it's the cheapest but it's like convenient to order everything from one place so um the orbit timer is a little over 100 i want to say like 113 something like that um but so it only comes with two valves i think these are called i don't know but i swear to buy the other two they're like 25 30 bucks something like that um all together i don't know i spent 300 and some edible this is edible prairie projects irrigation system because most of this goes for that so um epp purchased this so and you know we had some stuff i had i didn't buy every connector and stuff so 300 and some bucks and we have plenty of main line left plenty of tape left like it was 2000 feet of tape so let's turn it on which one's first over here yeah okay did it do something you have to turn these on oh yeah good call water is good okay so water's flowing through these main pipes oh and here it goes little tiny drips so this little tiny drip will give this enough water yeah i mean that's why you just like i'll adjust like how long i run the timers for depending on yeah i mean it's hard to tell like we're not gonna let it run for a super long time and i water today so like you know it's dry down there and stuff so like but it's gonna it's gonna have to run for 20 30 minutes before i can really see like how much spread we're gonna get and like i mean i'm gonna spend the next few days like adjusting them and putting them closer or you know whatever all right so is that good yeah we just gotta test all the other zones then finish putting hoops in and put row cover back on we're almost done oh look at all those grips so here we are putting on row cover this row carver is from farm tech it gives us i think six degrees of frost protection these crops will eventually not need row cover but while they're young seedlings and small little tiny plants i do put row cover on tonight i think our low is supposed to be like 31 ish so kind of could risk it and hope that they won't freeze but for caution's sake and because so many people are depending upon these vegetables i cover stuff for the most part once they get a little bit taller here in a couple weeks if uh it's going to be above 28 at night time i will leave the row cover off but they just provide some extra protection make sure that they're not going to freeze it helps trap the ground heat next to the plants and keeps you know the top of the high tunnel from sucking up all of our ground heat because the ground temperature is nice and warm and even if the air freezes the ground won't freeze so it's a blanket okay so that's done and over with what are you gonna go do now i don't know we are gonna go check cows so aaron's gonna give us a ride back to the gator and uh i guess i'm gonna go put all this stuff away oh yeah like a responsible grill you don't have to be responsible okay i'll just go park it in the shop and leave it for later you don't even have to be a grown-up if you don't want to be all right let's go that was fun thank you it was something could have been worse yeah it's not windy and it was warm yeah [Music] and off we go out to jet cows once again like i said get used to this we're going to do it about 500 times over the next month got baby cows i've got mama cows hey number two you gonna have a baby today my gosh you're so big no baby so i used to have an alarm set on my phone it would go off every four hours tell me to go check cows the busier we got the more things that we have going on i actually found out well there's this old saying when you're it was in when i was in the military was the first time i heard it but it was eat while you can because you never know when you're going to be able to eat again same thing for checking cows check the cows when you can because you never know when you're going to be able to do it again so i find myself checking cows at all kinds of weird intervals i don't really have a schedule anymore it's just whenever i can do it [Music] and i gotta tell you i feel pretty good we got a chance to get something done um doing doing what we do in the high tunnels with the gardens um unfortunately i mean it's hard to make money gardening and even on the scale that aaron does it but being able to have a non-profit the edible prairie project which you can check out at edibleprairieproject.org is a great thing to be able to do and help people out in our community we're able to provide uh food baskets to hundreds of people over the summer and uh it makes me feel good to be able to do that especially coming from a family that that needed all the help we could get when i was a kid so being able to pass that along to pay it forward really does mean a lot to both me and aaron so go check out edibleprairieproject.org do me a favor go to their website take a look sign up for their newsletter do what you can to help them out because it's a really good cause and it's a really good opportunity to help people also so just you watching the channel and being here you're you're helping out so i'm glad that we got that done drip is always something that's kind of an ongoing project is because it works for a while and then it stops working it's just another irrigation issue but that's okay just like checking the cows something you got to stay on top of and keep keep an eye on it over and over and over again no calves today as of yet but we do have a few cows that are spread out and kind of doing their things so i'm hoping that maybe one of these girls is going to have a calf for us here within the next couple days again the first day of calving officially april 9th but we'll be a little bit ahead of that and i expect our third calf any day now bambi are you gonna have our third calf are you gonna be the one that does it all right oh your breath smells horrible somebody needs a mentos or altoid or something holy smokes all right guys i'm gonna cut you loose we will see you tomorrow we've got more on the way this week in the 30 and 30. we're going to be transporting steers and getting them over to uh to sturgis and getting some more steers processed which includes getting the brand inspector out here and all that kind of good stuff projects on the way include our new feed line we're going to start work on that once we get those steers out of here so lots of stuff going on lots of projects lots of family and lots of fun all coming up right here on the 30 and 30 on our wyoming life [Music] you
Up Next

16:44
Gravity-Fed Drip Irrigation: Water and Fertilize Your Garden for Free
@TheMillennialGardener
124.9K views•2022-05-23

12:54
Triumph of Orthodoxy Icon: Byzantine Art & History Explained
@BenCallan
2.1K views•2024-08-06

9:49
FastAPI vs Flask vs Django: Choosing the Right Python Web Framework
@TechWithTim
302.5K views•2024-05-26

1:42
Game of Thrones Opening Credits: A Cinematic Analysis
@gameofthrones
46.3M views•2011-04-18
Related Study Plans & Knowledge Roadmaps
Structured learning paths in General & Interdisciplinary Studies
general-studies
Elevator Engineering: History, Physics & Cities
01From Hoists to Safety Brakes: The Dawn of Vertical Lift
02Hydraulic vs. Traction: The Engineering Physics of Elevators
03Modern Speed, Safety, and Algorithms
+ 2 more learning modules
12h5 modules
Explore Roadmap
general-studies
Rubber: Material Science, History & Geopolitics
01Origins of Natural Rubber & Mesoamerican History
02The Chemistry of Natural Rubber & Vulcanization
03The Geopolitics of the Rubber Boom & Colonization
+ 2 more learning modules
12h5 modules
Explore Roadmap
general-studies
Containerization: Evolution, Logistics & Trade
01Ancient Trade & Bulk Cargo: Amphorae to Barrels
02The Industrial Revolution & Cardboard Packaging
03The Containerization Revolution: Malcom McLean
+ 2 more learning modules
12h5 modules
Explore Roadmap
general-studies
Textile Tech: Evolution, Labor & Global Impact
01Pre-Industrial Textiles: Handloom & Cottage Industry
02Mechanization: The Spinning Jenny to the Power Loom
03The Factory System & Global Labor Transformation
+ 2 more learning modules
10h5 modules
Explore Roadmap