













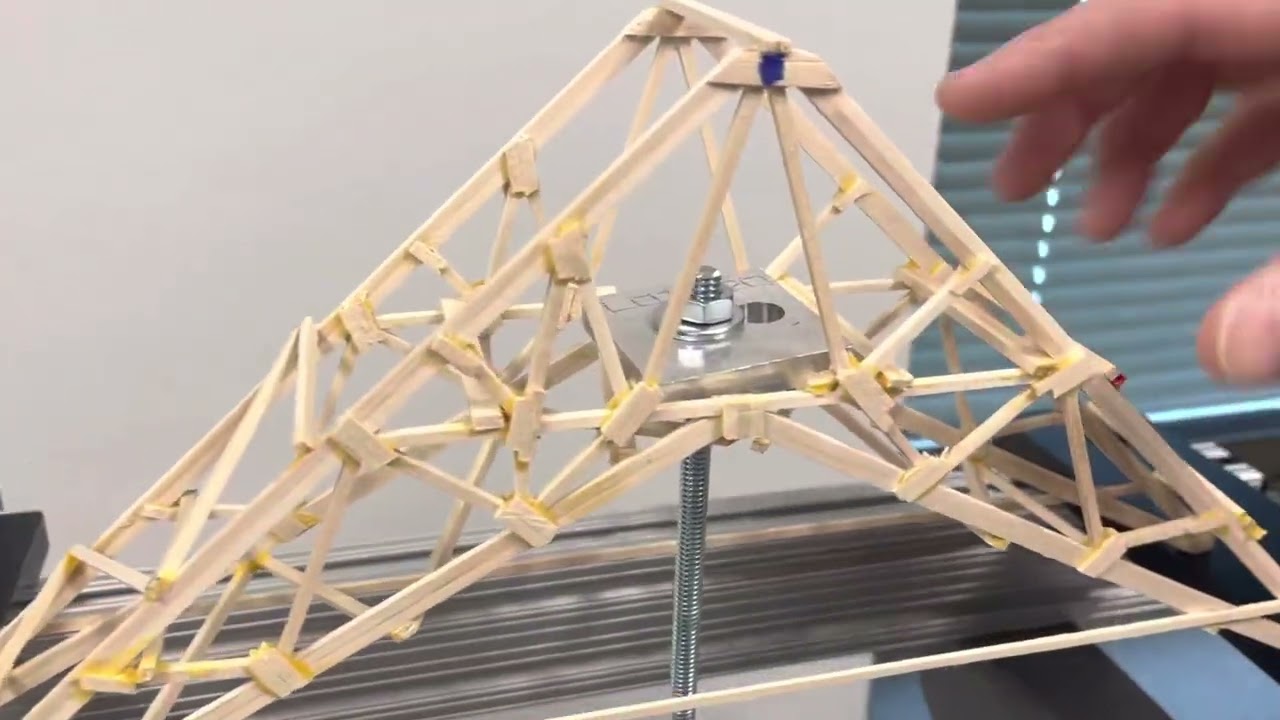







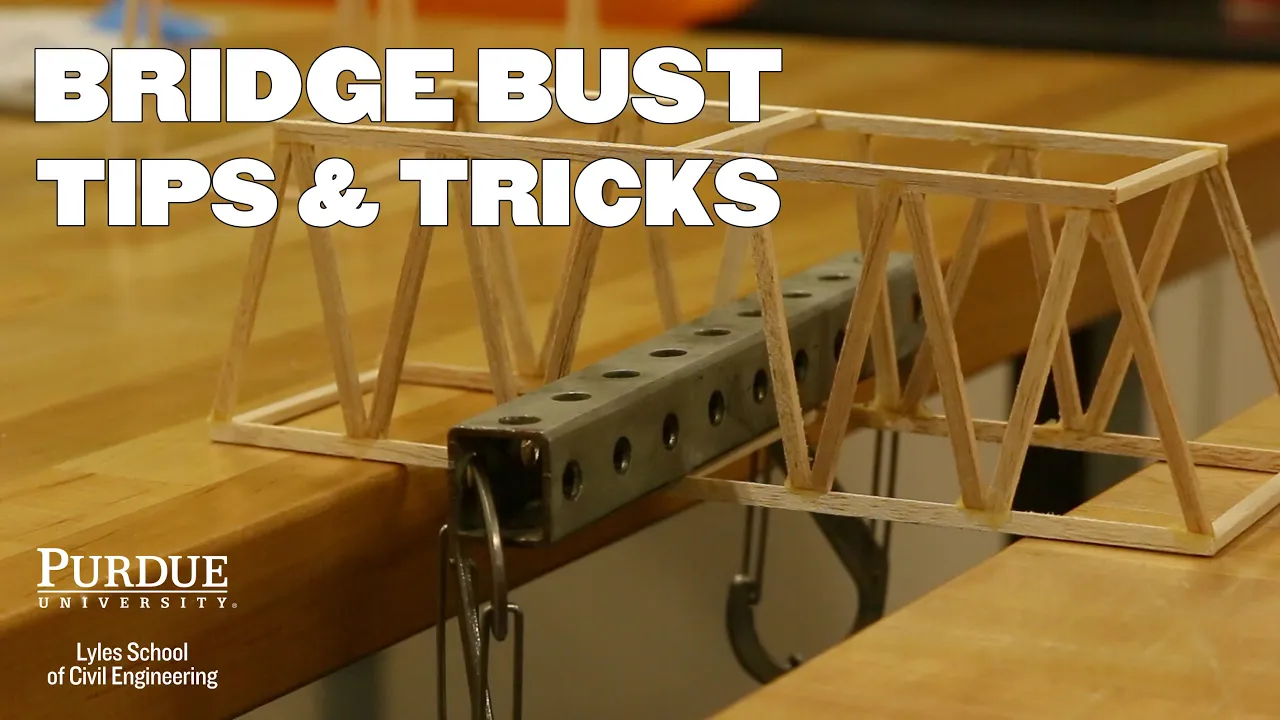

This video demonstrates how to construct a side truss of a balsa wood bridge using a template, emphasizing careful angle verification, proper glue application by dipping stick ends rather than using the nozzle, and securing pieces with painters tape to avoid damaging the template; the instructor recommends working from both ends toward the middle, checking angles before gluing, and ensuring tight joints without gaps to maximize bridge strength.
Balsa Wood Bridge Truss Construction Tutorial
Added:Fundamentals of structural forces, specifically distinguishing between tension (pulling) and compression (pushing) forces within a framework.
The geometric stability of triangles and basic truss types (such as Warren, Pratt, or Howe trusses) as load-distribution mechanisms.
Material properties of balsa wood, including grain direction, density, anisotropic behavior, and how these factors affect structural strength.
Safe handling of model-making tools (such as utility knives) and the selection of appropriate adhesives (e.g., wood glue or cyanoacrylate) for joinery.
Destructive load testing methodologies and calculating the structural efficiency ratio (load supported divided by the mass of the bridge).
Failure analysis techniques to identify whether structural collapse was caused by member buckling, joint separation, or material shear.
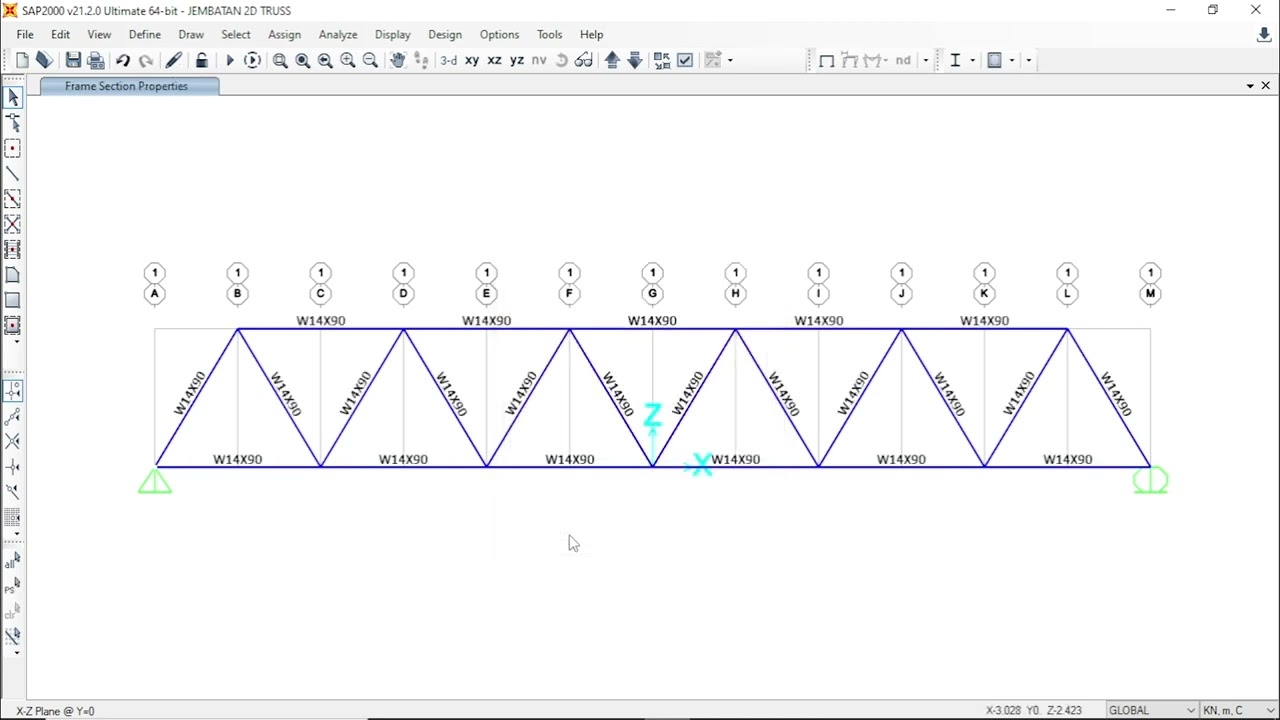
Utilizing structural analysis software (such as 2D truss simulators or CAD) to model and optimize bridge designs before physical construction.
Scaling principles and real-world civil engineering applications, comparing balsa wood model behavior to steel and concrete bridge construction.
5.9K views34likes12:24Original Release: 2021-01-13
hey guys and welcome to bridge design trust construction part one and so today we're going to be using the template that we have designed in white box learning to construct our first truss and so you can see here that we have our truss laid out we've taped our template together you can see i cut it right here that was the first part now i've cut my sticks already and the sticks that i'm using are the 3.2 millimeter balsa wood and i'm cutting that with either a pair of regular scissors you can use any type of scissors or you can use a craft knife if your parent allows it so balsa wood really weak snaps really easy right and so you got to be careful when you're designing this now the first thing that you're doing is you're taking your template you're putting it on some type of surface where you can glue it to and then i'm going to move my pieces out of the way and you're going to see how this template was filled in okay and so all i did was i went piece by piece and i followed the template for the size of pieces that i need to cut and so i'm going to move all my pieces out of the way so you can see that i've kept them in order okay starting with the top and the bottom cord right so i have my top cord up here my bottom cord down here so if you notice here on the template it does have cut marks here so to keep a stronger design we're just going to use a singular piece okay so we're going to be cutting our length based on the bottom cord and then cut our length based on the top cord now once you have those cords in place my suggestion would be to either pin them down if you have pins or you can just use regular tape and so i'm just going to be using regular tape here and so i'm going to tape them down so that way they stay in place and so i have my tape pre-cut and so you can use painters tape or you can use this regular this regular tape now my suggestion is if you have painters tape available that you use that otherwise you will be ruining this first template and that's okay you will have to print off another template if you use the regular tape okay so i have all my pieces and taped them in okay so the next part that i'm going to be doing is i'm going to start gluing all of my different truss pieces so i'm going to start from one side and work my way over and then i'm going to start from the other side and work my way to the middle so i'm going to do these first three pieces of truss and then i'll do these three pieces and i'll work on the middle parts okay so based on the based on that i'm going to start with my outside edge first now the the bottle of glue that you are using i would suggest not to use the nozzle all you're going to be doing is taking your bottle and just to save on glue you're going to dip your stick in until it's just coating the end right so when you look at that it's just coating the end of your stick okay of your truss piece okay and so you got both sides in and now you're gonna place your truss piece okay so based on where we based on where we cut it right that's gonna be the first piece that we put in okay hold it for a second now this isn't instant glue this isn't super glue it's not going to glue super fast but you hold it for a second just to get it in place kind of press it together because balsa wood is really easy to form and you have your first piece down okay so now we're working on our second piece and so we're going to make sure that we have the right piece before we glue it we want to make sure we have it at the right angle that we want and now again all i'm doing is just dipping it in one side at a time take off all the excess glue you don't need a lot of glue you just need enough on the end okay and again there now if you decide to use the nozzle you're going to end up making a big mess the other thing that you can do is if you have scrap cardboard you can put a dallop of glue on the cardboard or on your paper and you can glue it and you can dip it in that way okay so now i got my second piece i'm holding that first piece together putting that second piece into place and then pushing them together and so i want to make sure it's following the template exactly as it's laid out right so you're going to push them all together hold it for a few seconds and then let it go okay and so now we have our second piece done and now we're just continuing down so i'm now i'm going to do this third piece making sure that i have the right angle first before i put my glue in and then i'm going to put my sticks on the end dip each side in all right double checking my angles before i place them now i'm going to put one more piece because this piece is going to be glued all right and so then as you're going if you have wax paper you could put the wax paper on top of your your template so that way you don't have to print off a second template otherwise when you finish with the gluing on here some of this may be glued to the paper and you may have to print off a second template okay so now this one right here is important make sure you pay attention to the angles that are placed to make sure that you press your pieces together where the angles are placed so if you look right here you can see that this piece is connected to that center truss the vertical truss and i'm pushing these two together here and i'm also holding the top and bottom cord together to give that that extra bit of stability making sure that there's no spaces or gaps in between where my trusses are being connected this is what's going to give the bridge that strength that you want when we do the testing okay and so now we are halfway done we're halfway done so now we're going to start with the other side okay starting with that outside edge first first like i said before making sure that you place your sticks in there your trusses in there for to make sure you have the correct angle and then adding your glue to the ends of your trusses okay now it's real important guys that as you guys are placing your trusses you are double checking and even triple checking before you glue it that the angles that you cut are the angles that you're placing it's real easy to look at these pieces of wood once you cut your angles and as they turn you can misplace the angle right you can misplace which angle you want it to go this one's pretty straightforward so we're going to place this one right here making sure that's going in this direction and so remember this bridge that we're building here when it's fully constructed should be able to hold the weight that your program tested to now it may hold a little bit less because we are not like like on the program and like i've told you before we're not going to be laminating our bottom truss section but we are going to what we are going to do is instead of doing a single truss bottom section we are going to do a more built up bottom truss area and we'll get that to when we get to part four in the series okay so we're there now we're looking at this one again look at that angle right so that angle that i cut matches the angle that is on the design and you can see how fast this is going if you need to slow down or pause the video at any point do so you don't need to go this fast we're trying to do a trust section a class period and sometimes there's a little excess glue that i kind of wipe off and i'll wipe it on the other truss areas all right so now here we are in this area here you can see that we're a little bit off so this one is going this truss section is going to this area and then this is my straight truss and see i have a little it i have a little curve cut right here that curve is going to match to the curve that is on that curve is going to match the curve that is on the design and again all i'm doing is dipping my ends i'm dipping my ends into my bottle instead of squirting the glue onto the truss and what that's doing is it's one it's conserving my resources and two it's making a little bit easier to glue everything together makes less mess you can see that i have a blue you can see that i have a green colored you at home may have blue it's the same glue it's the same glue it's special glue that's made just for this type of wood now you could use regular wood glue for this you'd be just fine but this has a little bit extra a little bit extra strength for this type of wood that we're using okay so again going this direction this into place this is that big that last that last piece pushing it together making sure that it stays okay and now you should start feeling some strength you should start feeling some strength when you're pushing these together like this you should start feeling some strength on your truss section so this is part one guys now i did have this stick here and this was if we need to add more glue into one area so i'm going to show you how i use that so i just put a little bit of glue there and say say there was a little bit we need a little extra glue on this area here i'm going to kind of push it into those cracks and those crevices with this stick right here and then i'm going to hold it together while it's gluing okay and so that's why i have this extra stick now i've given you enough materials to do your bridge plus the bottom truss that we're going to be building if you guys have any questions this is part one i hope you enjoyed the video have a great day
Up Next

19:36
How to Build a Cardboard Bridge Testing Fixture for STEM Projects
@stephenliggett5062
104 views•2020-04-20

12:54
Triumph of Orthodoxy Icon: Byzantine Art & History Explained
@BenCallan
2.1K views•2024-08-06

9:49
FastAPI vs Flask vs Django: Choosing the Right Python Web Framework
@TechWithTim
302.5K views•2024-05-26

1:42
Game of Thrones Opening Credits: A Cinematic Analysis
@gameofthrones
46.3M views•2011-04-18
Related Study Plans & Knowledge Roadmaps
Structured learning paths in General & Interdisciplinary Studies
general-studies
Elevator Engineering: History, Physics & Cities
01From Hoists to Safety Brakes: The Dawn of Vertical Lift
02Hydraulic vs. Traction: The Engineering Physics of Elevators
03Modern Speed, Safety, and Algorithms
+ 2 more learning modules
12h5 modules
Explore Roadmap
general-studies
Rubber: Material Science, History & Geopolitics
01Origins of Natural Rubber & Mesoamerican History
02The Chemistry of Natural Rubber & Vulcanization
03The Geopolitics of the Rubber Boom & Colonization
+ 2 more learning modules
12h5 modules
Explore Roadmap
general-studies
Containerization: Evolution, Logistics & Trade
01Ancient Trade & Bulk Cargo: Amphorae to Barrels
02The Industrial Revolution & Cardboard Packaging
03The Containerization Revolution: Malcom McLean
+ 2 more learning modules
12h5 modules
Explore Roadmap
general-studies
Textile Tech: Evolution, Labor & Global Impact
01Pre-Industrial Textiles: Handloom & Cottage Industry
02Mechanization: The Spinning Jenny to the Power Loom
03The Factory System & Global Labor Transformation
+ 2 more learning modules
10h5 modules
Explore Roadmap