


















![RetroArch Starter Guide [2025]](https://i.ytimg.com/vi/PwJEIYZXLgw/maxresdefault.jpg)


Retrofuturism is a design philosophy that combines futuristic technology with vintage aesthetics, as demonstrated by transplanting modern computer components (motherboard, LCD, power supply) into a 1973 CRT television enclosure, creating a functional computer that blends 22nd-century technology with 1950s-60s design elements.
Retrofuturism: Build a Fallout-Style Computer | Upcycling Tutorial
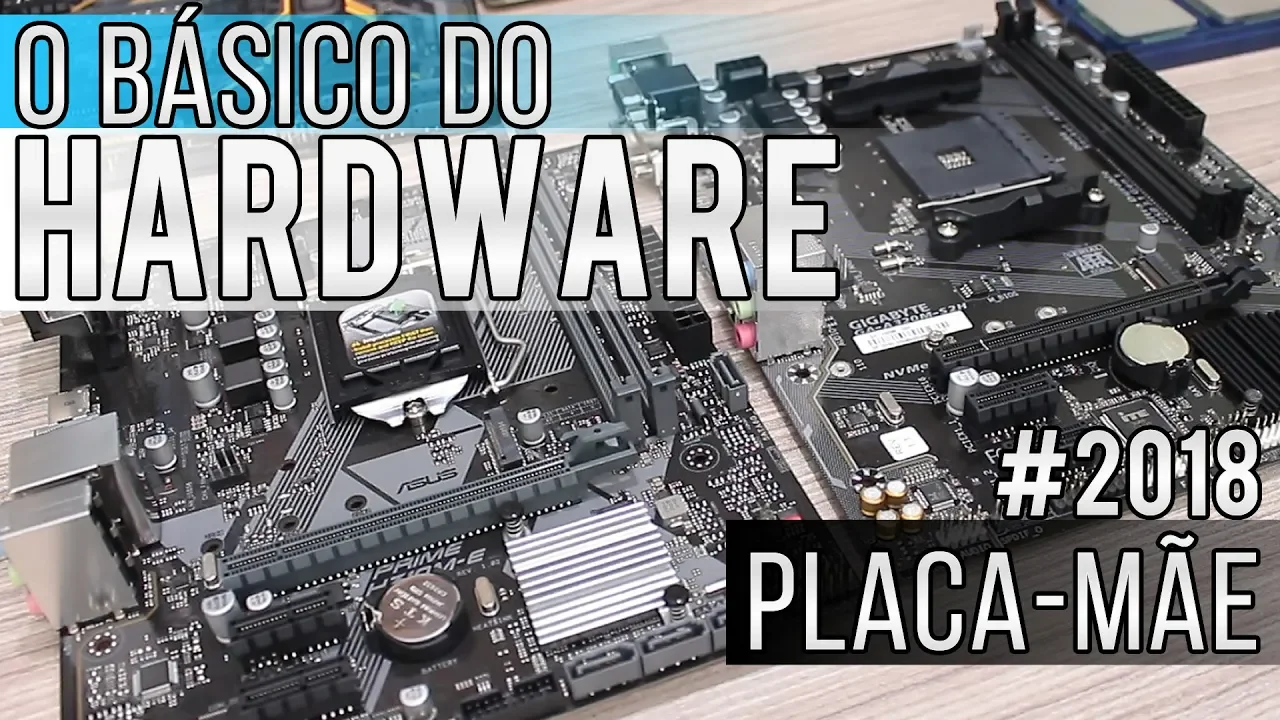
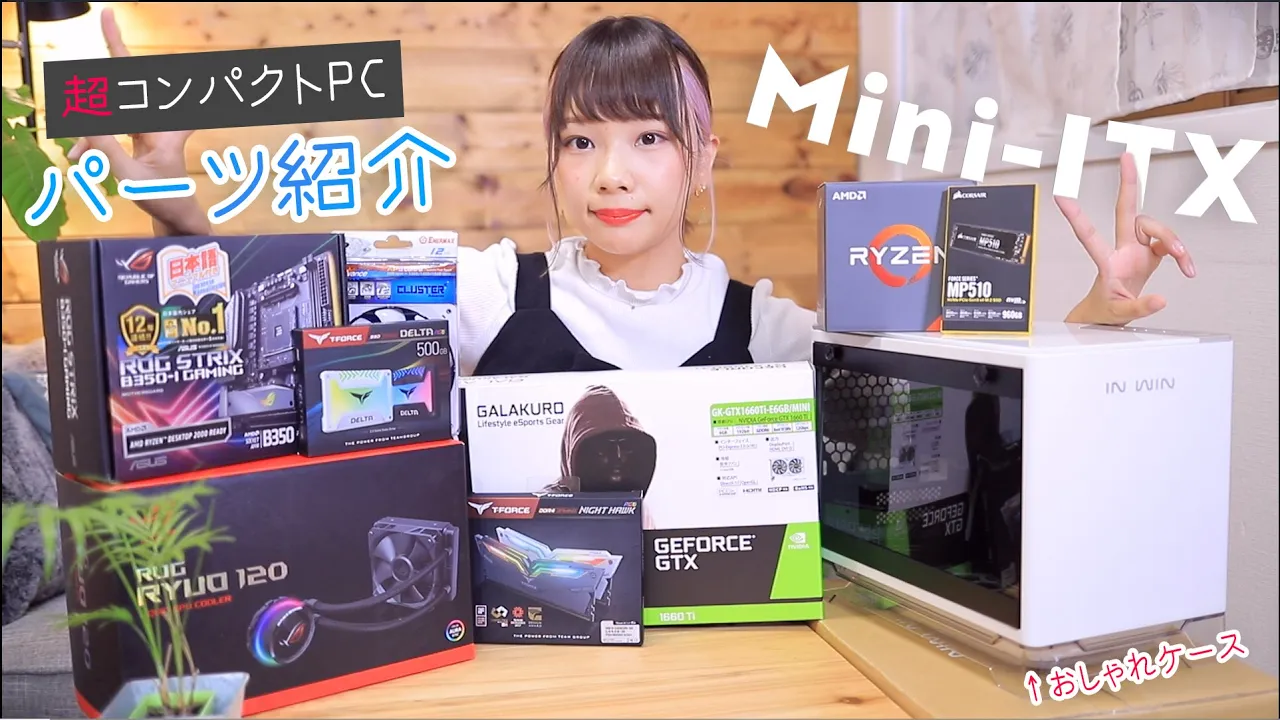
Added:Basic computer hardware assembly, including familiarity with PC components (motherboards, power supplies, drive bays) and standard form factors like Mini-ITX.
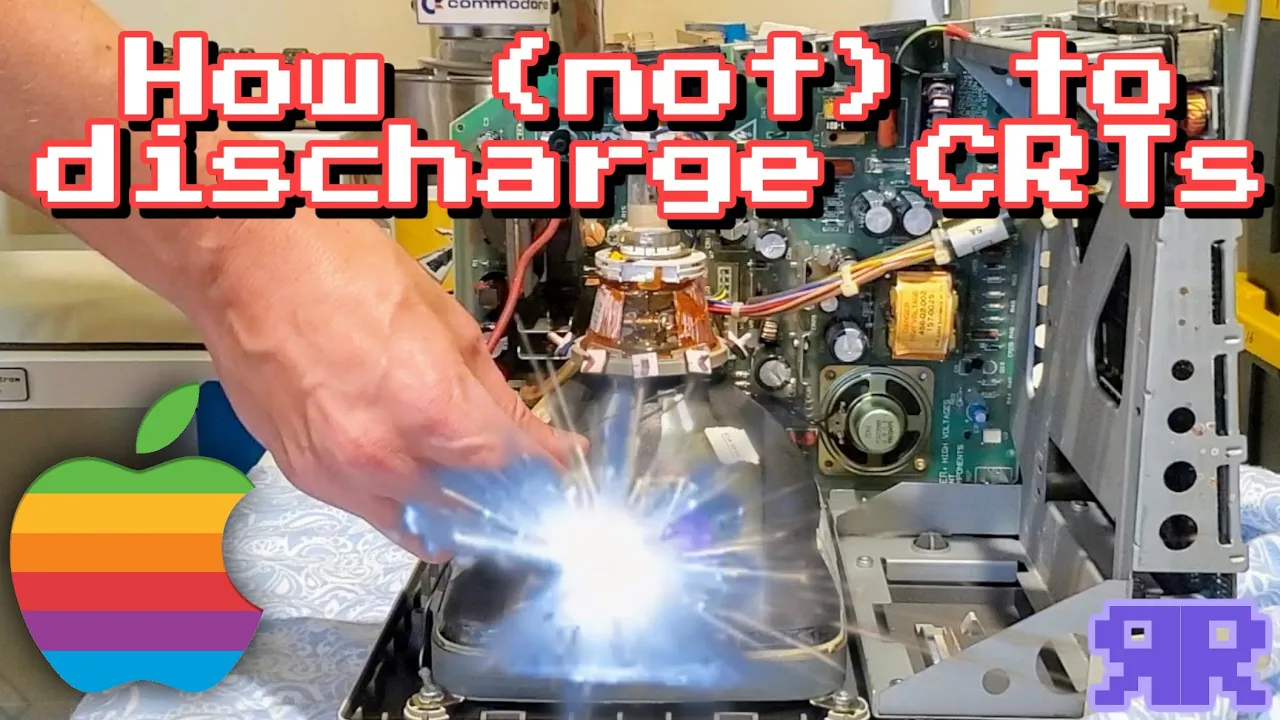
High-voltage safety procedures, specifically the dangers associated with Cathode-Ray Tube (CRT) televisions and how to safely discharge their capacitors.
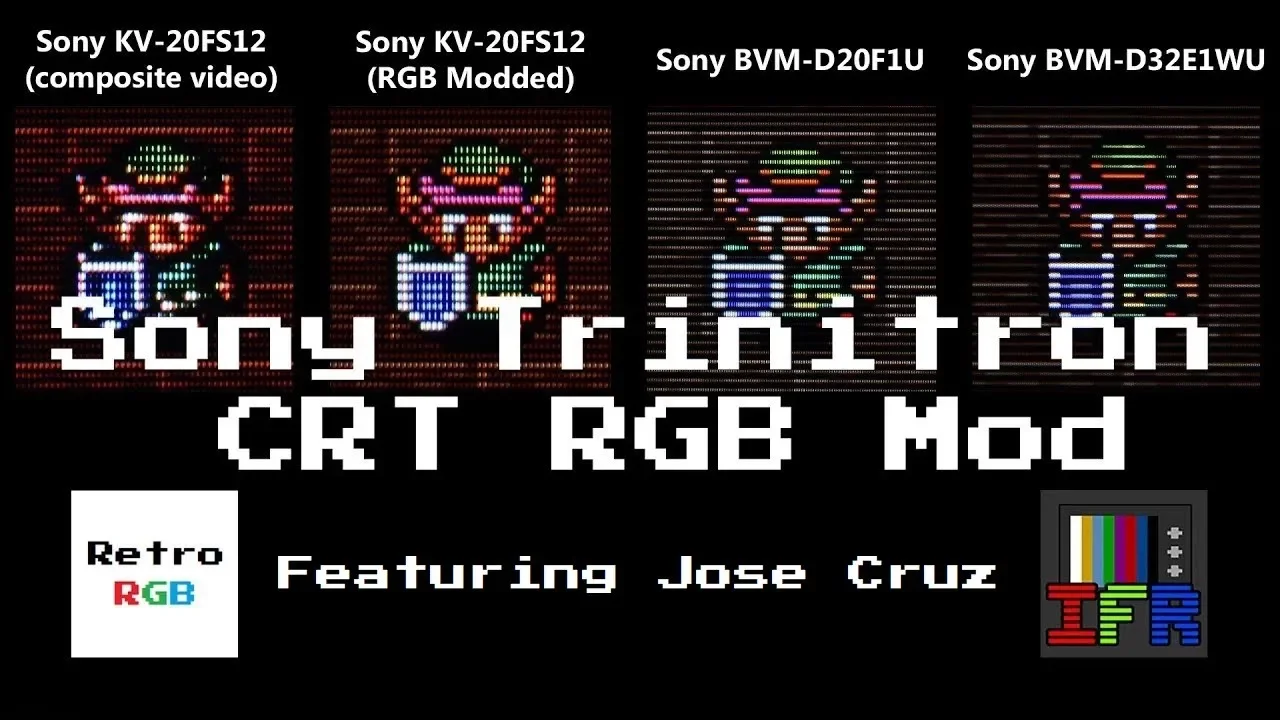
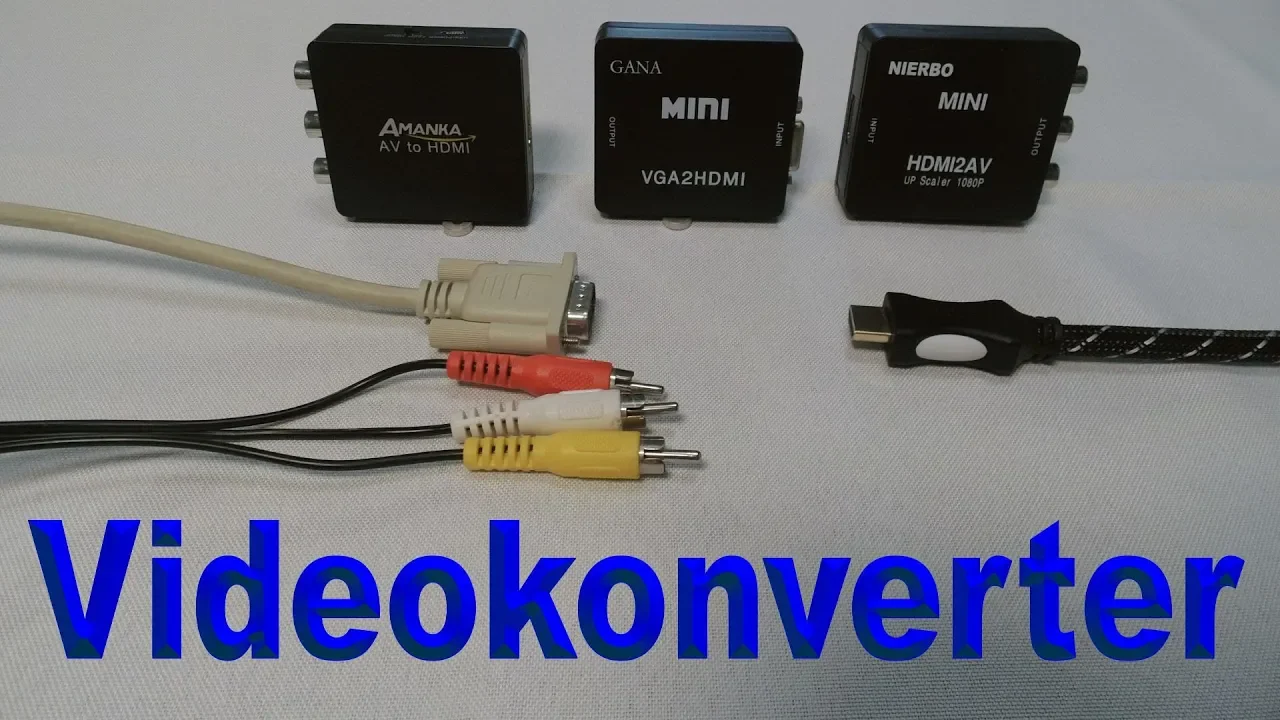
Fundamentals of video signal conversion, including the differences between modern digital signals (HDMI/DisplayPort) and legacy analog signals (VGA/Composite).
Basic principles of thermal management and airflow design to prevent component overheating in enclosed, non-standard spaces.
Advanced custom fabrication techniques, such as 3D printing custom mounting brackets, CNC milling, and working with acrylics or sheet metals.
Aesthetic weathering and prop-making methodology, focusing on painting and distressing techniques to achieve a convincing retrofuturistic or post-apocalyptic appearance.
Vintage electronics restoration and component-level repair, including diagnosing CRT chassis boards and performing capacitor replacements (re-capping).
Software environmental customization, such as configuring custom command-line interfaces, writing custom scripts, or setting up emulation front-ends to match the retro aesthetic.
325.9K views8.4Klikes11:35Original Release: 2015-03-27
[Music] scientists and Engineers have released a source of energy surpassing anything ever before known or [Music] imagined hello today I want to give you an insight into another site project that I have started and completed in the evening hours of this week for that let me first explain the title of this video I've been a huge fan of the Fallout video game franchise for a long time in fact I purchased this copy of the original Fallout game in 1998 and together with Fallout 2 it remains my favorite game to this day one thing among many others that is really great about Fallout is its overall atmosphere and design Fallout place in the future but one really cool thing is that it combines the technology of the late 22nd century with a design and style of the 1950s and 60s I always thought that futuristic technology and vintage looks were a great match that's also the reason why I prefer to build my homemade gear in old-fashioned enclosures even though most of it is based on Modern microcontrollers and switching converters this week's project Falls 100% into that category the idea was to transplant the guts of this boring looking computer and this ordinary LCD into the enclosure of this stylish 1973 vintage CRT color television set part of this project was of course also the tear down of this Oldtimer inside I found a very interesting switch mode power supply which is based on a magnetic amplifier and I'm planning to take a closer look at it some of the parts could also be used to build a high voltage generator for experimental purposes since we are talking about voltages in excess of 10,000 volts though I will first have to buy some safety gear here before we can do that furthermore I also needed to repair the switch mode power supply of the LCD but that again is another very complicated and quite unrelated subject I will therefore use this video to show you how I build my Fallout style computer while we will have a closer look at the TV's original circuits and the lcd's power supply in separate videos okay so then let's get on with it first of all let's have a look inside this computer the case is your average boring soulless run-of-the-mill Cheapo I always despised it but I had to use it one and a half years ago when I built up this computer because everything had to be cheap and fast but today I take out the motherboard which is an Asus C60 m1i Mini ITX boort back in 2013 it was very popular for network attached storages I used it for an auxiliary desktop computer though I chose the board because of its very very low energy consumption the hard drives the onoff button and the ATX power supply are the only other Hardware components we will need for this project who needs DVD drives and stuff like that in 2015 after freeing the hardware from dust with a blow gun we we can now proceed by tearing down the old TV set it is a Sano CTP 4201 built in Japan in 1973 but obviously produced for the German Market as can be seen by the German labels on the front panel I will make things short here and spare you the details since this tear down will be covered in a video of its own after removing the back panel we get a glance on some 1970s discret Electronics goodness clearly visible is an old-fashioned non- potted feride core that belongs to a high voltage flyback converter as well as some special high voltage diodes and resistors which are needed to power the CRT next we remove the entire metal chassis that carries nearly all of the electronics that entire unit is then disassembled in order to free the metal frame that will later carry the motherboard the ATX power supply and the hard disk drive the parts of the frame are then cleaned with some soapy water after that the frame is put together again in the meanwhile the CRT together with the deflection coils and the convergence unit are removed from the plastic enclosure of the TV set with the CRT removed I can now show you that this LCD of an ordinary PC monitor picked up from the trash fits well into the old opening but since there is still some free space around the panel a wooden frame has first to be built for that the old Black and Decker jigsaw is called into action once more after the frame is cut according to the outlines of the TV's enclosure and the LCD it is spray painted black and put in front of the radiator in order to dry sometime later the LCD itself is cleaned then its aluminium frame is slightly roughened with some sandpaper mounting adhesive is then applied and the painted and dried wooden frame is glued into place a protective foil followed by some weights are applied onto the frame after one day the glue has hardened now the panel can be inserted into the plastic frame and fastened with the same type of glue now again some time must pass for the glue to harden I removed the metal enclosure of the lcd's power supply by the way in order to have better access to the pcbs truely not good for EMC but really not a problem in this application in the meanwhile it is time to install the hardware components of the computer on the metal frame from inside the TV for that an aluminum back panel must be made as a base I reuse this aluminium sheet salvaged from another old PC monitor again the old jigsaw does a good job before the ATX power supply can be mounted on that panel though I first have to lead the line and the neutral out of its enclosure in order to power both the LCD and the computer from just one power cord I also remove some redundant wires like a power connector for a floppy Drive with some more mounting holes drill the ATX power supply as well as an aluminium angle plate are mounted to the panel and some more Custom Metal parts are needed in order to hold the mini it export into place with that being done the hard drive is installed the second hard drive we saw before will not be reused in this machine with a new back panel bolted to the old metal frame the back and front modules can now finally be joined in order to reuse the old main switch of the TV I first remove some old wires after that I connect the motherboard to the switch in order to turn on the computer the switch must be pulled out and pushed in again later I use the other old switch as a reset button in the same way this little PCB is required to adjust the screen settings of the LCD maybe it could be possible to install it somewhere on the front but for now I am mounted inside the enclosure with a two halves joined All That Remains is to cut a hole in the back of the plastic cover in order to make the metal back panel accessible with that being done the enclosure is fastened with screws some peripheral devices are connected and Tada The Fallout style computer is ready for operation so I I hope you like this little idea maybe some of you are interested in doing something similar but no matter what I hope to see you [Music] soon on the top of the world below the surface of a giant ice cap a city is buried today on the island of Greenland as part of man's continuing efforts to master the secrets of survival in the Arctic the United States Army has established an unprecedented nuclear powerered Arctic Research Center this is the story of Camp Century the city under [Music] ice it was in May 1959 after more than a year of preparation that a small party of army Engineers conducted the final search to select a site for Camp Century listen now to the voice of Captain Tom Evans the young officer who was in charge of the construction of the camp the crewmen were protected by a shield of approximately 8 ft of water as they lowered the fuel elements into the fuel storage tank later each of these steel and uranium bars would be transferred underwater to the nearby Reactor Core every step of the testing was meticulously monitored and regular announcements made to the workers assigned to the Loading crew total u235 content of the assemble core is 13376 kg coefficient of reactivity 0.935 the assembly is still subcritical when all preliminary tests were completed we began to transfer the fuel elements one by one and start loading the reactor core
Up Next

10:33
Cassette Futurism: The Analog Aesthetic of Retro Sci-Fi Technology
@jackerman0564
25.9K views•2019-01-29

12:54
Triumph of Orthodoxy Icon: Byzantine Art & History Explained
@BenCallan
2.1K views•2024-08-06

9:49
FastAPI vs Flask vs Django: Choosing the Right Python Web Framework
@TechWithTim
302.5K views•2024-05-26

1:42
Game of Thrones Opening Credits: A Cinematic Analysis
@gameofthrones
46.3M views•2011-04-18
Related Study Plans & Knowledge Roadmaps
Structured learning paths in General & Interdisciplinary Studies
general-studies
Elevator Engineering: History, Physics & Cities
01From Hoists to Safety Brakes: The Dawn of Vertical Lift
02Hydraulic vs. Traction: The Engineering Physics of Elevators
03Modern Speed, Safety, and Algorithms
+ 2 more learning modules
12h5 modules
Explore Roadmap
general-studies
Rubber: Material Science, History & Geopolitics
01Origins of Natural Rubber & Mesoamerican History
02The Chemistry of Natural Rubber & Vulcanization
03The Geopolitics of the Rubber Boom & Colonization
+ 2 more learning modules
12h5 modules
Explore Roadmap
general-studies
Containerization: Evolution, Logistics & Trade
01Ancient Trade & Bulk Cargo: Amphorae to Barrels
02The Industrial Revolution & Cardboard Packaging
03The Containerization Revolution: Malcom McLean
+ 2 more learning modules
12h5 modules
Explore Roadmap
general-studies
Textile Tech: Evolution, Labor & Global Impact
01Pre-Industrial Textiles: Handloom & Cottage Industry
02Mechanization: The Spinning Jenny to the Power Loom
03The Factory System & Global Labor Transformation
+ 2 more learning modules
10h5 modules
Explore Roadmap