









![Como Desenhar Anime: Roupas e Dobras [Iniciante]](https://i.ytimg.com/vi_webp/b2BvoeEs1WM/maxresdefault.webp)

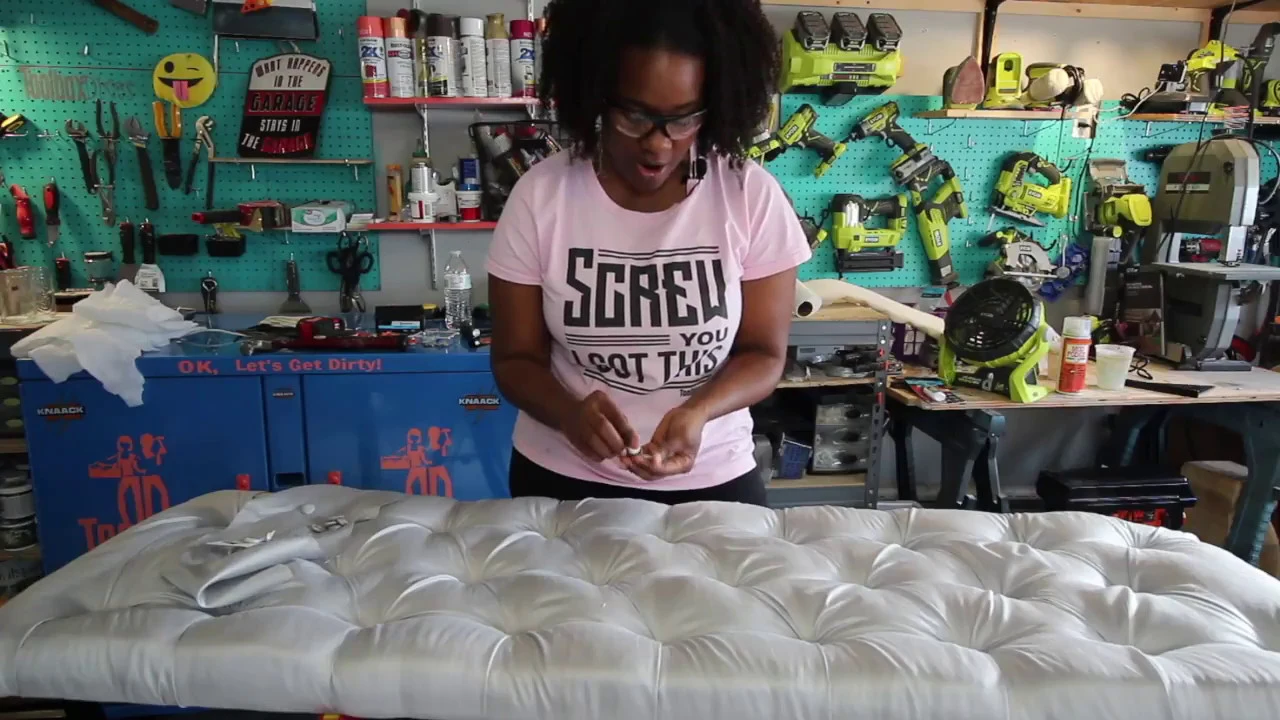








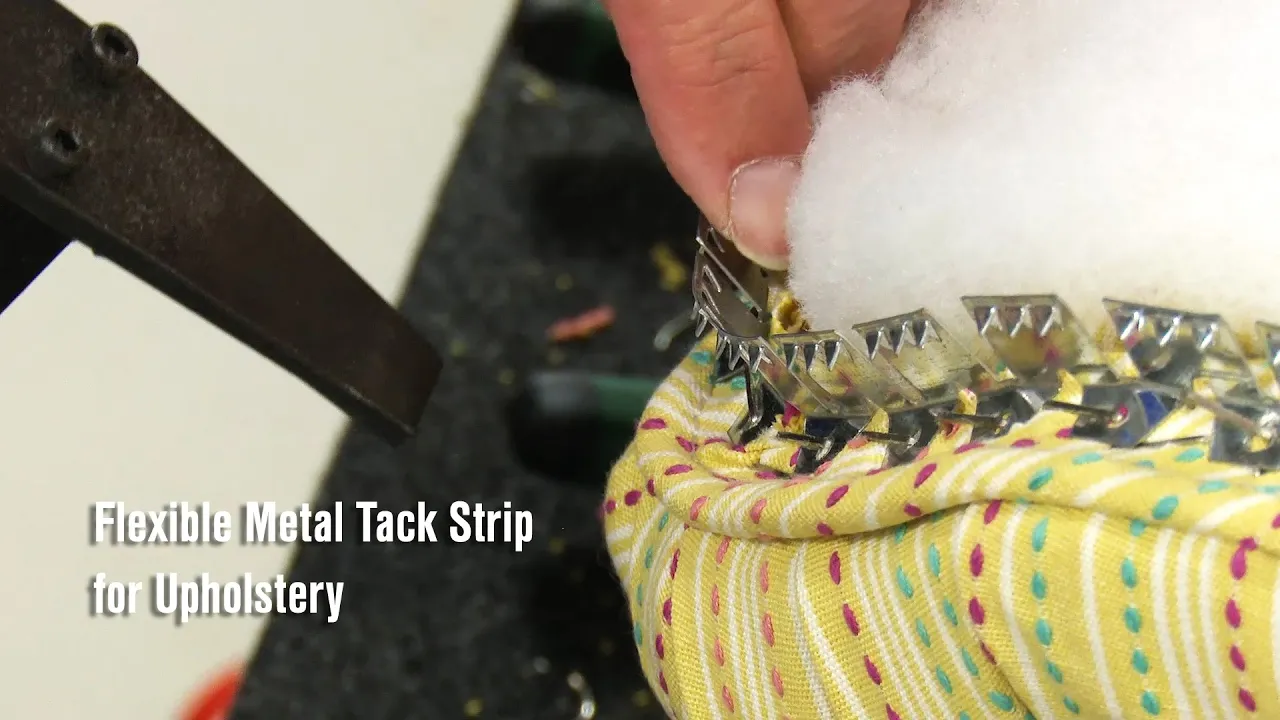


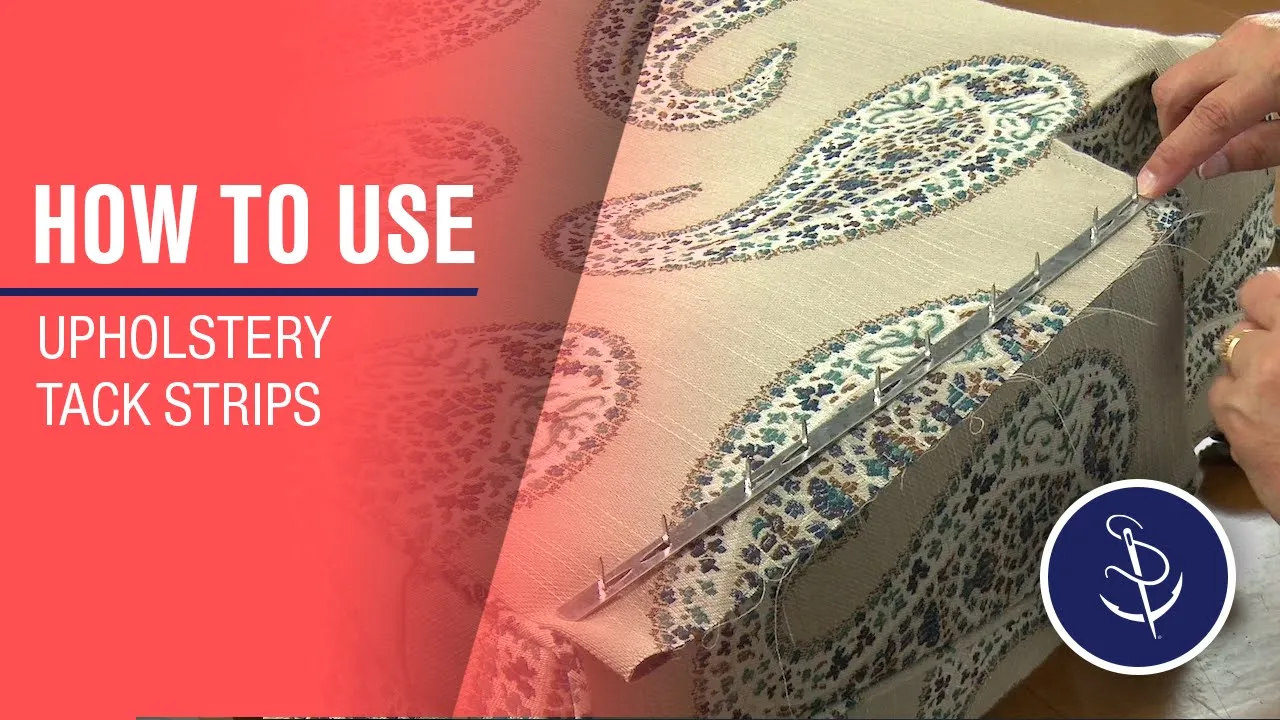
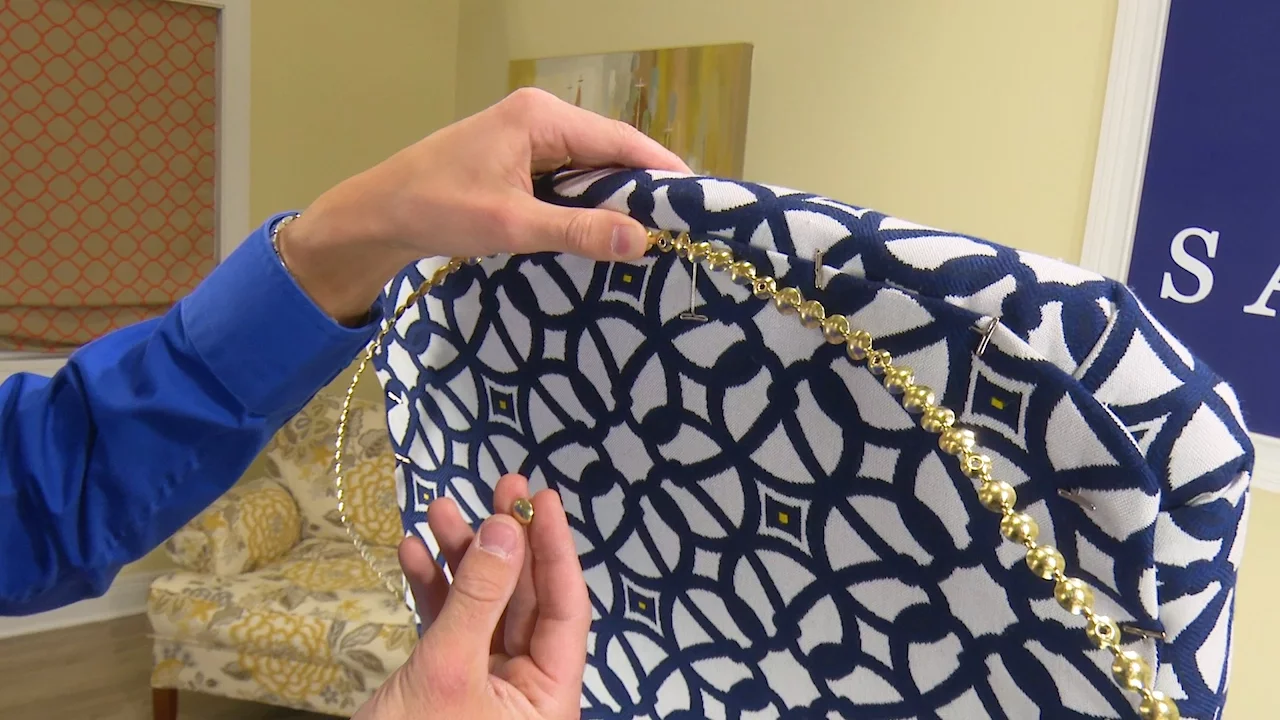
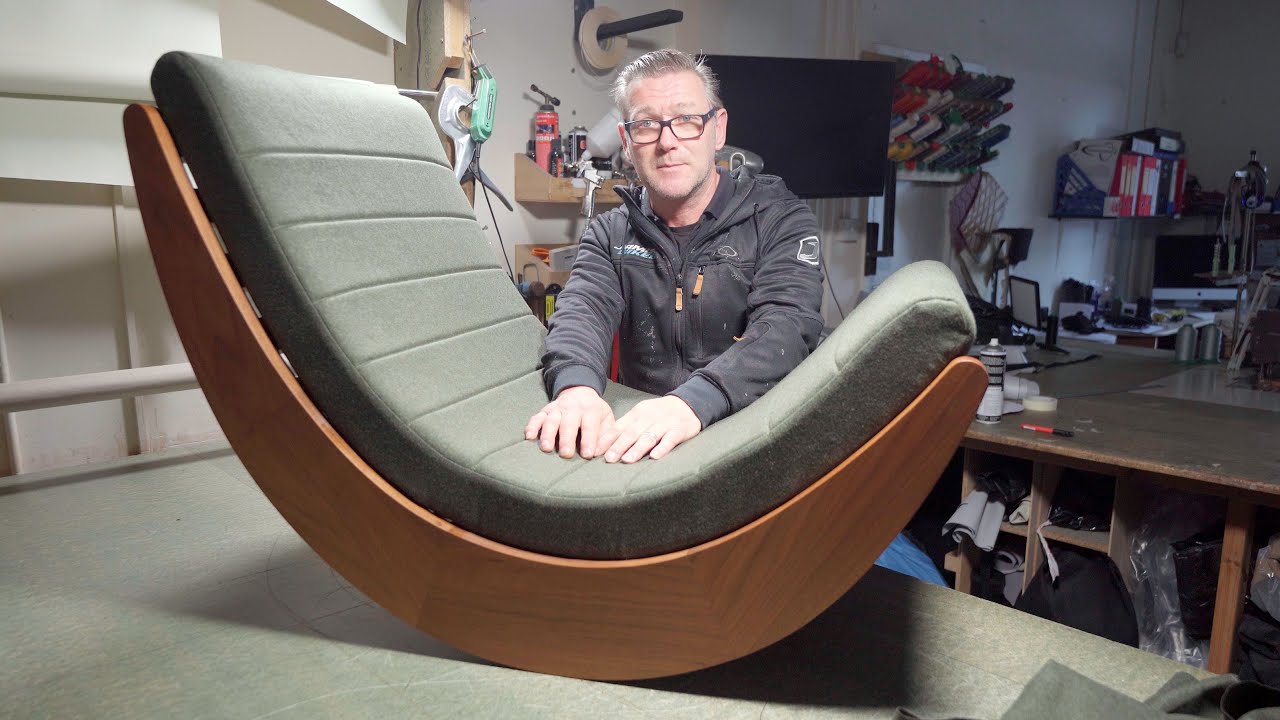
A no-sew tufting method for creating upholstered furniture involves attaching foam to a wooden base using contact cement, wrapping the fabric tightly with even tension using a cordless stapler, and securing tufts by driving screws through washers into the base to pull the fabric taut; this technique eliminates traditional sewing while achieving a professional tufted appearance.
How to Make a Tufted Bench with No-Sew Upholstery Technique
Added:Understanding the properties of upholstery materials, including foam density ratings, loft of batting, and fabric durability (double rubs).
Familiarity with basic hand tools and fasteners, specifically the safe and effective operation of manual, pneumatic, or electric staple guns.
Fundamental geometric measurement skills required to calculate, mark, and align a symmetrical grid layout on a physical substrate.
The concept of fabric allowance and tension, understanding how foam compression alters the required surface area of fabric.
Advanced deep diamond tufting methods, focusing on manual pleat manipulation and folding techniques rather than flat tufting.
Traditional sewn upholstery techniques, including creating double-welt cord (piping), boxed cushions, and invisible zipper integration.
Furniture frame fabrication and structural support design, including webbing installation and spring tie systems (such as eight-way hand-tied springs).
Professional finishing and trim applications, including the use of cardboard tack strips, metal ply-grip, and decorative nailhead trim.
335.6K views7.3Klikes11:10Original Release: 2019-07-05
I started building furniture about eight years ago when my husband was out of work and we needed some extra money my business was taking custom orders and at the time tufted headboard were really popular traditional tufting is really time-consuming and can be kind of difficult to save time I came up with a really quick and easy no sew method that I started using on all my head boards I wrote a blog post showing this trick about six years ago but I realized it's finally time to make a video so keep watching to learn how to tuft a headboard a bench and ottoman anything they're really quick and easy way this video is sponsored by arrow fastener when brainstorming what kind of furniture would show off this technique the best I thought of this really simple bench idea that I've been brainstorming for a while I had a leftover piece of some really nice euro ply maple plywood that I had left over from building my kids bunk beds a few years ago I started by using a circular saw to break down the plywood piece into four 15 inch squares [Music] so if you're thinking my workshop looks a little different it's because it is we are getting ready to build a house I told you guys about that in my swingin terrarium video and while we're doing that we are staying in a rental house that means my workshop all my tools everything is in a single car garage and so far it's working but it's definitely tight I wanted to make sure that my square panels were perfectly square at 90 degrees so once I made my first cut I took the panels over to my miter saw to help me make the cuts a little bit more accurately since 15 inches is wider than the maximum cutting depth on my saw I had to flip the panel over to complete the cut if you don't have a sliding miter saw don't worry you can get cuts that are just as good with a circular saw if you're patient when I was done I had four matching 15 by 15 inch plywood panels next to help me get ready for the joinery I found the center on one of the sides I then measured 3/8 of an inch on either side of my marking to create a 3/4 inch wide channel down the middle if this is the first pneumatic tatak video that you've seen welcome make sure you subscribe so you get notified every time I release a new video to avoid having to mark every single panel I clamped pairs together using some spring clamps I then took the panels back to my miter saw to create parallel cuts I stopped the cuts halfway through the length of the panels to complete the cuts and remove the rest of the joint area I used a jig saw I used a similar technique on my faux Brest leg media console but on that project I used a circular saw to cut grooves and dedos and then finished up with the jig saw are you liking what you see make sure you tap that like button just down below when the joint areas were all cut I could then slide pairs of panels together creating an x-shaped leg this joint is called a cross lap so when I was cutting these joint the next step was to give the plywood a good sanding and round over those rough edges gluing the panels together to create the bench legs was really easy I just applied some carpenters glue to the joint area and then slip the panels on to one another I used to sweet square to make sure that the panels were square with one another as well as sitting vertically once the glue is dry I wipe down the plywood to remove all the dust and then apply two coats of simple finish from maker Bronco that was it for the base of the bench time to move on to the seat I ordered a piece a 48 inch by 18 inch by 2 inch thick foam for the seat cushion and it came in this impossibly small box I opened it up and allowed the foam to rest and fluff up to its full thickness I needed something to create the structure of the seat and attach the foam to I decided to use a 48 inch long piece of 16 inch wide MDF shelving that I had leftover from setting up my new shop when the phone was at its full size I placed the shelving on top of the foam and traced the width using a sharpie I was able to cut this foam pretty easily with a pair of sharp scissors but if you have an electric kitchen knife that is the best for cutting upholstery film in my experience the best way to attach foam to wood its using contact cement by far the easiest to apply is the spray kind that comes in a can I applied a layer of the contact cement to both the MDF shelving as well as the underside of the foam cushion I've then flipped the shelving over and aligned it on top of the foam next came upholstery like I mentioned before I've done a fair amount of upholstery in the past enough to know that a good cordless stapler is worth the money I recently picked up an arrow t-50 DCD stapler as well as some white crown staples and a staple puller for this project I used arrow t-50 3/8 inch by 3 inch heavy-duty staples the t-50 DCD has a rechargeable lithium ion battery which is so convenient and it packs more than enough power to drive the staples into the MDF shelving panel I was using upholstery and a seat cushion is actually pretty simple I started by laying the fabric I was going to use facedown onto a soft surface for most seating projects especially one that's going to have tufting I definitely recommend a heavier weight upholstery grade fabric next I lay down a sheet of high loft quilters batting the kind of stuff you find inside of a blanket I then flip the seat cushion on top of the batting and centered it I check to make sure that I had enough clearance on all sides to wrap the fabric and batting all the way around to the underside of the cushion I think wrap the fabric with firm but even pressure in the middle of one of the long sides and began to staple it to the underside of the cushion to ensure even tension on the fabric I then switch to the other side and tack down the middle of the fabric on that side of the cushion as well I then worked my way down the sides pulling firmly and evenly as I could and attaching the fabric the arrow t-50 DCD can fire up to 500 staples on a single charge so I never had to worry about running out of enough juice after wrapping the ends of the cushions it was time to tackle the corners which are the only slightly tricky part of the process I pulled back the fabric and use scissors to cut out as much of the excess batting as I could I also trimmed off a little bit of the excess fabric I was then able to pull the corner tight and wrap it like you would the end of the present once the cushion was fully wrapped in upholstered it was time to turn my attention to the buttons I picked up a 7/8 inch covered button kit from my local fabric store I somehow forgot to film that process but I just followed the instructions and covered three buttons now I'm finally going to be talking about what you came here for at the tufting I used a white pencil and a measuring tape to mark out the locations of where I wanted the individual Tufts I was going for a modern look to match the plywood base so I wanted fewer and shallower tufting the secret for really fast and easy tufting its just screws and washers I know pretty simple right since the base of my cushion was 3/4 of an inch thick I used 3/4 inch number 8 screws and washers with the diameter about 5/8 of an inch I've positioned my screw and my drill directly over the pencil mark on the cushion and pressed firmly straight down applying constant pressure I slowly drove the screw into the base of the cushion securing the fabric tightly to the bottom if you can find them steel and neoprene sealing washers actually work best for this to cover the heads of the exposed screws I played a little bit of hot glue to the tang or the loop on the bottom of my covered buttons and then pressed and held them in place while they cooled once the buttons were attached I could put the pieces together and the bench was done [Music] [Music] since we're in a rental property and have at least one more move in us this year I intentionally didn't attach the seat to the legs of the bench it's actually very stable just sitting on top of it and I like the idea of being able to break the pieces apart and move them freely if needed if you're worried at all about the hot glue holding up I've had a bench that I upholstered this way about three or four years ago and it's still holding on great I haven't lost a single button if you're looking for more traditional deep diamond Tufte I wrote a whole blog post about how you can achieve that look I'll leave a link in the description box so tell me what you think about upholstered projects do you like them do you want to see more if you're curious about my normal types of projects make sure to check out this video and this one as well remember to hit that subscribe button down below if you haven't already and thanks for watching guys
Up Next
7:39
How to Build DIY Acoustic Panels for a Home Studio
@rdavidr
90K views•2021-10-23

12:54
Triumph of Orthodoxy Icon: Byzantine Art & History Explained
@BenCallan
2.1K views•2024-08-06

9:49
FastAPI vs Flask vs Django: Choosing the Right Python Web Framework
@TechWithTim
302.5K views•2024-05-26

1:42
Game of Thrones Opening Credits: A Cinematic Analysis
@gameofthrones
46.3M views•2011-04-18
Related Study Plans & Knowledge Roadmaps
Structured learning paths in General & Interdisciplinary Studies
general-studies
Elevator Engineering: History, Physics & Cities
01From Hoists to Safety Brakes: The Dawn of Vertical Lift
02Hydraulic vs. Traction: The Engineering Physics of Elevators
03Modern Speed, Safety, and Algorithms
+ 2 more learning modules
12h5 modules
Explore Roadmap
general-studies
Rubber: Material Science, History & Geopolitics
01Origins of Natural Rubber & Mesoamerican History
02The Chemistry of Natural Rubber & Vulcanization
03The Geopolitics of the Rubber Boom & Colonization
+ 2 more learning modules
12h5 modules
Explore Roadmap
general-studies
Containerization: Evolution, Logistics & Trade
01Ancient Trade & Bulk Cargo: Amphorae to Barrels
02The Industrial Revolution & Cardboard Packaging
03The Containerization Revolution: Malcom McLean
+ 2 more learning modules
12h5 modules
Explore Roadmap
general-studies
Textile Tech: Evolution, Labor & Global Impact
01Pre-Industrial Textiles: Handloom & Cottage Industry
02Mechanization: The Spinning Jenny to the Power Loom
03The Factory System & Global Labor Transformation
+ 2 more learning modules
10h5 modules
Explore Roadmap