

















DIY acoustic panels can be constructed using plywood strips, insulation, and fabric, with proper installation including an air gap between the panel and wall to effectively reduce room echo and improve sound quality.
How to Build DIY Acoustic Panels for a Home Studio
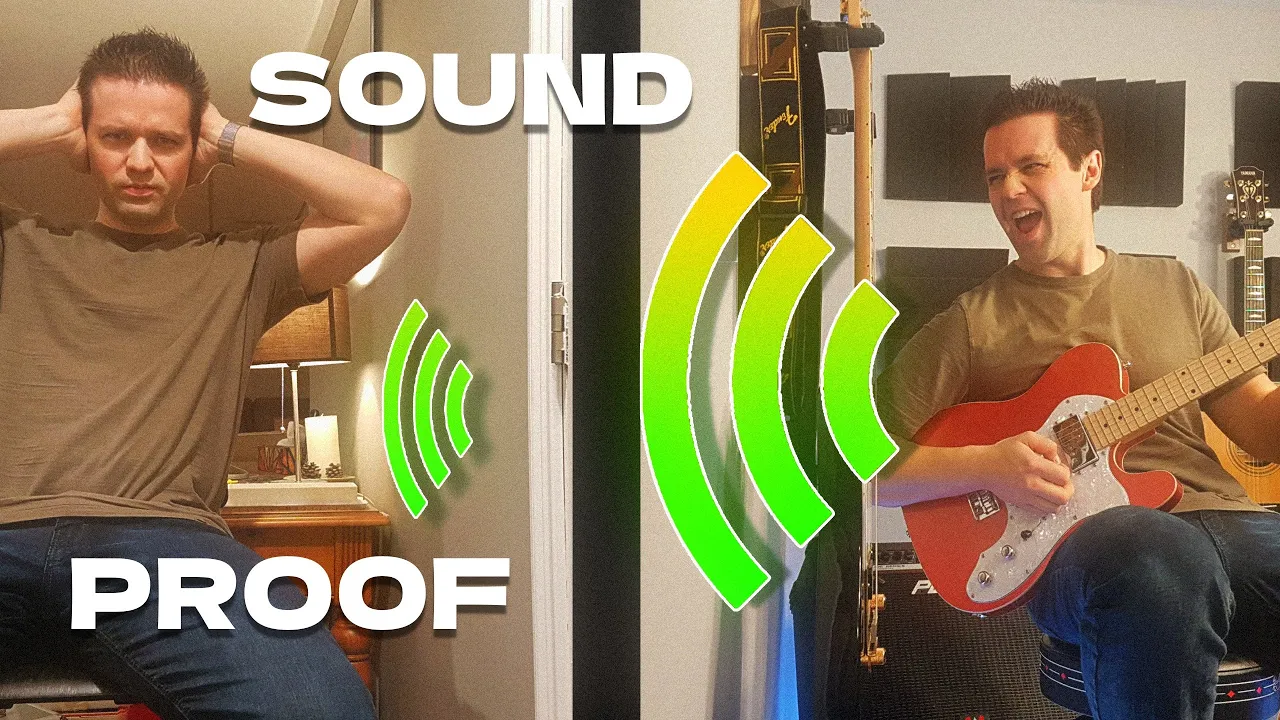
Added:The fundamental difference between soundproofing (blocking sound from entering/leaving) and acoustic treatment (improving internal room acoustics).
Basic physics of sound waves, including how frequency, wavelength, and amplitude interact with room boundaries to cause reflections and standing waves.
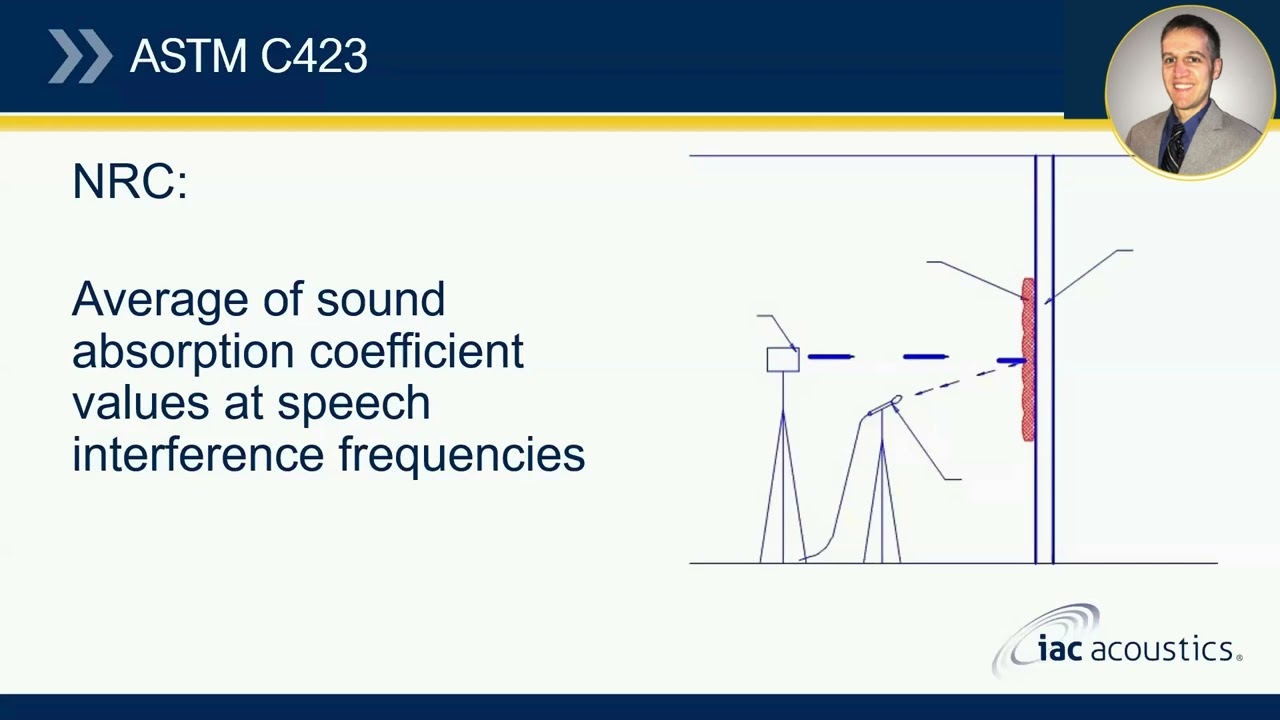
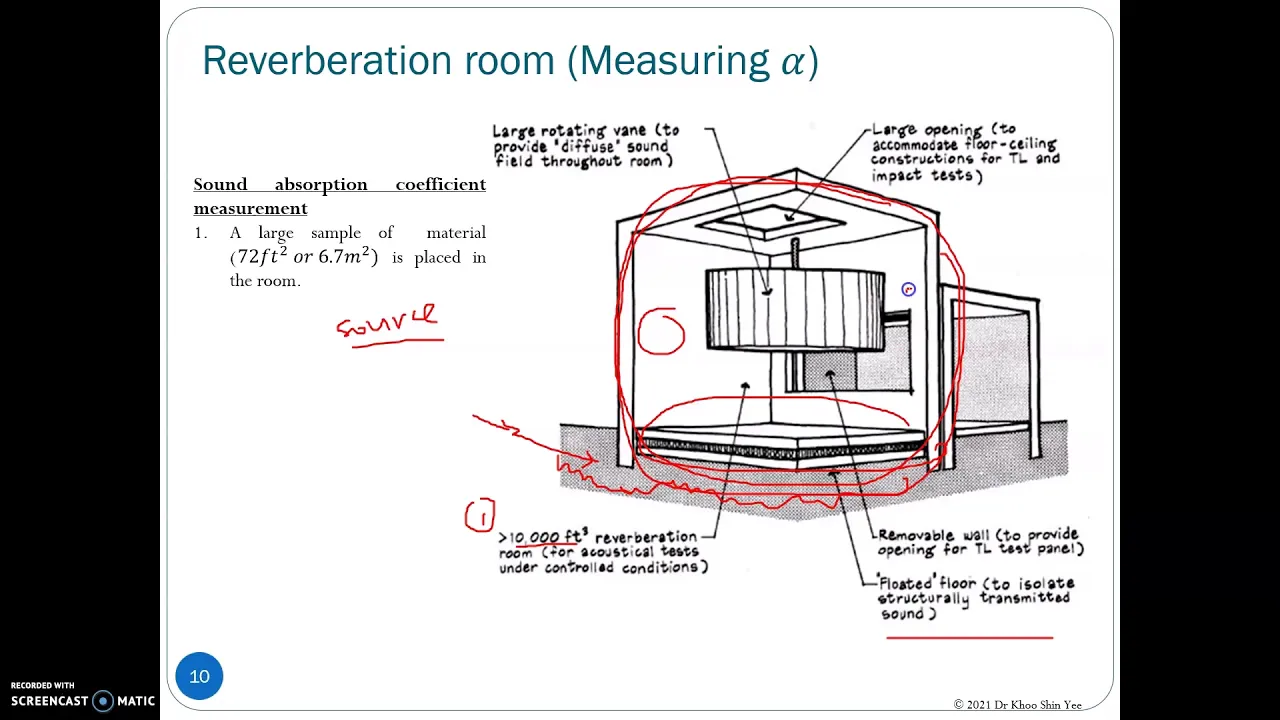
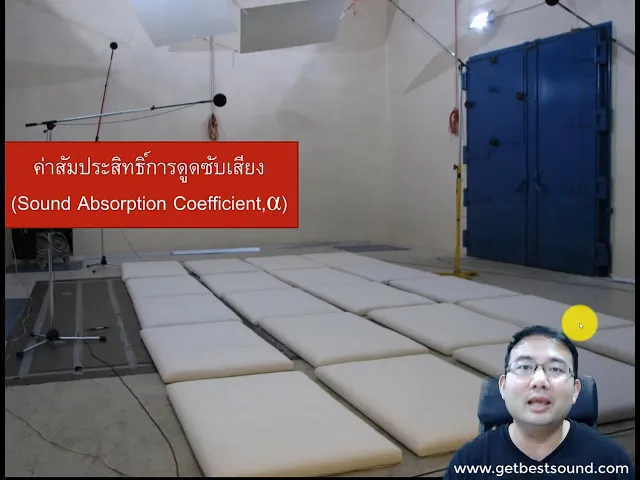
Understanding absorption coefficients and Noise Reduction Coefficient (NRC) ratings of materials like mineral wool, fiberglass, and foam.
Basic workshop safety and rudimentary woodworking skills, such as measuring, cutting, and framing with hand or power tools.
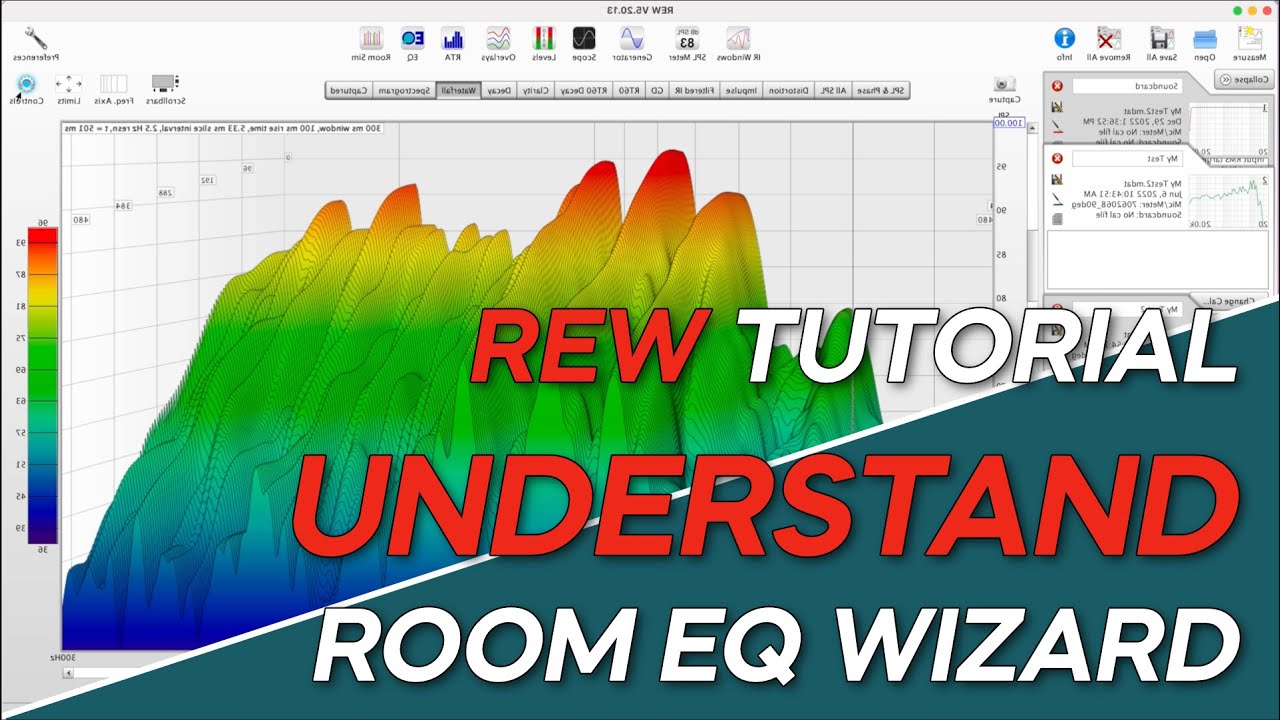
Using acoustic measurement software (like Room EQ Wizard - REW) and a measurement microphone to analyze room frequency response and decay times (RT60).
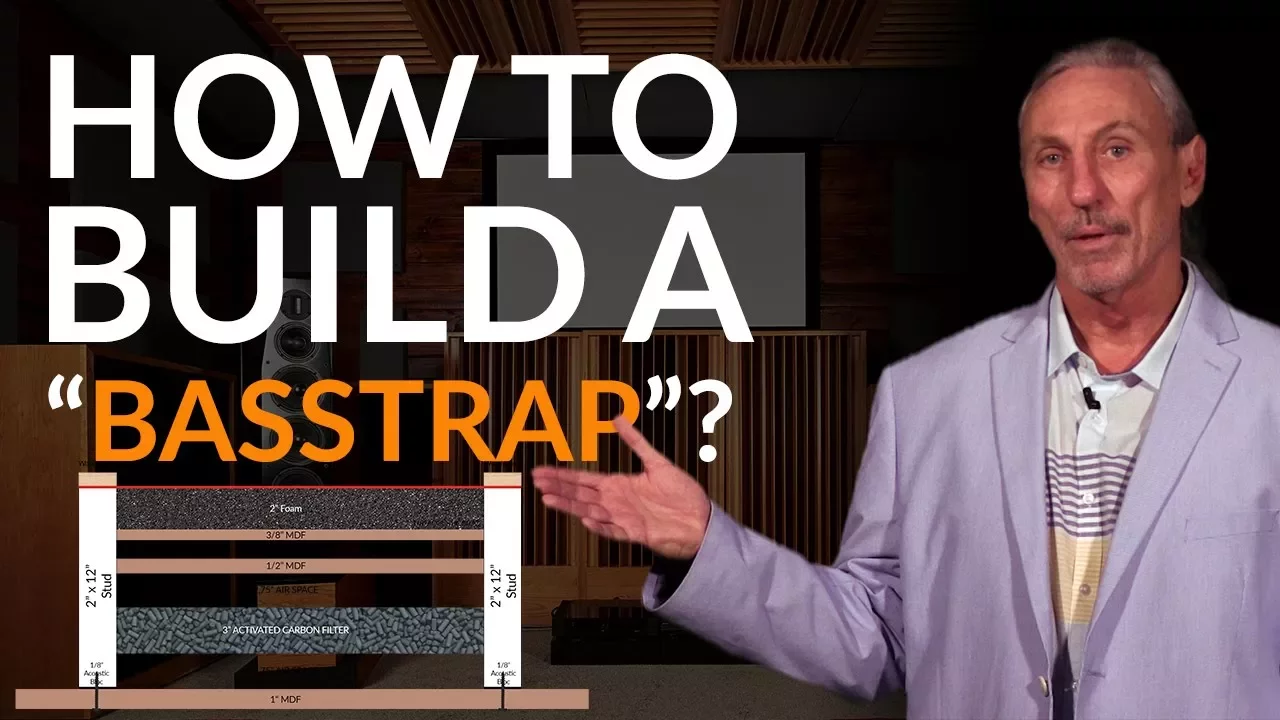
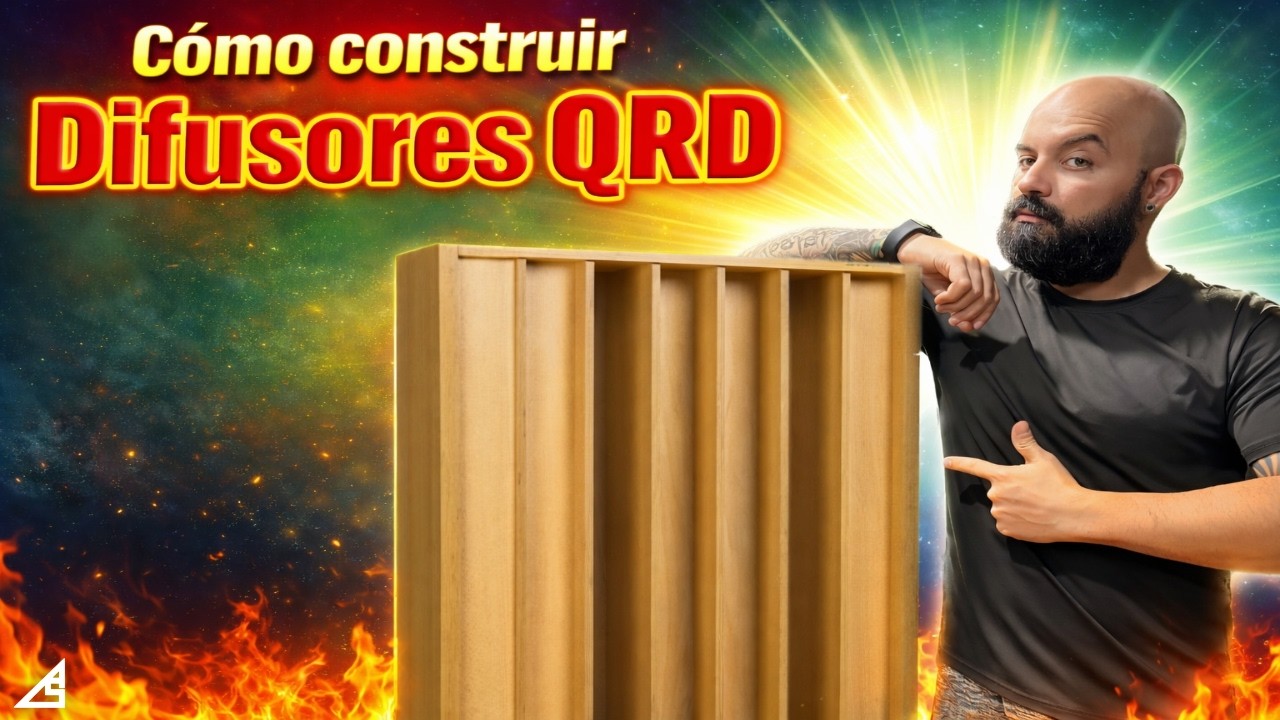
Designing and building advanced acoustic treatments, such as broadband bass traps, diaphragmatic absorbers, and mathematical diffusers (e.g., QRD diffusers).
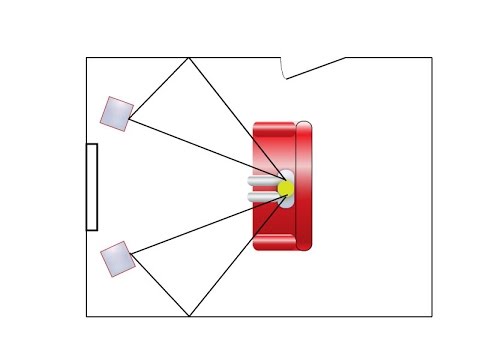
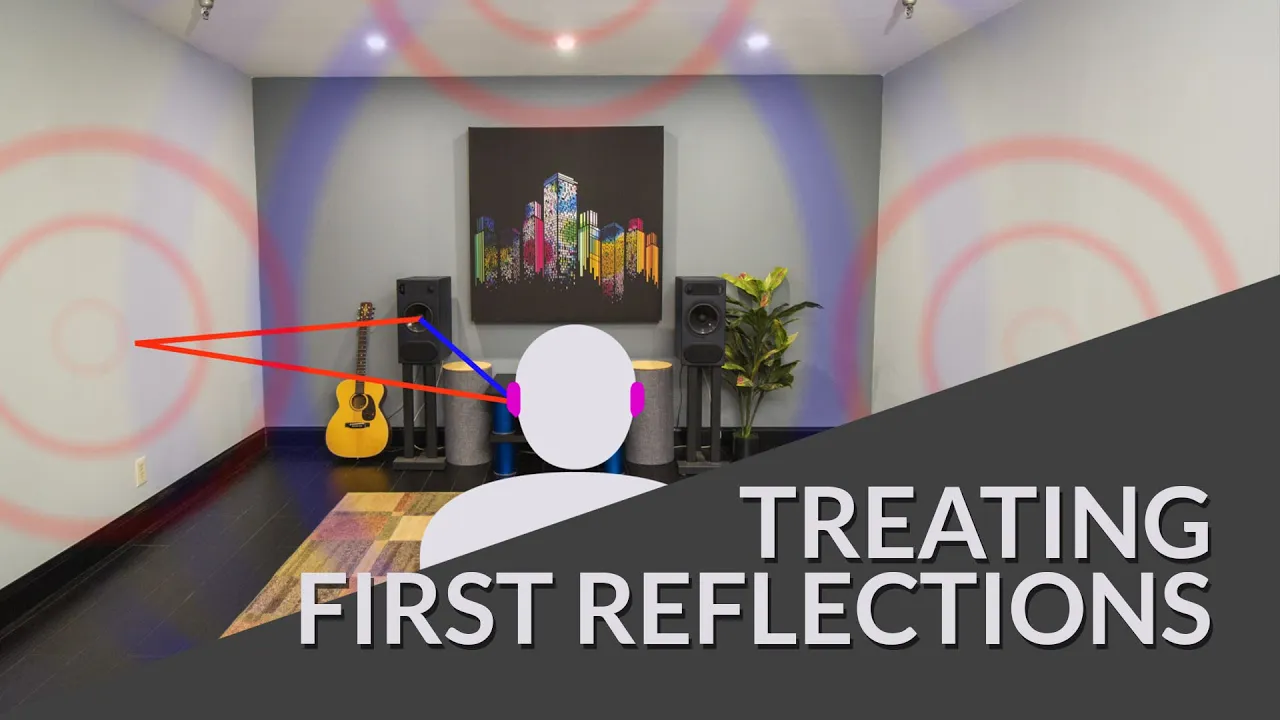
Finding and treating primary reflection points in a listening room using geometric methods (the mirror trick) for optimal stereo imaging.
Integrating physical room treatment with digital room correction software (DSP) to calibrate studio monitors for a flat frequency response.
90K views3.6Klikes7:39Original Release: 2021-10-23
today we're at bryce's house because i'm gonna build some acoustic panels for his little drum room [Music] wow it really is echoey in here yeah it's like drumming in a cave uh i mean especially only using one room which you know by the way what is that thing i'm glad you asked this is actually the new apogee height mic but more on that later [Music] i'm grabbing all of the random odd pieces of plywood that i have and ripping them down to three inches three and a half would probably be better just because of the size of the insulation we're using but his room is kind of small so we wanted to maximize every literal inch of the space [Music] and after ripping down a million strips i take them to the miter saw and cut them to length after that i sanded my life away because it's a lot easier to sand these pieces before they're assembled and really i just wanted to clean up any fuzz that was left over from cutting them and also to break the sharp edges so they're a lot easier to handle especially when adding the fabric and to put them together i'm just using butt joints with glue and brad nails i thought about coming back and adding screws where i said screw it glue and nails are fine [Music] [Applause] then here i'm cutting up all of these strips to fit inside of the panel half of them will be for a place to mount them to the wall i'll be using some z clips and need a place to screw them to the panel [Music] then i added a middle support to stiffen up the frame now we're on to the back side so this side will be against the wall and this fabric is actually weed barrier which you can find at any hardware store so this will keep the insulation from coming out of the back and just tidies up the look in case you do have x-ray vision [Applause] then for the installation we went with roxul safe and sound there are a lot of options when making panels so just do your own research on what will work best for you and your application now on to the front of the panels this is something i saw on another youtube video but they use window screen mesh to help hold the shape of the insulation and to keep the fabric on the outside looking tight and smooth and i think this will really help especially in my case where i had to cut up all the insulation to fit it all in also i gotta say that i bought this pneumatic t50 stapler just for this job and just looking back and thinking about the amount of staples i would have to do by hand with one of these things makes me very happy that i bought this thing so even if you're just building one of these panels then i highly recommend getting one of these things not a sponsor but this thing is great you know who is the sponsor of this video though apogee for this entire video i've been using the apogee hype mic which is a usb mic with three built in compressor settings shape mode squeeze mode which is what i've been using and smash mode or of course you can have it off so this mic would be great for conference calls podcasting or live streaming or you can use it on the go with your iphone or ipad it comes with all the usb cables you would ever need plus a tripod ball head mount which you can mount onto another stand pop filter and case and as you can see this thing is like tiny it's smaller than my hand so this will definitely be my go-to on-the-go mic especially because i can use it with my phone so if you're interested in checking out the hype mic for yourself or just want to learn more about it you can follow the link down below in the description so now let's staple some fabric on these panels [Music] honestly this part sucked and took way longer than i thought but through the power of editing i'm done or at least done with the fabric like i mentioned before i'm using z-clips to mount the panels so pretend this table is the wall oh there we go the bottom clip is screwed to the wall and the top is screwed to the panel so once they slide in the weight of the panel is what holds the panel in place super simple and i'm actually spacing the clips off of the panels a bit to get an air gap between the panel and the wall which helps with sound i'm no expert on acoustics but i'm sure everyone in the comments section is so just scroll down and i'm sure someone will explain it but since these spacers are on the top of the panel i have to make some other spacers for the middle so that the panel sits parallel to the wall and finally we can teleport to bryce's house and mount these panels [Music] so now that these panels are mounted on the wall let's unmount them and hear the room with no treatment first [Music] so [Music] man well it does sound better in here now yeah sounds pretty great cool so uh you're gonna pay me for these yeah um can i pay you an exposure
Up Next

6:50
How to Place Studio Monitors Correctly: The 38% Rule Guide
@EtherStudioOfficial
309 views•2025-09-10

12:54
Triumph of Orthodoxy Icon: Byzantine Art & History Explained
@BenCallan
2.1K views•2024-08-06

9:49
FastAPI vs Flask vs Django: Choosing the Right Python Web Framework
@TechWithTim
302.5K views•2024-05-26

1:42
Game of Thrones Opening Credits: A Cinematic Analysis
@gameofthrones
46.3M views•2011-04-18
Related Study Plans & Knowledge Roadmaps
Structured learning paths in General & Interdisciplinary Studies
general-studies
Elevator Engineering: History, Physics & Cities
01From Hoists to Safety Brakes: The Dawn of Vertical Lift
02Hydraulic vs. Traction: The Engineering Physics of Elevators
03Modern Speed, Safety, and Algorithms
+ 2 more learning modules
12h5 modules
Explore Roadmap
general-studies
Rubber: Material Science, History & Geopolitics
01Origins of Natural Rubber & Mesoamerican History
02The Chemistry of Natural Rubber & Vulcanization
03The Geopolitics of the Rubber Boom & Colonization
+ 2 more learning modules
12h5 modules
Explore Roadmap
general-studies
Containerization: Evolution, Logistics & Trade
01Ancient Trade & Bulk Cargo: Amphorae to Barrels
02The Industrial Revolution & Cardboard Packaging
03The Containerization Revolution: Malcom McLean
+ 2 more learning modules
12h5 modules
Explore Roadmap
general-studies
Textile Tech: Evolution, Labor & Global Impact
01Pre-Industrial Textiles: Handloom & Cottage Industry
02Mechanization: The Spinning Jenny to the Power Loom
03The Factory System & Global Labor Transformation
+ 2 more learning modules
10h5 modules
Explore Roadmap