






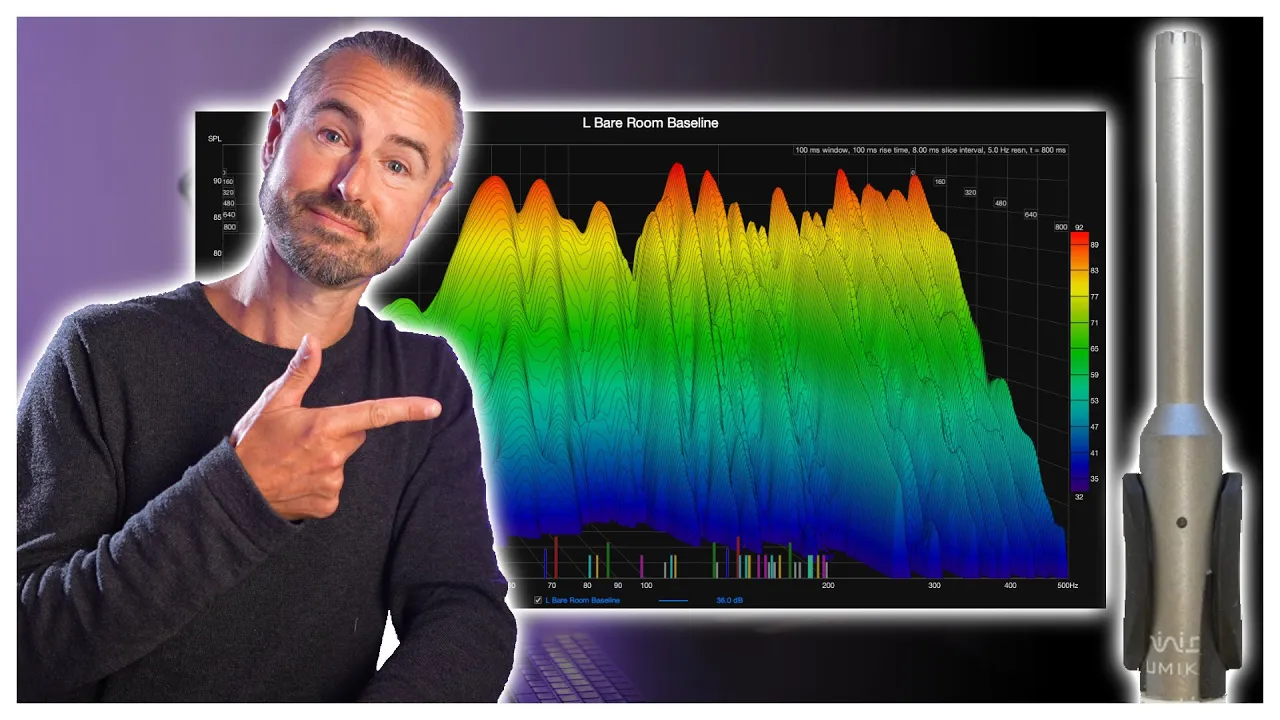
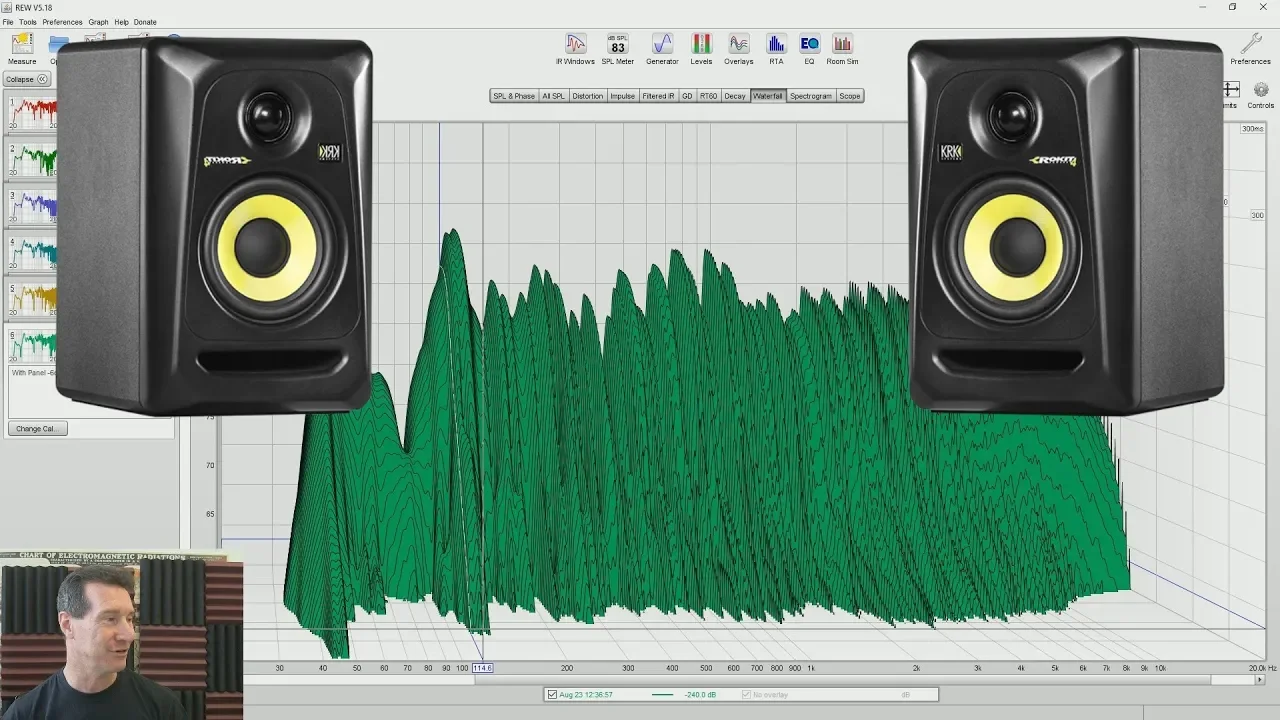

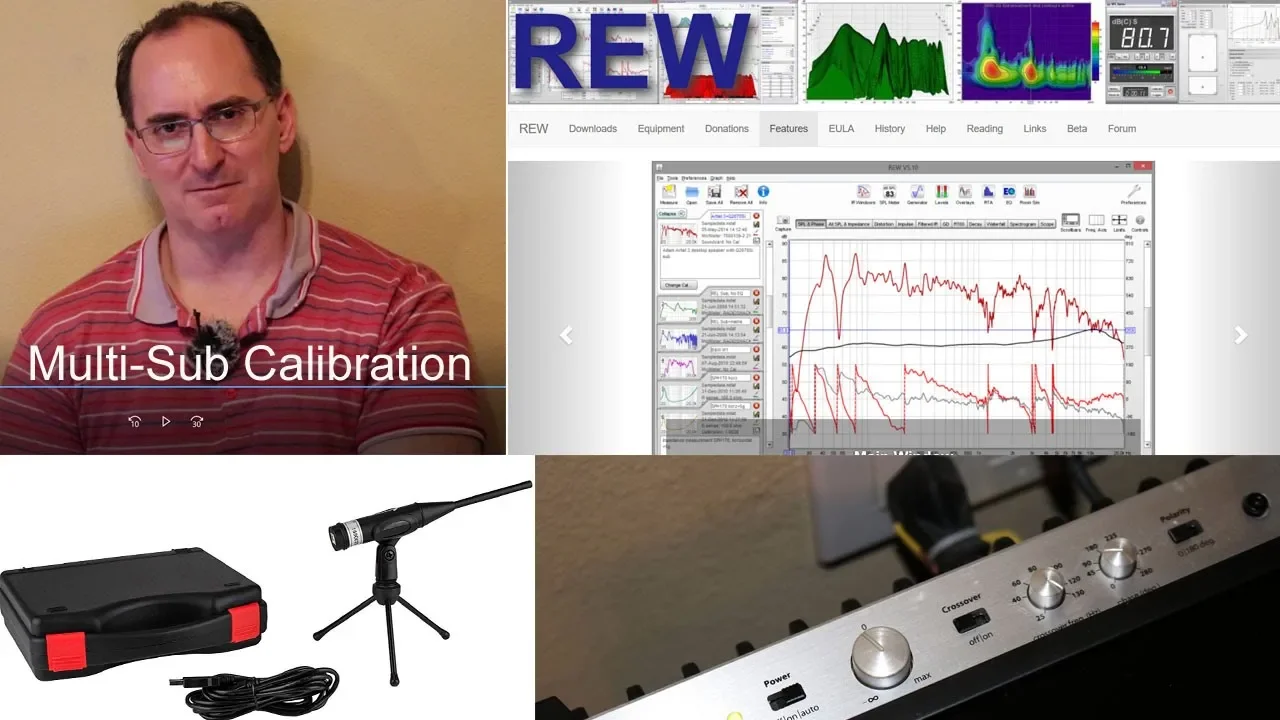
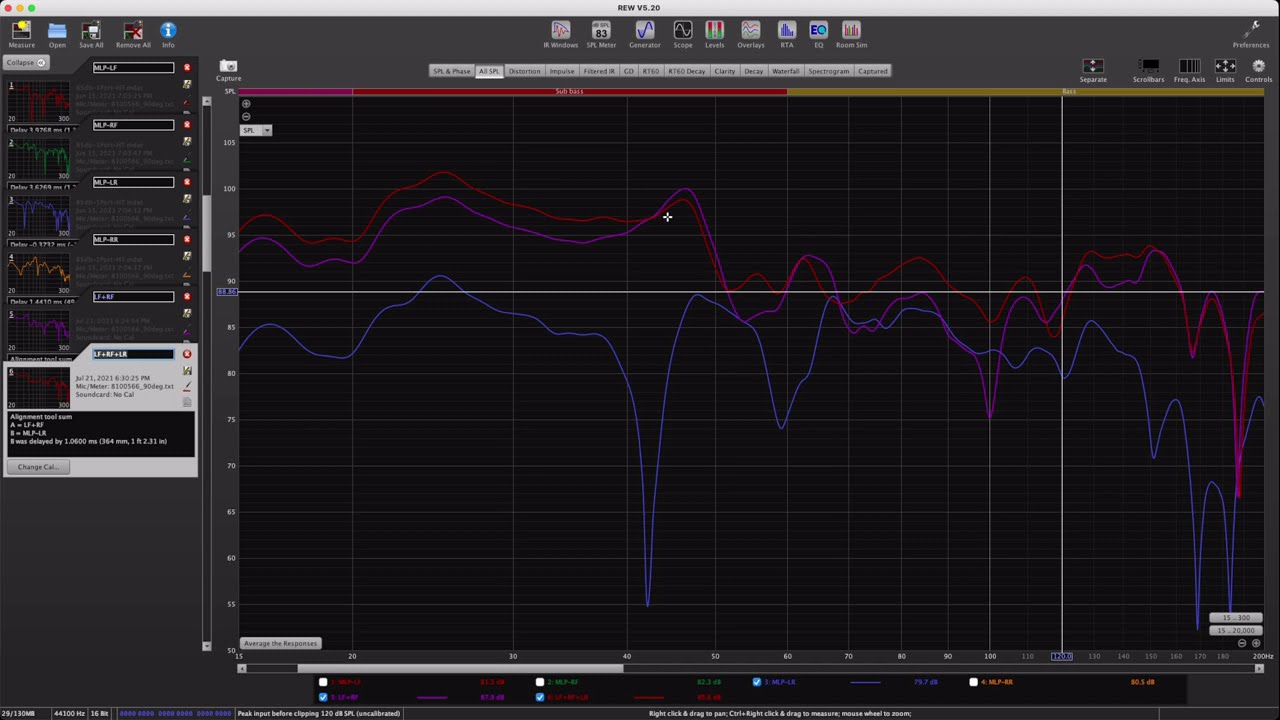
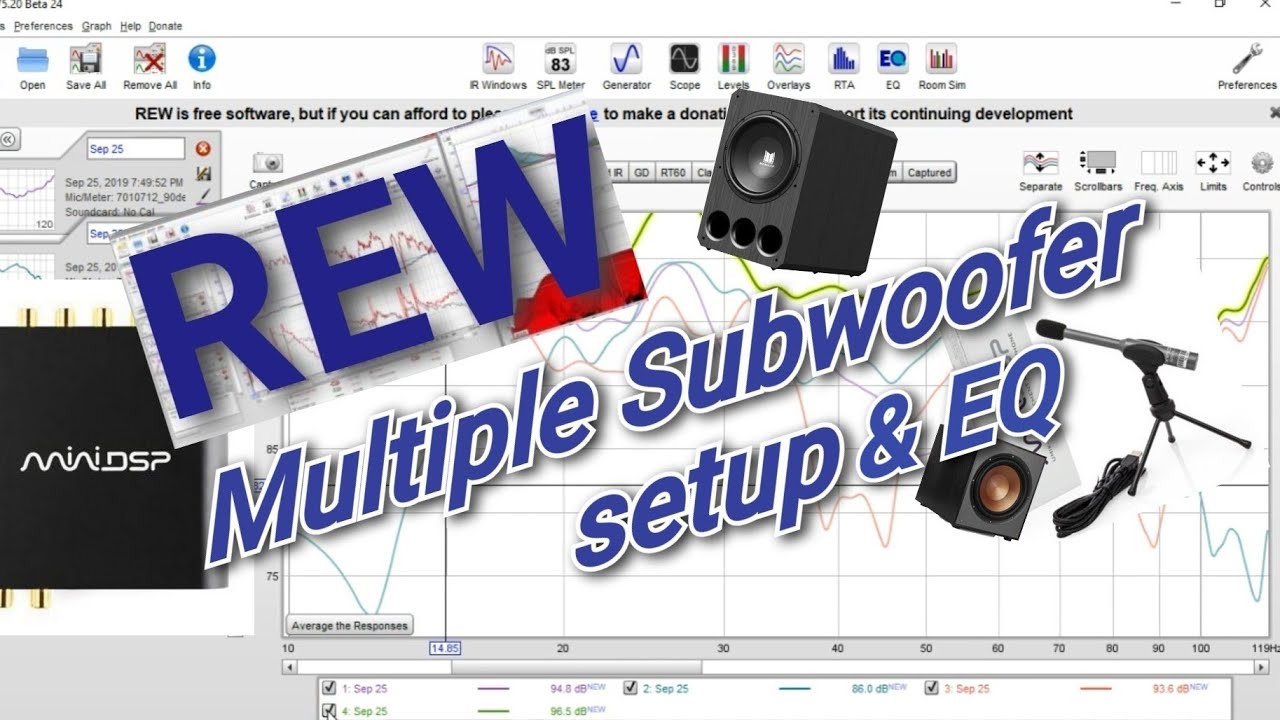

This tutorial demonstrates how to set up and use Room EQ Wizard (REW), a free acoustic measurement software, to analyze room acoustics by measuring frequency response, SPL, and decay times. The process involves connecting a measurement microphone (with proper calibration), configuring input/output devices in REW preferences, setting appropriate sweep levels (-12 dBFS), positioning the microphone at the listening position, calibrating speaker levels to approximately 76 dBA, and generating measurement windows including SPL, waterfall, and spectrogram plots to identify room modes and resonances for targeted acoustic treatment.
Room EQ Wizard Setup & Acoustic Measurements Tutorial
Added:Basic principles of sound wave behavior, including frequency (Hz), amplitude (dB), and phase.
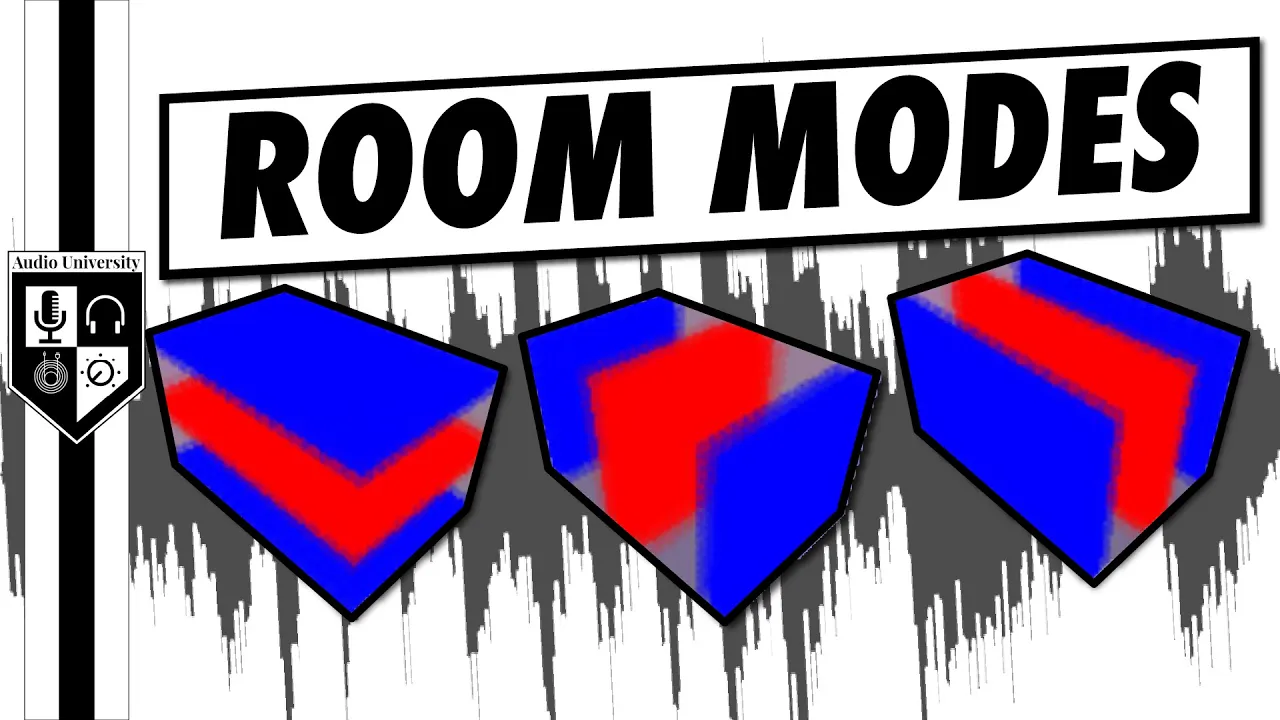
Fundamental concepts of room acoustics, such as room modes, standing waves, reflections, and reverberation.
Understanding the audio hardware signal chain, specifically the roles of omnidirectional measurement microphones, audio interfaces, and calibration files.
The difference between various decibel scales (such as dB SPL and dBFS) and the concept of Sound Pressure Level.
Designing and placing targeted physical acoustic treatments, such as bass traps, broadband absorbers, and diffusers, based on measurement data.
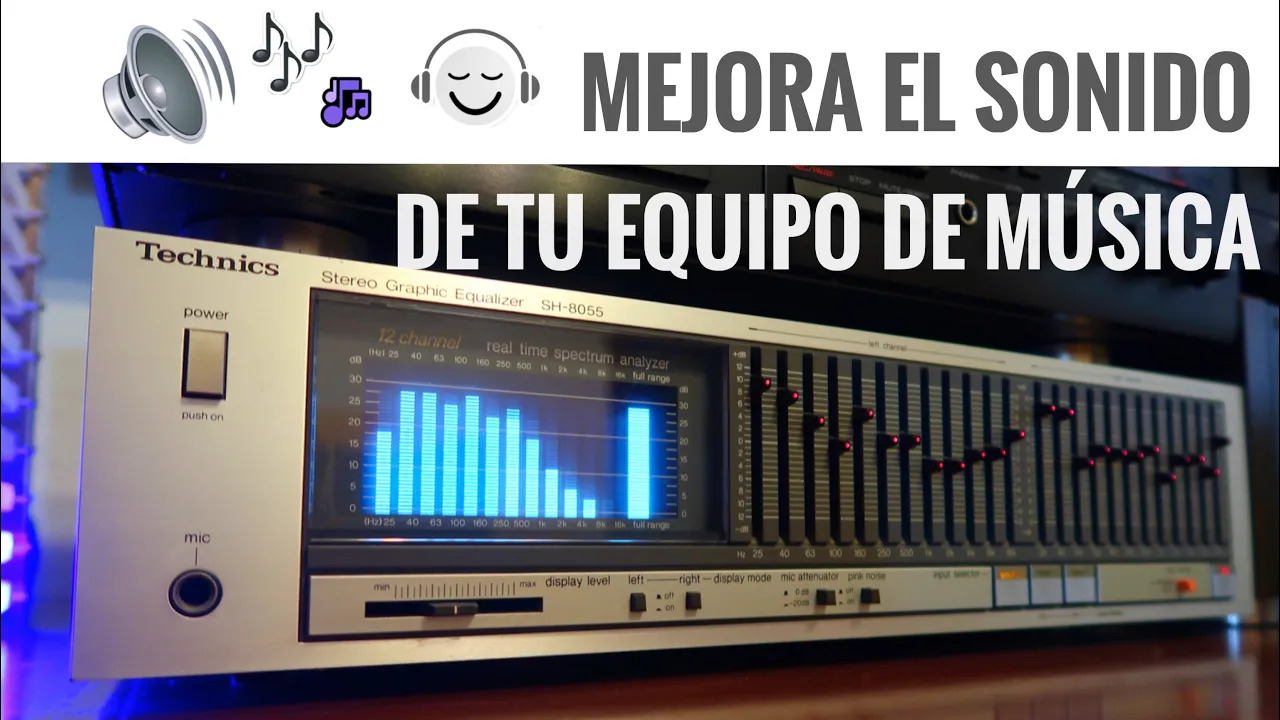
Generating and applying EQ correction curves using DSP software or hardware (e.g., MiniDSP, Equalizer APO) to flatten room frequency response.
Interpreting advanced acoustic graphs, such as Waterfall plots, Spectrograms, Impulse Response, and RT60 decay times, to diagnose specific room anomalies.
Integrating and aligning multiple subwoofers using REW's alignment tool or external optimization software to achieve even low-frequency distribution.
182.7K views2.6Klikes6:52Original Release: 2023-01-11
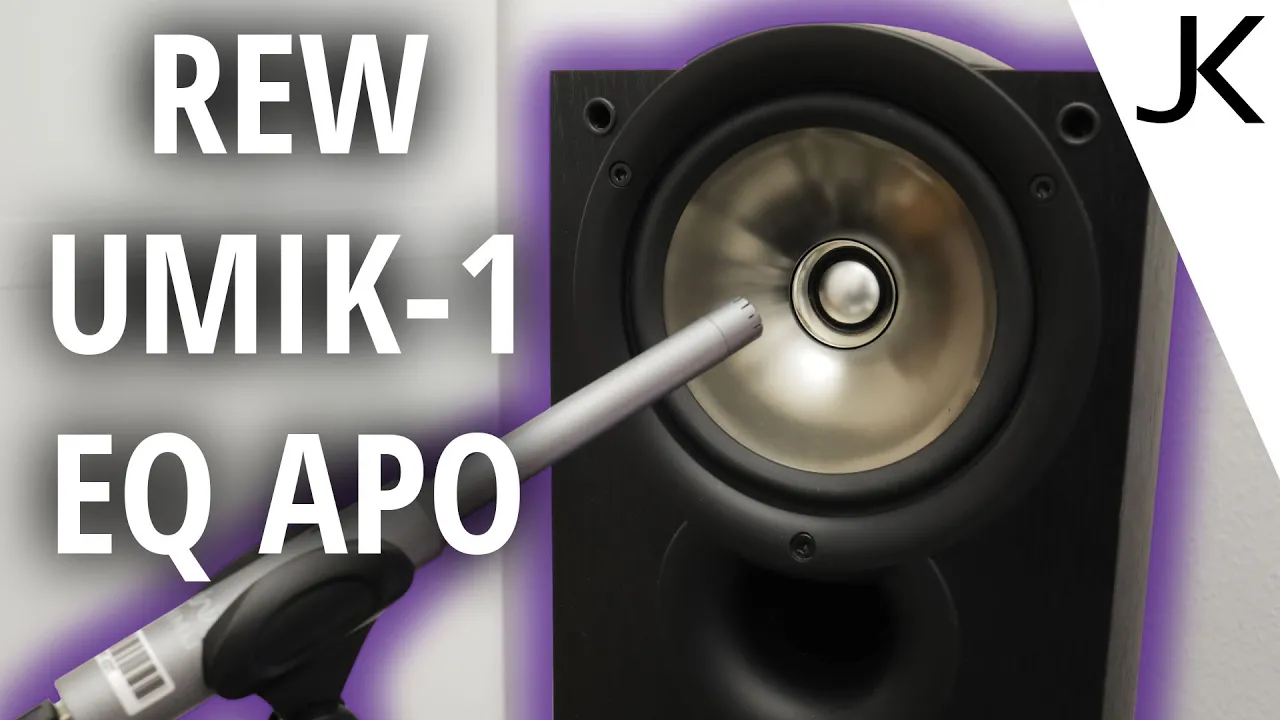
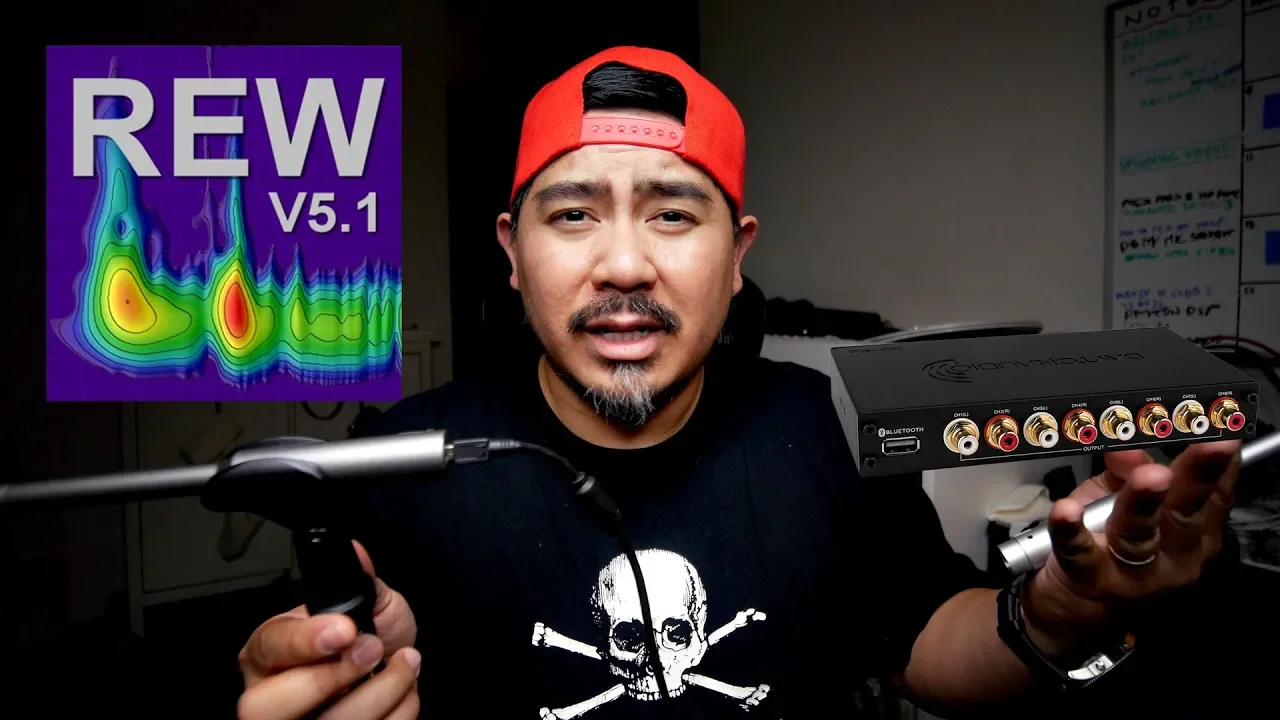
a real measurement is a great way of understanding the acoustic reality of your space and with the help of this guide a free piece of software and an inexpensive measurement microphone you can do it too but why measure your room in the first place here are two things a measurement will do for you first being able to see a visual representation of what you're hearing puts things into perspective our hearing can become accustomed to any listening situation and you can't really trust yours anymore when it comes to judging either your room or your speakers second it helps identifying critical acoustic issues so we can Target them purposefully with treatment especially Decay times are really difficult to judge by year and having an acoustic measurement of your space really helps us tailor an acoustic solution exactly to your needs first we need to choose the right microphone for the job measurement microphones capture sound omnidirectionally and usually come with a dedicated calibration file to create a perfectly flat frequency response when applied the mini DSP you make one already comes with a built-in USB sound card to plug directly into your computer while ordinary measurement microphones like the Dayton audio emm6 feature an XLR connector and require an external audio interface as for software we are using Rumi Q Wizard or Rew a free powerful software capable of measuring and analyzing Roman loudspeakers to download Rew go to roomycules.com and choose the version that suits your operating system after the download is finished with the installation started we need to set it up correctly connect your amenities to make one or your sound card to your computer now open Rew and click on preferences at the top we can choose from the connected input and output devices select the measurement microphone or the correlating input on your sound card as the input and select your main speakers as the output below you find a setting called sweep level this sets the output level for the test tense minus 12 DB is a good starting point here you want to set up the measurement microphone on a stand at the listening position and adjust it for your height if you are using an USB mic simply connect it to your computer in case you have an XLR mic connect it to your sound card and make sure to turn on phantom power as those are usually condenser mics now we need to set the levels to do so open the SPL meter the generator and the levels meter set the generator to white noise at -12 dbfs and click play just make sure to turn down your speakers in advance now slowly turn up your speakers until you read about 76 DBA at the ESP alameter also make sure the input signal is not clipping on the levels meter levels around -12 dbfs are considered optimal close the SPL meter generator and levels meter again and click on measure at the top left corner to open the measurement window we want to measure SPL and use a sweep length of either 256 or 128k with run repetition set the range to 20 to 20 000 Hertz and the levels to -12 dbfs again as for the output select either L or R [Music] to avoid interference between both channels we want to measure each speaker separately click on start to begin the measurement [Music] after you hear the science sweep a graph will appear in the sbl tab of the main window to understand the measurement we are looking at the following three windows SPL waterfall and spectrogram each plot tells us something different about the room SPL plots the sand pressure level over the frequency it shows which frequencies are over or underpronounced at the listening position at first it looks foreign which is why we want to apply what is called active smoothing in the graphs menu one over six smoothing is usually the best visual representation of what we hear the sbl tab also allows you to view the phase response in the same window simply check mark phase at the bottom to zoom in on specific sections you can use the plus and minus button on each axis [Music] here are multiple measurements or do some a b testing you can use the all SPL tab the bottom check mark the measurements you would like to compare more important than the SPL response might be to see how sound behaves over time both the waterfall and spectrogram plot Decay times over frequency and help us identify room modes and resonances click on the waterfall Tab and then on generate to create a waterfall plot for the selected measurement access the range between 20 and 300 Hertz with a range of 60 DB use the limits control and enter 20 and 300 for the Left Right limit now we just need to adjust the third axis by clicking Ctrl and entering 300 for the window and 500 for the time range [Music] spectrogram is a little bit easier to view because it's basically a representation of the waterfall view from above click on the spectrogram tab and then on generate to generate the font the colors now represent the SPL levels while the axis of the Decay times over the frequency which allows for a very quick assessment of room modes and general Decay times across the entire Spectrum at GLK we can take those measurements and offer an in-depth analysis of your room as well as recommend the best treatment solution based on the actual test data to share the measurements with one of our advisors make sure you choose a meaningful name for each sweep now click on save all enter any notes you like or skip by clicking ok name the file click on Save and your measurements are ready to be sent off let us know in the comments below if you have any further questions about Rew or the optimal treatment strategy for your room also don't forget to subscribe to our channel for more educational videos and follow the link below to submit your free acoustic advice form to get the very best sound for your space [Music]
Up Next

13:39
How to Use Room EQ Wizard: Acoustic Measurement Tutorial
@MusicCityAcoustics
408.7K views•2022-03-10

12:54
Triumph of Orthodoxy Icon: Byzantine Art & History Explained
@BenCallan
2.1K views•2024-08-06

9:49
FastAPI vs Flask vs Django: Choosing the Right Python Web Framework
@TechWithTim
302.5K views•2024-05-26

1:42
Game of Thrones Opening Credits: A Cinematic Analysis
@gameofthrones
46.3M views•2011-04-18
Related Study Plans & Knowledge Roadmaps
Structured learning paths in General & Interdisciplinary Studies
general-studies
Elevator Engineering: History, Physics & Cities
01From Hoists to Safety Brakes: The Dawn of Vertical Lift
02Hydraulic vs. Traction: The Engineering Physics of Elevators
03Modern Speed, Safety, and Algorithms
+ 2 more learning modules
12h5 modules
Explore Roadmap
general-studies
Rubber: Material Science, History & Geopolitics
01Origins of Natural Rubber & Mesoamerican History
02The Chemistry of Natural Rubber & Vulcanization
03The Geopolitics of the Rubber Boom & Colonization
+ 2 more learning modules
12h5 modules
Explore Roadmap
general-studies
Containerization: Evolution, Logistics & Trade
01Ancient Trade & Bulk Cargo: Amphorae to Barrels
02The Industrial Revolution & Cardboard Packaging
03The Containerization Revolution: Malcom McLean
+ 2 more learning modules
12h5 modules
Explore Roadmap
general-studies
Textile Tech: Evolution, Labor & Global Impact
01Pre-Industrial Textiles: Handloom & Cottage Industry
02Mechanization: The Spinning Jenny to the Power Loom
03The Factory System & Global Labor Transformation
+ 2 more learning modules
10h5 modules
Explore Roadmap