






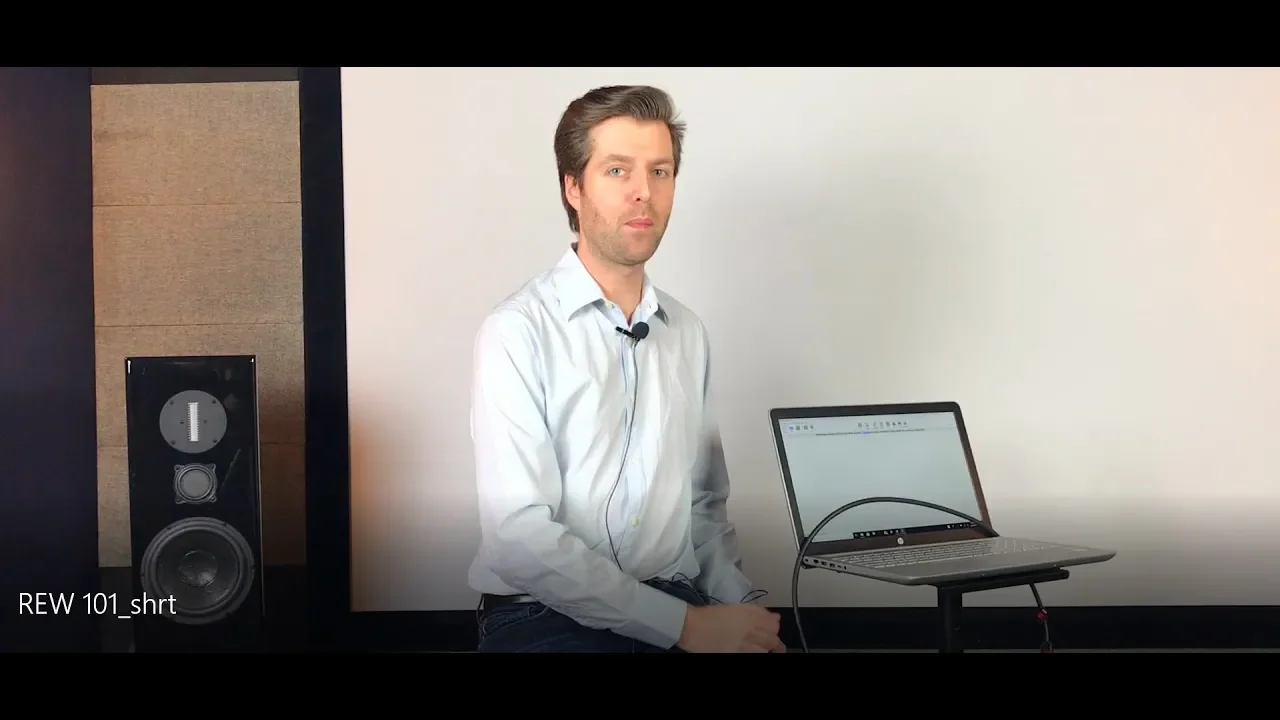


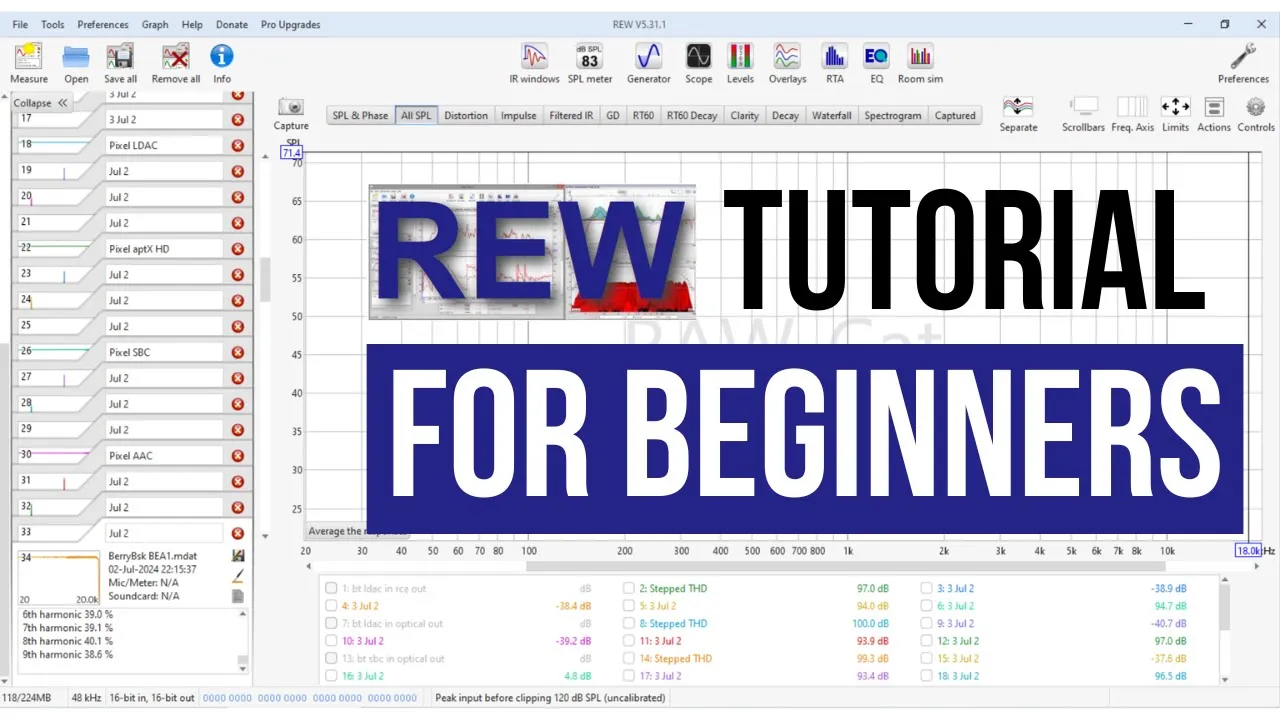

This tutorial covers the complete setup process for Room EQ Wizard (REW), a free acoustic measurement software, including configuring audio inputs/outputs, calibrating your soundcard through a loopback test to remove interface artifacts, loading microphone calibration files to account for each microphone's unique frequency response, and setting input levels using an SPL meter for consistent reference measurements. The video emphasizes that proper calibration is essential for obtaining accurate room measurements, as uncalibrated equipment can introduce significant measurement errors. Key equipment requirements include a computer, audio interface with at least two channels, measurement microphone with calibration file, and SPL meter. The presenter notes that professional studios typically achieve frequency response within ±3dB, while home studios normally range between ±5dB, establishing realistic expectations for acoustic treatment goals.
How to Use Room EQ Wizard: Acoustic Measurement Tutorial
Added:what's up everyone graham here with music city acoustics and we're talking all about room measurements do you know how to take measurements of your room or how to analyze those measurements looking at waterfall plots frequency response graphs impulse responses decay times and more in this two-part series we're going to show you step-by-step how to take measurements of your room using room eq wizard a completely free and super powerful software program and then we're going to show you how to analyze those measurements so you can build an action plan for improving the sound in your studio so more than likely you have just about everything we're going to need to get started you need your computer an audio interface with at least two channels your speakers cables to hook everything up together a microphone stand tape a tape measure and then we need a couple things more specific to taking room measurements we need a measurement microphone an spl meter and of course room eq wizard when it comes to measurement microphones you don't need to spend a lot of money we've got this bearer dynamic mm-1 it's a couple hundred dollars but there's a ton of great options out there for around 100 bucks the most important thing is to make sure when you're buying a mic that it comes with a calibration file it's a file that you should be able to download after you've bought the mic that will tell rew the exact frequency response of your microphone and then the same thing applies for your spl meter you can either get one right on your phone for free or you can buy a standalone one like this our checkmate cm 130. we've got links to both microphones and spl meters down below so check those out now that we know what gear we're going to need let's download rew onto the computer and get started so on my roomy qwizzard.com clicked on the mac os download i'll go ahead and get that installed and we're going to open it up so all the default settings for the installer will work great and then as soon as we click finish rew is going to open up so we've got rew pulled up it shows you the user manual the first time you open it and rew is a really comprehensive powerful tool and the user manual is very well written and has a ton of great information about acoustics and measurements uh and the different ways that rew is actually taking those measurements so if you're curious about any of it definitely check it out it's an awesome resource for now i'm going to go ahead and close the manual and then we will go ahead and get our audio inputs and outputs set up we're going to do that under the preferences tab so i'm going to go up here in the top right to this wrench and that will pull up our preference window and from here you can select your interface your sample rate the inputs and outputs that you want to use and then we'll be able to calibrate our sound card from here so i'm going to go ahead and select my duet for both the input and the output and then i'm going to change my sample rate to 48k you can use either 441 or 48k whatever you're working with will be totally fine here and then i prefer to use the left output and left input for my system that's just because i think of those as one either one works works just fine we don't need to change anything here in the input or set output channel mapping controls and that leads us to this sound card calibration so now we're ready to create a sound card calibration file for your interface this allows rew to measure identify and then remove any potential artifacts or distortion that your interface might be imparting on the measurements otherwise to calibrate your sound card you need to plug the output of your interface directly into the input of your interface so once you have the output of your interface plugged into the input of your interface we're ready to hit calibrate sound card right here rew is just telling us a little bit more about the loopback that we created and how it's measuring the frequency response we're going to hit next through that so as we'll see right here it's telling us we want a fairly high level between minus 12 and minus 6dbfs right here is going to be the output of your audio interface and right here is going to be the input and we want to make sure that the input is coming in around minus 12 to minus 6 db so let's hit next and then you should start to see signal pop up so again this is the output and here's the input so mine's looking pretty low so i'm going to go ahead and turn up the output of my interface this is the same way that you would turn up your speakers if you were listening to something so i will start adjusting this and we should see this level come up so once it's showing minus 12 or right around minus 12 to match the output i'm going to go ahead and hit next so we'll hit next one more time and rew is going to start taking a measurement all on its own we can see that happening here so this is the measurement that it's going to use to create the calibration file for your interface so if we hide our preferences for a second you can see the measurement that it took and it should look something like this where it's relatively flat your interface should not be imparting a lot this is just a stop gap to make sure that any you know frequency response changes or variations that your interface does have aren't going to impact your measurements so we'll bring this back up and the last step in this process is to hit make cal file you can enter any notes you have and then you want to make sure you go ahead and save that somewhere so you can pull that back up anytime you need it so we'll name this duet cow file i'm just going to go ahead and save that on my desktop so rew should have automatically loaded in your calibration file that you'll see right here if that doesn't happen for any reason go ahead and hit browse you can search your computer for it from there the last step that we need to take before we can start making some noise is to load in our microphone calibration file double check what your input settings are here so duet usb microphone is mine and i'm going to go to the cal files tab here and then i'm going to find duet usb microphone and this is where we want to load in the calibration file for your microphone i'm going to hit browse and then i already put in that rew folder that i created the calibration files that i got from bearer dynamic so you'll see here i have two different calibration files i have a zero degree one and a 90 degree one and they have to do with the orientation that you're gonna have your mic in when you're taking measurements i like to take my measurements in the 90 degree position or with my microphone vertical the reason for this is that you get a flatter frequency response out of the microphone when you orient it horizontally you get a buildup of pressure at high frequencies when it's pointed directly at the speaker if you don't have both calibration files this isn't a huge deal it is mostly just a difference that occurs at really high frequencies and most of what we're looking at in our measurements is going to be lower in the frequency range and then the whole reason for this calibration file is that every microphone has its own frequency response and if we know what it is rew just like we did with our interface can eliminate any interference or variations that the frequency response of your microphone might otherwise impart on your measurements now that we have calibration files for both our microphone and our audio interface we need to calibrate the input level into rew to do this i'm going to open up the spl tool this allows us to move the microphone or our speakers and to compensate for the level changes that those might introduce so that we can compare apples to apples different listening positions or different speaker placements and know that what we're seeing is the change in placement and not just a change in distance from our microphone to our speakers for all my measurements i like to use 80db c weighted for my reference level this makes sure that i have a good signal to noise ratio and that background noise won't be a problem with any of my measurements so let's jump in and i'll show you how to calibrate our input level we're ready to start making some noise i've got my measurement microphone my spl meter and the spl tool pulled up here in rew i'm going to go ahead and click on calibrate here and that will pull up this dialog box that says choose signal source i'm using a speaker for these measurements instead of a sub so i'm going to go ahead and select speaker cal signal and then we're going to hit ok as soon as you hit ok rew is going to start generating a signal so make sure your interface is turned down before starting this so take your spl meter and hold it right next to your measurement microphone the target here is to get the level on the spl meter to read 80 db so my spl meter was reading right at 80 dbc but i wasn't getting any signal from my microphone so i got this warning here that says the input level is too low if this happens just make sure phantom power is turned on or like in my case that your mic gain isn't turned all the way down so i'm going to go ahead and do this process one more time so with my mic gain adjusted i was able to get a signal coming through there and now everything's ready to go now we can go ahead and close out this spl tool any time that you move your microphone or your speakers just pull it up and recalibrate things real quick so that every measurement you take has a consistent reference level we're finally ready to start taking measurements i'm going to go up here to the top left corner and hit measure that brings up the measurement window there's a lot of options here so let's walk through everything and then we're going to be ready to start taking measurements so the first thing i want to do is name my measurement the note section is super useful for putting in any info about the measurement that you're taking so anything like microphone placement or speaker placement if it's the first listening position you're testing or the second listening position so right below notes we have the range and that's going to be the starting and ending frequency for your measurement i like to have my measurements start typically at 15 hertz so just below what we can typically hear and then going up to 20 000 hertz is fine for the level i just leave this at -12 that's what we calibrated the system at and everything should be working great there up here in settings we have the length of the sweep that rw is going to take and the number of repetitions i prefer to set this to 512 and at least two repetitions the more accurate that you want your measurements to be the longer the sweep should be and the more repetitions that you should take so that rew can average those out and provide you with a more accurate result of what's actually going on in your room for our basic measurements we don't need to change anything here in timing under protection we'll leave abort of heavy input clipping occurs the next thing that we need to adjust is the delay setting here i like to push this up to around six seconds so that when i hit start measurement that measurement doesn't actually start for six seconds that gives me time to move away from the microphone or to leave the room so that i'm not interfering at all with the measurements that i'm taking the last thing that we need to check on is our output and input settings your input settings should stay pretty consistent so your output settings will change depending on whether you're measuring your left speaker or your right speaker or both i'm going to start with my left speaker so we're going to leave this as it is but if you click on this you can change it to your right speaker or your left and right speakers and then you can take different measurements depending on what you're going for our calibration files are already set in our preferences so we don't need to do anything here but if you click on it you can just double check that everything's loaded correctly now we're ready to take our first measurement all we have to do is hit start and rew will do the rest [Music] so we've got our first measurement pulled up here in rew and the first thing we're going to do is save it to make sure we don't lose anything to save all the measurements in your rew window hit save all you can add any notes that you want and then you can name it and choose where it's going to be saved now you've got your measurements saved you'll be able to pull them up anytime or you can also send them off to us if you're looking for help with your room we're happy to help you analyze them and give you input on how to treat your room before we wrap this up i want to talk a little bit about what those measurements should look like and the expectation levels that you should have for your measurements so to give you some context the best studios in the world have a frequency response that falls around plus or minus 3 db and the best home studios have a frequency response that normally falls between plus or minus 5 db sometimes even a little bit higher so there's going to be a pretty wide gap from top to bottom in terms of your frequency response and that's totally normal let's take a quick look at the measurements we took here in my office and i'll show you a little bit more about that so i'm going to quickly hide our phase mic cal and sound card cal so we don't need to be viewing those and then we're going to zoom in here a little bit on our measurement so i'm going to change these limits in the top right corner i'm going to drop this down to 100 and then pull this up to 50. and this is basically just going to zoom in our measurements and we can see here the bottom level in my office is around 72 db and excluding this big peak here the top level is right around 90 db so it's about a plus or minus 9 db range for my frequency response that gives you 18 db from top to bottom from our lowest level to our top so that's quite a bit and we will definitely want to see that smoothed out if we were treating the low end in here for a room that doesn't have any low end absorption or any bass trapping in here you should expect to see some pretty crazy uh jumps from the bottom of your graph to the top of your graph and that's totally normal it just means this office has a lot of room for improvement if we were trying to turn it into a mixing room in part two of our series on rew we'll walk you through how to analyze your measurements and break down what's going on in your room we'll take you through waterfall plots frequency response graphs impulse responses decay times and even the room simulator in rew i hope this video was helpful and gives you a jumpstart on taking measurements in your room if you liked it please like and subscribe to our channel and we'll see you in the next one
Up Next
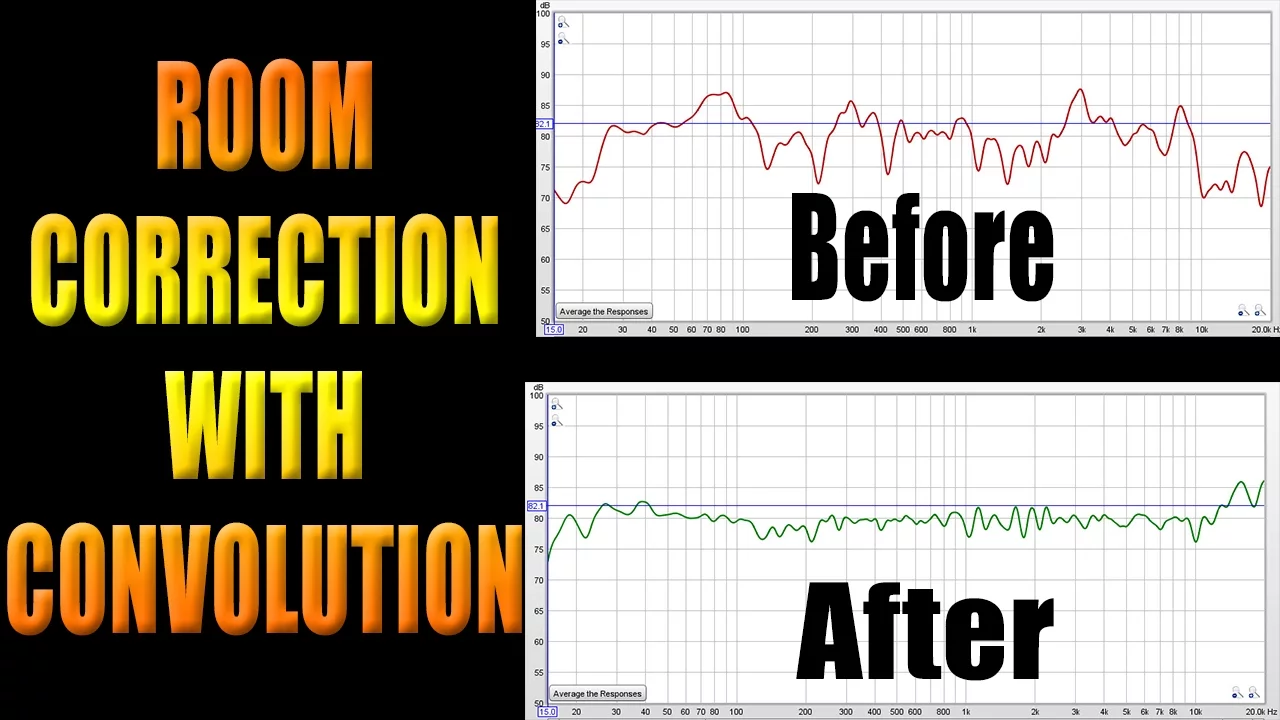
Room Correction with Convolution Plugins: REW Tutorial
@Dozerbeatz
154.5K views•2016-04-10

Triumph of Orthodoxy Icon: Byzantine Art & History Explained
@BenCallan
2.1K views•2024-08-06

FastAPI vs Flask vs Django: Choosing the Right Python Web Framework
@TechWithTim
302.5K views•2024-05-26

Game of Thrones Opening Credits: A Cinematic Analysis
@gameofthrones
46.3M views•2011-04-18
Related Study Plans & Knowledge Roadmaps
Structured learning paths in General & Interdisciplinary Studies