













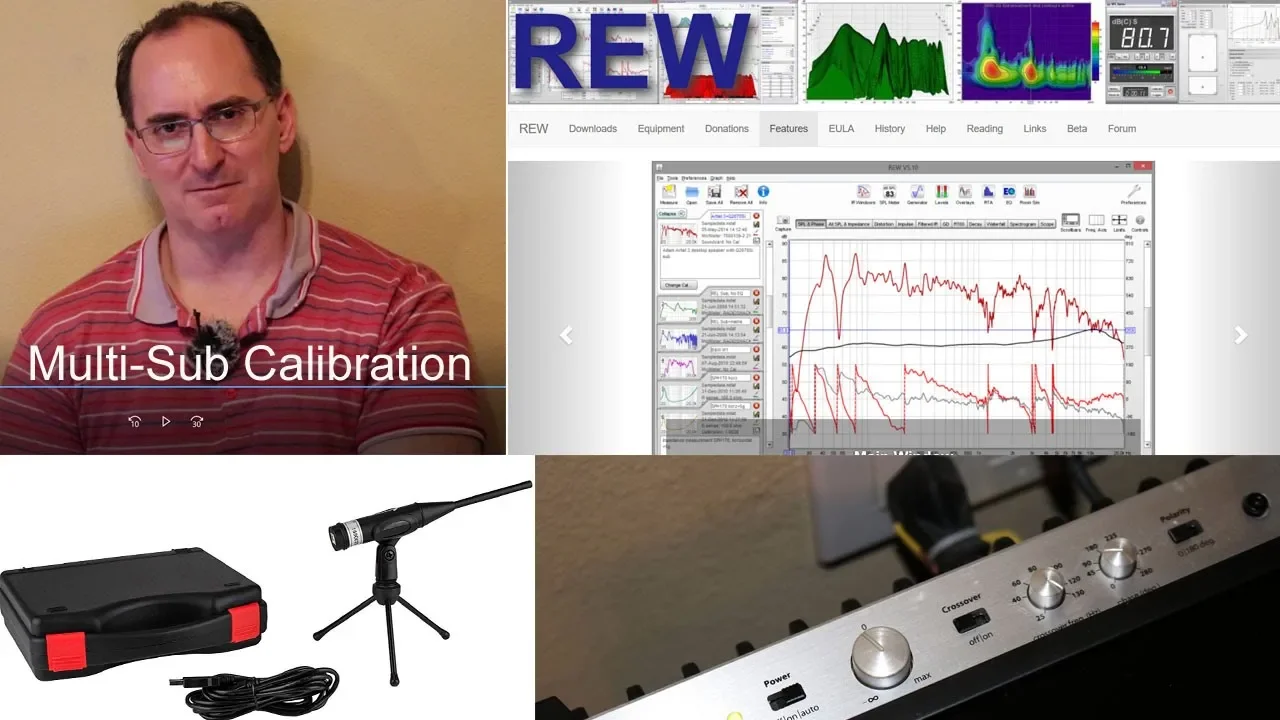



This tutorial demonstrates how to use Room EQ Wizard to create digital room correction filters by measuring your studio monitors' frequency response, exporting the correction as a stereo impulse response file, and loading it into a convolution plugin on your DAW's master bus to achieve a flatter frequency response for more accurate monitoring during mixing and mastering.
Room Correction with Convolution Plugins: REW Tutorial
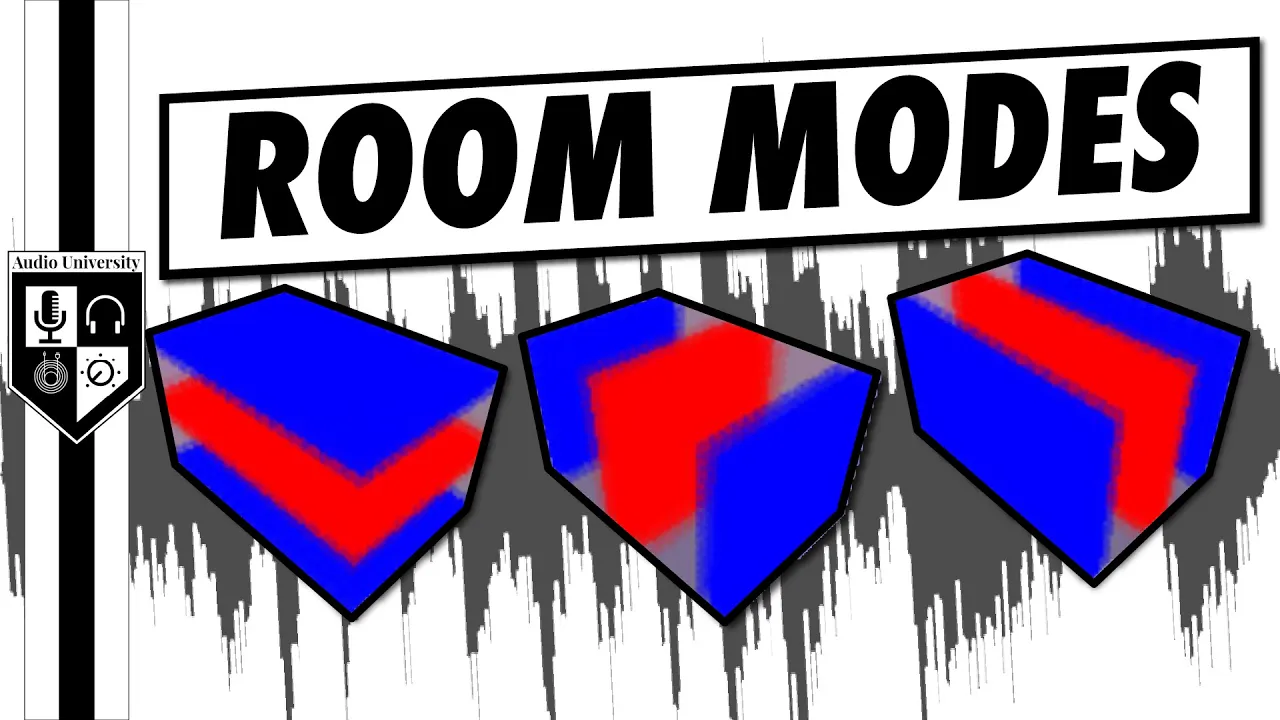
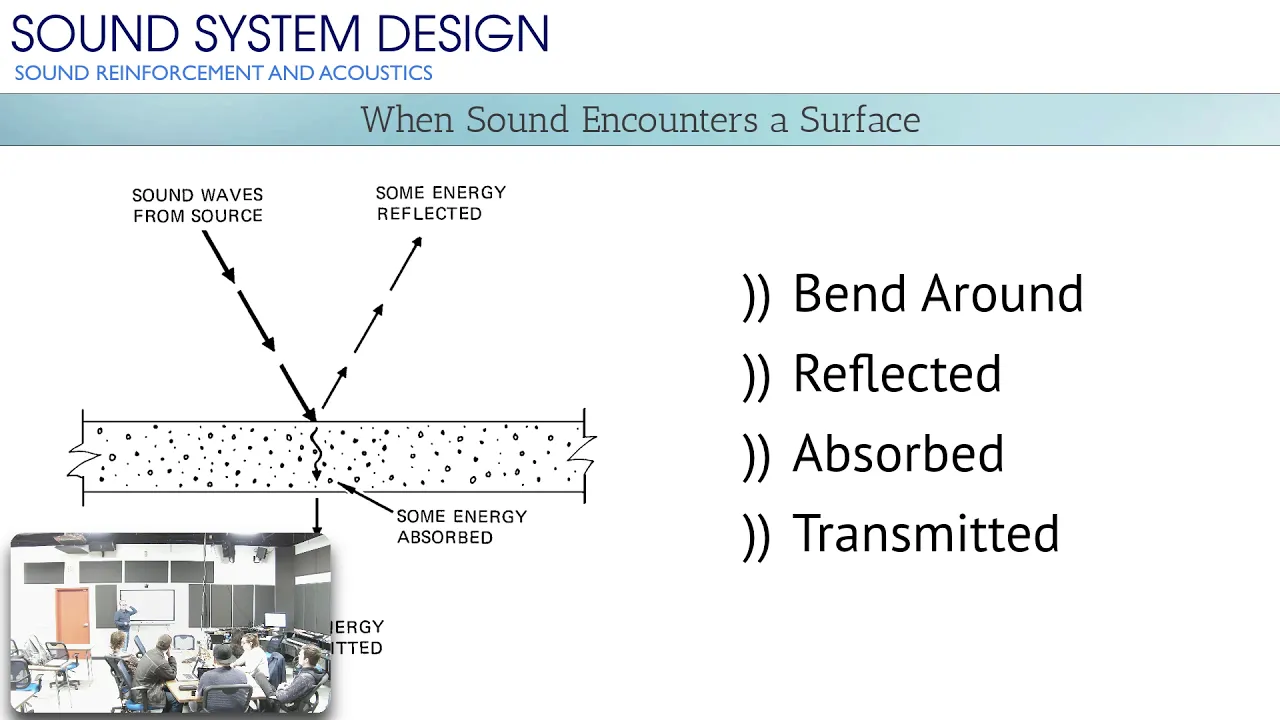
Added:Basic principles of room acoustics, including concepts like standing waves, room modes, early reflections, and comb filtering.
Fundamentals of audio measurement hardware, specifically how to set up calibration microphones (such as the UMIK-1) and audio interfaces.
Core concepts of Equalization (EQ), including frequency (Hz), amplitude (dB), bandwidth/Q-factor, and the difference between parametric and graphic EQ.
An introductory understanding of Impulse Responses (IR) and how convolution is used in digital signal processing to replicate acoustic spaces or apply filtering.
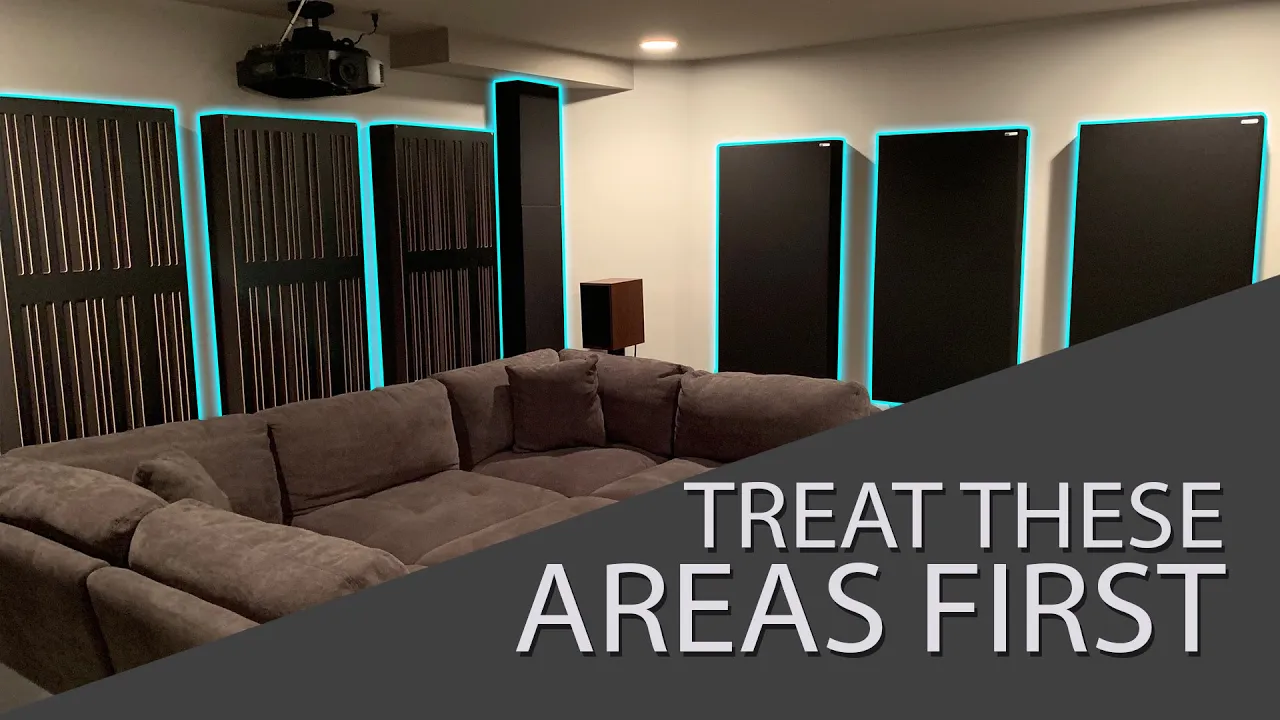
Practical integration of physical acoustic treatment (e.g., bass traps, absorption panels, and diffusers) to complement and resolve acoustic issues that digital correction cannot fix.
Target curve customization and psychoacoustics, exploring how to design personalized 'house curves' (such as the Harman target curve) for a more natural-sounding monitoring environment.
System-wide audio calibration routing, learning how to apply correction filters globally at the operating system level (using software like Equalizer APO or SoundSource) for non-DAW playback.
Multi-subwoofer calibration and phase alignment, utilizing advanced REW features and tools like Multi-Sub Optimizer (MSO) to achieve an even low-frequency response across multiple seating positions.
154.5K views1.7Klikes27:54Original Release: 2016-04-10
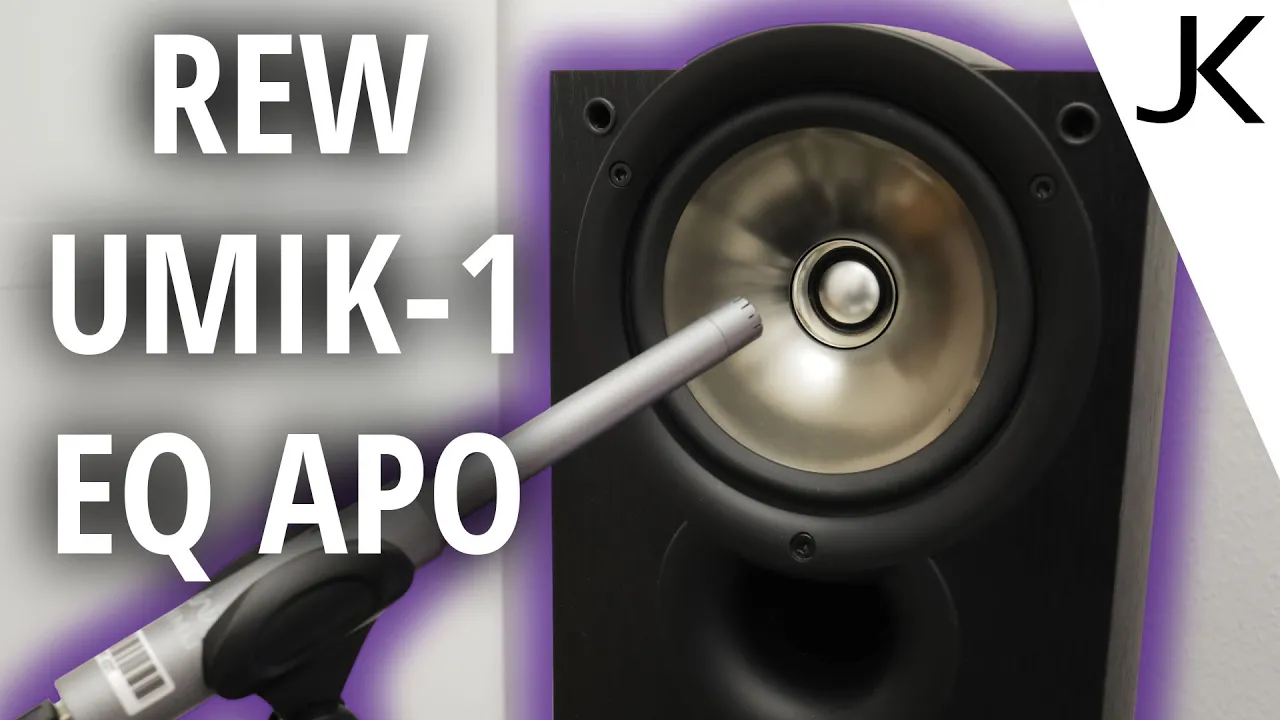
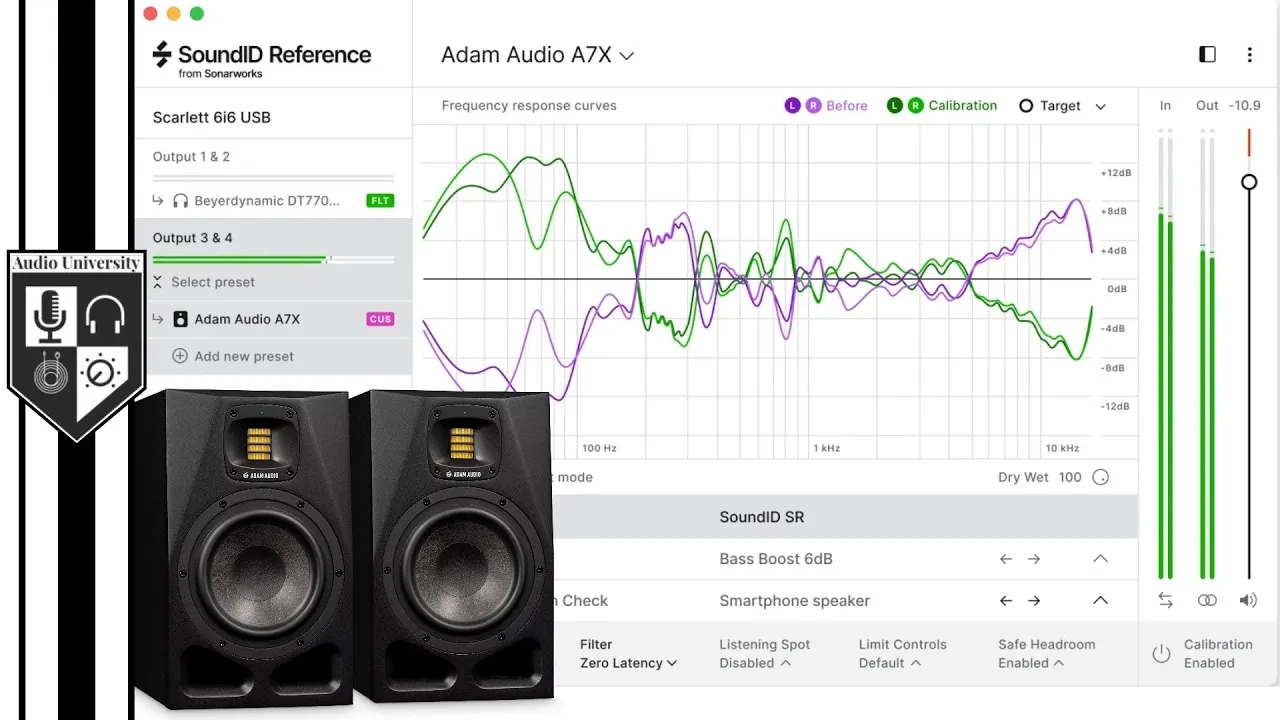
[Music] how's it going everyone Dozer here today I'm going to be showing you how you can use roomy Q wizard to create correction filters which can then be exported to a stereo impulse response and loaded into your Daw into a convolution plugin on your master bus so that you can monitor while you're mixing or mastering through the correction filters which are giving you a more flatter frequency response such as this now information regarding the pros and the cons and all the debate will be in the video description I'm just here to show you how to create the filters and how to use the impulse response and stuff like that now you will need a measurement microphone I am using the umic one I'll go into more in- depth on that later but first a demonstration regarding correction of the higher frequencies now what you're about to see is me monitoring through the corre ction filters with a flatter response and me moving the microphone a couple of inches I want you to pay attention to the changing of the higher frequencies the movement of the microphone is going to represent the movement of your head [Music] now as you can see I attempted to correct up to 10,000 KZ over here and what you're seeing is the higher frequencies pose even more issues now some measurement software does attempt to compensate for this by taking multiple measurements I'm referring to stuff like Arc which is the automatic room correction by ik multimedia and then you have sonar works and there's a couple of other ones out there so they do multiple measurements and they attempt to correct that by aing and there's other things that they're doing now you're free to experiment and correct the range of frequencies that you want I recommend you stay below 1,000 Herz and even better 500 Hertz now if you ask a whole bunch of different people you're going to get a whole bunch of different answers that's just a general recommendation so for those that just want to know where and how to get the correction filters I'll show you quickly then I will follow up with a more in-depth explanation about creating the correction filters and the equipment used for those that want to stick around and see how everything was done so for the people that just want it real fast here we go so what you want to do is you want to make sure your left and right studio monitors are matched and if you're using a sub there special consideration I'll leave a link later on for that stick around you're going to measure your left and your right separately you're then going to go to your EQ Tab and most of you already how to create the equalization filters if not stick around once you've created your correction filters you'll simply go to file export filter impulse response as wave you will then select stereo and you will take note of the date for your left speaker and your right speaker this is your left Channel your right channel so my left channel is 72326 there we go and my right channel is 72547 you will then select whatever you want I usually select 32bit you'll normalize and you will select your sample rate special notes regarding sample rate if you're going to be put into a convolution plug-in if you're using a sample rate of 44100 as your impulse response but you're in a session of 48,000 kerz what's going to happen is it's going to the most convolution plugins can upsample but you need to take special note that that can affect the wet dry signal so I recommend exporting an Impulse response at the sample rate that you're going to be working at you'll hit okay and then you will name it and then you will save it as you can see I named this Sony correction and I've already done that now real quick important note and that is that the amount of smoothing that you choose on your EQ filters tab will change the filters that are created if you choose like a 1/3 you're going to have a different filter creation than if you chose 124's moving so just so you guys know now you can then put on your master bus your convolution plugin and then load your impulse response that you created with the correction filters now this is just a quick demonstration I have some pink noise here what I did was I exported my actual room sound I got it import it into this and and I'm going to so this is basically my room over here and my room is going to go through the correction and we're going to see the response I'm now going to remove correction I will now enable correction what you're seeing is a theoretical correction of my room you've already seen the actual Trace that I did when I actually scanned my room or measured my room now as I've said this is not a full room EQ wizard tutorial however if you feel that the videos on YouTube are not adequate enough I could make one in the future what I will tell you is that you want to ensure that your preferences are set to the correct sample rate that you're going to be doing in your sessions if you do 48 khz sessions make sure you have 48 khz selected because it's going to make a difference when you export your impulse responses with the correction filters also make sure that you have the correct calibration file for your microphone and if you're using SPL all right so a quick rundown on what we're using here these are the speakers that I measured I put them in a spot that's not very optimal so I can get a pretty bad response so we can do some correction this is the microphone I'm using it says $75 but it's really about 98 because you got to pay $20 shipping because they're in Hong Kong it's the umic 1 USB microphone however I got mine from Amazon from this place right here I'm not getting paid by by them to show you this but here's why I chose umic one I do have an ECM 8000 however I'm having issues with my mu1 1820m with some low noise and stuff like that so why why this one I'm choosing this one because first off you don't need a preamp you can use it on your laptop it's powered by USB it's got a built-in SPL meter that's built into to the calibration file you can download a calibration file specifically for your microphone using the serial number so that's a very big thing that you're going to need because you can load that calibration file into roomy Q wizard so you have that this is the free software roomy Q wizard that we are using to measure all right so this isn't a roomy QQ wizard tutorial I can create a separate video for that but there are some things I did Offline that you didn't didn't see now first off a warning you're playing with some high decibel levels here you can ruin your speakers you can damage your hearing a lot of things like that so you got to be careful I use my mu1 1820m to handle all volumes and routing and everything it's pretty Advanced okay so what I did was I brought up my generator I turned down all my sound first okay you got to turn down all your volume on your main Master fader wherever that may be you're going to want to bring up your pink noise generator so you're going to bring up the generator and you're going to want to select full range pink noise and when you press this play it's going to play pink noise if you're using the umic one microphone it has a built-in SPL meter so you can just go here and monitor your SPL and you'll be set however if you're using something like an ECM 8000 microphone you're going to need to calibrate it however like I said the umic one is already calibrated so you will see your actual SPL meter I don't have a microphone connected right now actually you're seeing my voice and this is inaccurate now so what you're going to do is you're going to play I'm not going to play it here but you press the play button here and it plays the the pink noise you're then going to increase your volume slider up now you had it turned down because when you turn it on you don't want it to be super loud you slowly bring it up until you start to get the pink noise you watch your calibration over here and you get to 80 DB 80 DB is a good level because it uh it's your signal signal to noise ratio is really good you can do 75 but 80 to 90 is a pretty good range now when you're calibrating your SPL what you're going to need to do is when you're playing your pink noise you're going to have to calibrate your SPL meter for one speaker at a time not both speakers at the same time you want to set with just your left speaker playing by itself a level of 80 DB and then once you take your measurement by using the measurement right here once you do your measurement then you're going to have to recalibrate the sound to your right monitor however it should be if your monitors are matched or your speakers the Sony they play at the same volume anyway there might be small differences because of where they're positioned in the room room but I didn't have to worry about that once I set my left level I was able to just move on and do the right measurement okay so once you do that you're going to want to save it you can click on here and save your your measurements okay but I've already done it I got my left Sony and my right Sony so my left Sony here is the green and my right Sony is the purple those are the measurements that we took now here's what we're going to do we're going to create the filters let's move on so you're going to press this EQ button it's going to bring this up let me set this to the side now there are million different variations you can do when you do this however I'm going to show you one method and that is going to be the no boost method we're basically going to decrease create filters that only do cuts so I'm going to look at my thing here from my left and we can see about 72.7 so I'm going to go about 70 three we'll go 73 I'm looking at this little number over here on the left so this is the bottom I'm going to about 73 DB so my equalizer I'm going to set it to generic my target settings I'm going to set it to full range this blue curve is basically showing you what is going to create filters for but we want to create a full range okay now this is uh you can create a house curve which is pretty cool they added that function I'm going to set this to one this is not any particular way you need to do this this is up to you all right I'm going to set this to zero just flat on the top end because you can adjust your your top end by you listening to references while you're listening to your mixes your masters and then you can adjust by listen to other songs that you like using just a EQ on the master fader and use a high shelf low shelf and adjust the high frequencies yourself so I'm going to hit zero there that's basically I just want it to be flat on the top end now my level that I wanted to shoot for was 73 73 DB is the target setting that we're going to be using that wasn't the target remember I measured at 80 but this is what I want to correct to filter tasks now this comes to in reality with these speakers again I said I had them in a position that's not optimal when I have them in an optimal position there's not much correction that I would need to do so they sound pretty good and I don't really do any correction to those however if you're going to be doing correction you you normally do not want to go above 200 to 500 Hertz however you can okay that's going to be up to you I want you to experiment okay there's links in the description that go over all the pros and cons and how to do it and stuff like that um these numbers are just arbitrary they don't really matter because going to be doing any boosting however it might attempt to boost a little bit so you can set these numbers here and you'll be fine I'm going from 20 to 10,000 khz so all the way up to here it's going to attempt to match to this little curve you see here okay let's get rid of all these and you see the target here which is this line here it's going to attempt to take all this and match it to this it's going to create filters which we're about to do so once you have all this set you're going to want to do this for the left and the right you're going to want to keep the same settings so don't worry about nothing down here all you got to do is Click match response to Target it's going to tell you oh no wait you're below the target level that's okay it is now going to start assigning its filters uh depending on your computer this is a slower computer my music computer it's got like a quad cor 6600 Intel my other computer which is my video editing computer it's got like an i7 47 90k it's got It's it's pretty decked out right it's got like 16 GB of RAM it's got all kinds of stuff okay so it's going to be way faster it breezes right through this as you can see it's taking this computer a little bit longer so it depends on the speed of your computer how long it's going to take as I was saying you're we are doing a cut method we are basically we're not doing any boost we're basically just cutting all the frequencies to create a response that's basically not boosting many people feel that there a whole debate on it which I'm not going to get into as far as boosting and cutting and what you should be doing there's going to be like I said links in the description that cover all that so we're going to skip all this we're going to come back and then I'm going to move to the right we'll do the right and then we'll move on so I have created my filters for the left yours may not look like this and the reason why is because you need to come up here and you will have this checked these are the filters but you want to invert them and see what's actually happening because we're doing a lot of cuts here and you can use those settings there now this is what it says that in the end what we're going to be dealing with this is going to be this is our predicted what it thinks when we do a if we were to measure this response using these correction filters that this is basically the response that we're going to get okay these are the filters that it's creating okay and this is the actual measurement all right so we're done with that now we need to bring up the right so let's bring up the right and you got to do the same thing so just so you can get a quick overview again I'll just do it real quick EQ button make sure that we're set the full range come up here make sure you select generic you can experiment with these look these up and see which one you think might because they all create different types of filters because each one has different uh capabilities I'm going to come down here set this to zero some of you may want to do a like 1 DB at 4,000 khz uh look at different house curves research house curves um what people like what people don't like what people you know expect or whatever but I'm just going to say zero for the high frequency as I said you typically do not want to go above I would say 200 to 500 Herz you really don't want to be jumping up here but it caused a lot of Comb filtering and some other effects I'm not going to get into so we're going to use the same once you choose what you were going to use which I believed on my other one if we look at my other one over here it was 73 so we're going to use the same sorry we're gonna use the same one so we're going to come over here to the right we're going to use 73 as well and as you can see 73 this Falls a little bit below because like I said they're going to have different responses for the left and the right but we're still going to make sure you still use the same level okay not 7,375 but 73 there we go everything down here should be the same so all I changed was those numbers there and I changed it gener generic we will then hit once again Manch spons the Target and then it's going to do its thing it's going to tell you oh no warning it's going to do its thing I'm going to come back when it's done all right so here we are with the filters for this and as you can see it is doing some boosting that's why I'm telling you you might want to put some boost in here so that you can do for some frequencies you're going to need to boost a little bit this flatness target here is basically you can set at the three DB whatever decel level you want but it's saying how close to the Target do you want the filters to create a predicted response and I'm choosing one so it's going to try and basically make it as flat as possible all right so we got our Equalization filters don't worry your Equalization filters are around here they are right here I'll bring them up they're still there they're hanging out you didn't lose them okay you're going to go over here and now we're going to export the impulse response that we can use with these correction filters inside of a convolution plugin so you're going go file export filter impulse response as wave you're now going to look over here it's going to be set to Mono you're going to want to select stereo cuz we're doing both left and right and what I look at is it doesn't give you this name it gives you the date and I look at 26 p.m.
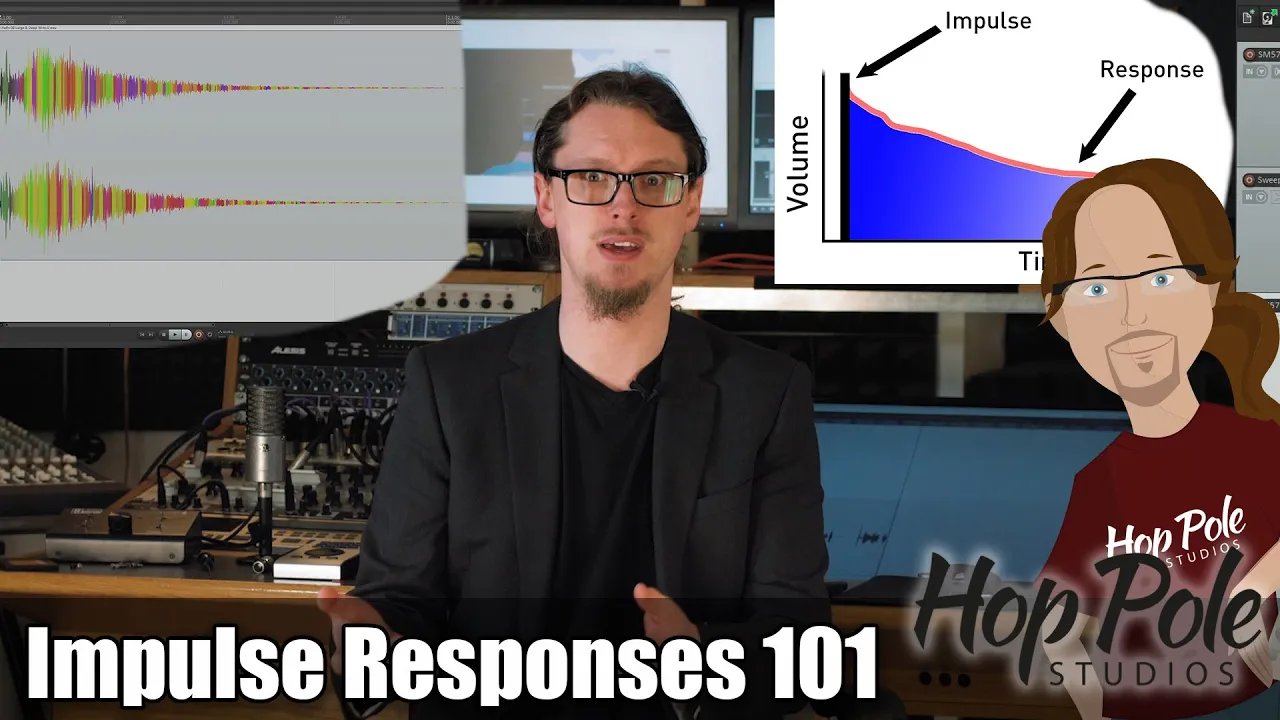
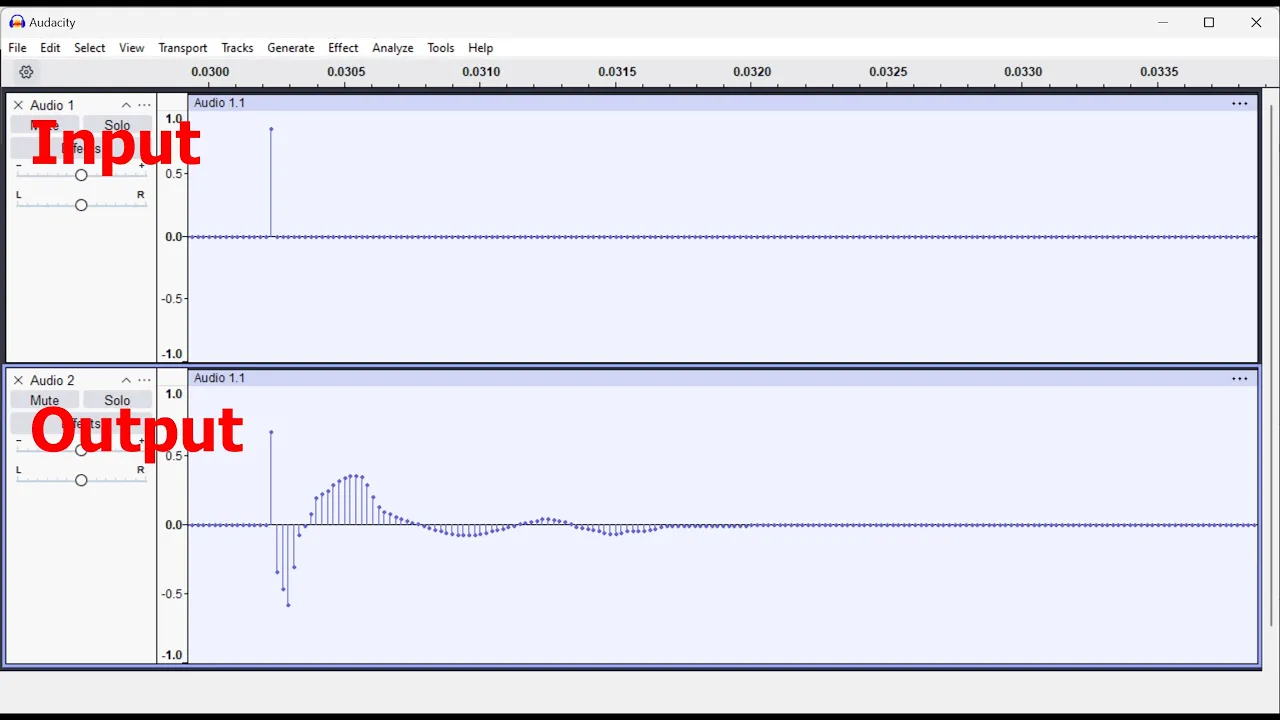
47 p.m. if you have two that are the same which I don't it'd be highly unlikely but if you do just look at the whole date so 26 p.m. is going to be my left and for my right channel is going to be my 47 over here now you're going to choose 32bit leave normalize samples to Peak value on you're going to want to select the sample rate that you are in your sessions whenever you're doing it whatever you're doing mastering or recording or whatever wherever you're going to be using this plugin which is usually at the end of your chain inside of your digital audio workstation like Pro Tools because you're starting to monitor your sound while you do your mixing you're starting to monitor while you do your mastering you're going to want to choose the sample rate because the plugin that we're going to use for convolution can upsample but it does mess with the wet dry signal which I'm not going to get into but just know you want to choose the sample rate that you're going to be using I'm going to choose 44.1 for this example and then I'm going to hit okay it's now going to show ask you you're going to navigate to where you want to save that filter as you can see I've already done one and so that's what we're going to use so then let's just say I'm going to name this test so here's that test but here's the one we're going to import it's the same thing I just named it Sony correction here's the impulse response some of you may know what an Impulse response looks like but we're going to go ahead and check it out anyway for some of these others people that don't know how it looks so here it is and we are going to analyze it and see if the correction filters are actually there so I'm going to double click it go to window frequency analysis I'm going to scan it we're going to zoom in and these are the correction filters that were created basically the equalization that's going to be used when you load this impulse response into a convolution plugin it's going to basically send your sound through these filters and correct the response of your room using these filters now there are some files that I'm going to be using in this demonstration and I'm also going to show you how to set different things up the file that I'm going to use is the actual room sound so I can export basically an Impulse response of my room by going file export impulse responses wave I'll select stereo I'll select my left which is 2336 26 and then 2547 there it's already selected 32bit normalize I'll hit okay I'll save it I've already done that it's named room that's basically a stereo impulse response of my room another file that I'm going to be using is pink noise so we can do our analysis and our theore iCal measurement of our room now how you get that is I go to generator and you can export different sounds I'm going to be using pink noise full range and I'm leaving it at -20 and you hit wave and then you can basically export it okay so I'll name this pink noise it's already set ready to go I hit save and my pink noise has been written there and now I can use that my Daw to analyze the filters and the correction all right so here we are in Studio One first we're going to check it out what the correction filters are doing stuff like that and give you a couple tips as far as when you're putting this on your master bus and you're doing your mixing now when I say master bus I'm referring to your master out so we'll just call this our Master out I have a video tutorial it's pretty in depth on tracks buses and SS I'll leave a link in the description for anyone that doesn't know understand that kind of stuff that will be in the description now where you want to put the convolution plugin and the one that I am using is the fog convolver it's awesome you want to put it on your master out as final your chain you can follow it up with an analysis plugin if you wish if you're doing your analysis now the fog convolver is the one that I'm using I have the impulse response loaded for the correction when you're using a convolution plugin you want to make sure you don't have any special Mojo happening so you want it completely wet the dry signal turned all the way down you don't want to adjust the gain or anything like that you want to make sure you're not adding any pre- delay you're not adjusting the start or the end you're not adding any Fades nothing no high pass filtering that's why I'm using this one because it allows you to do that I also use sir2 but I'm not using that for the sance so let's take a more in-depth look at what I'm going on here I did cover this earlier but what I got here is the pink noise on track one I have the fog convolver which is going to create my room sound I have my room impulse response that I had exported remember we had exported the room impulse response as a stereo impulse response file I got that imported I did adjust the start and the end to get rid of some of the room sound because of course it's a room it's going to have some ambient noise in there some some Reverb type sound you're not going to hear this when I play it I set it up like that specifically cuz it's an annoying sound pink noise you guys don't need to be hearing it when you see the meters running that is me playing it and I'll also tell you when I'm playing the sound you might hear a small bit of sound from my headphones bleeding into the mic so you'll know when it's playing now this track here the peak noise is going to be playing through here to create my room sound and then we're going to be correcting it over here with this one I have the correction filters loaded the impulse response loaded no adjustments only what I had said before about bringing the wet all the way up and the dry all the way down we're going to be following up with the span so I'm going to play it without correction you're going to hear my room you're not going to hear anything but you're going to basically see what's going on so that's my room you are seeing my room basically that's the frequency response of my room now with those speakers okay now what we're going to do is I'm going to turn on the correction filter and you're going to see it's going to flatten it out significantly so we are now flattening out the frequency response now what this signifies is pretend like this is a microphone sitting in my room and this right here is a microphone sitting in my room taking the measurement real time analysis and I am playing pink noise through this convolution plugin this is what you're basically going to see it's going to smooth out the frequency response now the spam plugin so that you can do your own tests is free however I'm using the plus version which you do have to pay for but you can do everything the same pretty much almost with the free version everything you're going to see me do here you can do now when it comes set up it step up in the regular stereo mode to where you only see the stereo signal what I'm going to do is I'm going to edit this and I'm going to turn that's all the way up okay now what you want to do is you want to go to if you want to see the left and the right you want to go here and you want to hit doll mon right so now you're in do monono this will not be selected then what's going to happen is this is going to be your left you're going to come up here and you're going to select your right so now when it plays you're going to see both your left and your right but you need to make some settings so what I'm going to do is you go to edit you want your average time to be all the way up and then you want to make sure that your slope is at 3 D otherwise you'll have a weird slope going on and then you want to copy these settings oh also you want to make sure your block size is kind of high about 8,000 and then you want to set to RT average and then you're going to go copy to right so basically all the settings are now copied to the right now it does make the change slower I'll give you an example you see how long it's taken for you to see the change that's because of my averaging time let me change that now it should be faster so that's basically the settings that you need to use when you're doing your analysis all right so we're going to start wrapping this up but there are some more ings and some tips for you okay we're dealing with a convolution plugin and our filters that we created if you can remember inside roomy Q wizard we used the all cut method where we find the lowest point and we basically matched to that Target level however another method that you can use is to meet halfway between the highest and the lowest point so it's going to do some cuts and some boosts either way it's going to cut some of the level so when it's cutting the levels so here are correction filters once again you see the Baseline here Zer DB and then we're coming down right here and we're basically doing a lot of cutting so that is going to decrease the decibel level the sound level what do I got to do in anything let me show you depending on what method you used you may find yourself either cutting or somehow increasing the final output of your master Channel now this one is going to basically when I enable this plugin Final in my chain it's going to decrease the volume so I may have to adjust my volume up so now here's something to consider if you're doing any mastering or anything you need to be careful cuz when you are going to finally disable to finally output your master or your mix you need to make sure you disable the plugin otherwise you're going to export your mix your master through the convolution you don't want that here's the warning if you just did your limiting and you were trying to see how the limiter sounds and everything and you're doing some convolution through the convolution when you turn this off it's going to be louder okay and you can har yourself you can bust your speakers possibly it's just a warning okay so be careful with that so some other things you need to consider is your monitoring level I'm set up for the K system look it up links in the description and also have mine set to a certain level for monitoring so that I can basically listen to something and know how loud it is but of course I have metering and stuff like that some people don't even care about nothing like that they just listen to their sound they turn up their sound and they just go by that and then they compare it to a reference another quick tip has to do with your monitoring levels my system is set to a certain system I use the K system uh link will be in the description and you typically it's recommended not etched in stone because I also monitor it lower levels but the Fletcher mson or the equalness Contour curves kind of go over that if you research that you'll figure out what I'm talking about some of you already know about that but monitoring at about 80 to 85 deel level makes you hear frequencies more flatter okay basically if you're monitoring at a low level you're going to hear the basically the 1,00 khz region your mid frequencies a little bit better than your high frequencies or your base so then if you're monitoring at low levels you're going to end up increasing your base because you can't hear it and also the high frequencies is going to come out really bright however if you're monitoring at a more of like an 80 or 85 dbel level you're going to hear how the base is more represented again this isn't etched and stone it's just something that's kind of recommended research it the next video in my digital room correction series is going to cover the digital room correction designer software and how you can use roomy Q as a to bypass some of the functions this software creates different sets of types of filters so we're going to be covering that I hope you guys like the video if you did give a thumbs up if you didn't like it well you can give it a thumbs down or whatever comment subscribe I got more stuff coming in the future thanks see you guys later
Up Next

12:16
Globalization's Early Impact: Printing, Potatoes, and Plagues
@crashcourse
250.4K views•2017-07-12

12:54
Triumph of Orthodoxy Icon: Byzantine Art & History Explained
@BenCallan
2.1K views•2024-08-06

9:49
FastAPI vs Flask vs Django: Choosing the Right Python Web Framework
@TechWithTim
302.5K views•2024-05-26

1:42
Game of Thrones Opening Credits: A Cinematic Analysis
@gameofthrones
46.3M views•2011-04-18
Related Study Plans & Knowledge Roadmaps
Structured learning paths in General & Interdisciplinary Studies
general-studies
Elevator Engineering: History, Physics & Cities
01From Hoists to Safety Brakes: The Dawn of Vertical Lift
02Hydraulic vs. Traction: The Engineering Physics of Elevators
03Modern Speed, Safety, and Algorithms
+ 2 more learning modules
12h5 modules
Explore Roadmap
general-studies
Rubber: Material Science, History & Geopolitics
01Origins of Natural Rubber & Mesoamerican History
02The Chemistry of Natural Rubber & Vulcanization
03The Geopolitics of the Rubber Boom & Colonization
+ 2 more learning modules
12h5 modules
Explore Roadmap
general-studies
Containerization: Evolution, Logistics & Trade
01Ancient Trade & Bulk Cargo: Amphorae to Barrels
02The Industrial Revolution & Cardboard Packaging
03The Containerization Revolution: Malcom McLean
+ 2 more learning modules
12h5 modules
Explore Roadmap
general-studies
Textile Tech: Evolution, Labor & Global Impact
01Pre-Industrial Textiles: Handloom & Cottage Industry
02Mechanization: The Spinning Jenny to the Power Loom
03The Factory System & Global Labor Transformation
+ 2 more learning modules
10h5 modules
Explore Roadmap