
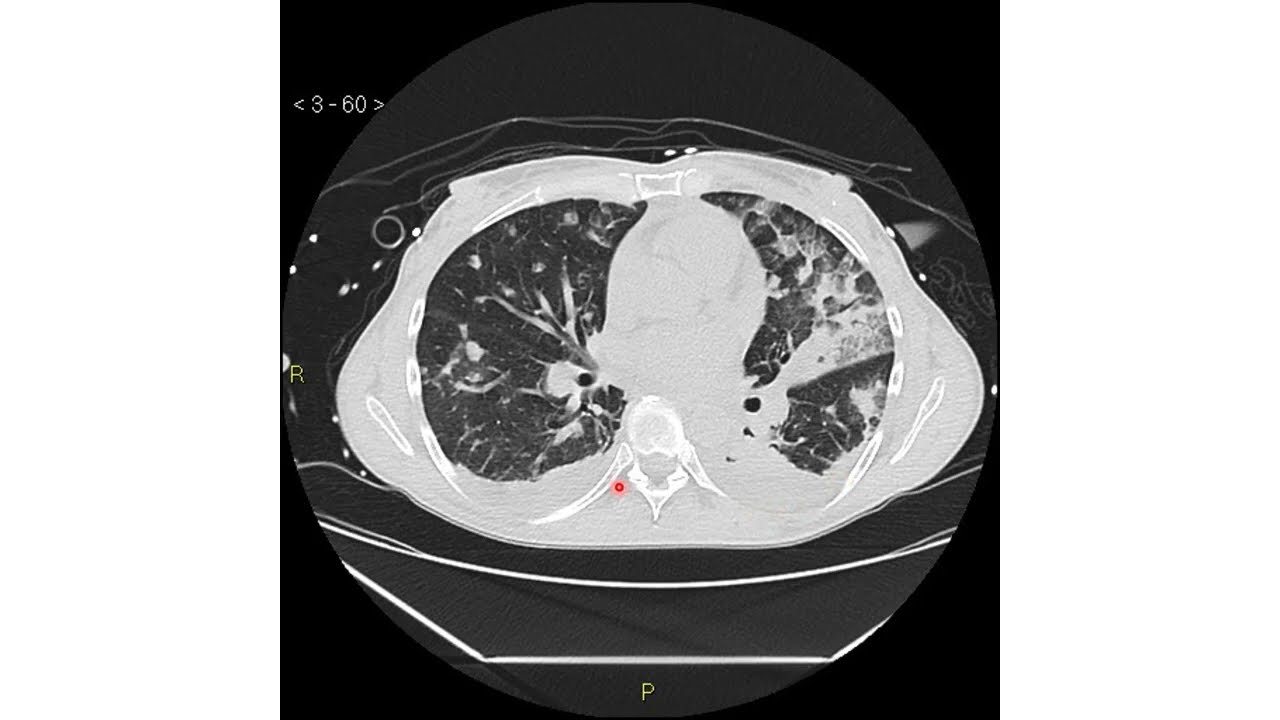








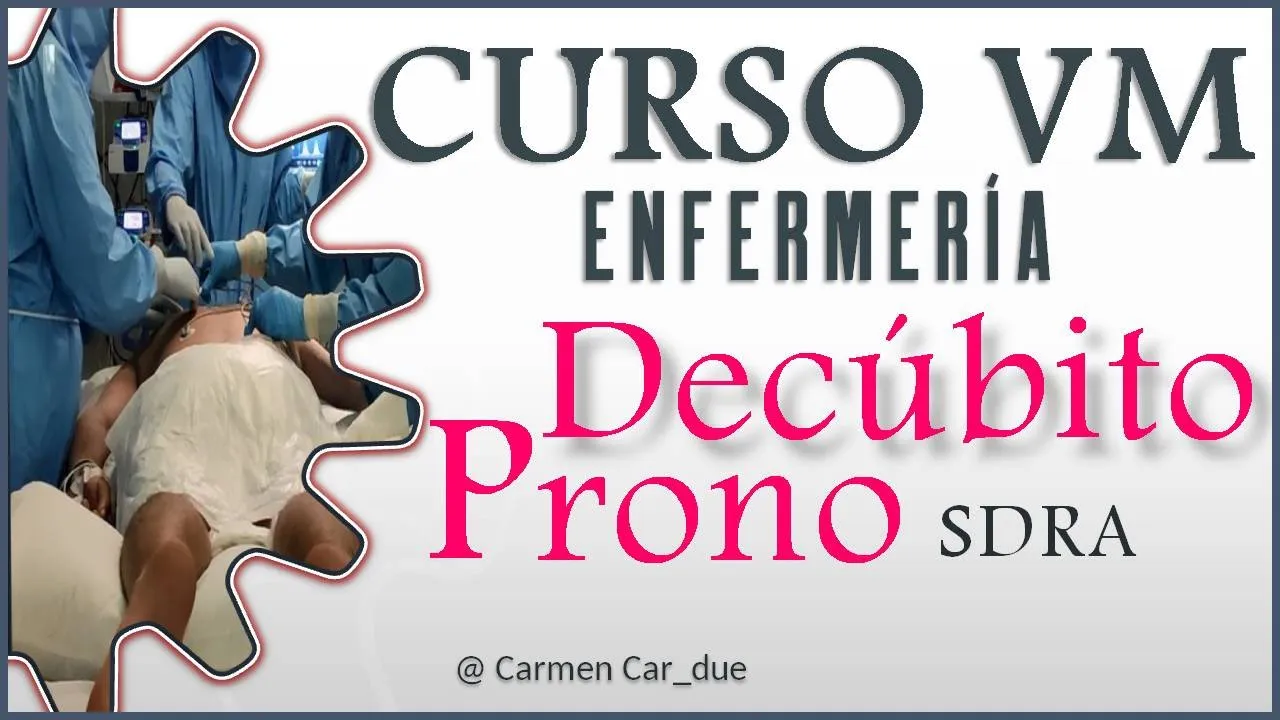


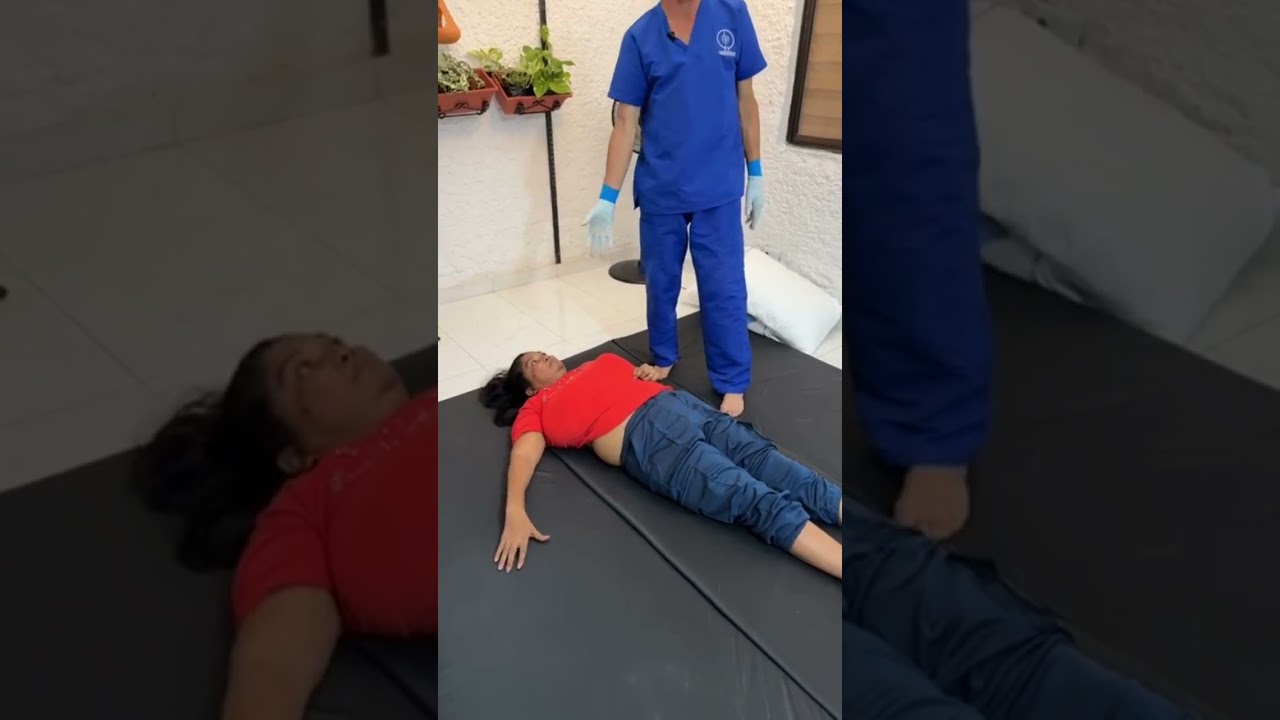
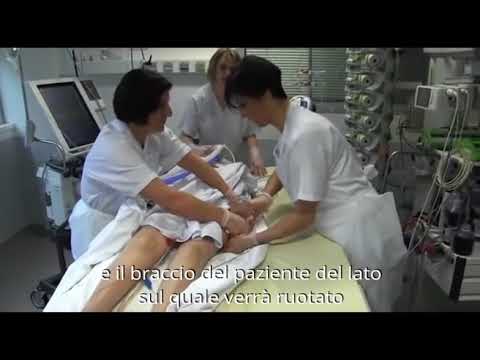




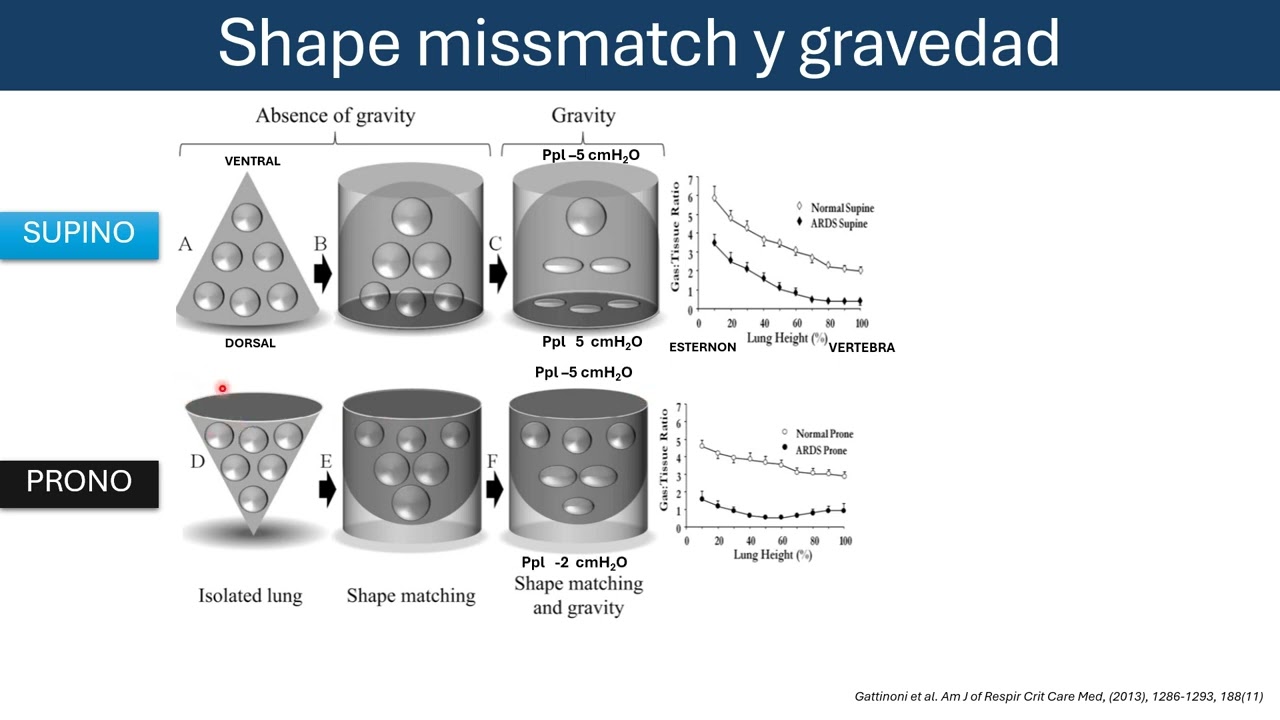



Prone positioning is a critical intervention for ARDS patients with a PaO2/FiO2 ratio of 150 or less, improving oxygenation by redistributing lung perfusion and ventilation; Rush University Medical Center developed a structured four-phase checklist requiring six staff members to safely execute the procedure: Phase 1 involves team preparation including line placement verification, patient sedation, and skin assessment; Phase 2 focuses on the actual turning process with coordinated counting and airway management; Phase 3 addresses post-positioning care including reverse Trendelenburg positioning and pressure injury prevention; Phase 4 covers repositioning back to supine position. The PROSEVA trial demonstrated that maintaining patients in prone position for 16 hours followed by 2-4 hours in supine position significantly improves outcomes when repeated based on ongoing PF ratio monitoring.
Prone Positioning Protocol for ARDS: 4-Phase Checklist Guide
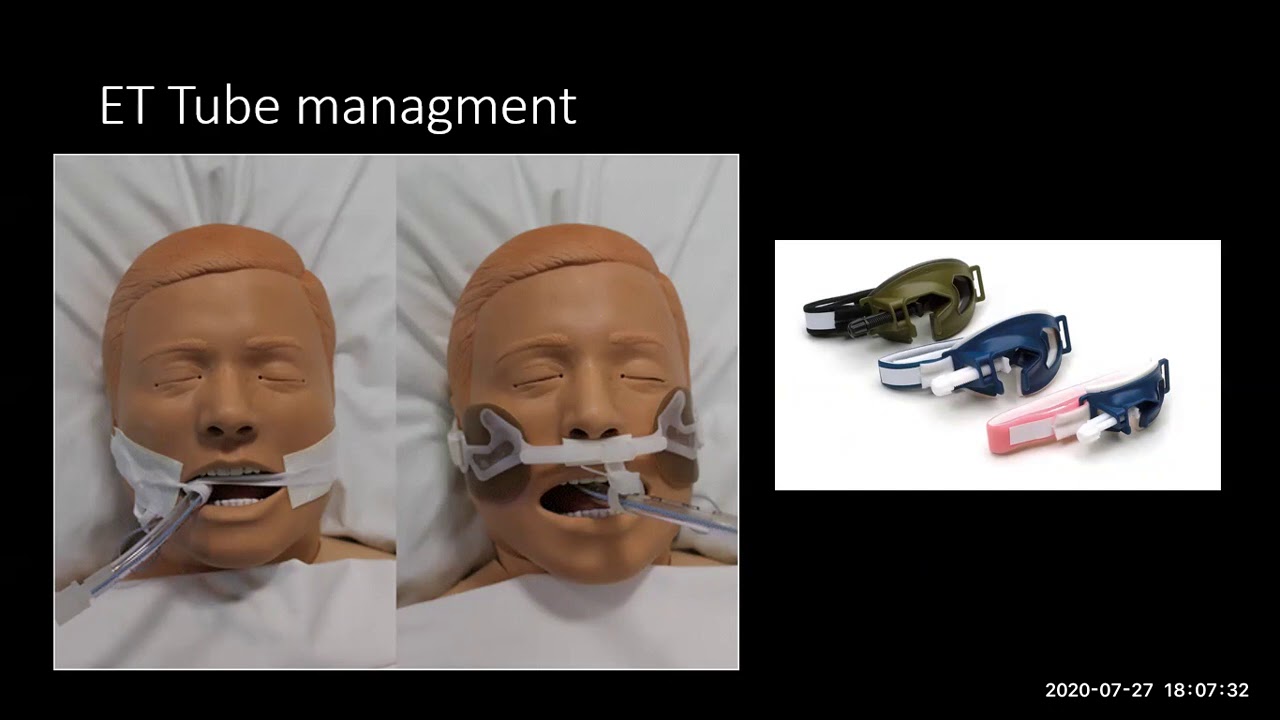
Added:prone positioning has been used to improve oxygenation in patients with acute respiratory distress syndrome or a RDS prone positioning is typically considered to be used when the PF ratio the pao2 divided by the fio2 is 150 or less which is based on the pro seva trial published in 2013 we developed a four phase checklist to facilitate the process of placing the patient in the prone position which is shown in this video phase one checklist consists of getting the interdisciplinary team onboard to prepare the patient to be placed in the prone position the main items to highlight from this checklist are ensuring the invasive lines are placed on the same side of the patient this is not a contraindication in the event that the lines are on opposite sides but lines on one side is the preferred method in the event invasive lines are on opposite sides the central line takes precedence over the arterial line this will be explained later in the video the patients should be sedated according to ventilator synchrony if the patient is sedated to arrest of negative 5 and continues to display de synchrony a paralytic can then be administered a head-to-toe skin assessment should be completed documented and foam dressings placed on boney prominences neck mobility should be assessed and a new endotracheal tube holder should be placed with foam dressings under the holder on the cheeks to give added protection to the skin phase 2 checklist the turnin crew will be gathered which consists of five to six members ideally the sixth person is hands-off reading the checklist steps outloud and monitoring vital signs the fifth person is the respiratory therapist located at the head of the bed and two staff members will be present on each side of the patient the respiratory therapist will pre oxygenate the patient with 100% oxygen they will ensure enough slack is present with the ventilator circuit and the headboard of the bed will be removed the staff members will race the bed to the desired height maximally inflate the bed place it in flat position and side rails will be removed the respiratory therapist will now talk about airway management to reduce the risk of inadvertent extubation the RESP rate there appear should maintain the airway with one hand holding the endotracheal tube along with the mandible with the other hand placed under the patient's occiput to support the neck this way if the patient moves the hand is moving with the head and the endotracheal tube from here on out all the movements will be executed on the respiratory therapist count of 3 step 1 we will ensure lines and tubes from the waist up are positioned toward the head of the bed and lines and tubes from the waist down are positioned toward the foot of the bed ensure there is enough slack present between all lines tubes and monitoring equipment this may entail bringing the IV pole and monitor closer to the patient's head of the bed [Music] step2 a maxi tube or a sliding sheet will be placed underneath the patient's current sheet make sure it is tucked as underneath the patient as possible [Music] next step is to remove a patient's gown EKG leads and EKG electrodes we will ensure the transducer of the patient's arterial line is taped to the patient's side of the chest where the invasive lines are located that way we can continue to monitor the pulse in the absence of telemetry now we will tuck the patient's hand closest to the ventilator under the patient's buttock with the palm facing up we will place an under pad on top of the patient's chest and pelvis this will help wrap moisture when the patient is in the prone position standard pillows will be placed on top of the patient in the horizontal position one on the patient's chest one on the pelvis and one on the knees the one on the knees is especially important to help prevent pressure sores on the knees the idea behind the pillows is to ensure the abdomen is being offloaded so depending on the patient's size you may need to use more than one pillow for the chest pelvis etc you want the top surface to be as flat as possible now a flat sheet will be placed on top of the patient covering everything up except for the patient's head the bottom and top sheets will now be rolled tightly together encasing the patient at this time the maxi tube will remain underneath the patient to help us with repositioning at this time the respiratory therapist will remove the patient's pillow and will place their hands in the position as described earlier if the respiratory therapist requests it on the count of three the patient will be boosted up to the head of the bed now on the artis count of three the patient will be moved horizontally farthest away from the ventilator on the artis count of three the patient will be rotated 90 degrees to the sideline position on the artis count of three the patient will be slid horizontally away from the ventilator on the artis count of three the nurses opposite the ventilator will pull the rolled up sheets from beneath the patient while the other nurses carefully placed the patient into the prone position we will now move on to Phase three care of the patient while prone checklist the bed will be placed in reverse Trendelenburg position 10 to 20 degrees if the patient needs to be positioned more Center on the artis count of three the patient will be moved the maxi tube can now be removed along with the flat sheet the EKG leads can be placed on the patient's back and a wedge will be placed underneath the patient's shins to elevate the toes off the bed surface at this time we will also level and zero our invasive monitoring equipment [Music] we will use a fluidized positioner which will be placed underneath the patient's head so the respiratory therapist will be assisted by helping to elevate the patient's chest the patient's ears will be checked to ensure they are not being compressed and foam dressings may be applied to prevent pressure injury assess the face for bony prominences and mold the fluid Iser pillows so that pressure points are being offloaded and both eyes can be visible the Foley stat lock can now be placed on the patient's thigh and that is how you place the patient in the prone position and now we will go over the process of tilting the patient's head side to side and placing the patient's arms into the swimmers position the patient's head and arms will be repositioned every four hours if the face is on the right side the opposite arm will be placed upward while the other arm is placed downward and vice-versa this can be done two different ways the first way is to boost the patient up to the head of the bed so that the head is floating off the mattress then the RT can tilt the head to the opposite side the second way is to pull the patient's chest upward while the RT repositions the head to the opposite side the arms will move along in the swimmers position as we described above you [Music] you steps for manual supination now we will teach you how to place the patient back to the supine position from the prone position first we will ensure that lines and tubes found from the waist up are positioned toward the head of the bed and lies in tubes from the waist down are positioned toward the foot of the bed we are going to ensure we have enough slack present we are going to maximally inflate the bed place it in flat position we will remove the patient's gown EKG leads and EKG electrodes [Music] we will tuck the patients hand that is on the opposite side of the ventilator under the patient's hip with the palm facing up then we will place a maxi tube or a sliding sheet underneath the patient's current sheet at this time we arrange ensuring that the transducer is taped to the side of the chest where the invasive lines are present then we will place an under pad on the patient's buttocks we will place a sheet on top of everything covering the patient up except for the patient's head and we will roll the bottom and top sheets tightly together encasing the patient at this time the respiratory therapist will remove a patient's pillow and position its hands on the patient's neck and occiput as described in the previous steps if the RT requests it on the RTS count of three the patient will be boosted up to the head of the bed on the artis count of three now the patient will be horizontally moved to the edge of the bed closest to the ventilator on the artis count of three the patient will be rotated 90 degrees to the sideline position with the ET tube facing the ventilator on the artis count of three while the patient is in sideline position slide the patient horizontally towards the ventilator on the artis count of three nurses on the ventilator side will pull the rolled up sheets from beneath the patient while the other nurses carefully turned the patient into the supine position this maneuver is done based on the pro seva trial 16 hours the patient remains in the prone position and two to four hours the patient is placed back into the supine position at this time we will assess the patient's arterial blood gas and if the PF ratio is still 150 or less we will go through more cycles of pronation and supination you
Up Next
ARDS Case Discussion: Emergency Management & Ventilation Strategy
@AETCMEmergencyMedicine
12.3K views•2024-02-16

Graphic Medicine: Comics for Collaborative Healthcare Communication
@nationalpatientadvocate
189 views•2023-12-04

Neuroanatomy: Central and Peripheral Nervous System Divisions Explained
@AKLECTURES
136.2K views•2014-09-20
Stages of Labor and Vaginal Birth | Childbirth Animation
@nucleusmedicalmedia
52.1M views•2017-08-18
Related Study Plans & Knowledge Roadmaps
Structured learning paths in Medicine