
![LEARN FUSION 360 FAST! A Beginner Tutorial [step by step instructions, no prior knowledge required]](https://i.ytimg.com/vi_webp/mK60ROb2RKI/maxresdefault.webp)



![Mechanics of Materials [Quiz 1] | พี่ติวน้อง โยธาจุฬาฯ 2/2568](https://i.ytimg.com/vi/EPFuUFA3kPQ/maxresdefault.jpg)








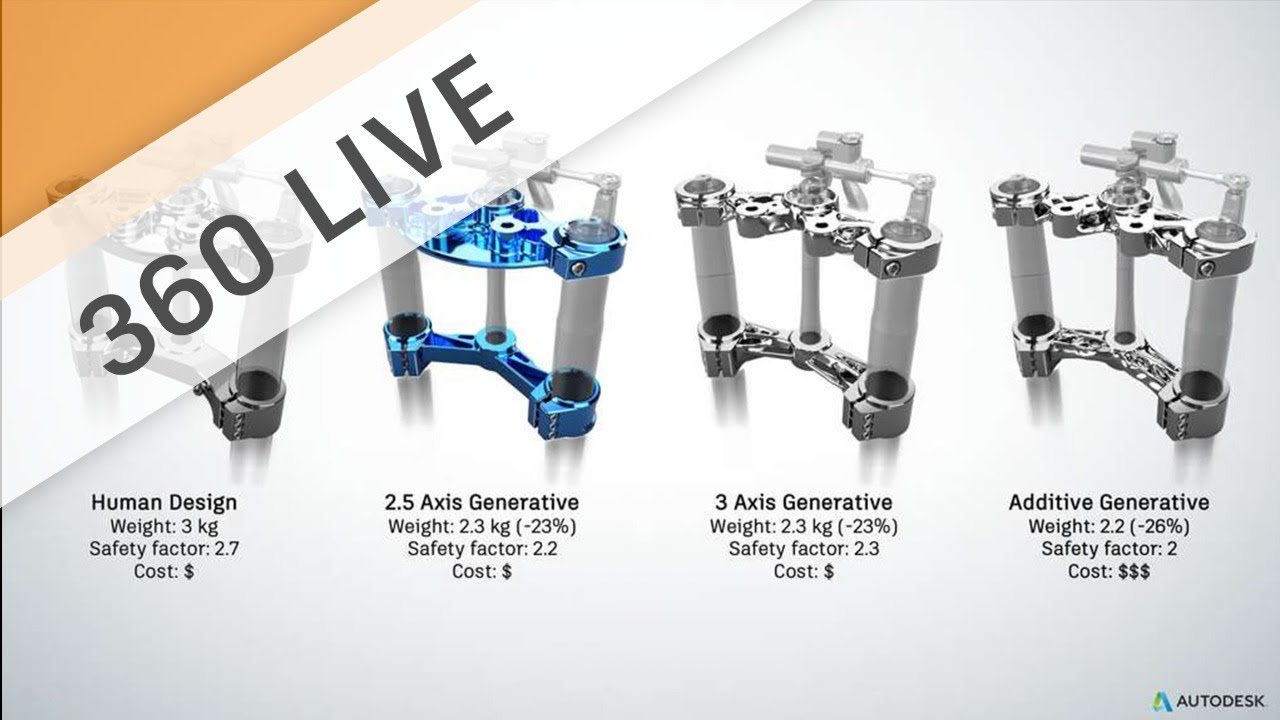
![Design for Additive Manufacturing [Webcast 2018]](https://i.ytimg.com/vi/lCjd3jdKBWY/hqdefault.jpg)







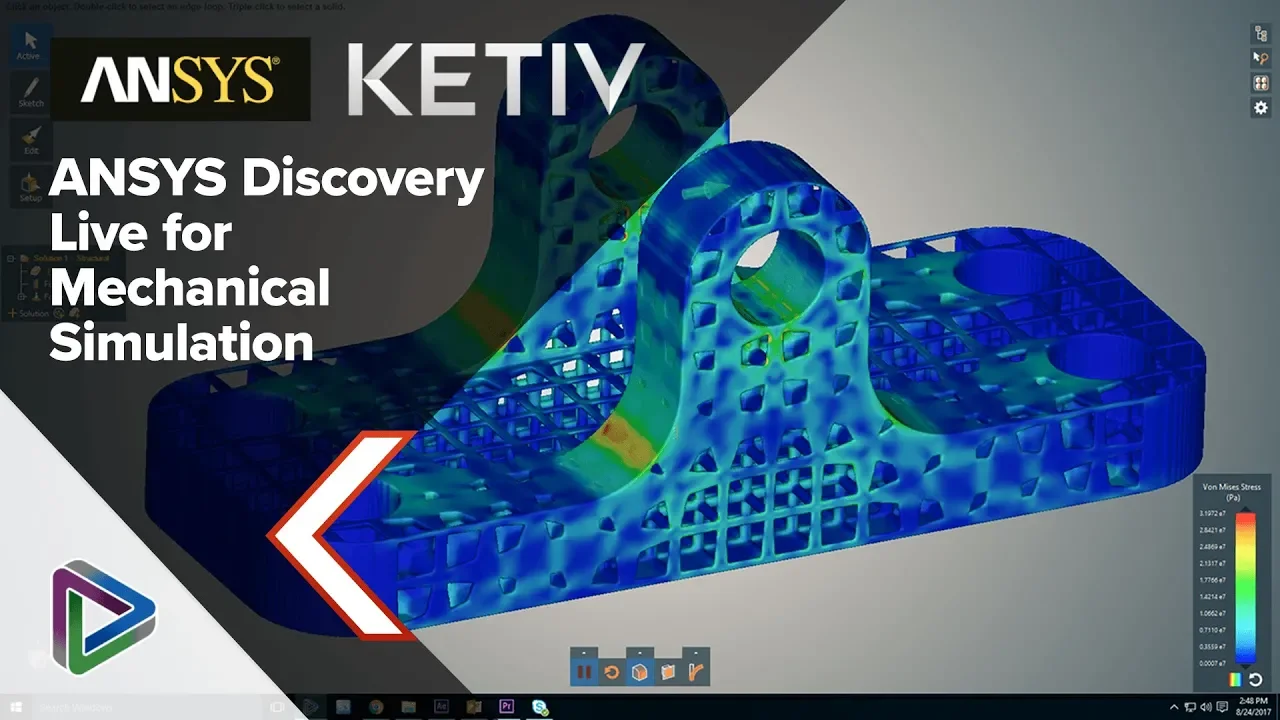
Topology optimization is a computational method that analyzes load paths and criticality to identify non-essential material in a part, enabling engineers to remove excess material while maintaining structural integrity; the process involves running a simulation with defined materials, constraints, loads, and preserve regions, then using the resulting criticality map to guide manual material removal in the CAD workspace, ultimately producing a lighter, more efficient design.
Fusion 360 Topology Optimization: Lightweight Design Simulation
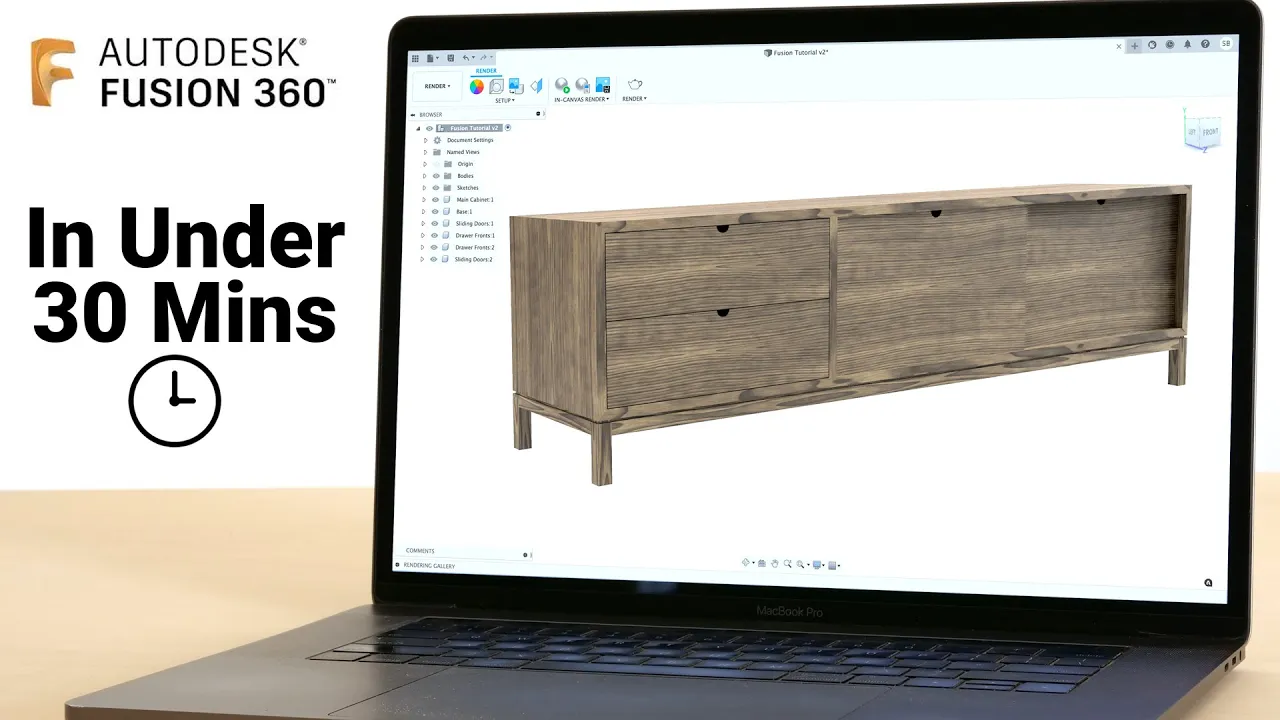
Added:Basic 3D parametric modeling and sketching techniques in Autodesk Fusion 360.
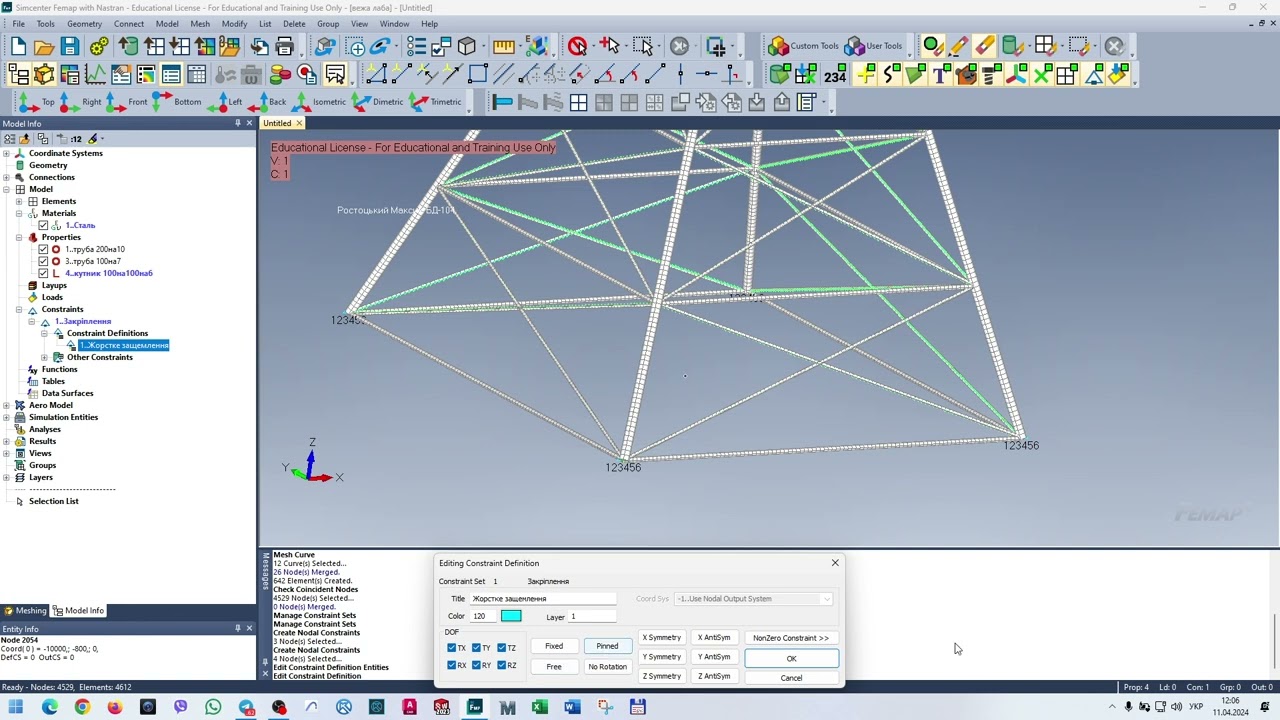
Fundamentals of Finite Element Analysis (FEA), specifically how to define boundary conditions, structural loads, and constraints.
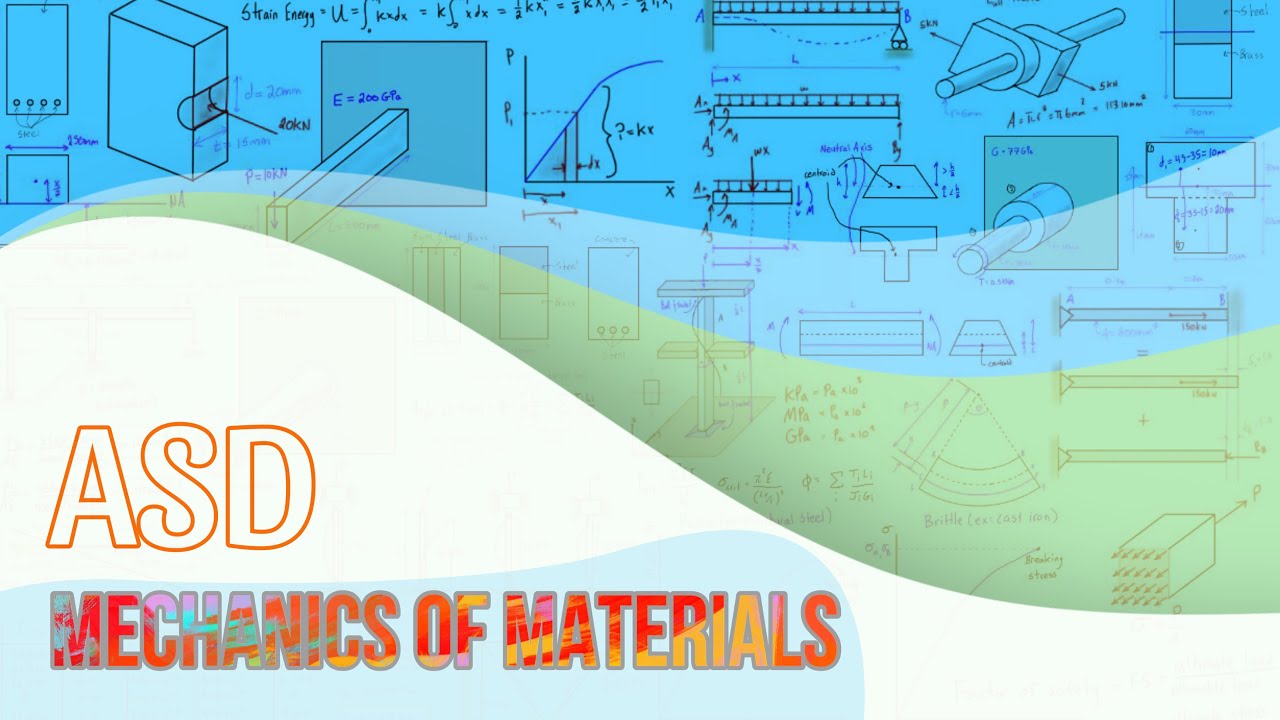
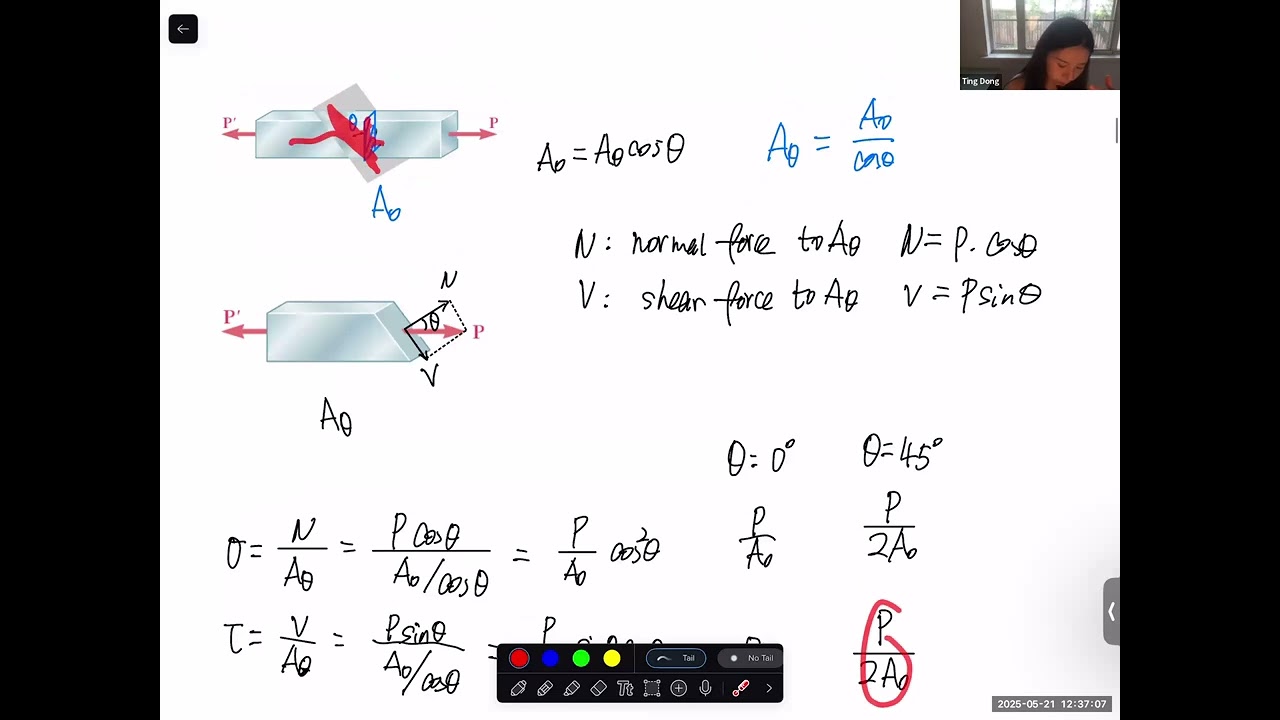
Basic mechanics of materials, including core concepts like stress, strain, yield strength, and safety factors.
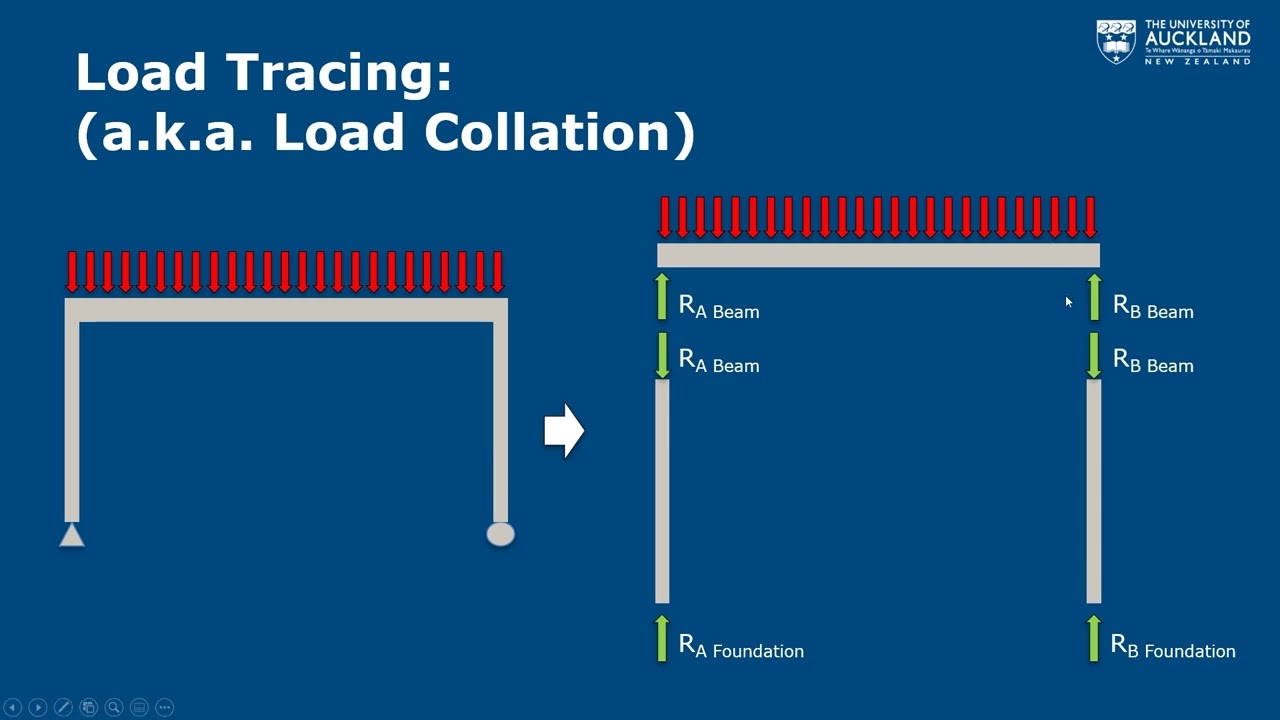
An understanding of load paths and how forces transmit through mechanical components.
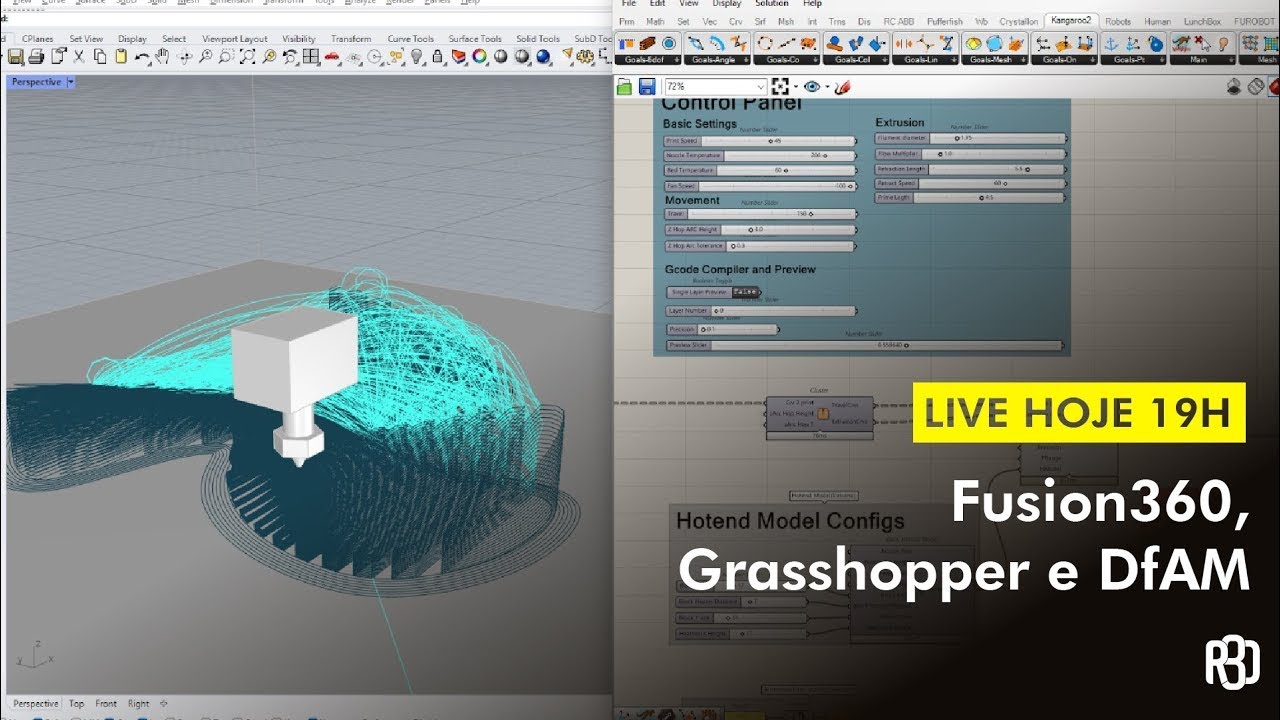
Design for Additive Manufacturing (DfAM) principles to successfully fabricate complex, organically-shaped optimized components.
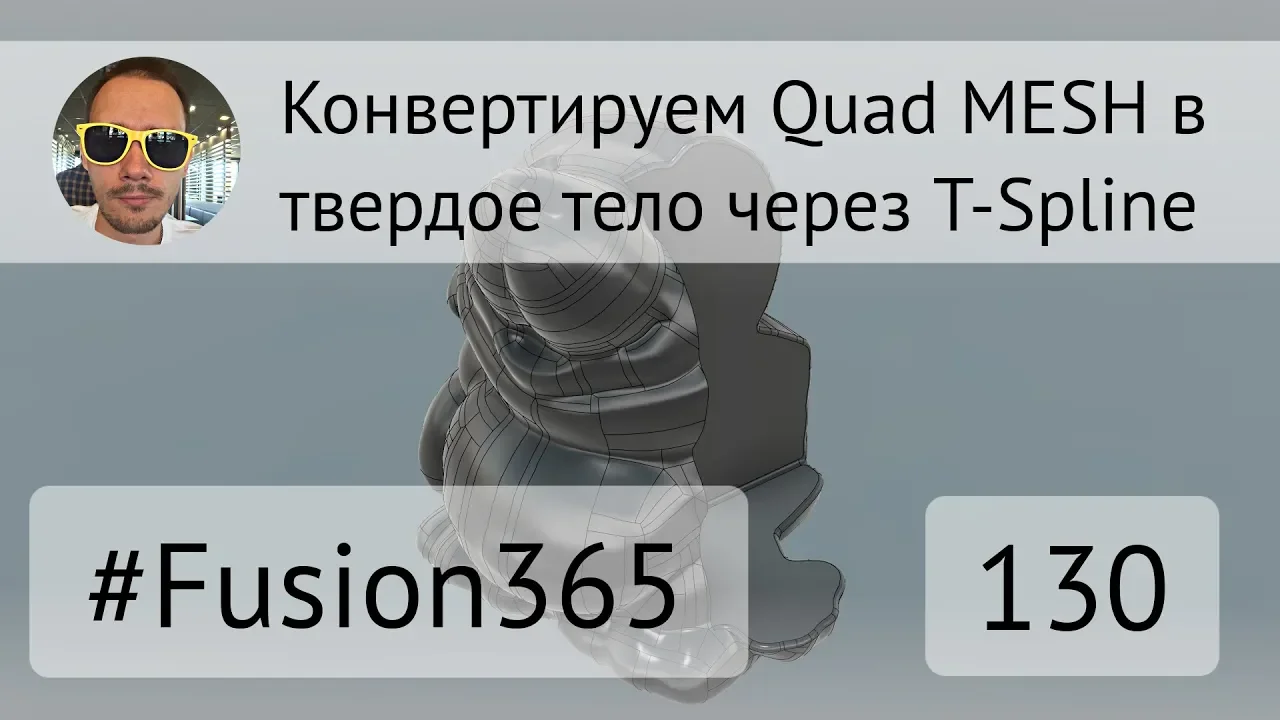
Mesh-to-CAD reconstruction methods, such as using T-Splines, to convert the raw optimization mesh back into a clean parametric solid model.
Generative Design in Fusion 360, moving from simple volume reduction to multi-scenario, manufacturing-constrained design generation.
Advanced simulation techniques, including thermal stress analysis and modal (vibrational) analysis on the newly lightweighted designs.
81.2K views919likes6:21Original Release: 2017-04-11
in this video we'll be looking at how to lightweight a simple lever arm using the topology optimization functionality in Fusion 360 we'll Begin by running a topology optimization simulation on our part we will then use these results to create a realistic manufacturable part by promoting our simulation results back into the modeling workspace and superimposing them over our initial model finally we'll extrude away material from the initial model based on the results of our top op simulation we will begin with a simple lever arm part which can be found in the simulation sample models included as part of your Fusion 360 package we will head straight to the simulation workspace to set up our initial simulation the new steady window will already be open and we will select shape optimization study we're now ready to Define our material constraints loads and mesh size as well as a few other parameters to select our material we'll click on the material icon we'll continue with the parts predefined to Steel material we will now apply constraints by clicking on the structural constraints icon based on the functionality of this part we'll need to apply pin constraints to the two pin holes on the lever to do so we will select the inside of each pin hole and change our constraint type to pin we will now add our simulated load to the model by clicking on the load icon we will select the front face where the load is applied and set the load's magnitude to a predetermined 500 Newtons now because our simulation will ultimately remove material from our model we must ensure that material remain present around certain crucial functional areas of the model in this model it is imperative that we have material around the two pin holes to apply this constraint to our simulation we'll use The Preserve regions functionality we will preserve the first region by selecting the inside of the larger hole and setting the boundary radius to 8 mm this will ensure that no material within 8 mm of the hole is removed by the simulation we'll repeat this process for the smaller hole this time setting a six millim boundary radius next because our model is symmetrical across the horizontal plane we will want our lightweighted version to achieve the same symmetry we'll do so by selecting the Symmetry plane option under the shape optimization tools we will select the horizontal face to Define our horizontal symmetry plane now in order to acquire helpful accurate results we need to ensure that our mesh size is Rel relatively small we'll do so by selecting settings and going to mesh settings we will decrease our mesh size from about 5% to about 2% we are now ready to run our topology optimization simulation the green pre-check icon indicates that we are ready to go we will now click solve to solve our simulation on the cloud this can be helpful when running larger simulations simulations on the cloud can take anywhere from a few seconds to a few hours so we will skip ahead to view our results right now we're looking at the load path criticality results we can adjust the slider to view more or less critical areas of the part you can begin to see here how these results can be used to inform the design of an improved part we'll set our slider such that our lightweight version has about half the original m the part although these results provide helpful insight they often cannot be used literally as they are more organic in nature and cannot be manufactured with typical methods other than additive manufacturing if we wanted to say laser cut or Mill this part we have to make further updates to the model itself based on these results provided by the simulation we will do so by promoting our results back into the modeling workspace this will allow us to direct ly modify the original part based on our results we'll go to results and click promote now you can see that our simulation results have been superimposed over our original model to update the model directly based on these results we will create a new sketch on the top face we'll Begin by hand sketching a series of Contours in response to the areas of material removal provided by the simulation we will then apply a series of parallel constraints dimensions and fillets to create a uniform easy to manufacture part because this video is not focused on the sketching Tools in Fusion 360 I will skip ahead to the completed sketch now we have our final sketch Contour again for the sake of time I skipped over the application of constraints and dimensions on the sketch if you have questions regarding Fusion sketching tools and processes please visit the fusion learning database online to find a plethora of additional demonstrational content we'll extrude away material by clicking the create icon this defaults to an extrusion we will select each profile set the distance to through all and flip the direction which defaults to a cut Extrusion now that we have removed material from our original model we can hide our mesh body to view the updated part we've improved this part significantly reducing the weight by about 50% additional analyses and updates to the part can be made from here
Up Next

9:21
Aerodynamic Body Fairings Tested in Wind Tunnel
@gcntech
112.5K views•2023-09-24

30:32
Ultrasonic Transducers: Resonant Frequency Measurement and Horn Design
@imajeenyus42
229.9K views•2017-02-22

54:16
Polymer Environmental Degradation: Mechanisms & Stabilization
@iit
1.8K views•2012-07-10

33:39
How a Student's Question Saved a NYC Skyscraper from Collapse
@veritasium
22.8M views•2025-04-26
Related Study Plans & Knowledge Roadmaps
Structured learning paths in Engineering
engineering
Building Acoustic Levitators: Physics & Arduino
01The Physics of Sound and Standing Waves
02Piezoelectric Transducers and H-Bridge Drivers
03Arduino Programming: Generating 40 kHz Signals
+ 2 more learning modules
14h5 modules
Explore Roadmap
engineering
Building Peltier Cloud Chambers: Particle Tracks
01Cosmic Rays & Cloud Chamber Physics
02Thermoelectric Cooling (TEC) Fundamentals
03Custom Liquid-Cooling Loop Design
+ 2 more learning modules
18h5 modules
Explore Roadmap
engineering
Yagi-Uda Antennas: Modeling, Build & VNA Test
01Introduction to RF and Antenna Fundamentals
02Yagi-Uda Antenna Design Principles
03Antenna Modeling and Simulation in 4NEC2
+ 2 more learning modules
18h5 modules
Explore Roadmap
engineering
ECG Monitor Design: Op-Amps, Filters & Noise
01Electronics & Breadboard Basics
02Op-Amps and Instrumentation Amplifiers
03Bioelectricity and ECG Fundamentals
+ 2 more learning modules
18h5 modules
Explore Roadmap