








![Parcel Simulator #1 [FR] Gérez et automatiser un centre de tri de colis!](https://i.ytimg.com/vi/-a3W7mlTcPc/maxresdefault.jpg)

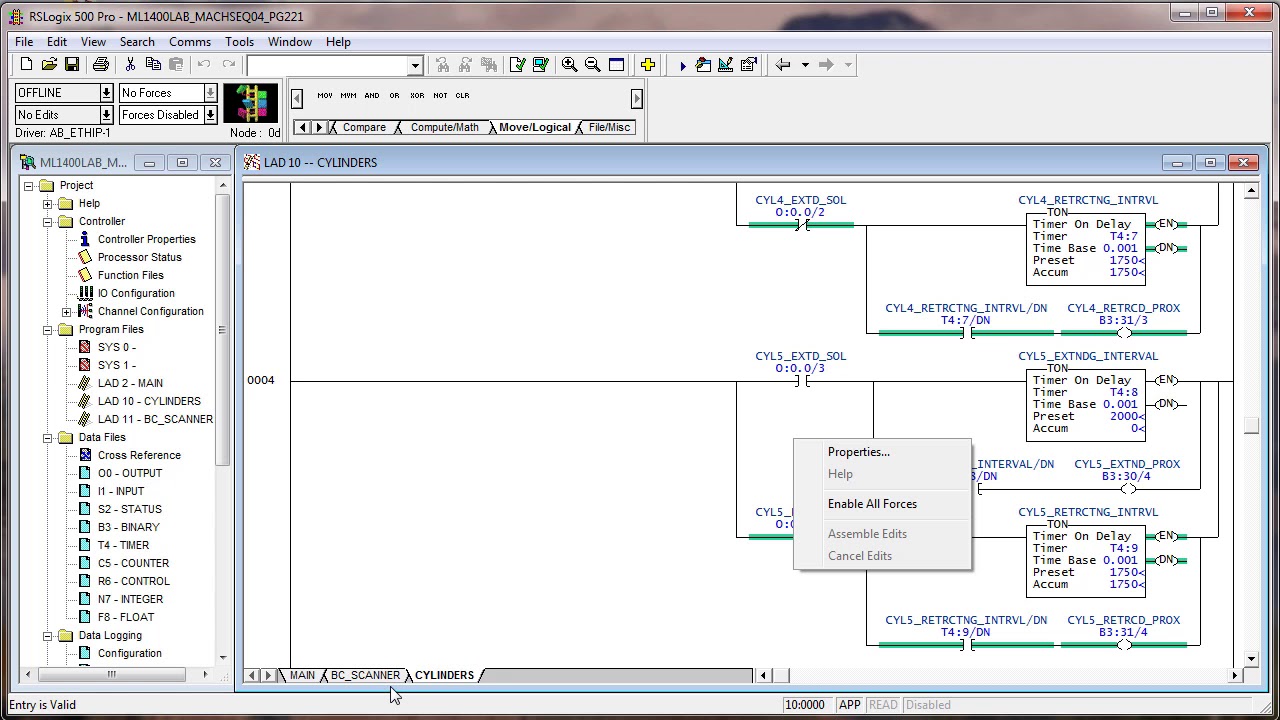

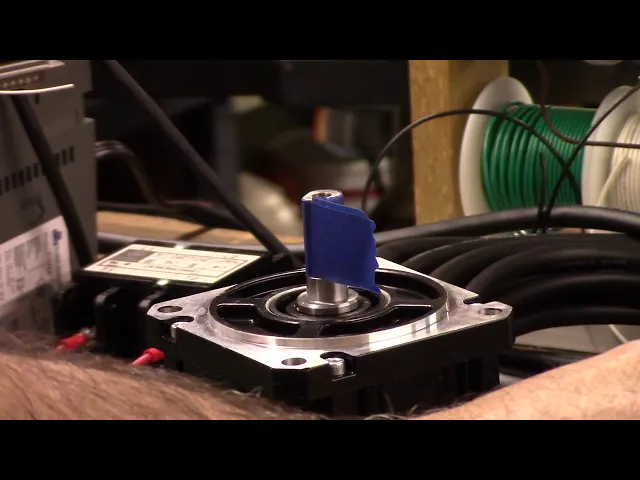





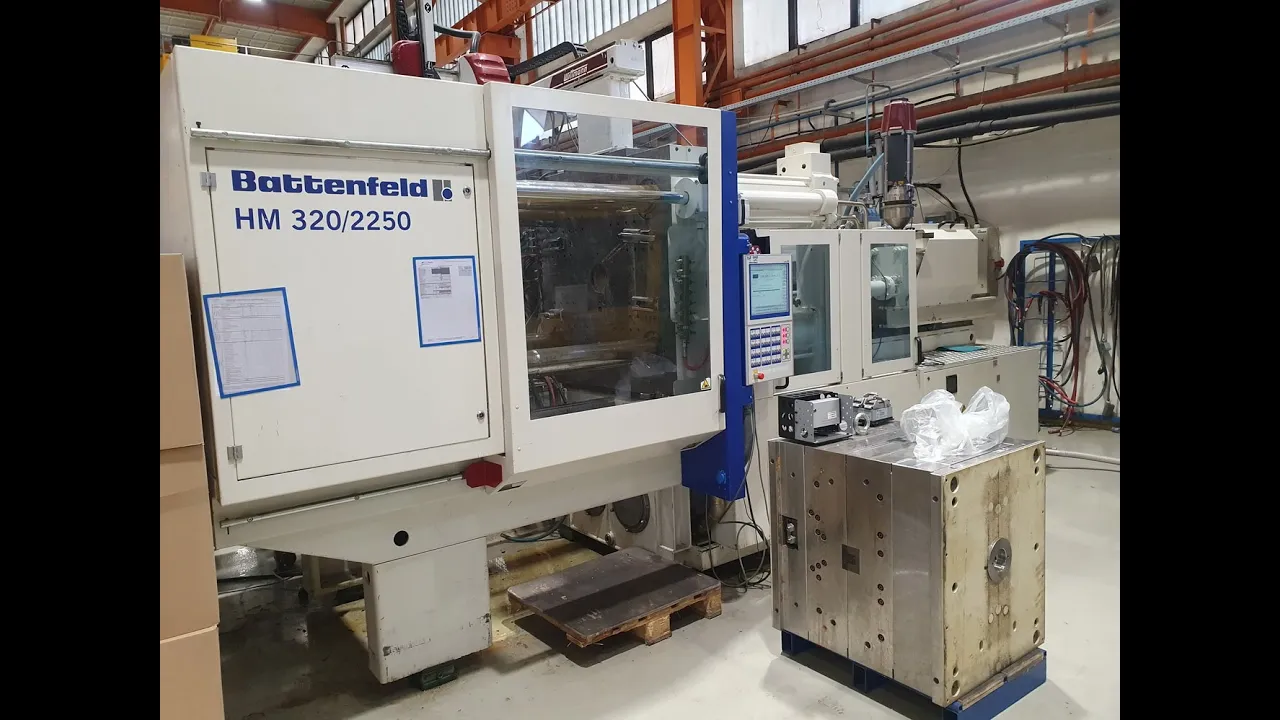
Programming a 3-axis servo injection robot involves systematically setting positions (X, Y, Z coordinates) and postures (GC), moving the robot arm through specific points such as approaching the part, picking it up, injecting it, releasing it, and returning to the origin position; the process requires switching between manual mode for positioning and auto mode for execution, with key steps including enabling injection permission, adjusting the robot's posture from vertical to horizontal as needed, and ensuring all axes return to zero at the end of the cycle.
Programming a 3-Axis Servo Injection Robot: Step-by-Step Guide
Added:Basic understanding of Cartesian coordinate systems (X, Y, and Z axes) and industrial motion control.
Fundamentals of servo motor operation, including closed-loop feedback and encoder-based positioning.
General concepts of the injection molding process and the typical sequence of operations in automated manufacturing.
Familiarity with industrial controller interfaces or basic teach pendant navigation concepts.
Advanced optimization of robotic path planning to reduce cycle times and coordinate smooth acceleration/deceleration curves.
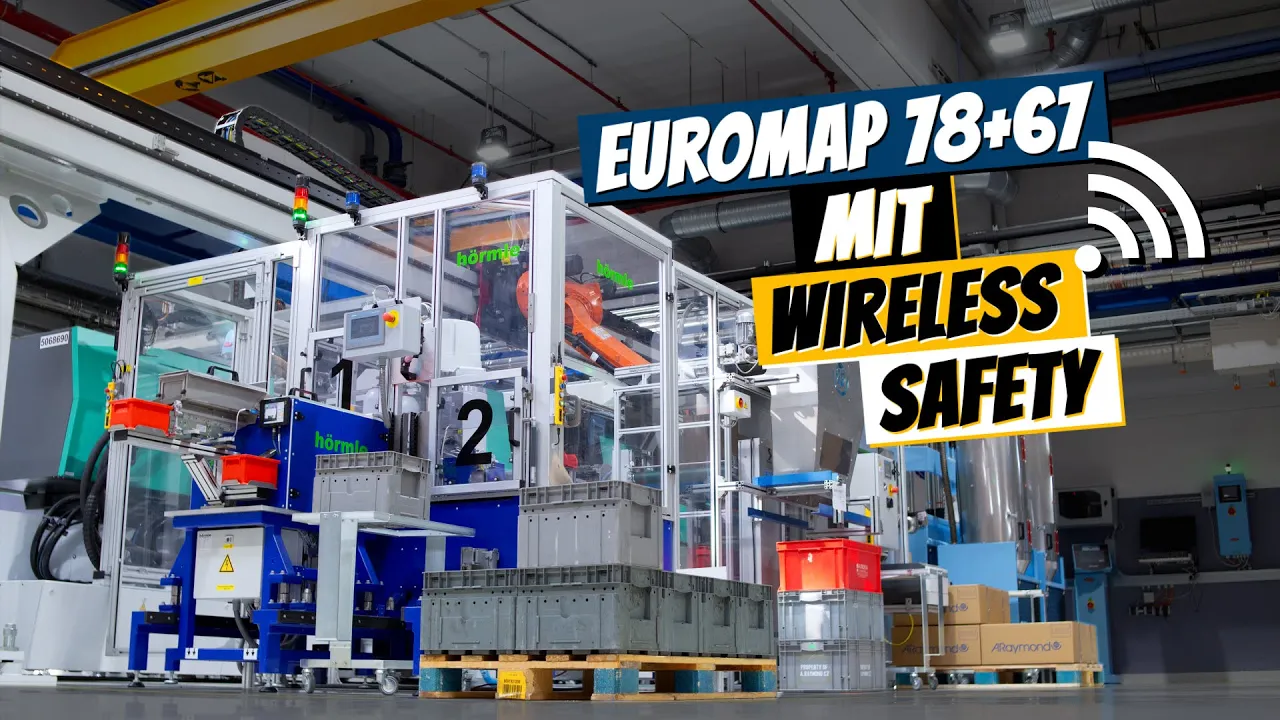
Implementation of safety protocols and communication interfaces, such as EUROMAP 67 or SPI standards, between the robot and the injection molding machine.
Integration of downstream automation equipment, including conveyor systems, vision inspection sensors, and part-sorting gates.
Troubleshooting common servo-driven robotic faults, error codes, and performing routine sensor and axis calibration.
Transitioning from 3-axis Cartesian gantries to programming 5-axis or 6-axis articulated robotic arms for complex part manipulation.
6.7K views86likes8:16Original Release: 2023-10-25
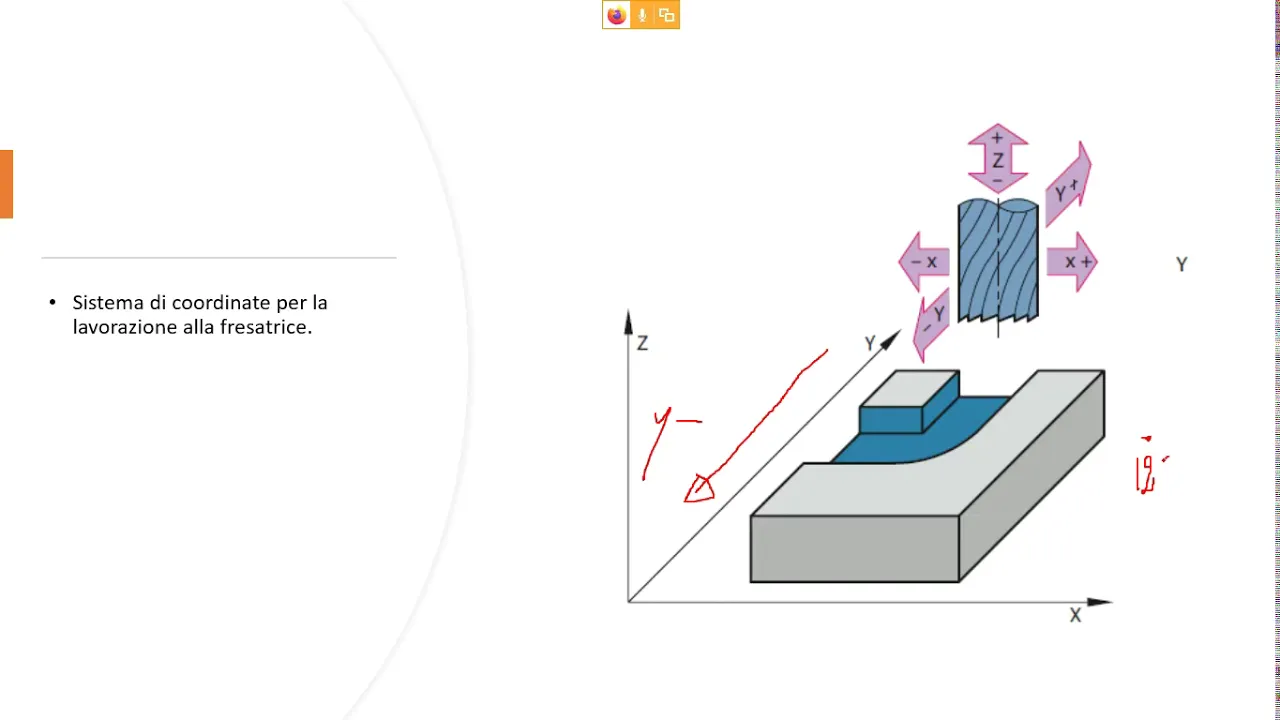
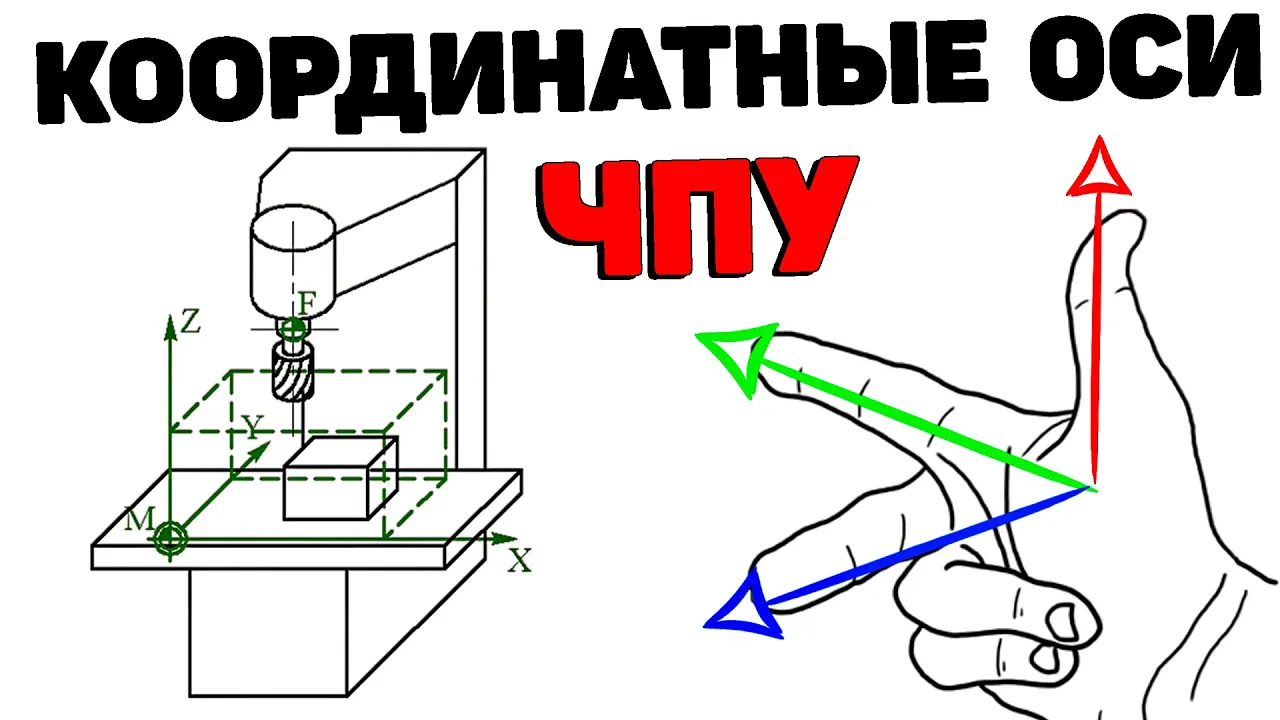
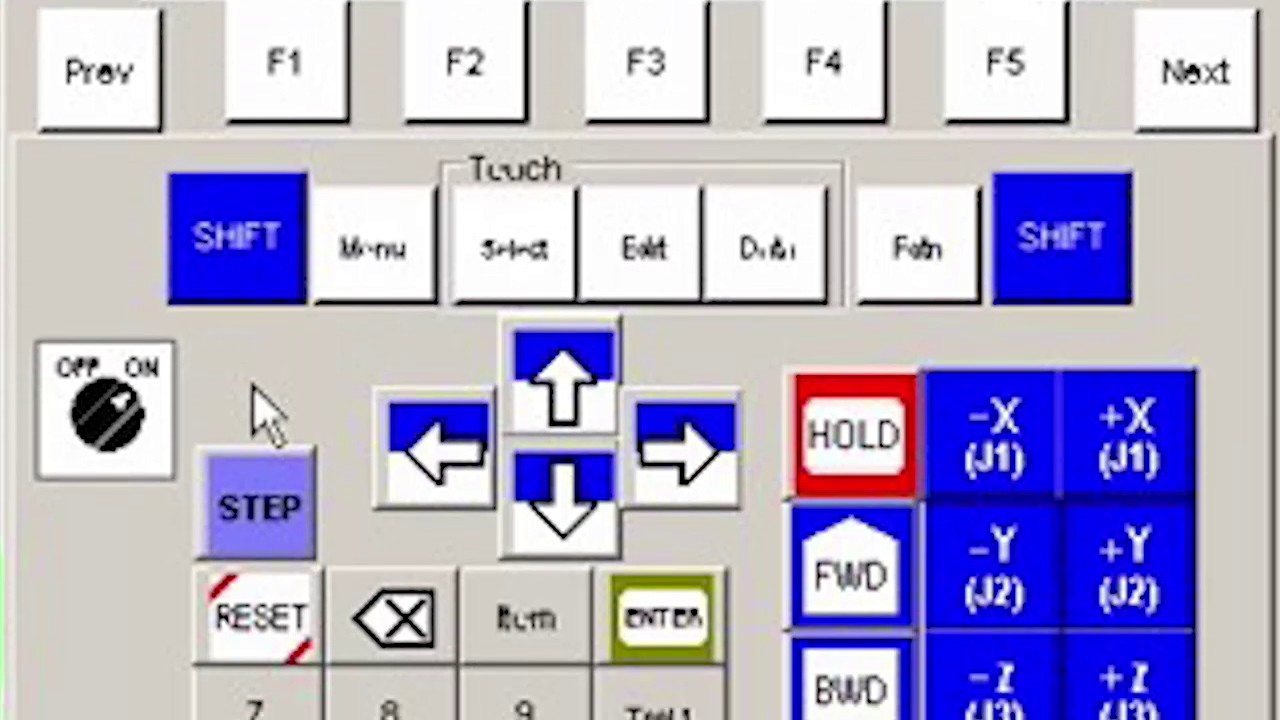
now uh let's try to make a the basic program of CCH lobber uh if you receive the L when you turn on the L you see this interface don't worry about it here just press this button and here you can choose the L that you want choose Ang okay way become indal now you can see record mostly you will see some default program here but maybe you want your own to have your own so what do is here and see w v r 2 3 4 5 okay here you can new and you can see a new program here can choose it and load the load load it so okay it's loading now you can see the model number is uh W 23 45 now what do is uh switch to manual mode here turn left is manual mode uh Center is stop and the right is the auto mode there you can see different buttons here image the advanced instruct we can choose instruct now you can see a basical program here XY Z is uh the original position you cannot do anything to it uh now what to do is you what you want uh for programming is uh mostly the setting of the position of XIs x y z you can see gx1 just g y1 g j and GC GC is the posture of the L now we can WR uh the first step yeah end move the step to the end and then we can go y dou arm to go into the mode for example 100 mm okay and I have a delay now we can insert can see one more step here and uh now we needed to access um X move in for example 200 mm okay inside also you can see one more step and when the L it means the low arm is near uh the part which ised to be picked so you will need to check uh maybe inj mod machine you will permit it to inject T part injection permission permission here here you can also see other functions related to the enjoy machine okay let's back eject all we need to F fixure suck [Music] one can insert a cirer okay and uh after get your part you must have your X back to [Music] zero okay just insert and the learn have your y back to zero okay and then insert and then now uh uh it means uh the L is out of the mode so you can see also injuction mode machine uh injection permission you can permit enable the the inje mod machine to close the mode lock mode okay then you can have uh the lot will carry the part outside the mode area and then adjust the M area to the above of the conveyor for example one3 1 uh 1.3 M it will be something like this I can also insert it and uh see it is now the L arm is above the conveyor now you can uh move down the L arm wi to 200 mm for example okay insert and uh posture you can change the posture from uh vertical position to horizontal position okay and the fure maybe you needed to release this just uh make some conditions Okay so because we don't have the detection so it cannot we don't didn't turn off turn off the suction now no needed to do anything okay uh it is uh in case it is uh uh just suppose it is released then we will have xess y move the back to zero okay and uh have access X back to zero and have [Music] uh and I have access say no here we should uh have uh [Music] C posture back to Vertical position for another piing and the L Z to zero okay insert it then it means uh the low arm will back to standby position so waiting for another mode opening now what to do is uh start to stop mode and the origion start now we have a have L arm to the original after finish we can start it automatically with uh all the data back to zero it means uh the origin of the L arm is finished okay it finished now we turn right it means the auto mode Press Start let's see what the L is uh how is the L armor [Music] moving what isy isn't it now let's uh finish it means last we finished the a very basic program of uh the three AIS slection Lo
Up Next

31:04
Build a Low-Cost 5DOF 3D-Printed Robot Arm with Position Feedback
@element14presents
202.7K views•2023-11-10

12:54
Triumph of Orthodoxy Icon: Byzantine Art & History Explained
@BenCallan
2.1K views•2024-08-06

9:49
FastAPI vs Flask vs Django: Choosing the Right Python Web Framework
@TechWithTim
302.5K views•2024-05-26

1:42
Game of Thrones Opening Credits: A Cinematic Analysis
@gameofthrones
46.3M views•2011-04-18
Related Study Plans & Knowledge Roadmaps
Structured learning paths in General & Interdisciplinary Studies
general-studies
Elevator Engineering: History, Physics & Cities
01From Hoists to Safety Brakes: The Dawn of Vertical Lift
02Hydraulic vs. Traction: The Engineering Physics of Elevators
03Modern Speed, Safety, and Algorithms
+ 2 more learning modules
12h5 modules
Explore Roadmap
general-studies
Rubber: Material Science, History & Geopolitics
01Origins of Natural Rubber & Mesoamerican History
02The Chemistry of Natural Rubber & Vulcanization
03The Geopolitics of the Rubber Boom & Colonization
+ 2 more learning modules
12h5 modules
Explore Roadmap
general-studies
Containerization: Evolution, Logistics & Trade
01Ancient Trade & Bulk Cargo: Amphorae to Barrels
02The Industrial Revolution & Cardboard Packaging
03The Containerization Revolution: Malcom McLean
+ 2 more learning modules
12h5 modules
Explore Roadmap
general-studies
Textile Tech: Evolution, Labor & Global Impact
01Pre-Industrial Textiles: Handloom & Cottage Industry
02Mechanization: The Spinning Jenny to the Power Loom
03The Factory System & Global Labor Transformation
+ 2 more learning modules
10h5 modules
Explore Roadmap